Key Takeaways
Why Home Charging Setup Deserves More Thought Than Most Buyers Give It
When people research an electric vehicle, they obsess over range, tax credits, and monthly payment — and largely ignore the infrastructure question until they're already home with the car. That's understandable, but it leaves a lot of new EV owners scrambling to figure out why their car charged only 35 miles overnight on a standard wall outlet, or why their electrician is quoting them $2,800 for work they assumed would cost a few hundred dollars.
The reality is that home EV charging is a straightforward electrical project once you understand the components. It is not mysterious, but it does involve real decisions — about charging speed, panel capacity, wiring runs, permits, and equipment — and those decisions have meaningful cost and convenience implications for the next decade of ownership.
This guide walks through the process from the moment you plug in that factory-supplied cord to the point where a licensed electrician signs off on a permanent Level 2 installation. For a broader overview of charger types and cost ranges before diving in, see our comprehensive home EV charging setup guide.
What You're Actually Working With: The Three Charging Levels
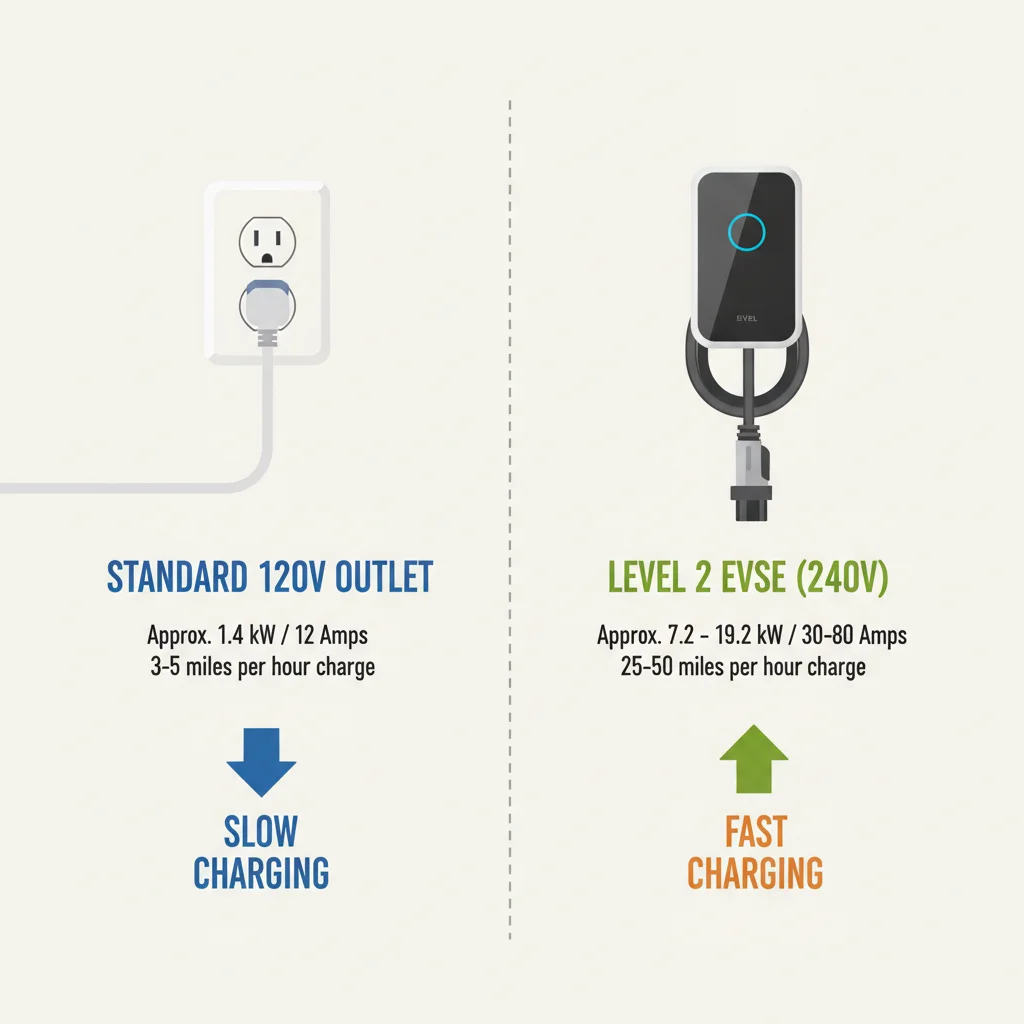
Every EV can be charged in one of three ways at home. Understanding what each level delivers — and what it costs to deliver it — is the foundation of every other decision.
Level 1: The Included Cord (120V)
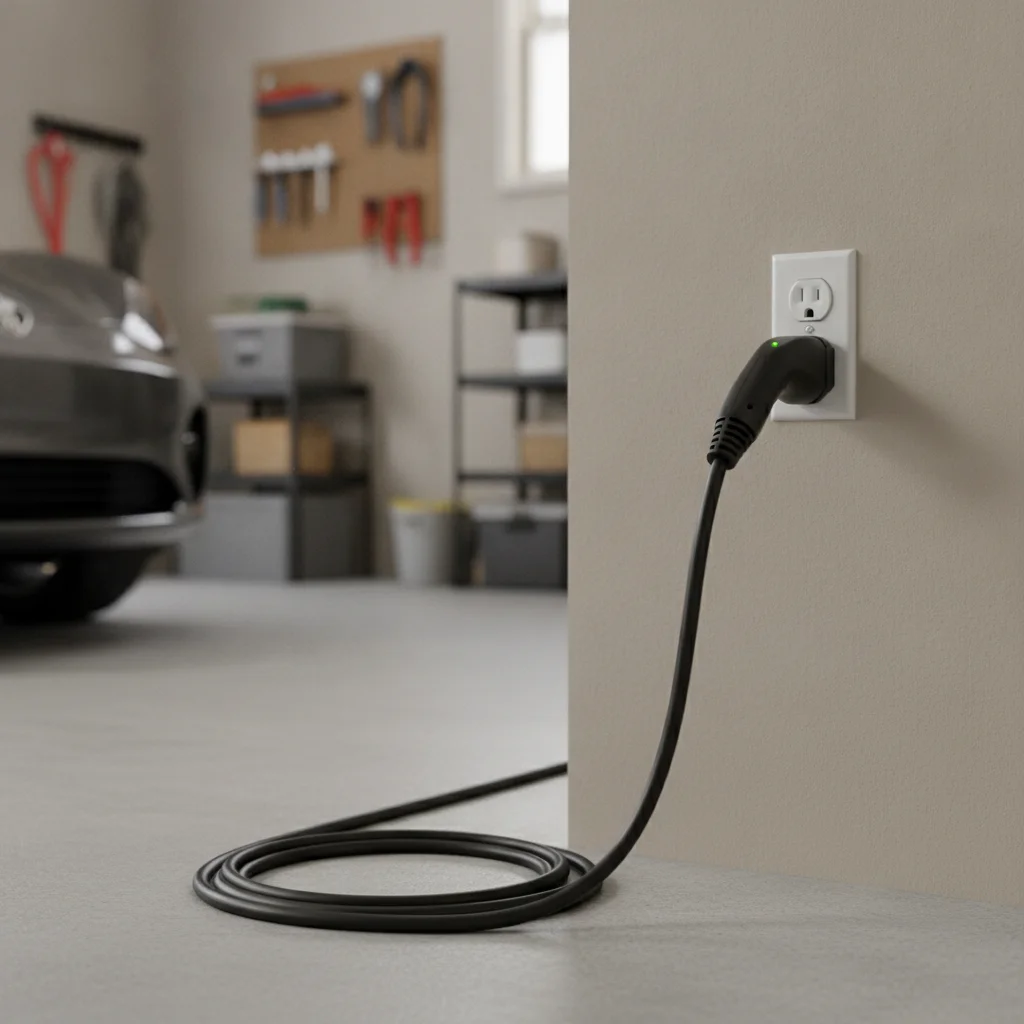
Every new EV ships with a portable charge cord, called an EVSE (Electric Vehicle Supply Equipment), that plugs into a standard 120-volt household outlet. It draws about 12 amps and adds roughly 3–5 miles of range per hour of charging. For a 60 kWh battery pack, a full charge from empty takes 40–50 hours on Level 1.
That sounds slow — and for many drivers it is — but Level 1 has real advantages that get dismissed too quickly. If you drive fewer than 40 miles a day and plug in every night, a standard outlet may cover all your needs without any installation work at all.
Level 2: The Real Workhorse (240V)
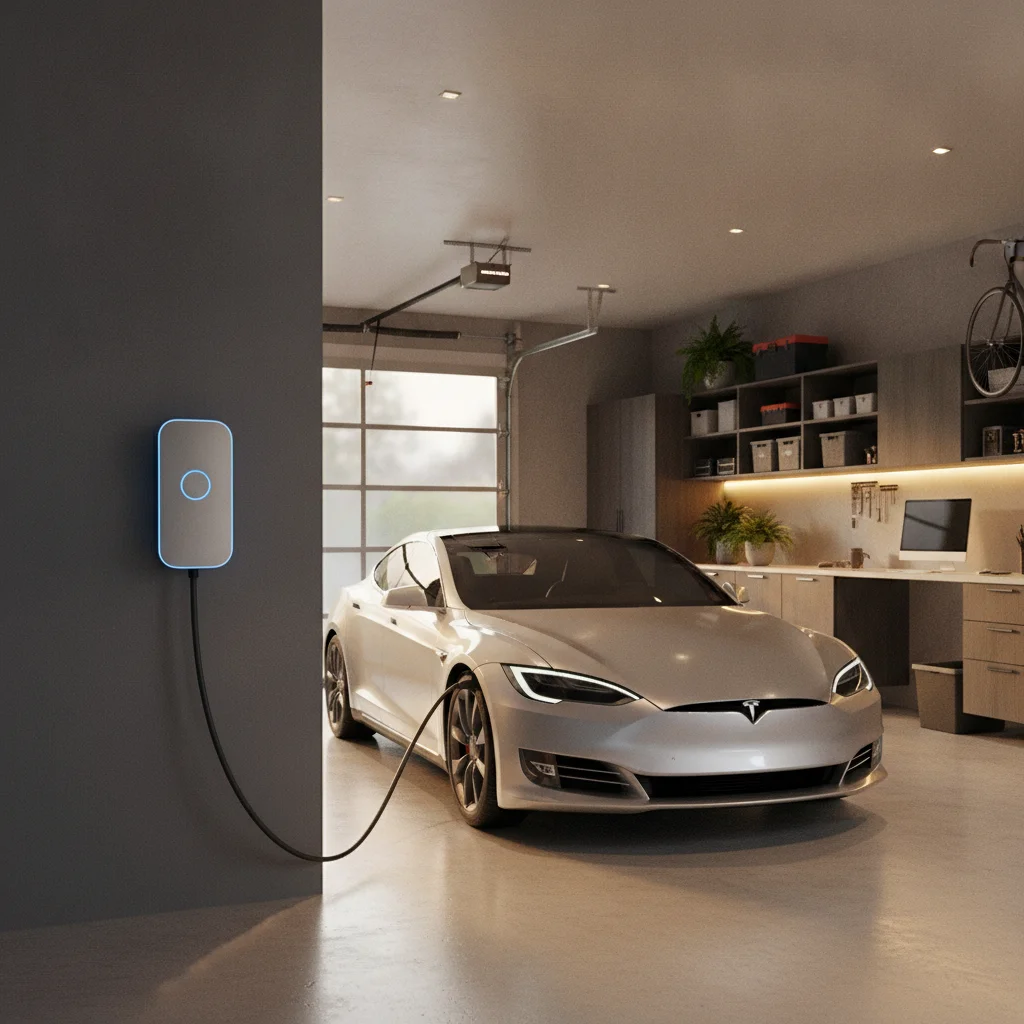
A Level 2 EVSE runs on a 240-volt circuit — the same voltage as a clothes dryer or electric range — and typically delivers 20–30 miles of range per hour. Most households that go beyond the factory cord install a Level 2 unit, which means a dedicated circuit, a wall-mounted (or hardwired) charger, and a permit. This is where the real installation work happens, and it's the main focus of this article.
DC Fast Charging: Not for Home Use
DC fast chargers (Level 3) require three-phase commercial power at 480 volts and cost tens of thousands of dollars to install. They're the chargers at highway rest stops and shopping centers. No residential home installation goes there — if someone is quoting you a home fast charger, something has gone wrong in the conversation. For context on the public network, see our public charging networks hub.
What You Need Before the Work Begins
Before calling an electrician or ordering a charger, take stock of three variables: your panel, your parking situation, and your vehicle's onboard charger capacity.
What you will need
Licensed Electrician
Required to safely install the 240V dedicated circuit, run conduit, connect the breaker, and pull required permits.
Level 2 EVSE Unit (32A or 48A)
The wall-mounted charging device that converts 240V household power into a safe, regulated charge for your EV.
Dedicated 240V Circuit Breaker (40A or 60A)
Protects the EV charging circuit from overload; sized to 125% of the EVSE's continuous draw per NEC code.
Conduit and Appropriate Wire Gauge
Carries power from the panel to the charger location safely; wire gauge must match the breaker and EVSE amperage.
NEMA 14-50 Outlet (plug-in EVSE only)
A 50-amp, 240V outlet used when installing a plug-in rather than hardwired charger, allowing easy EVSE replacement.
Weatherproof Enclosure / Cover Plate
Required for any outdoor or driveway installation to protect the outlet or charger body from rain and debris.
Wi-Fi–Enabled Smart EVSE
Allows scheduling charges during off-peak rate hours and monitoring energy use from a smartphone app.
Panel Capacity: The Limiting Factor Most People Miss
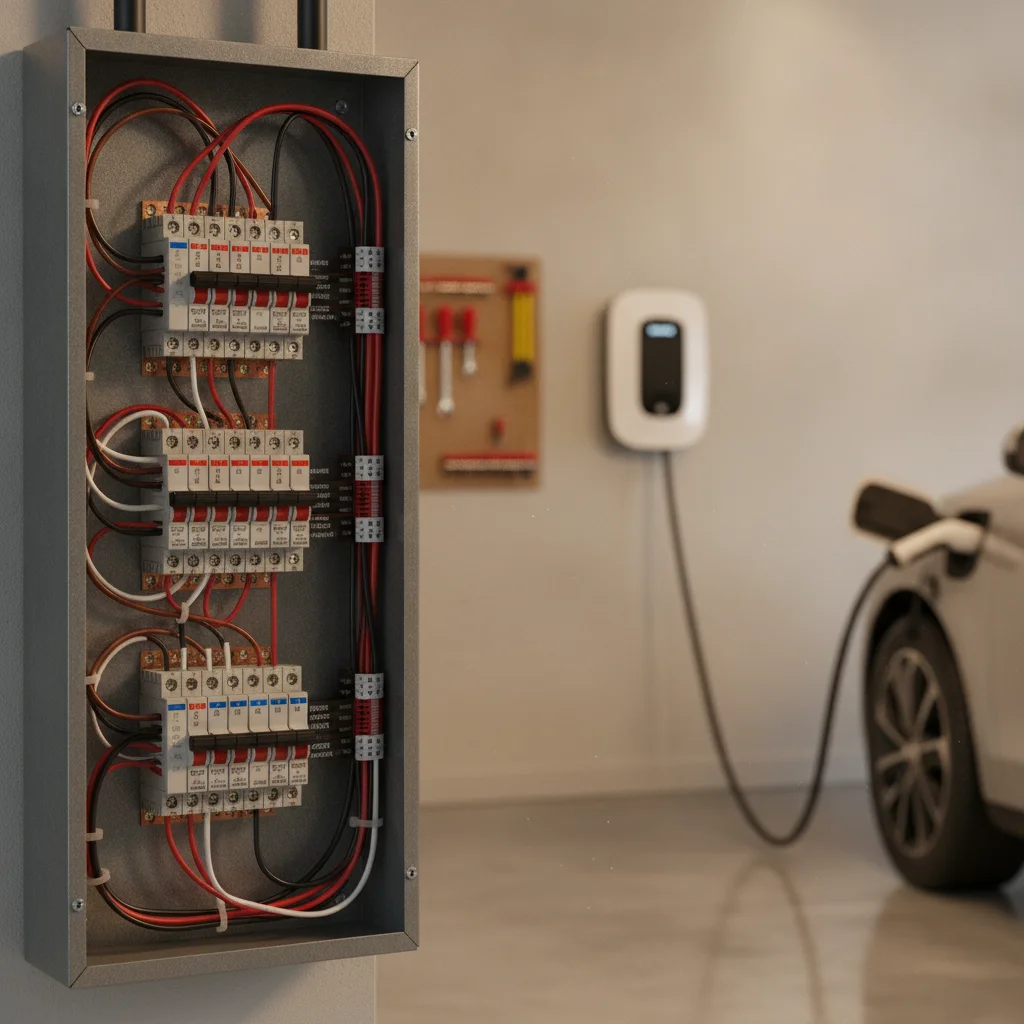
Your home's electrical panel has a maximum amperage rating — typically 100A, 150A, or 200A — and it's already carrying a load from your HVAC system, appliances, lighting, and other circuits. A Level 2 EV charger on a 40-amp circuit draws 32 amps continuously (80% of circuit capacity, per code). That's a significant addition.
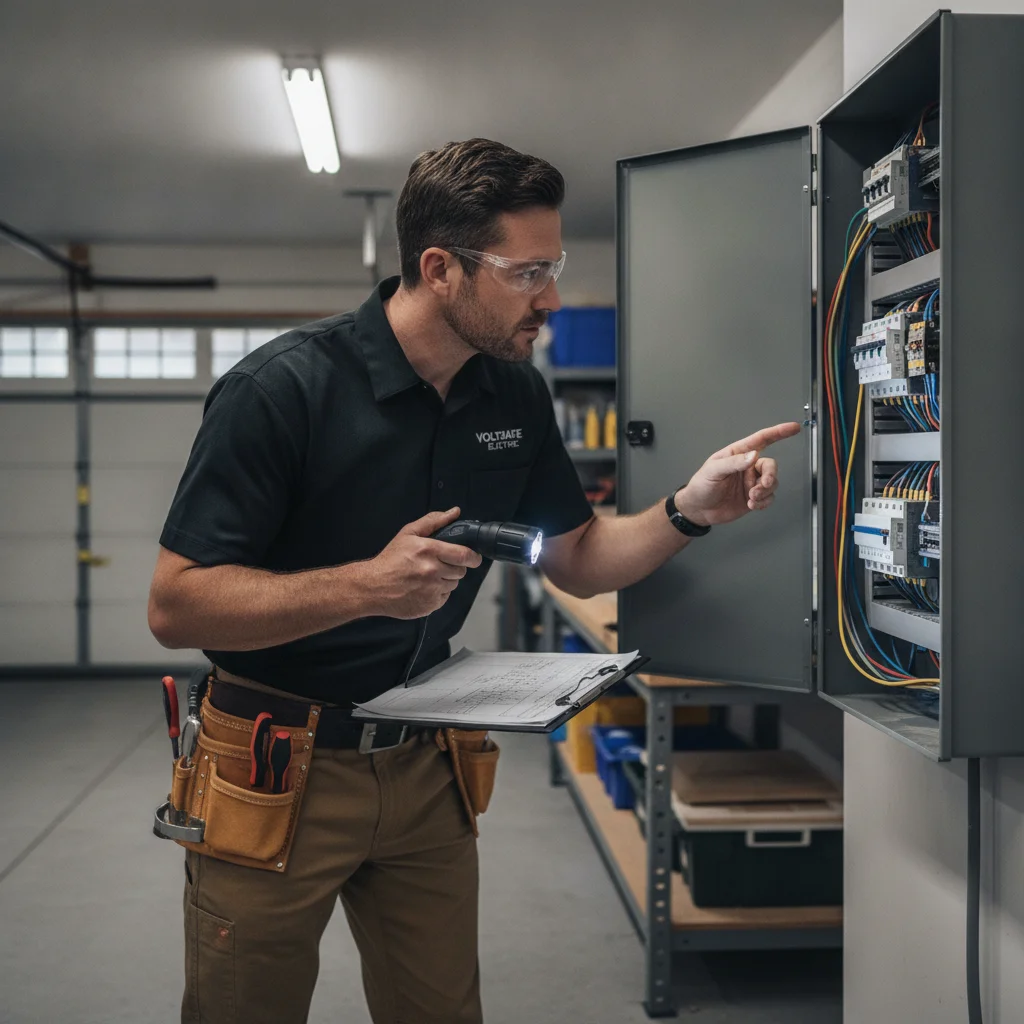
A licensed electrician will assess whether your panel has the physical space for a new breaker and whether your total load stays within safe limits. In some older homes with 100A service, there may not be enough headroom without an upgrade. Our plain-English panel explainer covers exactly what electricians check and what panel upgrades involve.
Parking Location Matters More Than You Think
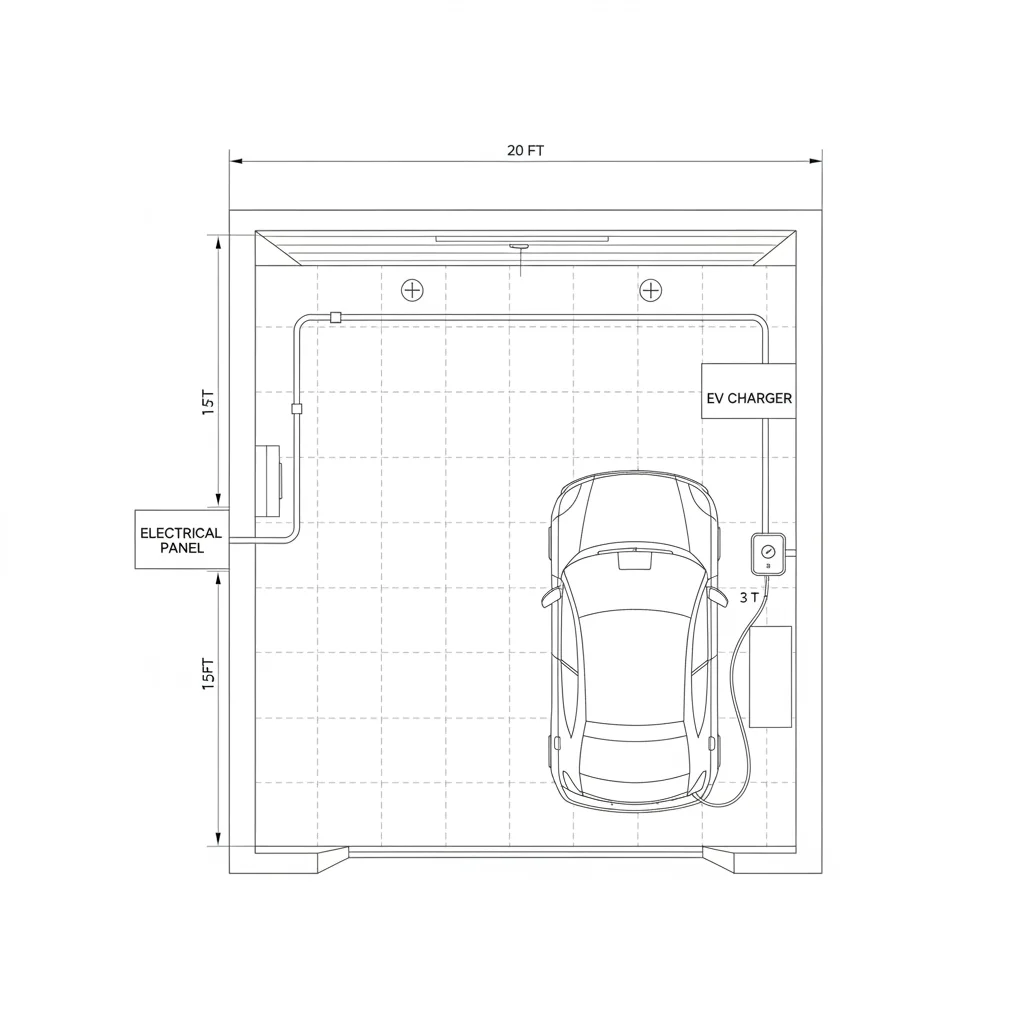
Where you park shapes your entire charging setup. A garage makes installation straightforward — the panel is often adjacent or nearby, conduit runs are short, and the charger is protected from weather. A driveway or carport means a longer conduit run from the panel, weatherproof (NEMA 4 or better) enclosures, and potentially trenching if the run goes underground. Each of those adds labor cost and complexity.
Your Vehicle's Onboard Charger
The onboard charger converts AC power (from your Level 2 EVSE) into DC power that fills the battery. Different vehicles accept different maximum rates: some accept only 7.2 kW (32A at 240V), others accept 11.5 kW or even 19.2 kW. Installing a 48A circuit for a car that can only accept 32A wastes circuit capacity — though it future-proofs for your next vehicle. Check your owner's manual or manufacturer spec sheet before sizing your circuit. Our article on choosing the right amperage for your home EV charger walks through this in detail.
Step-by-Step: Installing a Level 2 Home EV Charger
Here's the complete process from assessing your needs to the final inspection. Some steps you can handle yourself; others require a licensed electrician by code and for insurance purposes.
Assess Whether Level 1 Is Actually Sufficient for Your Needs
Before committing to a Level 2 installation, honestly evaluate your daily mileage. Pull three months of driving history from your phone's navigation app or odometer logs. If your average daily drive is under 35 miles and you have access to a standard outlet near where you park, the factory-supplied 120V cord may fully recharge your car overnight without any additional work or cost.
Level 1 is a legitimate long-term solution for many households, not just a stopgap. The cost savings — zero installation, no permit — are real. Only move to Level 2 if your driving patterns, vehicle battery size, or daily schedule make slow overnight charging genuinely impractical.
Choose Your EVSE and Determine the Amperage You Need
If Level 2 makes sense, select your EVSE hardware before calling an electrician — the charger's amperage determines the circuit size the electrician will install. The three most common options:
- 32A EVSE on a 40A circuit: Adds about 25 miles/hour. Works for most current EVs and most panels. Entry-level cost.
- 40A EVSE on a 50A circuit: A common middle-ground choice. Good balance of speed and panel impact.
- 48A EVSE on a 60A circuit: Maximum speed for home charging; requires vehicles that accept 11.5 kW or more, and a panel with adequate headroom.
Plug-in EVSEs connect to a NEMA 14-50 outlet and are easier to take with you if you move. Hardwired EVSEs connect directly to the wiring and may be slightly more reliable long-term. Either approach is code-compliant; the choice is largely personal preference and whether portability matters to you.
Get Your Electrical Panel Evaluated
Call a licensed electrician — at least two, ideally three, for competing quotes — and ask for a panel evaluation as part of the estimate. The electrician will open the panel, check available breaker slots, calculate approximate existing load, and tell you whether you can add the new circuit or whether a panel upgrade is necessary.
Key questions to ask each electrician during the quote visit:
- Is my panel rated for the additional load, or does it need to be upgraded?
- What wire gauge and conduit type will you use for this run?
- Will you pull the permit, and is that included in your quote?
- How long is the conduit run from the panel to the charger location?
- Are there any code issues specific to my jurisdiction I should know about?
Pull the Permit Before Work Begins
In most jurisdictions your electrician applies for the permit with your local building or permits department before starting work. You may need to provide your address, the scope of work, and the EVSE model number. In some municipalities you can apply online in 24 hours; in others, plan review may take one to three weeks.
Do not allow work to begin before the permit is issued. An inspection on unpermitted work can require the electrician to remove completed wiring so the inspector can verify what's inside the walls — a costly and avoidable problem.
Schedule and Supervise the Installation
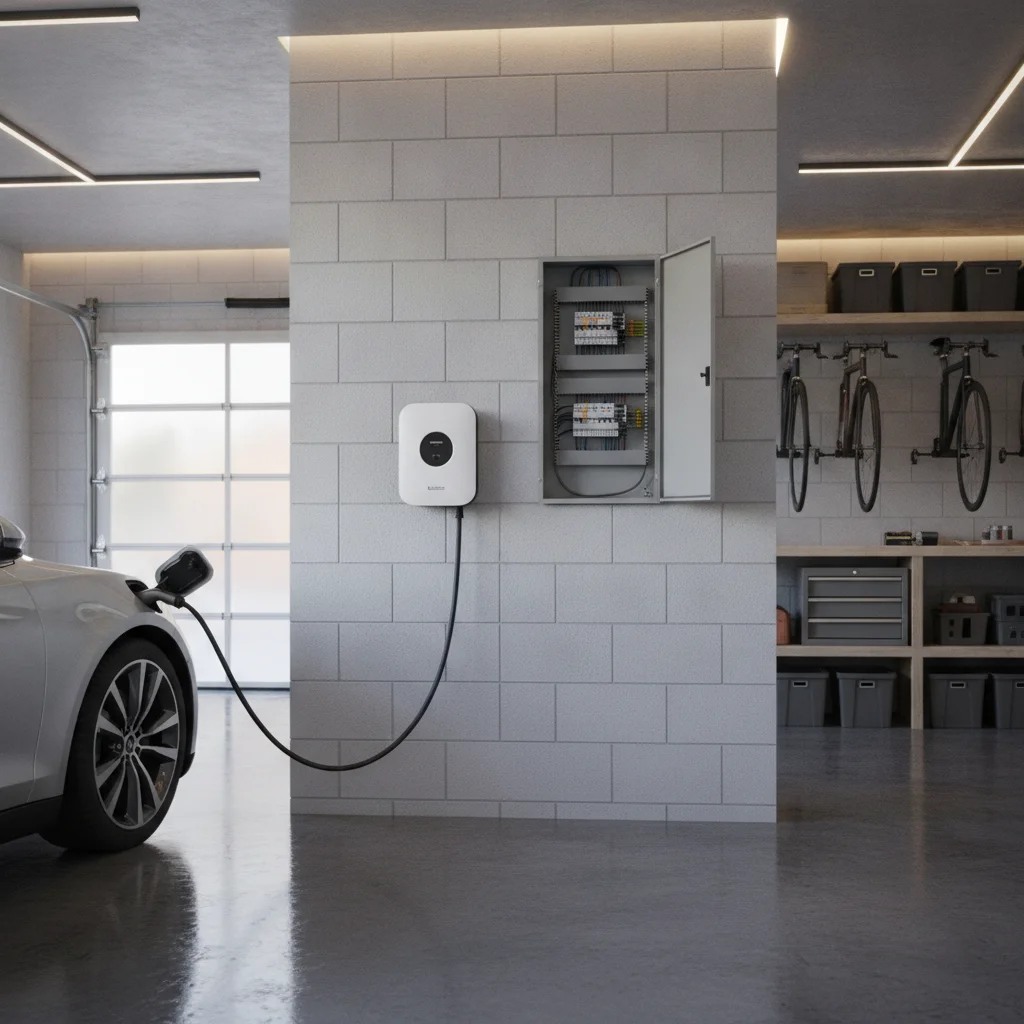
The actual installation typically takes two to four hours for a straightforward garage setup, longer for complex runs. For a detailed walkthrough of what the electrician does during this visit, see our article on what happens during a home EV charger installation.
During the install, the electrician will:
- Install the new breaker in your panel.
- Run conduit (rigid metal, PVC, or flexible MC cable depending on the run and local code).
- Pull the appropriate wire gauge through the conduit.
- Mount the outlet box or charger bracket at the wall location you've identified.
- Make final connections at both the panel and the charger end.
- Test the circuit before leaving.
Be available during the installation to confirm charger placement height, cable management preferences, and any clearance issues that weren't visible during the quote visit.
Schedule and Pass the Inspection
After installation, your electrician (or you, in some jurisdictions) schedules the inspection. The building inspector will verify that breaker sizing, wire gauge, conduit fill, device ratings, and outlet or charger mounting all comply with the adopted version of the National Electrical Code in your area. Most straightforward installations pass on the first visit.
Be home for the inspection or make sure your electrician is. If there's a correction required, the electrician addresses it and a re-inspection is scheduled — usually at no additional permit fee for the first correction.
Configure Your Charger and Set Up Scheduled Charging
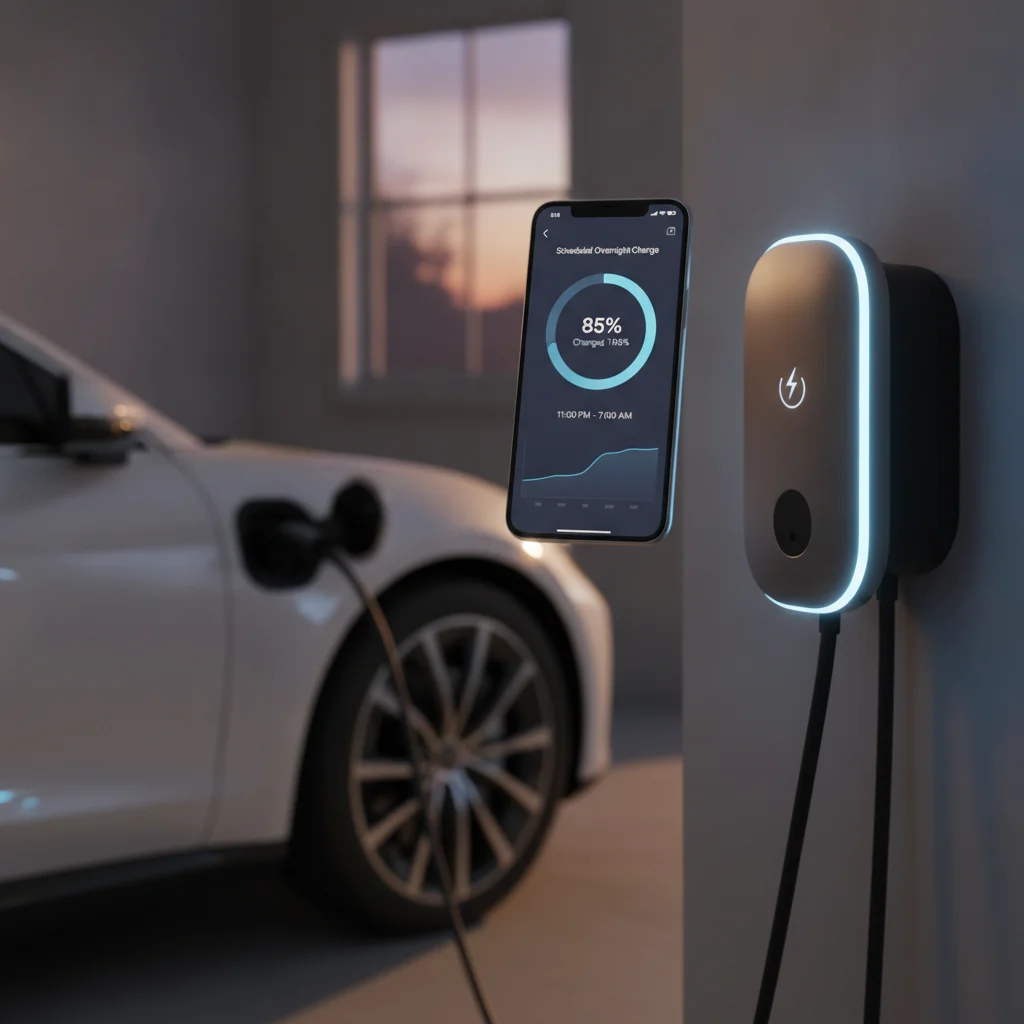
Once you have a passing inspection and power to the charger, the final step is configuring your EVSE and your vehicle's charging schedule. If your EVSE is Wi-Fi enabled, download the manufacturer's app, connect to your home network, and create a charging schedule that takes advantage of your utility's off-peak rates — typically overnight between 9 PM and 6 AM in most TOU programs.
You can also set charge limits in your vehicle's app or infotainment system. Most EV manufacturers recommend charging to 80% daily to extend long-term battery life, reserving 100% charges for road trips when you need maximum range.
Contact your utility to formally enroll in any available EV rate or rebate program — some require registration within 90 days of installation to qualify for equipment rebates.
Don't Oversize Your Circuit Without Checking Your Panel First
Installing a 60A circuit on a 100A panel that already carries a heavy load can push your home's total electrical demand into unsafe territory — or simply trip the main breaker regularly. Always have a licensed electrician calculate available load before deciding on circuit size. If your panel needs an upgrade, budget for it as part of the project, not as a surprise.
Outdoor Installations Need Weatherproof-Rated Equipment
If your charger or outlet will be exposed to rain, humidity, or direct sun — as in a driveway or carport installation — the outlet box, cover plate, and EVSE itself must be rated for outdoor use (NEMA 4 or NEMA 3R at minimum). Using indoor-rated equipment outside voids the manufacturer warranty, may fail the inspection, and poses a real shock and fire hazard over time.
Check Utility Rebates Before You Buy Equipment
Many utilities require you to purchase a specific list of approved EVSE models to qualify for their rebate. If you buy first and apply later, you may discover your charger isn't eligible. Visit your utility's EV programs page or DSIRE before placing any equipment order.
Future-Proof With a Larger Conduit Run
Even if you're only installing a 40A circuit today, ask your electrician to run conduit sized for a larger wire gauge (e.g., 3/4" or 1" conduit instead of 1/2"). If you add a second EV or upgrade to a higher-amperage charger later, pulling new wire through existing conduit costs a fraction of running new conduit from scratch.
New EV Owner? Start With Level 1 for the First Week
Even if you've already ordered a Level 2 EVSE, using the factory cord for the first week of ownership helps you understand your real daily charging needs before you commit to a circuit size and charger location. Many new owners discover Level 1 covers them just fine — or realize they need more speed than they initially estimated.
Permits, Inspections, and Why You Can't Skip Them
In the vast majority of U.S. jurisdictions, installing a dedicated 240V circuit requires an electrical permit and a final inspection by the authority having jurisdiction (AHJ) — typically your local building department. This isn't bureaucratic friction for its own sake. Inspectors verify that wiring gauge, breaker sizing, conduit fill, and device ratings all meet the National Electrical Code (NEC). If your home burns down due to an uninspected installation, your homeowner's insurance has grounds to deny the claim.
Skipping the Permit Is a Real Risk
An EV charger installation without a permit is unpermitted electrical work — and in most U.S. states that voids any insurance claim related to the wiring. If you sell your home, a buyer's inspector will likely flag it, and you may be required to have the work corrected or credited at closing. The permit process costs $50–$200 and is never optional for a permanent 240V circuit addition.
The permit process varies significantly by state and municipality. Some jurisdictions offer same-day over-the-counter permits; others require plan review that takes two to three weeks. Fees typically run $50–$200. Your electrician will usually pull the permit on your behalf — it should be included in any reputable installer's quote. If an installer says permits aren't necessary, walk away.
For a state-by-state breakdown of what to expect, see our guide on getting a permit for your EV charger installation.
Costs, Incentives, and What You Should Actually Budget
The total out-of-pocket cost for a Level 2 home charging installation depends on four variables: the EVSE unit itself, electrical panel condition, wiring run length, and local labor rates. Here's a realistic breakdown:
| Cost Component | Typical Range |
|---|---|
| Level 2 EVSE hardware (32A–48A) | $200–$700 |
| Electrician labor (simple garage install) | $300–$600 |
| Electrician labor (long run, conduit, trenching) | $600–$1,500 |
| Permit and inspection fees | $50–$200 |
| Panel upgrade (if required) | $1,500–$3,500 |
For most homeowners with a modern panel and a garage, the all-in cost lands between $800 and $1,500. Panel upgrades and long outdoor runs push it higher.
Federal Tax Credit
Under the Inflation Reduction Act, the Alternative Fuel Vehicle Refueling Property Credit (Form 8911) covers 30% of qualified home charging installation costs, up to $1,000 for residential filers, through 2032. The credit applies to both equipment and installation labor. Consult your tax professional to confirm eligibility based on your income and the location of your home.
Utility Rebates
Many utilities offer rebates of $100–$500 for qualifying Level 2 EVSE purchases, and some offer time-of-use (TOU) rate programs that let you charge at night for 40–60% less than peak rates. Check your utility's website or the Database of State Incentives for Renewables and Efficiency (DSIRE) at dsireusa.org before you buy any equipment.
Insurance Considerations
A permanently installed Level 2 charger is attached to your home and may or may not be covered by your existing homeowners policy. Some policies cover it as a permanently attached fixture; others treat it as excluded equipment requiring an endorsement. If you rent, coverage gaps are even more likely. Before installation, call your insurer. See our deeper look at whether your policy covers home charging equipment for specifics.
Thinking About Solar?
If you're considering rooftop solar, coordinate that decision with your charging setup now. The two systems interact — in terms of panel capacity, inverter sizing, and net metering rules — in ways that are much easier (and cheaper) to plan together than to retrofit separately. Our guide on how solar panels and home EV charging work together covers the key integration points.

All claims are backed by peer-reviewed research. Sources on request.