Key Takeaways
Our Verdict
If you have an attached garage with a nearby electrical panel, you have the most straightforward and cost-effective path to a Level 2 home charger — full stop. Driveway and carport owners can absolutely make home charging work, but they face higher installation costs, stricter equipment requirements, and more planning overhead. The good news: none of these obstacles are dealbreakers, and the right setup exists for every parking situation.
| Best for | Recommended |
|---|---|
| Owners with an attached garage and accessible panel | Garage — Level 2 hardwired EVSE |
| Driveway owners who drive moderate daily miles | Driveway — outdoor-rated Level 2 plug-in EVSE |
| Carport owners who want a permanent, clean installation | Carport — hardwired or plug-in outdoor-rated Level 2 on structure post |
| Any parking type with under 30 miles of daily driving | Level 1 trickle charging — no installation needed |
Why Your Parking Spot Is the First EV Charging Decision You Need to Make
Most EV charging guides lead with charger brands or kilowatt ratings. That's backwards. Before you pick a unit, you need to understand what your parking situation actually allows — because the physical reality of where you park determines your wiring options, your equipment requirements, your installation cost, and sometimes whether a Level 2 charger is even practical without major electrical work.
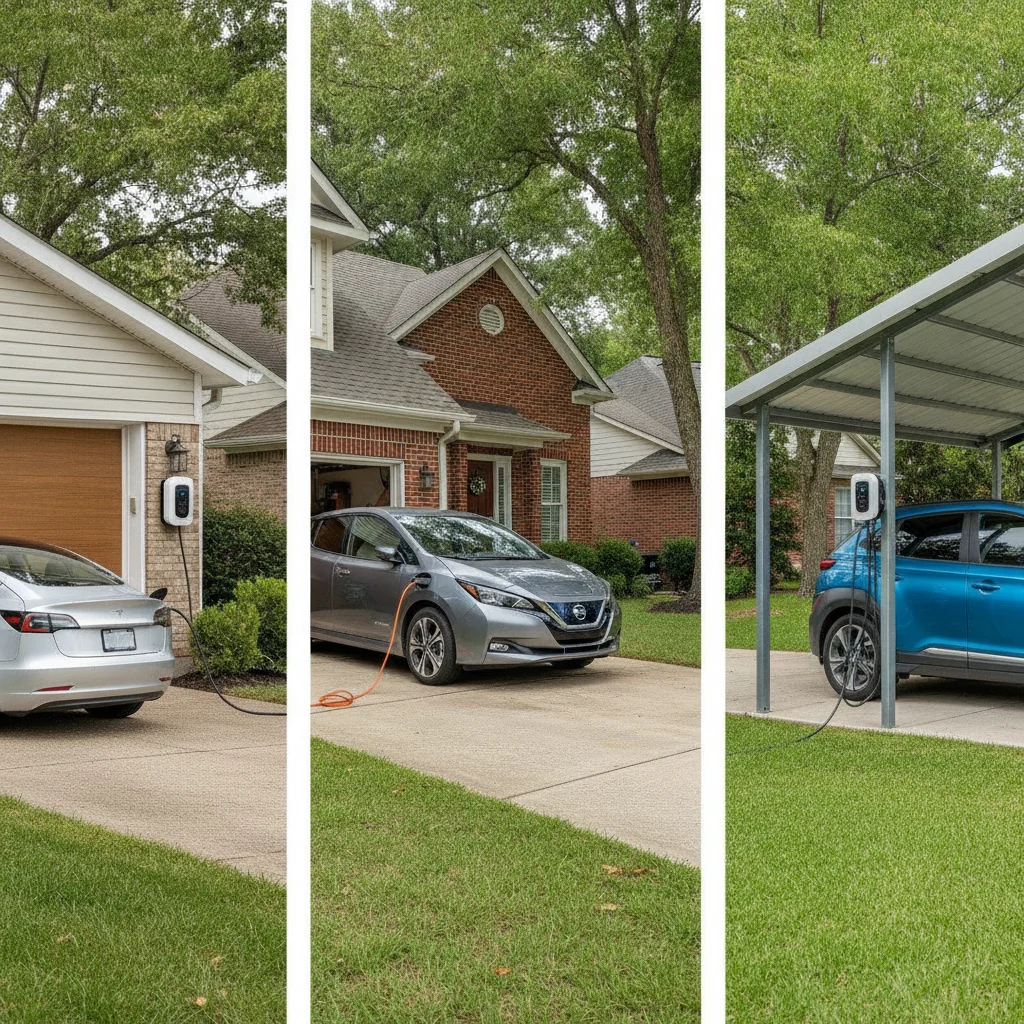
The three most common home parking setups in the U.S. — an enclosed garage, an open driveway, and a carport — each creates a different set of constraints and opportunities. A garage gives you a protected, semi-indoor environment close to your home's wiring. A driveway pushes everything outdoors, often at a greater distance from your panel. A carport splits the difference: you have a structure overhead and sometimes a post to mount hardware on, but you're still fully exposed to weather on three sides.
This article walks through each scenario with specifics: what charging equipment actually works, what the electrical installation realistically involves, and where the costs and complications tend to show up. For a broader overview of what goes into a home charging setup from start to finish, see what the setup actually involves.
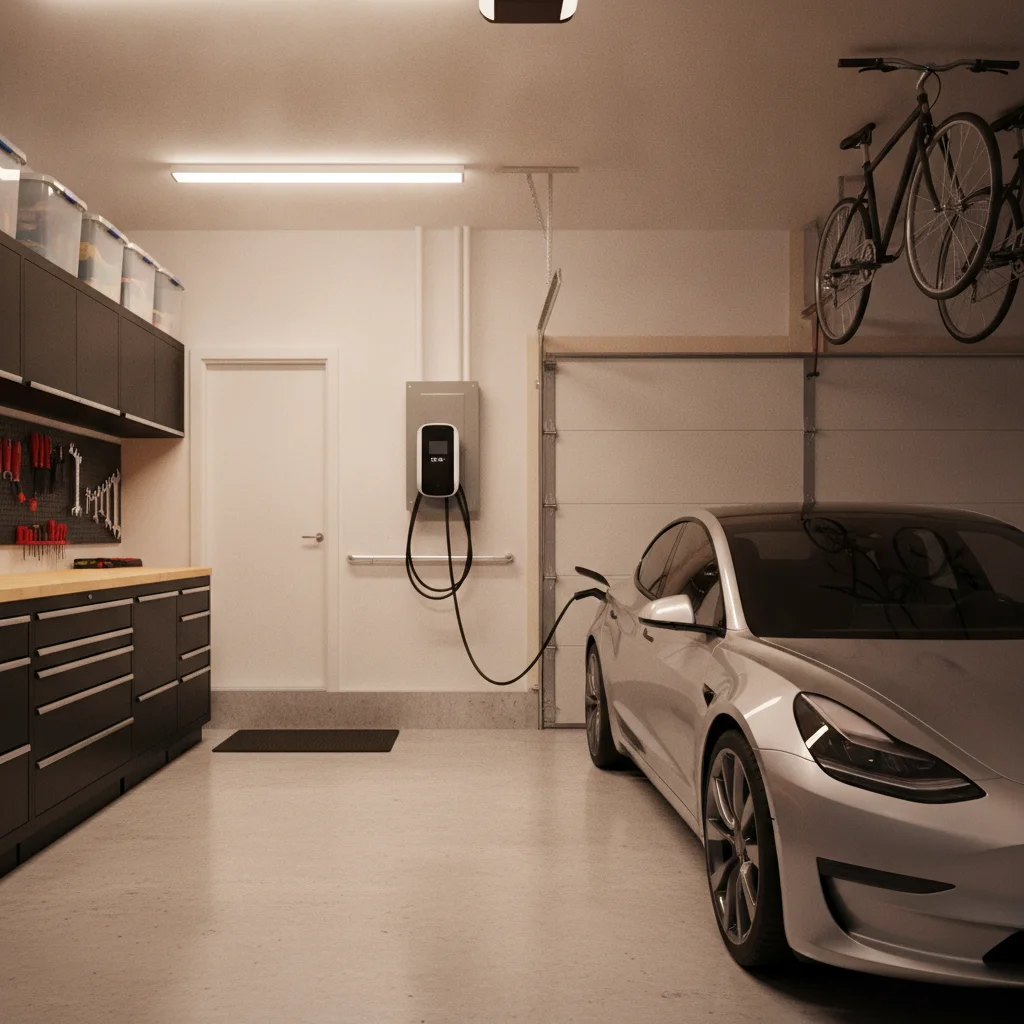
Garage Charging: The Gold Standard (When the Conditions Are Right)
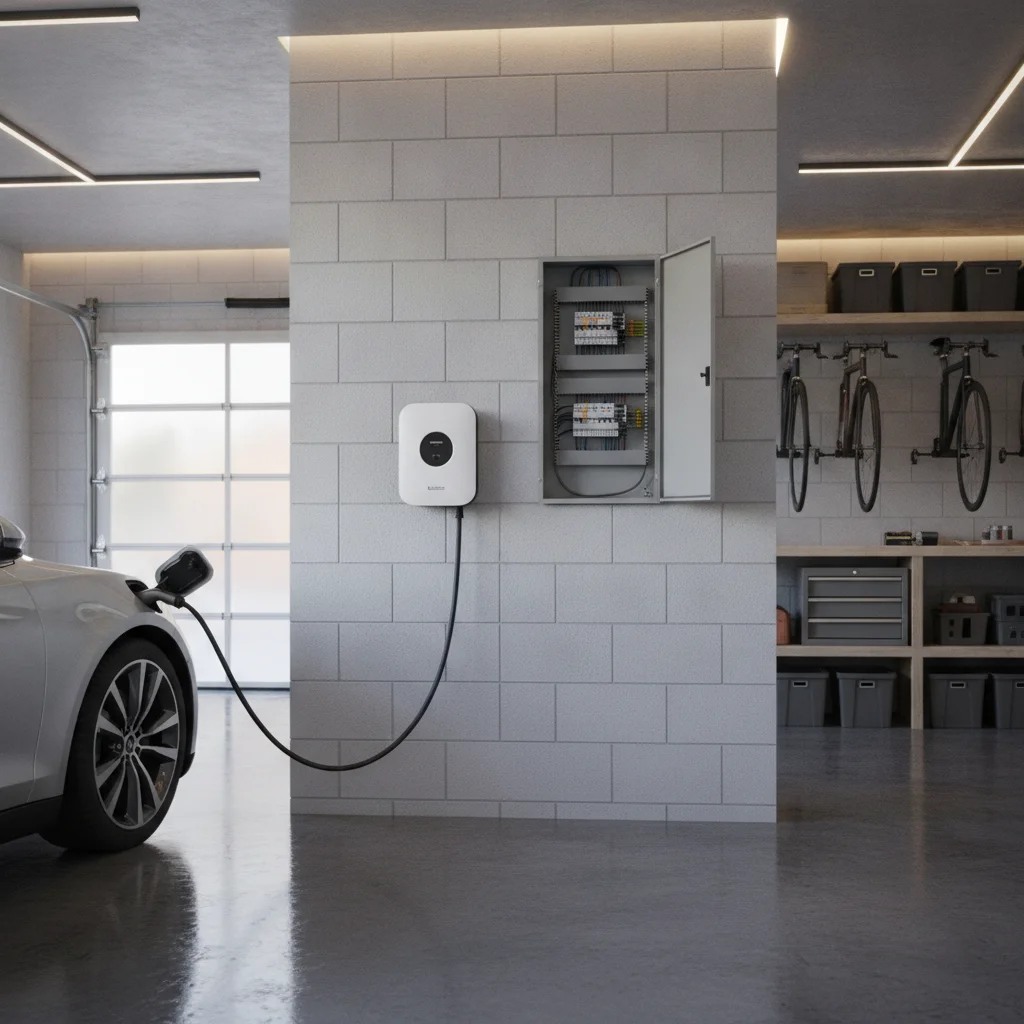
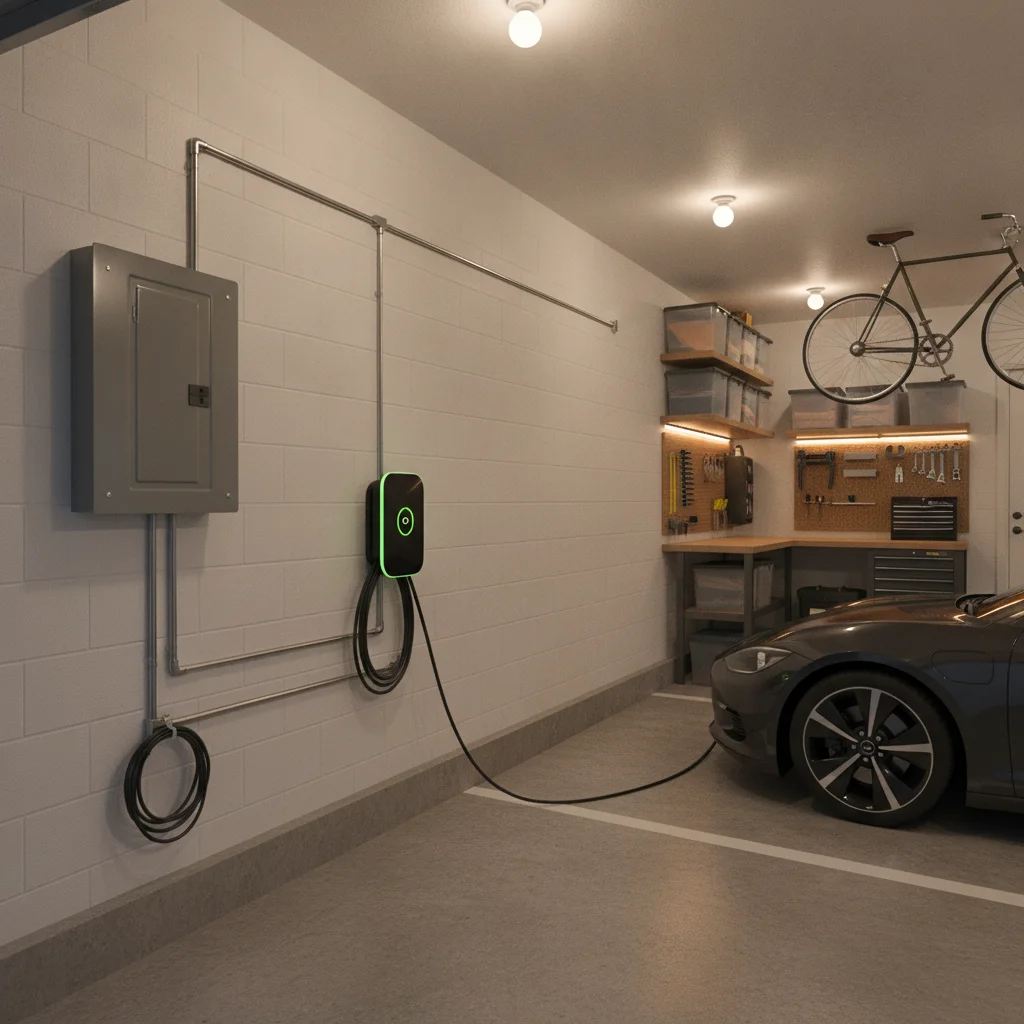
An attached garage with your home's electrical panel nearby is the setup every installer prefers. The run from the panel to the charging location is short, the environment is protected, and you can mount hardware on a stud wall without worrying about weatherproofing. That combination keeps installation costs lower and expands your equipment options considerably.
Level 1 in a Garage
If your daily driving is under 30–40 miles, a standard 120V outlet — the kind already in most garages — may be all you need. Plug in when you get home, wake up to a full battery. Level 1 delivers roughly 3–5 miles of range per hour of charging, so an overnight 10-hour session nets you 30–50 miles. That covers most U.S. commuters without any electrical upgrades. The catch: if you come home with a significantly depleted battery or take long trips frequently, Level 1 won't keep pace.
Level 2 in a Garage
Most garage owners eventually want a Level 2 charger (240V), which delivers 15–30 miles of range per hour depending on the unit's amperage and the car's onboard charger capacity. In a garage, you have two installation paths:
- Hardwired EVSE: A licensed electrician runs a dedicated 240V circuit from your panel to a wall-mounted unit. This is the cleanest, most permanent option and often the most cost-effective long-term. Typical cost for a straightforward garage install runs $300–$900 in labor if the panel is close and has capacity.
- NEMA 14-50 outlet + plug-in EVSE: The electrician installs a 240V outlet (the same used by RV hookups) and you plug in a portable Level 2 unit. This adds flexibility — you can take the EVSE with you when you move — but the outlet installation costs nearly as much as a hardwired setup anyway.
What Complicates a Garage Install
Not every garage situation is simple. Watch for these:
- Panel capacity: Older homes may have 100-amp or 150-amp service. Adding a 40–60 amp circuit for a Level 2 charger may require a panel upgrade, which can add $1,500–$3,500 to your total cost.
- Detached garage: If your garage isn't attached, the electrician has to run conduit underground or overhead between structures. That adds significant labor and materials — often $500–$2,000 more depending on distance.
- Permit requirements: Most jurisdictions require a permit for a new 240V circuit. Your installer should pull this, but confirm it upfront. Skipping permits can create problems when you sell the home.
Cable run distance and conduit routing are often the hidden cost drivers even in garage installs — don't assume a short straight-line distance means a short wire run.
| Garage | Driveway | Carport | |
|---|---|---|---|
| Best charging level | Level 1 or Level 2 | Level 1 or Level 2 | Level 1 or Level 2 |
| Equipment environment rating needed | Indoor (NEMA 1) acceptable | Outdoor (NEMA 3R or 4) required | Outdoor (NEMA 3R or 4) required |
| Typical L2 install cost (equipment + labor) | $400–$1,200 | $600–$1,800 | $500–$1,600 |
| Wiring complexity | Low to moderate | Moderate to high | Moderate |
| Weather exposure | Protected / none | Fully exposed | Partially exposed |
| Cable management difficulty | Low — short cord reach | High — long reach, trip hazard risk | Medium — mount on post |
| Permit typically required | Yes | Yes | Yes |
| HOA complication risk | Low | Medium | Medium to high |
| Panel upgrade likelihood | Moderate (older homes) | Moderate | Moderate |
| Flexibility to take charger when moving | Yes (plug-in) or No (hardwired) | Yes (plug-in) or No (hardwired) | Yes (plug-in) or No (hardwired) |
Driveway Charging: Workable, But Requires More Planning
Plenty of EV owners charge successfully in driveways — it just takes more deliberate setup. The core challenges are exposure to weather, the distance from your home's electrical panel, and the cable management question: how do you get power from your house to your car without creating a hazard?
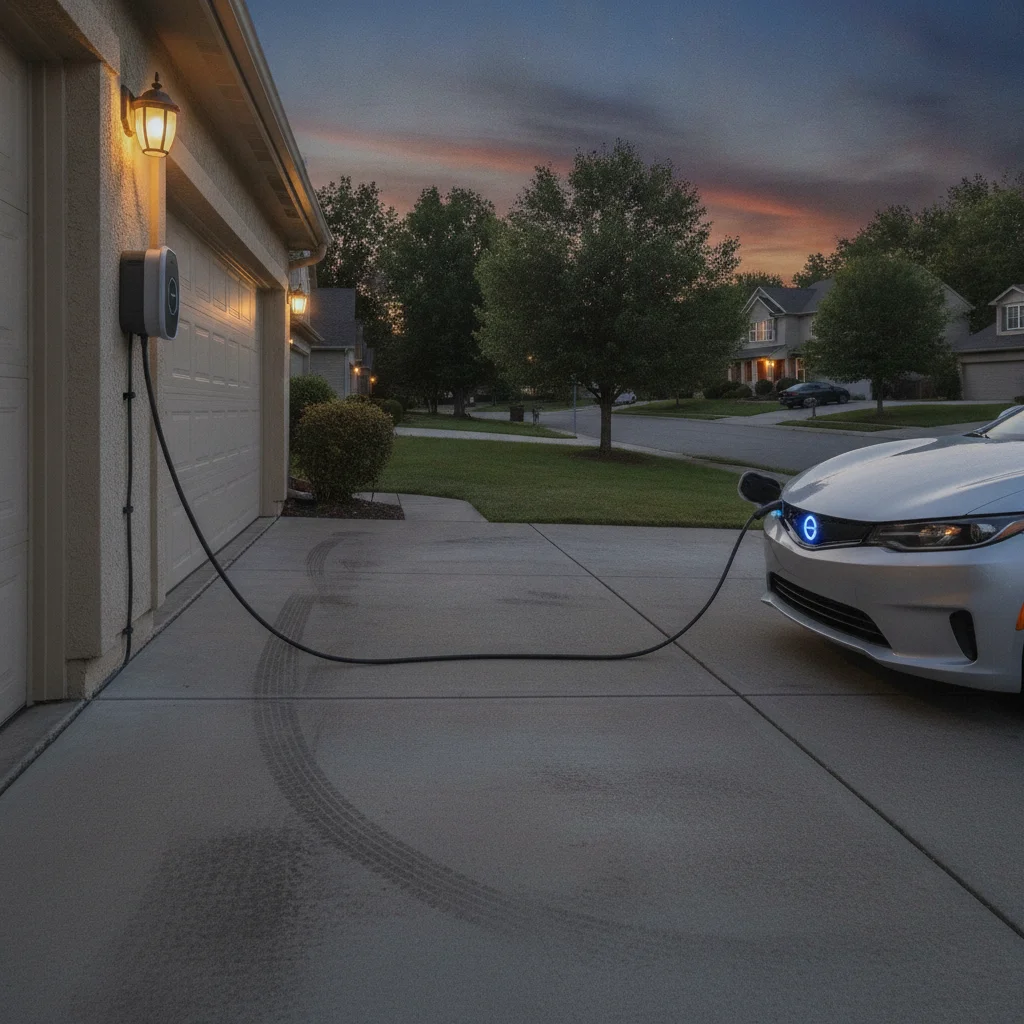
Level 1 in a Driveway
Technically, you can run your Level 1 cord from an indoor outlet through a window or door gap to your driveway. Practically, this is a bad long-term solution — it damages weatherstripping, creates a pinch point for the cord, and is a trip hazard. If Level 1 is all you need, have an electrician install a proper outdoor-rated 120V GFCI outlet on an exterior wall close to where you park. Cost: $150–$400 including parts and labor, often much less than a full Level 2 install.
Level 2 in a Driveway
For driveway Level 2 charging, everything needs to be rated for outdoor use. That means:
- Outdoor-rated EVSE: Look for a unit with a NEMA 4 or NEMA 3R enclosure rating. Many popular home chargers (ChargePoint Home Flex, Grizzl-E, Emporia) offer outdoor-rated versions or are rated for outdoor use by default. Don't mount an indoor-only unit outside — it's a safety issue and voids the warranty.
- Weatherproof conduit run: The wiring from your panel to the outdoor mounting location needs to run through weatherproof conduit, which may mean going through an exterior wall or running along the foundation. This is where costs escalate — especially if your driveway is on the opposite side of the house from your panel.
- GFCI protection: Required by the NEC for outdoor circuits. Most modern EVSEs include built-in GFCI, but confirm with your electrician.
The Cable Management Problem
Even with a properly installed outdoor EVSE, you need to think about where the charging cable sits when not in use and how it reaches your car's charge port. Driveway installations often benefit from a longer cable (20–25 feet) and a cable organizer or retractable reel mounted near the unit. If your parking spot is far from the house wall where the EVSE is mounted, confirm the cable length works before buying.
Don't Run Extension Cords to Your Car
Using a standard household extension cord to extend your Level 1 EVSE to a driveway or carport is a fire hazard and explicitly prohibited by every EVSE manufacturer. Extension cords are not rated for the sustained current draw of EV charging. If your outlet isn't close enough, the solution is a proper outdoor outlet installation — not a longer cord.
Unpermitted Electrical Work Can Hurt a Home Sale
Some homeowners try to save money by having an electrician skip the permit on a new 240V circuit. This can create real problems when you sell the home — a buyer's inspector may flag unpermitted electrical work, lenders may balk, and you could be required to bring it up to code at your expense before closing. Always permit electrical additions, even when the installer offers to skip it.
For drivers who park on a driveway and rely primarily on public charging, the financial math looks quite different — public network charging carries a per-kWh premium that adds up over time.
80%
EV charging that happens at home
According to the U.S. Department of Energy, approximately 80% of EV charging takes place at home, making the home setup decision critical for most owners.
3–5 mph
Miles of range added per hour on Level 1
Level 1 (120V) charging typically delivers 3–5 miles of range per hour, sufficient for low-mileage drivers but slow for those who deplete their battery daily.
$500–$1,800
Typical home Level 2 installation cost range
The Electric Vehicle Association and multiple installer surveys place most residential Level 2 installs in the $500–$1,800 range, excluding panel upgrade costs.
30%
Federal tax credit on charging equipment and install
The Alternative Fuel Vehicle Refueling Property Credit covers 30% of equipment and installation costs, up to $1,000, for qualifying homeowners through 2032.
Carport Charging: The Overlooked Middle Ground
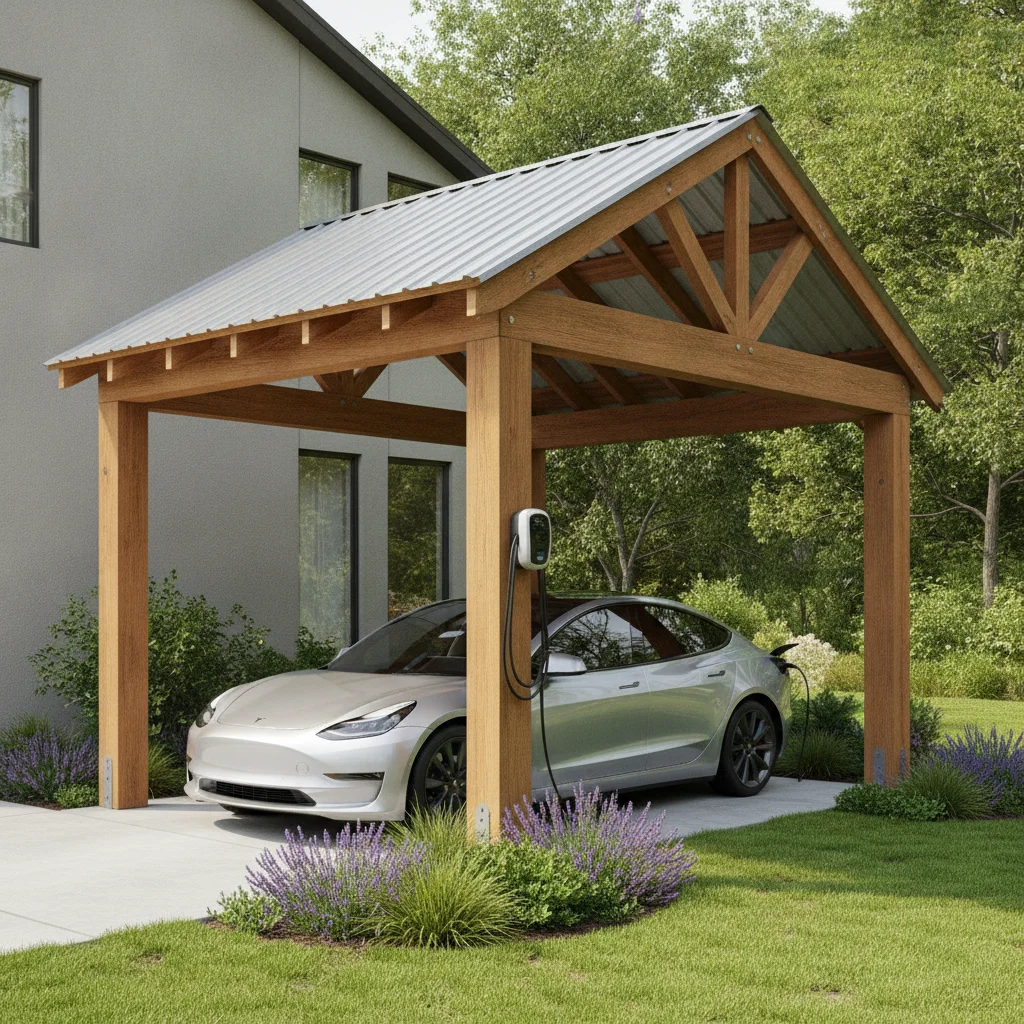
Carports get less attention in EV charging discussions, but they're actually a reasonable setup if you approach them correctly. You have an overhead structure that keeps rain and direct sun off the car and charger, you often have posts or beams to mount hardware on, and you may have an existing electrical connection if there's lighting in the carport. What you don't have is the enclosed, semi-conditioned environment of a garage or the simplicity of running a single outdoor circuit to a wall.
Level 1 in a Carport
If your carport already has a 120V outlet for lighting or tools, you may be able to plug a Level 1 EVSE directly in — check that the outlet is GFCI-protected (required for outdoor use) and that the circuit isn't overloaded. If not, adding a dedicated outdoor GFCI outlet to a carport structure is usually a modest electrical job.
Level 2 in a Carport
A carport Level 2 install is similar to a driveway install in most respects — outdoor-rated equipment, weatherproof conduit, GFCI protection — but with the added option of mounting the EVSE to a carport post or beam rather than a house wall. That can actually reduce cable run length and create a cleaner installation. Key considerations:
- Structural integrity: Make sure the post or column you're mounting to can support the EVSE and the mechanical stress of plugging and unplugging daily. Wood posts generally work fine; thin metal columns may need a backing plate.
- Distance from panel: If your carport is detached or set back from the house, the conduit run from your panel can add meaningful cost. Get a quote that itemizes wire length before committing.
- Overhead clearance: Carports typically have lower clearance than garages. This rarely matters for the charger placement but is worth confirming if you're planning any overhead conduit routing.
For guidance on the weatherproofing standards and placement logic that apply to both carports and driveways, indoor vs. outdoor charger placement covers the relevant code requirements in detail.
Run Conduit Even If You Start with Level 1
If your electrician is already doing work near your panel, ask them to run conduit to your parking location even if you're only installing a 120V outlet now. The marginal cost is small, and when you're ready to upgrade to Level 2 later, pulling wire through existing conduit is far cheaper than a full new installation. This future-proofing move can save you $400–$800 down the road.
Mount at Car Door Height, Not Bumper Height
Wherever your parking situation allows, mount your EVSE at approximately waist to chest height — roughly 4 to 5 feet off the ground. This makes plugging and unplugging comfortable, keeps the cable out of ground-level dirt and water, and reduces wear on the connector. Too low is the most common installer mistake when owners don't specify a preference upfront.
Level 1 vs. Level 2: Matching the Charging Rate to Your Actual Driving
The parking location shapes your installation options, but your driving habits determine which charging level you actually need. Here's a straightforward way to think about it:
When Level 1 Is Genuinely Enough
- You drive fewer than 30–35 miles on most days
- You have 8–10 hours overnight to charge
- You don't regularly deplete your battery to near zero
- You have access to Level 2 at work or frequently visited locations for top-ups
For these drivers, spending $500–$1,500 on a Level 2 installation is hard to justify purely on convenience grounds. The 120V outlet in the garage gets the job done.
When Level 2 Makes Sense
- You drive 40+ miles daily on a regular basis
- You have a longer-range EV (60+ kWh battery) and want flexibility to charge quickly if needed
- You have two EVs in the household — Level 1 won't keep two cars charged overnight reliably
- Your EV supports bidirectional charging (V2H or V2G) — these systems require Level 2 hardware
New EV owners often underestimate how quickly their driving patterns adapt once they have an EV — erring toward Level 2 upfront avoids a second installation later.
Two-EV Households
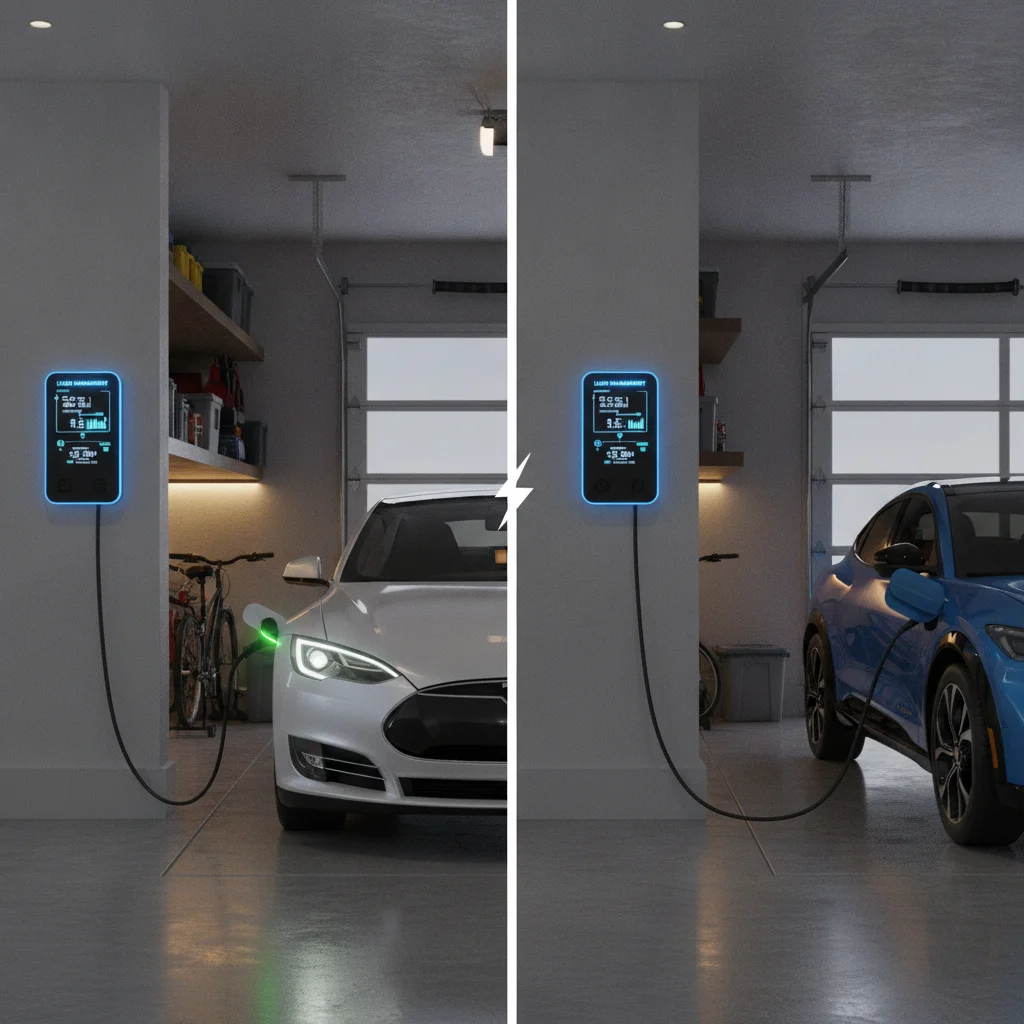
If you're planning for multiple EVs — now or in the future — the calculus changes significantly. Two cars on Level 1 is rarely workable. You'll almost certainly want Level 2 capacity, and potentially a load-management setup that lets one circuit serve both vehicles intelligently. Shared home charging setups introduce scheduling and power-sharing considerations that are worth planning for before you install anything.
Cost Realities: What You Should Budget for Each Scenario
Installation costs vary enormously based on your panel location, local labor rates, permit fees, and how much conduit run is involved. That said, here are realistic ballpark ranges for each parking scenario:
- Attached garage, panel nearby, Level 2 hardwired:
- $400–$1,200 total (equipment + installation). The most common and cost-effective scenario.
- Attached garage, panel nearby, Level 2 outlet (NEMA 14-50):
- $300–$800 for outlet installation, then $200–$800 for a plug-in EVSE.
- Attached garage, panel upgrade required:
- Add $1,500–$3,500 for a panel upgrade on top of the circuit and EVSE costs.
- Detached garage:
- Add $500–$2,000 for underground or overhead conduit run, depending on distance.
- Driveway, outdoor Level 2 install:
- $600–$1,800 total depending on run length and whether an exterior wall circuit already exists.
- Carport, outdoor Level 2 install:
- $500–$1,600 total — often slightly less than a driveway install if the carport is attached to the house.
Federal tax incentives (30% of equipment and installation costs, up to $1,000, via the Alternative Fuel Vehicle Refueling Property Credit) can offset these costs for qualifying homeowners. Some states and utilities stack additional rebates on top. Check your utility's website and your state energy office before paying full price for anything.
One cost factor that surprises many owners: the distance between your electrical panel and where you park. Wire run length is the hidden variable that turns a $600 install into a $1,500 one. Get itemized quotes from at least two licensed electricians before committing.
Run Conduit Even If You Start with Level 1
If your electrician is already doing work near your panel, ask them to run conduit to your parking location even if you're only installing a 120V outlet now. The marginal cost is small, and when you're ready to upgrade to Level 2 later, pulling wire through existing conduit is far cheaper than a full new installation. This future-proofing move can save you $400–$800 down the road.
Mount at Car Door Height, Not Bumper Height
Wherever your parking situation allows, mount your EVSE at approximately waist to chest height — roughly 4 to 5 feet off the ground. This makes plugging and unplugging comfortable, keeps the cable out of ground-level dirt and water, and reduces wear on the connector. Too low is the most common installer mistake when owners don't specify a preference upfront.
Practical Checklist Before You Buy a Charger or Call an Electrician
Regardless of which parking scenario applies to you, run through this checklist before spending any money:
- Identify your panel location and capacity. Find your electrical panel, note its amperage (100A, 150A, 200A), and count available breaker slots. A full panel or undersized service means additional costs.
- Measure the distance from panel to parking spot. Walk the actual wire path — not the straight-line distance. Go around doorframes, along walls, through ceilings. Long runs add cost and may require a larger wire gauge.
- Check local permit requirements. Most jurisdictions require a permit for a new 240V circuit. Your electrician should handle this, but verify they're doing so.
- Review HOA rules if applicable. Some HOAs restrict exterior conduit, charger mounting on shared structures (carport columns), or even the appearance of charging equipment. Know the rules before you install.
- Confirm your equipment's outdoor rating. If any part of the charger or outlet will be exposed to weather, it must be rated for that environment (NEMA 3R minimum, NEMA 4 preferred).
- Get three quotes from licensed electricians. Pricing varies widely. Make sure each quote includes permit fees, all materials, and labor. Ask specifically about any panel upgrade costs.
- Check utility rebates and federal tax credits. The 30% federal credit on equipment and installation (up to $1,000) is real money. Many utilities offer $200–$500 additional rebates. Don't leave it on the table.
For a comprehensive walkthrough of the full home charging setup process from the electrical side, the complete home EV charging setup guide covers panel requirements, permits, and installer selection in detail.
Don't Run Extension Cords to Your Car
Using a standard household extension cord to extend your Level 1 EVSE to a driveway or carport is a fire hazard and explicitly prohibited by every EVSE manufacturer. Extension cords are not rated for the sustained current draw of EV charging. If your outlet isn't close enough, the solution is a proper outdoor outlet installation — not a longer cord.
Unpermitted Electrical Work Can Hurt a Home Sale
Some homeowners try to save money by having an electrician skip the permit on a new 240V circuit. This can create real problems when you sell the home — a buyer's inspector may flag unpermitted electrical work, lenders may balk, and you could be required to bring it up to code at your expense before closing. Always permit electrical additions, even when the installer offers to skip it.

All claims are backed by peer-reviewed research. Sources on request.