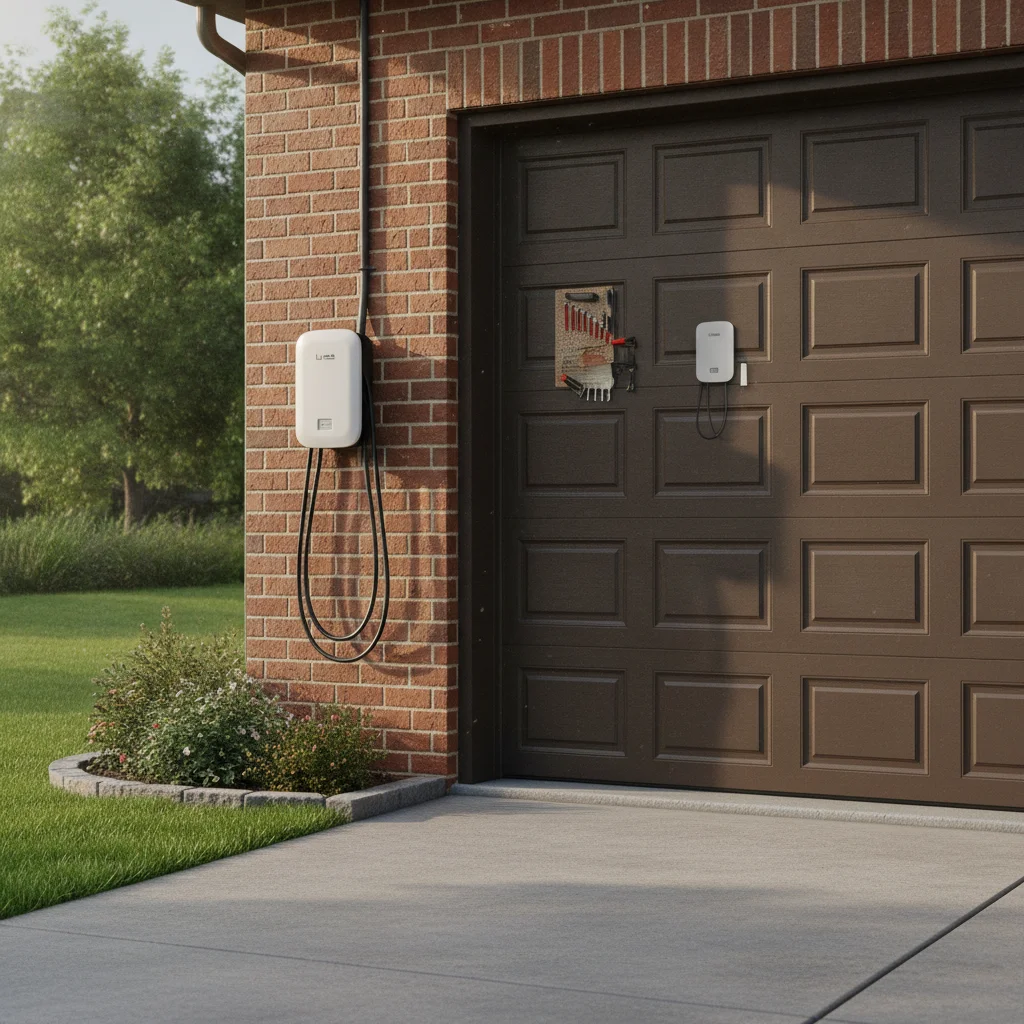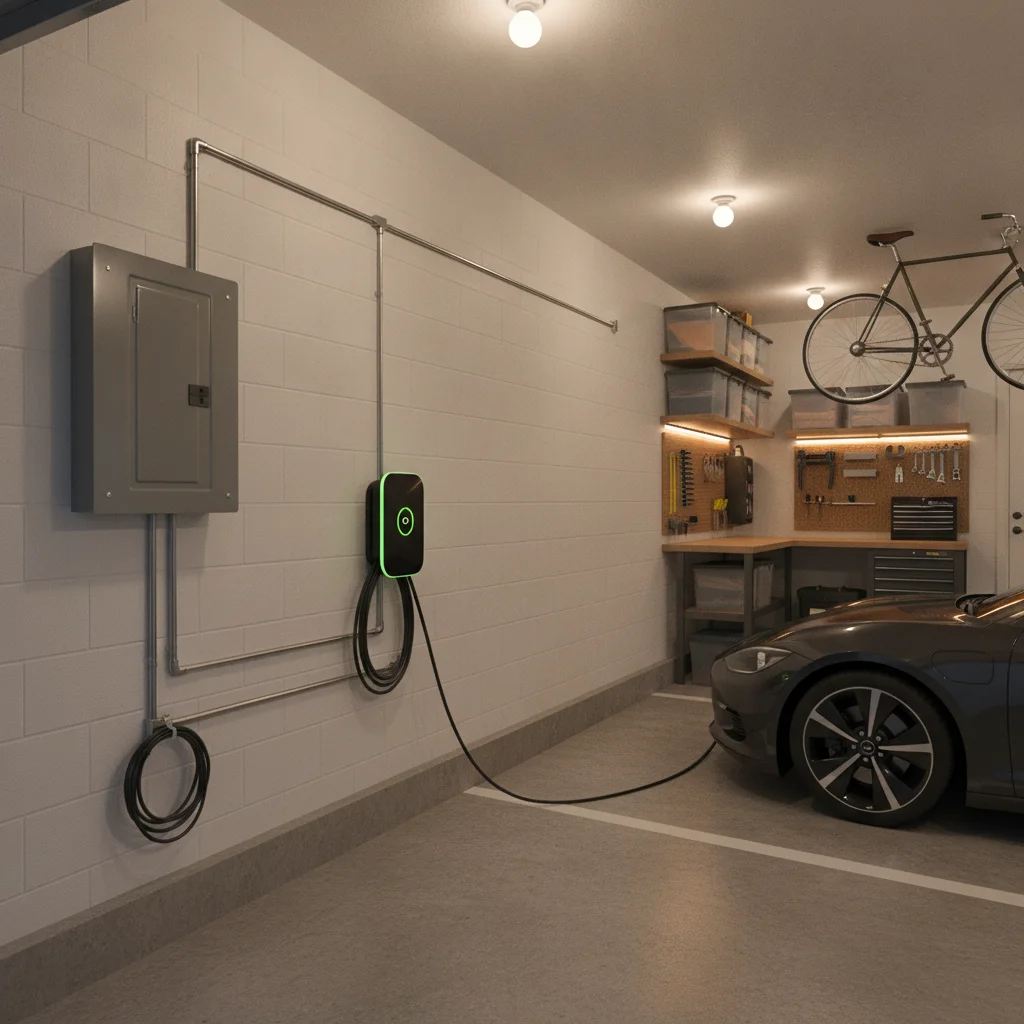
Key Takeaways
Wiring Run Length
Wiring run length refers to the total distance electrical wire must travel from your home's main electrical panel to the location where your EV charger will be mounted. This distance — measured in linear feet of conduit or cable — directly affects both material costs and voltage drop. The longer the run, the more wire, conduit, and labor hours your electrician will need, which adds up quickly.
For runs longer than roughly 50 feet on a 240V, 50-amp circuit, electricians often upsize wire gauge (e.g., from 6 AWG to 4 AWG) to compensate for voltage drop, adding further material cost.
Why the Panel-to-Charger Distance Is Your Biggest Cost Variable
When most EV owners start planning a home charger installation, they focus on the charger unit itself — brand, amperage, smart features. That's understandable, but it's also where a lot of people get surprised by the final invoice. The charger hardware is often the smallest piece of the total cost. What drives the number up — sometimes dramatically — is how far the electricity has to travel to get from your panel to your parking spot.
Think of it this way: your electrician isn't just installing a box on a wall. They're building a dedicated electrical circuit from scratch. That means running wire from your main panel, enclosing it in conduit along the entire path, adding a breaker, and making the connection safe and code-compliant at both ends. Every foot of that path costs money in materials and labor.
A straightforward installation — panel on the garage wall, charger mounted 15 feet away on the same wall — might run $300–$600 in total labor and materials (excluding the charger unit). Move the parking spot to a detached garage 60 feet across the yard, or to a driveway that requires an underground trench, and that same job can run $1,500–$3,000 or more. Same charger. Dramatically different installation.
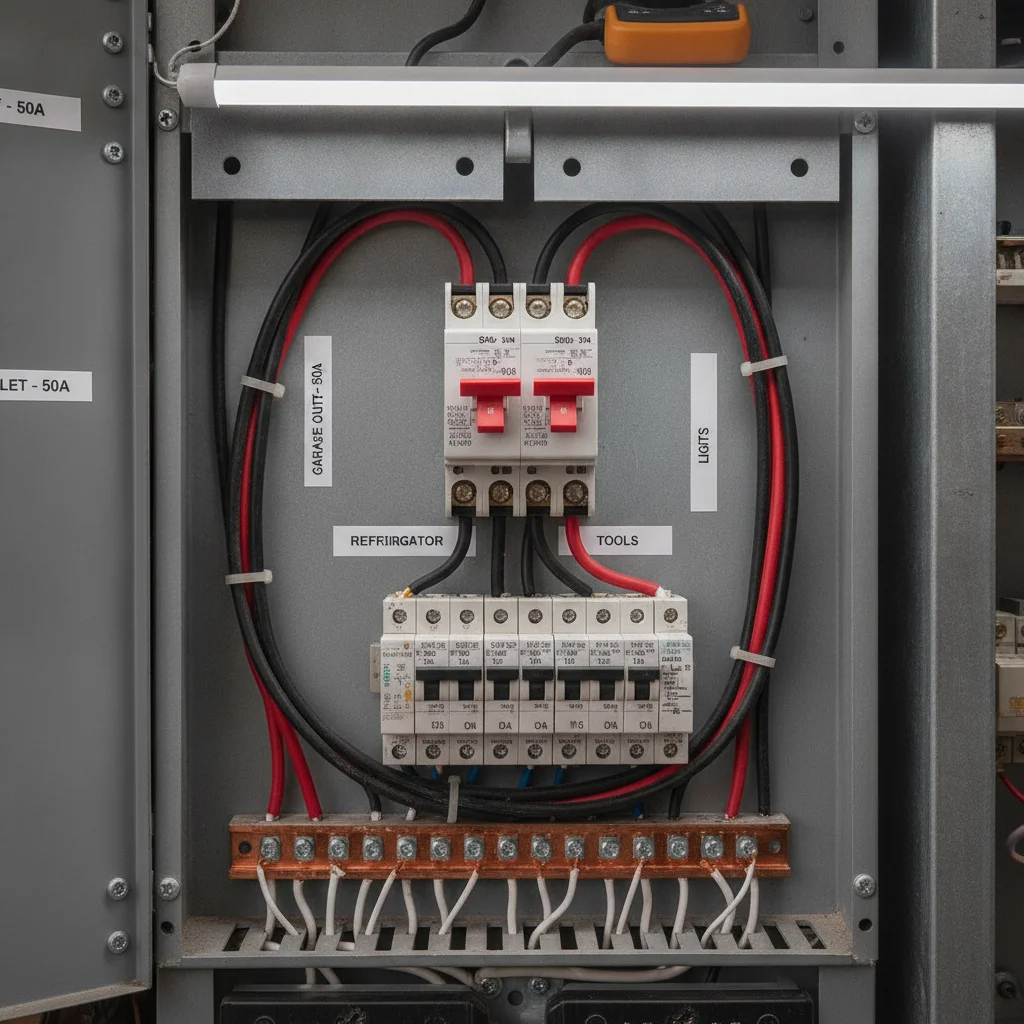
Understanding the variables involved — conduit type, wire gauge, run length, and routing complexity — gives you real leverage when getting quotes and deciding where to mount your charger.
How Conduit Type Affects Cost and Complexity
Conduit is the protective tubing that houses your electrical wire. It's not optional — the National Electrical Code (NEC) and most local jurisdictions require it for most EV charger installations, particularly anywhere the wire is exposed. But not all conduit is created equal, and the type your electrician uses depends heavily on where the run goes.
EMT (Electrical Metallic Tubing)
EMT is the most common conduit choice for indoor garage runs. It's rigid, relatively affordable, and easy to bend and route along walls and ceilings. For a clean garage installation with a nearby panel, EMT is usually the right call. It bends smoothly, connects with standard fittings, and keeps the job tidy. Expect EMT to add roughly $1.50–$3.00 per linear foot in materials alone, before labor.
PVC Conduit
Schedule 40 or Schedule 80 PVC is the standard choice for underground runs. It's moisture-resistant, doesn't corrode, and is code-approved for direct burial when installed at the right depth (typically 18 inches minimum with Schedule 80, 24 inches with Schedule 40, though local codes vary). PVC is generally cheaper per foot than EMT, but underground runs require trenching — and that's where the cost jumps. Trenching by hand or machine adds significant labor, and restoring concrete, pavers, or landscaping afterward can cost as much as the electrical work itself.
Liquid-Tight Flexible Conduit
Used for the final connection to the charger unit, liquid-tight flexible conduit allows for slight movement and vibration tolerance without cracking. It's rated for outdoor and damp locations. Your electrician will typically use a short section — 12 to 24 inches — right at the charger. It costs more per foot than rigid conduit but is used in small quantities.
Permits Are Required in Most Jurisdictions
Installing a dedicated 240V circuit for an EV charger almost always requires an electrical permit and inspection in the United States. Permit fees typically run $50–$150 but vary significantly by municipality. Unpermitted work can create problems when selling your home or filing an insurance claim. Always confirm your installer will pull the permit — don't accept quotes that skip this step.
Aluminum Wire: Lower Cost, Higher Risk
Some electricians quote aluminum wire instead of copper to reduce material costs, particularly on longer runs. Aluminum is code-compliant in many applications, but requires special connectors and more careful installation to avoid connection failures over time. For EV charger circuits, most residential electricians and charger manufacturers recommend copper wire. If a quote seems unusually low, ask what wire material is being used.
The routing path matters as much as the distance. A run that travels through finished walls, across a ceiling, or around obstacles takes more time to install than a clean, open-wall run of the same distance. When getting quotes, ask your electrician to describe the routing path, not just the footage.
Wire Gauge: Why Longer Runs Cost More Than You'd Expect
The wire itself is where unanticipated cost hides. Most Level 2 chargers are installed on a 240V, 50-amp dedicated circuit. For that circuit, the NEC minimum is 6 AWG copper wire (or 4 AWG aluminum, though copper is strongly preferred for residential work). At typical run lengths under 50 feet, 6 AWG is fine.
Beyond 50 feet, voltage drop becomes a practical concern. As electricity travels through a wire, resistance causes a small but measurable voltage reduction. On a long run, that drop can be significant enough to reduce charging speed — and in some cases trip the charger's internal protection. The standard fix is to upsize the wire gauge. For runs of 75–100 feet, electricians commonly move to 4 AWG copper. Runs over 100 feet may warrant 3 AWG or even 2 AWG in some situations.
$300–$600
Typical cost for short-run garage installation
Industry estimates for a straightforward Level 2 charger installation with a run under 30 feet in an attached garage, excluding the charger unit.
$1,500–$3,500
Cost range for detached garage or underground run
Installation estimates for longer outdoor or underground conduit runs of 50–150+ feet, including trenching and materials.
6 AWG
Minimum copper wire gauge for 50-amp circuit
Required by the National Electrical Code for 50-amp, 240V circuits up to approximately 50 feet; longer runs typically require 4 AWG or larger.
$30–$100+
Added cost per 10 additional feet of wiring run
Approximate incremental cost of wire, conduit, and labor per additional 10 feet of run length, varying by conduit type and local labor rates.
Here's where the cost impact gets real: copper wire pricing scales non-linearly with gauge. A 50-foot run of 6 AWG copper might cost $40–$60 in wire alone. A 100-foot run of 4 AWG copper can run $120–$180. Add conduit, fittings, a 50-amp breaker, and labor, and a long run can easily add $400–$800 to a job compared to a short one — for the same charger doing the same job.
This is also why some installers recommend sizing the breaker at 60 amps for future-proofing, which pushes wire requirements up to 4 AWG minimum from the start, regardless of run length. Whether that's worth doing depends on your charging needs and how long you plan to stay in the home. See our guide to hardwired vs plug-in Level 2 chargers for more on how installation choices affect long-term flexibility.
The Real-World Routing Scenarios That Drive Up Costs
It's worth mapping out the most common installation scenarios, because the difference in cost between them is dramatic — and knowing which bucket you're in helps you budget accurately.
Scenario 1: Attached Garage, Panel on Same Wall (Under 30 Feet)
This is the ideal case. Panel and charger are on the same wall or adjacent walls in the same room. The electrician runs EMT conduit along the wall surface, adds a breaker, makes the connections. Total run is short, no obstacles, no outdoor exposure. Installation labor typically runs 2–4 hours. This is where the $400–$800 all-in installation quotes (including charger) come from.
Scenario 2: Attached Garage, Panel on Opposite Side or Different Floor (30–80 Feet)
Now the electrician needs to route conduit through or around a finished wall, across the garage ceiling, or down from the house to the garage level. Obstacles, drilling through fire-rated walls, and longer wire runs push the job into the $800–$1,500 range for labor and materials, depending on local rates.
Scenario 3: Detached Garage or Exterior Driveway (50–150+ Feet, Outdoor or Underground)
This is where costs become genuinely significant. A detached garage requires a subpanel or a dedicated circuit run underground from the main panel. Trenching across a yard — even a modest one — takes time and equipment. If the run crosses a driveway or patio, cutting and patching concrete adds hundreds more. Budget $1,500–$3,500 for this scenario, and get multiple quotes because the range is wide.
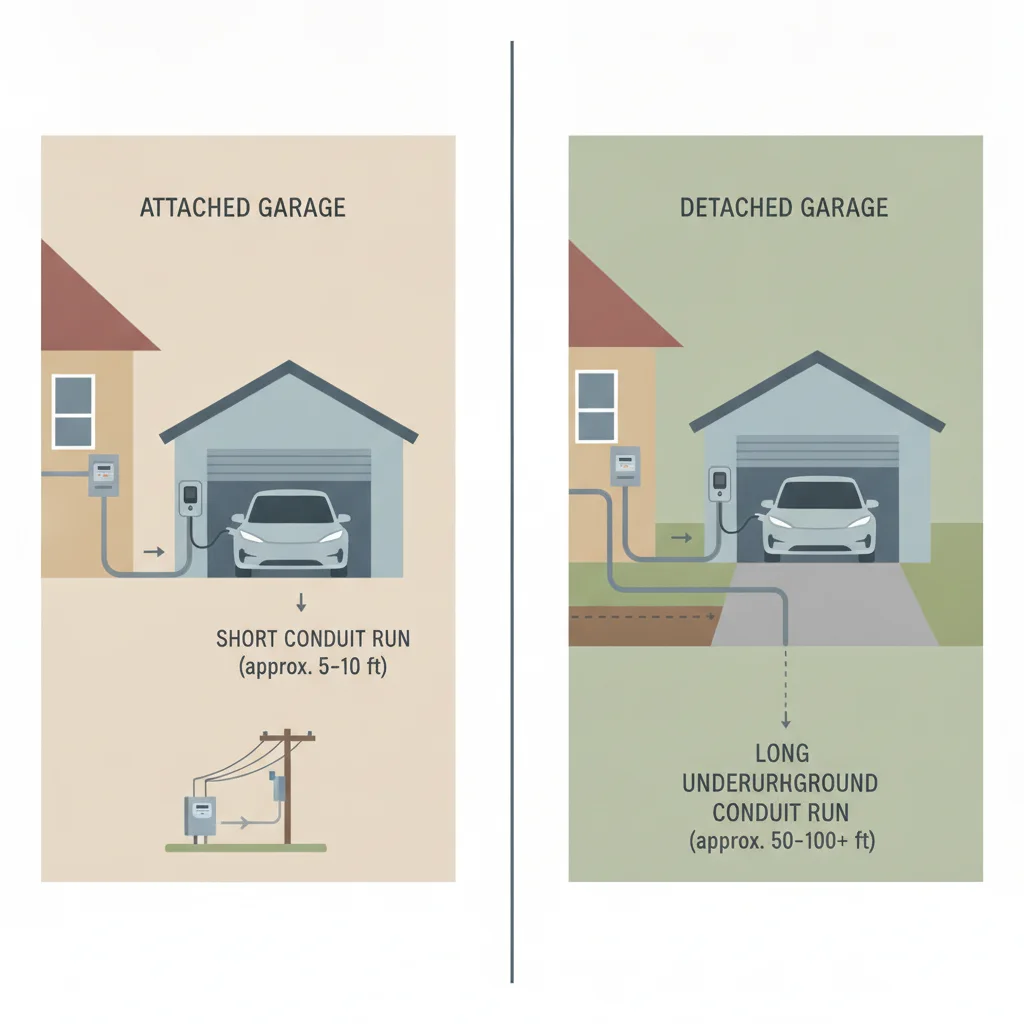
Your parking situation is a major factor here — something we cover in depth in our guide to garage, driveway, and carport charging setups. Where you park shapes every downstream decision about conduit, wire length, and mounting location.
Ask for a Rough Quote Before Committing to a Location
Before deciding where to mount your charger, describe two or three possible locations to an electrician and ask for a rough cost comparison. The difference between a 20-foot run and a 60-foot run is often hundreds of dollars. Getting that information early lets you make a placement decision with full cost visibility rather than after the fact.
Consider Future-Proofing Your Conduit Run
If you're running conduit anyway, ask your electrician to install a slightly larger conduit than currently needed — for example, 1-inch EMT instead of 3/4-inch. This leaves room to pull additional or larger wire in the future without opening walls or rerouting conduit. The incremental material cost is small; the future flexibility is significant.
Charger Cable Reach: The Last Few Feet Matter Too
Even after the wiring run is sorted, you still need to think about the cable that runs from your charger unit to your car's charge port. Most Level 2 EVSE units come with a 20–25 foot cable, which sounds generous until you consider how you park.
If you pull into a garage nose-first and your charge port is at the rear of the vehicle, that 25-foot cable needs to reach from the wall-mounted charger — typically near the front or side of the garage — all the way to the back of the car. In a tight garage, cable routing can become awkward. Some owners find a 20-foot cable just barely reaches; others find it doesn't reach at all without routing it across the car's path.
The charger mounting height and position relative to your parking spot matters here. Mounting the charger higher on the wall (at 48–54 inches) gives cable clearance over a car hood; mounting it lower creates routing problems. Positioning it toward the rear of the parking space reduces the cable run to the charge port. These decisions interact with where your conduit run ends — which loops back to installation planning.
For outdoor and exposed installations, charger placement relative to weather, cable UV exposure, and freeze-thaw cycling matters too. Our article on indoor vs. outdoor charger placement walks through what safety standards and climate conditions mean for your setup.
“The number one mistake homeowners make is assuming the charger price is the installation price. The wire run is often where the real cost is, and that's determined entirely by your home's layout — not by which charger you pick.”
— Brett Rinaldi, Licensed electrical contractor specializing in residential EV charging installations
How to Use This Information Before Calling an Electrician
Understanding these variables means you can walk into the quote process with better questions — and catch lowball estimates that don't account for the actual routing complexity.
Measure the Run Yourself First
Walk the likely conduit path from your panel to your preferred charger location and count the feet. Don't measure in a straight line — follow the actual path the conduit would need to take: down the panel wall, along the wall or ceiling, through any penetrations, and to the mounting point. Add 10–15% for offsets and bends. That number is your rough run length to discuss with installers.
Identify Routing Obstacles
Note anything the conduit will need to pass through or around: finished drywall, fire-rated walls (common between attached garages and living spaces), water heaters, HVAC equipment, or overhead storage. Each obstacle adds labor time. Finished walls that need to be opened and patched can add $200–$500 per penetration.
Get Itemized Quotes
Ask every electrician to break their quote into: breaker cost, wire cost (including gauge and footage), conduit cost (type and footage), labor hours, permit fees, and any patching or restoration. An itemized quote lets you compare apples to apples and spot where one installer is cutting corners.
Before your electrician arrives, work through our home EV charging pre-installation checklist to verify panel capacity, outlet access, permits needed, and charger compatibility — it'll save time and prevent surprises on installation day.
If cost is a serious concern, it's worth asking your electrician whether a different charger mounting location — even a less convenient one — would meaningfully reduce the run length and save money. Sometimes shifting the charger 10 feet along a wall cuts a complex routing problem in half.

All claims are backed by peer-reviewed research. Sources on request.
Related articles
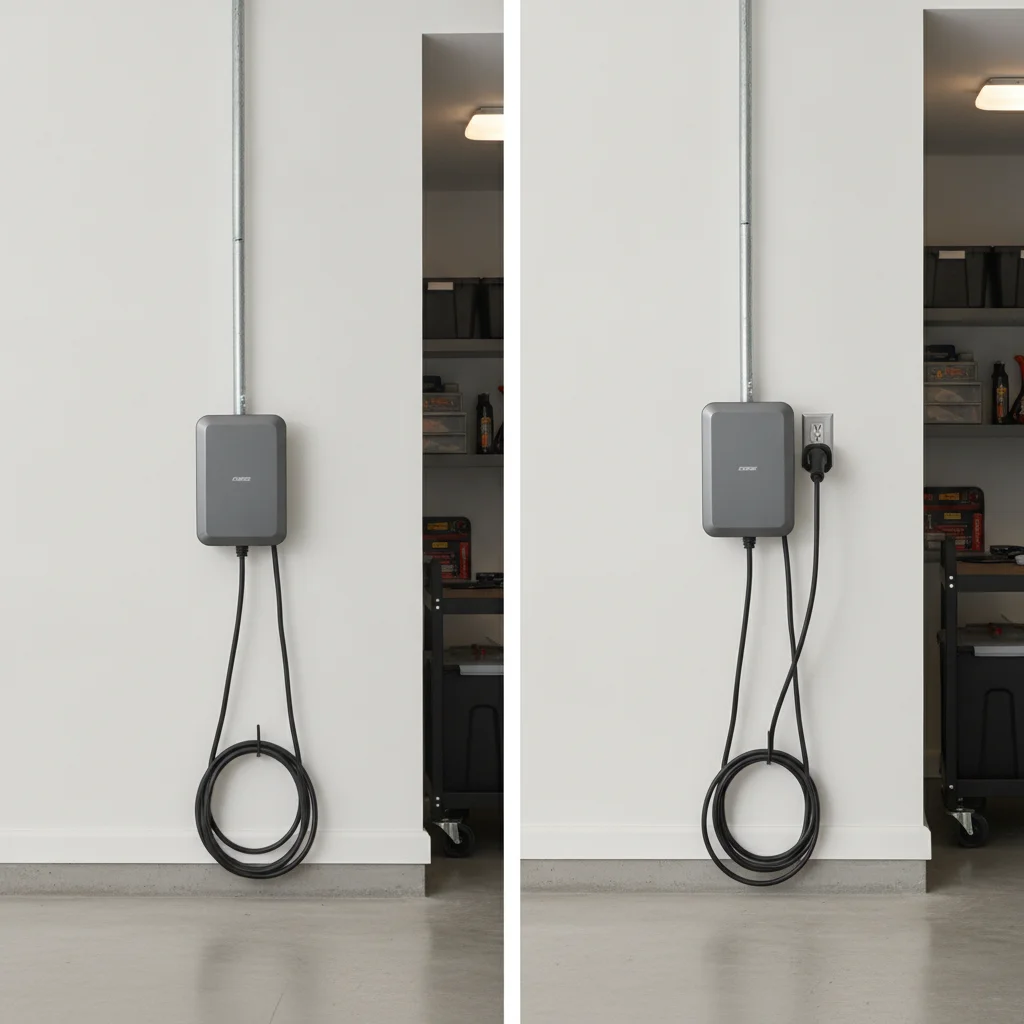
Hardwired vs Plug-In Level 2 Chargers: Which Installation Type Should You Choose?
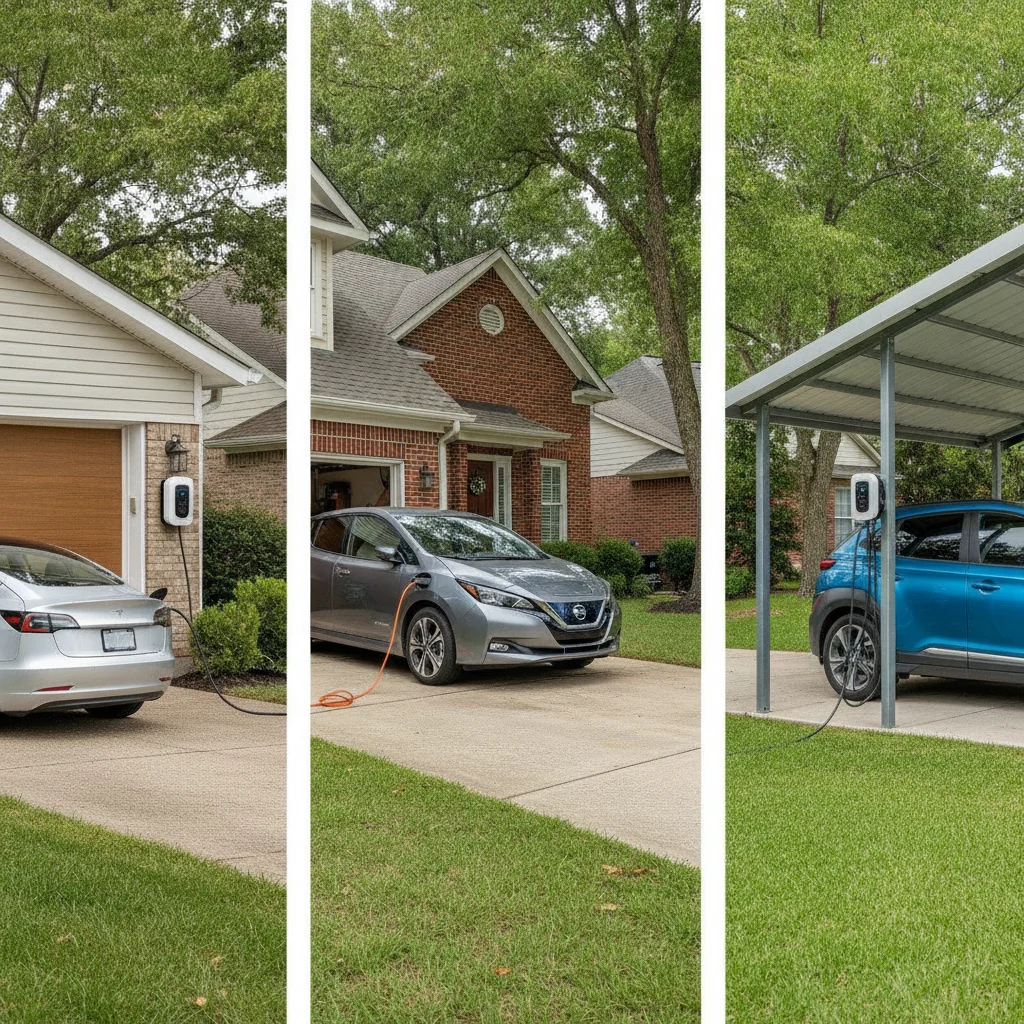
Garage, Driveway, or Carport: How Your Parking Situation Shapes Your Charging Setup