Key Takeaways
Why Charger Spec Sheets Look More Intimidating Than They Are
Pull up any home EV charger listing on Amazon, Home Depot, or a manufacturer's website and you'll find a spec table packed with numbers: 32A / 240V / 7.7kW, connector type J1772, NEMA 14-50 plug, power factor correction, and maybe a UL listing certification. For someone who just bought their first EV, it reads like an electrician's exam.
Here's the good news: fewer than half those numbers will actually influence your buying decision or installation. The rest are either redundant (you can calculate them from the others) or irrelevant to home use (they matter for commercial and fleet applications). This guide walks you through each major spec in the order of practical importance — not the order manufacturers happen to list them.
Before diving in, it helps to understand two things upfront. First, there are two home charging levels and they are fundamentally different beasts. Second, your car's own hardware puts a ceiling on how fast any charger can work. Both of those points shape everything else. For the broader physics behind all of this, the Charging Speed Ratings Demystified guide is worth a read before or after this article.
The Specs That Actually Matter — and What Each One Tells You
Let's break down the spec sheet row by row, in order of the decisions they drive.
Power Output (kW)
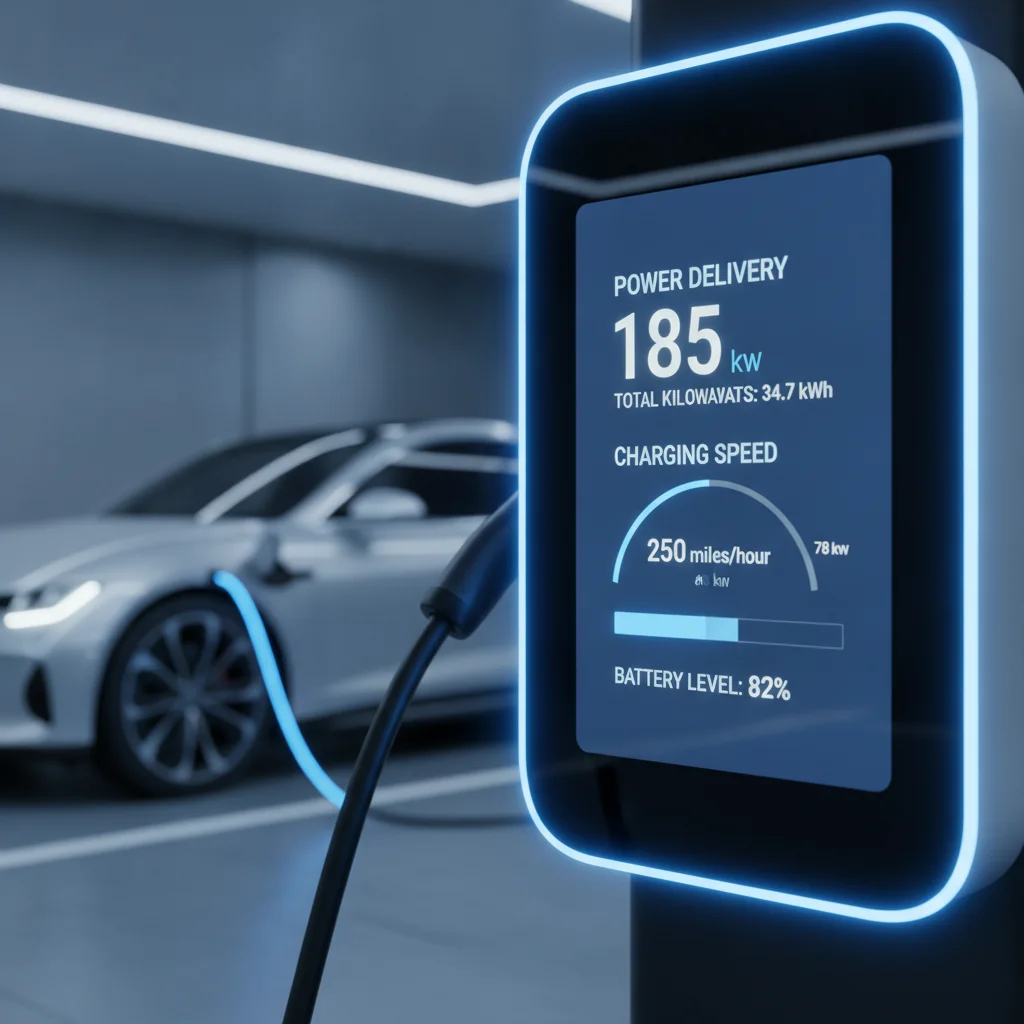
This is the number that determines real-world charging speed. Kilowatts (kW) are units of power — how quickly energy flows from the wall into your car. A 7.2 kW charger delivers roughly twice the power of a 3.6 kW unit, so in a fixed amount of time it adds about twice the range. For most EVs with a 60–80 kWh battery pack, a 7.2 kW Level 2 charger will take the car from near-empty to full in about 10–11 hours overnight. A 11.5 kW unit shrinks that to roughly 7 hours.
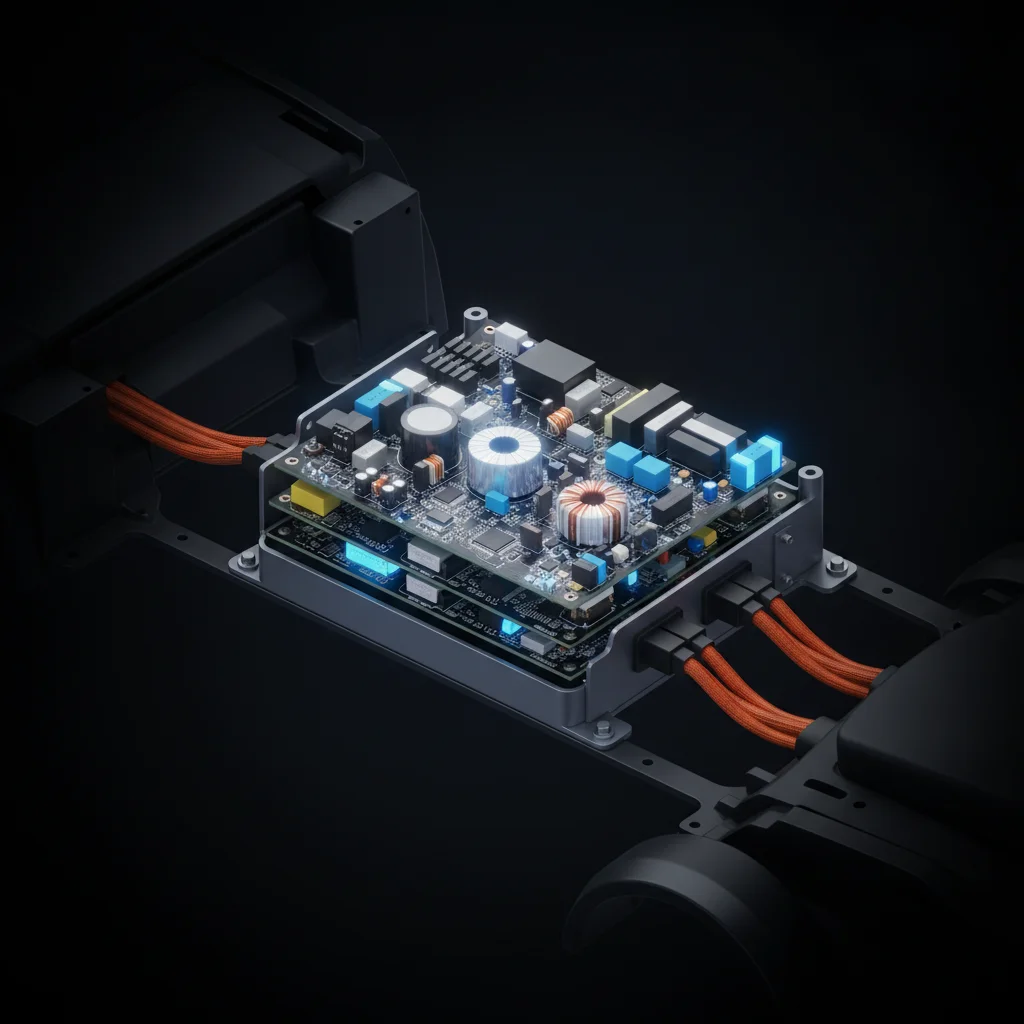
The key caveat: your car has an onboard charger — essentially an AC-to-DC converter built into the vehicle — and its rated capacity is an absolute ceiling. If your car's onboard charger is rated for 7.2 kW, plugging into an 11.5 kW Level 2 EVSE (Electric Vehicle Supply Equipment) won't give you extra speed. The car will simply draw what it can handle and ignore the rest. How an onboard charger works and why its kilowatt rating matters explains this ceiling effect in detail — it's one of the most common surprises for new EV owners investing in a premium charger.
Voltage (V)
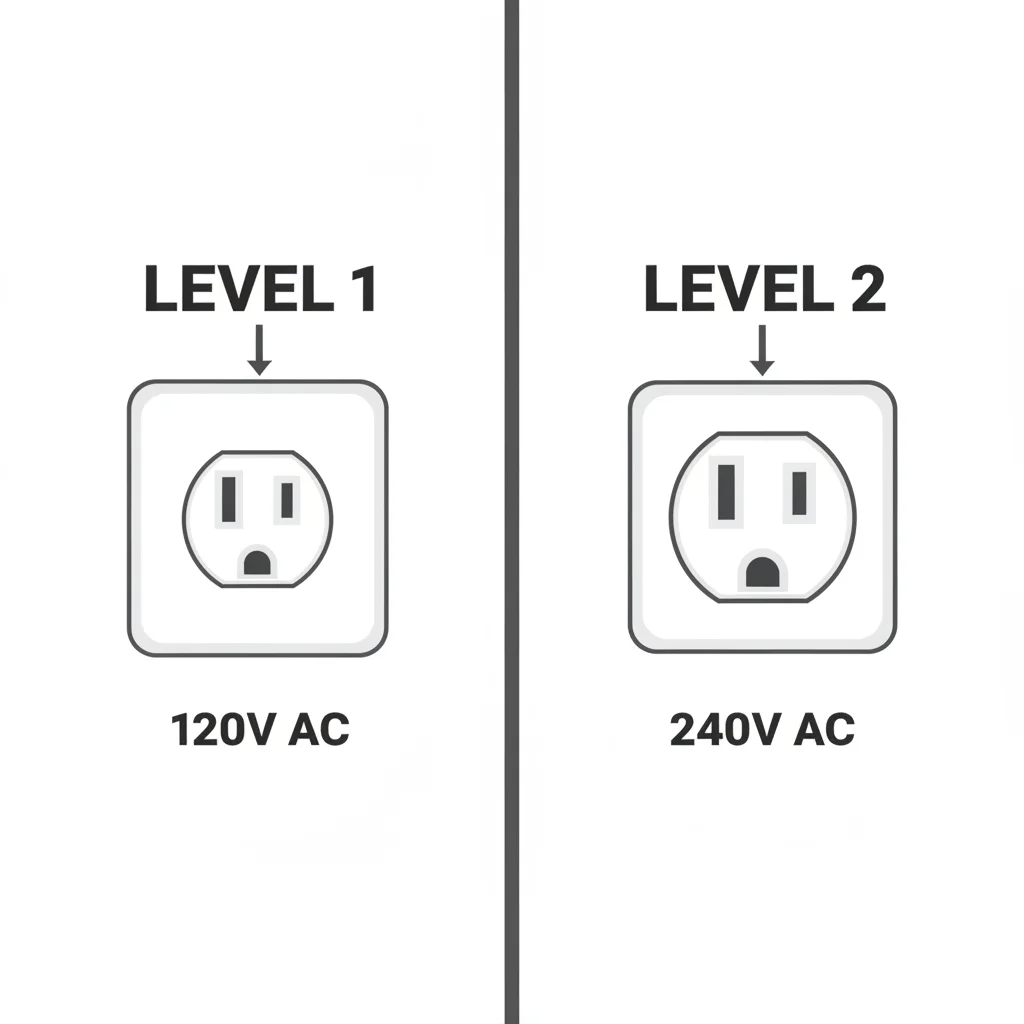
Voltage describes electrical pressure. In North American homes:
- 120V is a standard household outlet — what Level 1 charging uses.
- 240V is the higher-voltage circuit used by dryers, ranges, and Level 2 EVSEs.
If a charger spec says 120V, it's a Level 1 unit. Expect to add roughly 3–5 miles of range per hour of charging. That's fine for plug-in hybrids with small batteries or as an emergency backup, but it's inadequate for a full BEV as your primary charging method. Any spec showing 208V–240V is a Level 2 unit.
Amperage (A)
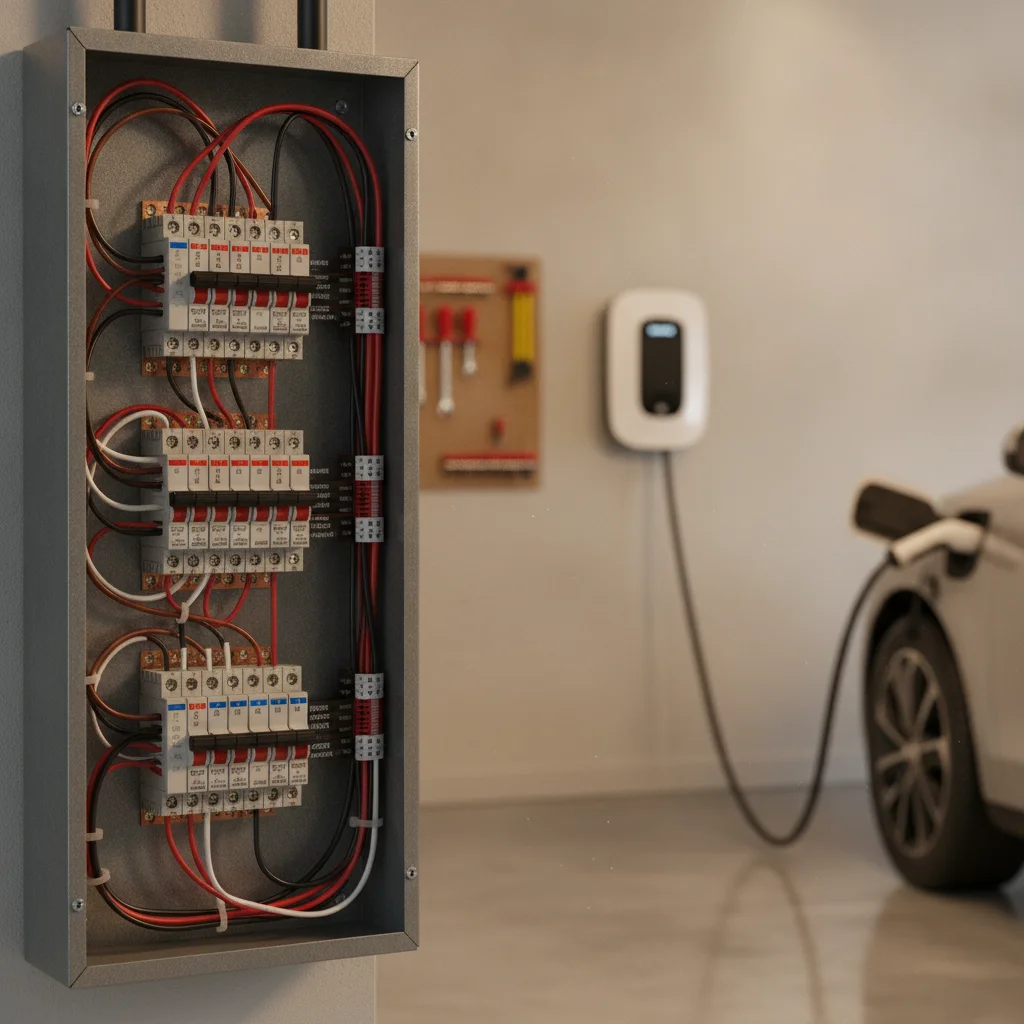
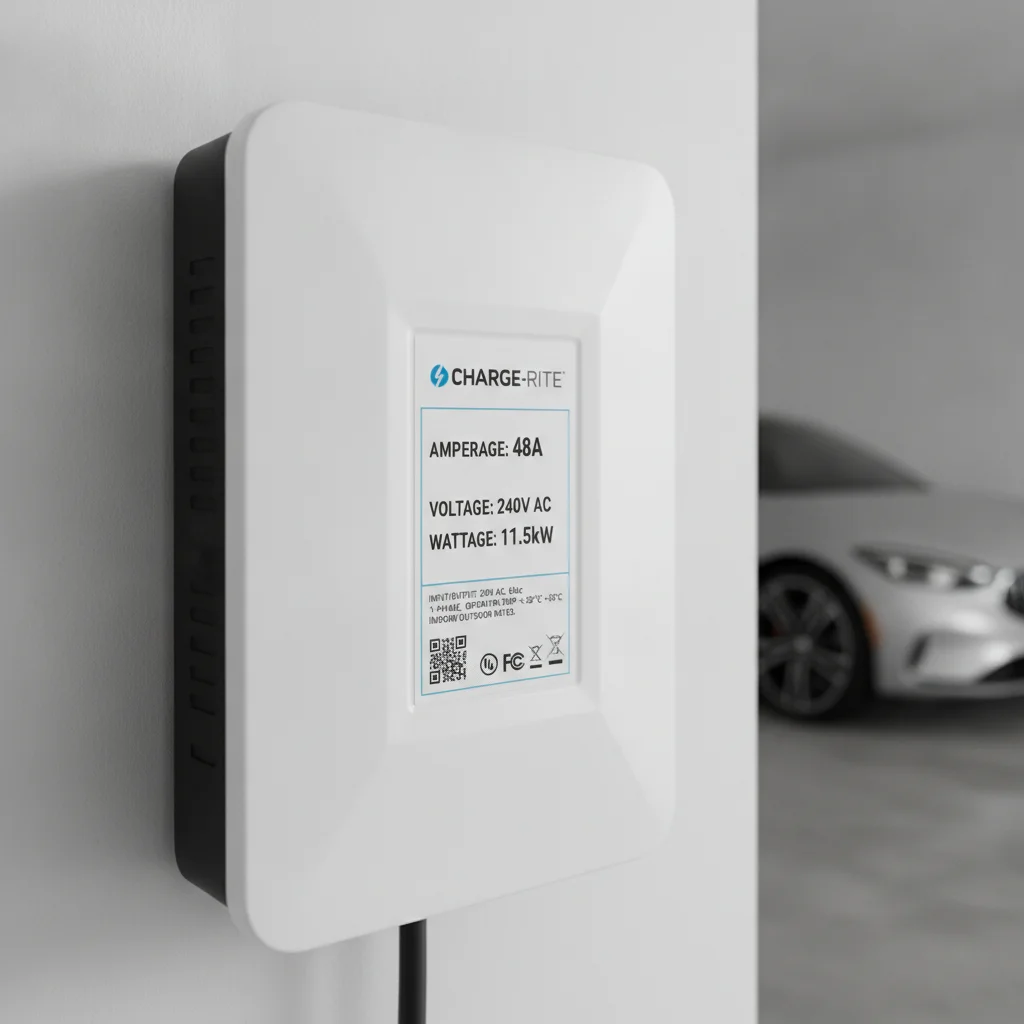
Amperage is the volume of current flowing through the circuit. Along with voltage, it's what determines the power output: kW = (Amps × Volts) ÷ 1,000. So a 32A / 240V charger delivers 7.68 kW. A 48A / 240V unit delivers 11.52 kW. This also tells you what your home circuit must support. The standard rule of thumb for continuous loads: your breaker must be rated at least 25% above the charger's draw. A 48A charger needs a 60A dedicated circuit; a 32A charger needs a 40A circuit.
This is where your home electrical panel becomes a real constraint. Your Home Electrical Panel and EV Charging: A Plain-English Explainer covers exactly how to assess whether your panel has the capacity — before you spend money on a high-amperage unit your home can't support. And if you're trying to decide between 32A, 40A, and 48A options, Choosing the Right Amperage for Your Home EV Charger walks through that tradeoff directly.
Connector Type
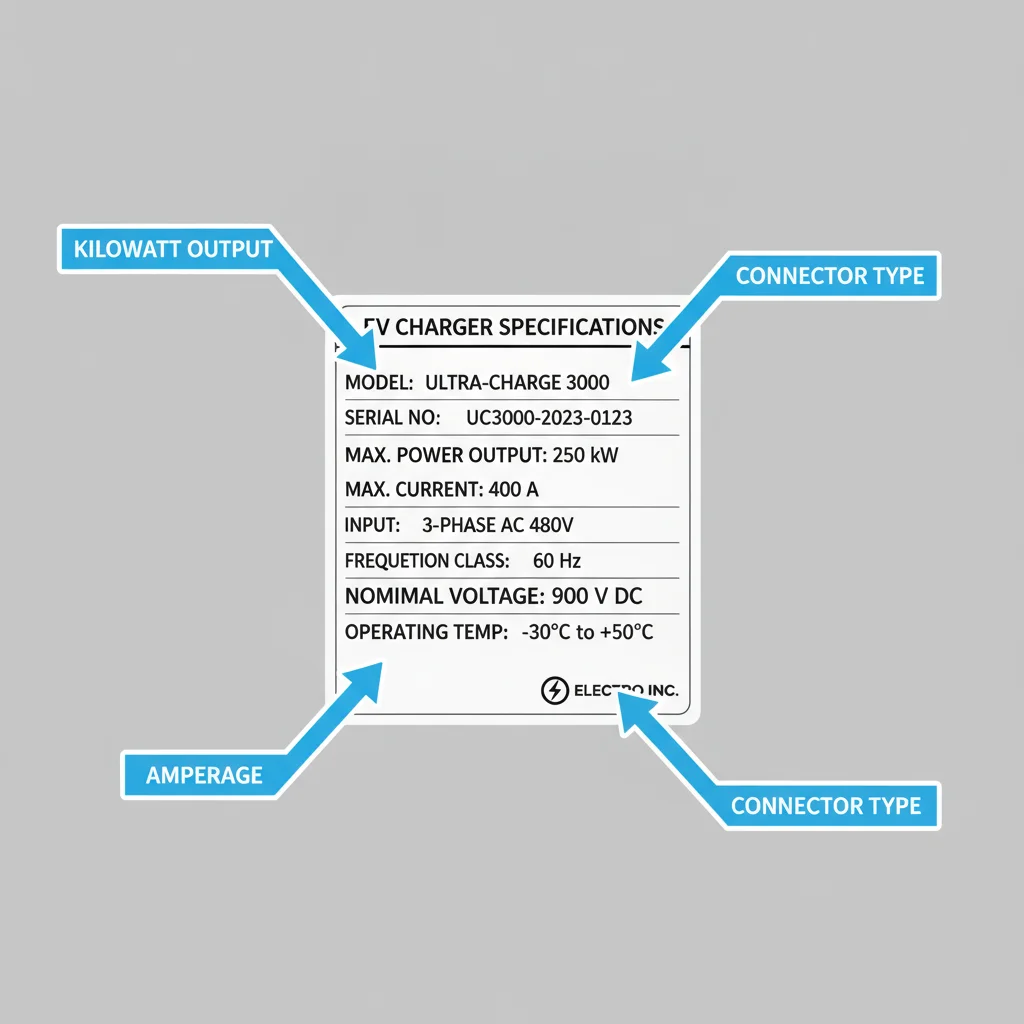
This is the physical plug shape that mates with your car's charging port. For Level 2 home charging in the U.S., there are three connectors that matter:
- SAE J1772 (J-plug): The longstanding North American standard. Compatible with virtually all non-Tesla EVs sold before 2023, including Chevy, Nissan, Ford, Hyundai, Kia, BMW, and others. Most home EVSEs use this plug.
- NACS (North American Charging Standard / Tesla connector): Originally Tesla-proprietary, now being adopted as an industry standard and built into new EVs from Ford, GM, Honda, and others. If your car has a NACS port, you can use a J1772-to-NACS adapter (many come with the vehicle) or buy a NACS-native EVSE.
- CHAdeMO: A DC fast-charging connector used primarily by older Nissan LEAFs and Mitsubishi vehicles. Not relevant for home Level 2 charging.
Double-check your car's owner manual or door jamb sticker to confirm which port it has before purchasing any charger.
Plug Type (NEMA Rating)
This is the outlet on the charger's power cord — the part that plugs into your wall or hardwired junction box. Common options:
- NEMA 14-50: The most common for home EVSEs — a 240V, 50A outlet that resembles an RV outlet. Requires a 50A circuit breaker.
- NEMA 6-50: A 240V, 50A outlet without a neutral wire. Less common but supported by some chargers.
- NEMA 6-20: A 240V, 20A outlet — lower power, rarely used for home EV charging.
- Hardwired: The charger connects directly to the electrical panel without a plug. Often required for high-amperage (48A+) units and typically requires a licensed electrician for installation.
If you rent your home or want flexibility to take the charger with you when you move, a plug-in unit (14-50 or 6-50) is more practical. If you own the home and want the cleanest installation with maximum power, hardwired is the better long-term choice.
Certifications (UL, ETL, Energy Star)
Look for a UL Listed or ETL Listed mark. These mean a third-party lab has tested the unit to national safety standards. Some jurisdictions require UL listing for permit approval. Energy Star certification on a charger is less meaningful than on an appliance — standby power draw on an EVSE is minimal anyway. But UL/ETL certification is non-negotiable from a safety standpoint. If you see a cheap unit on a marketplace with no third-party certification, skip it.
Operating Temperature Range
If you live in a region with cold winters, check the charger's minimum operating temperature. Most quality units are rated to –22°F (–30°C), which covers the vast majority of U.S. climates. Cheaper units may only be rated to 14°F (–10°C). If your garage is unheated and you live in Minnesota or Montana, this spec matters.
Step-by-Step: How to Read Any Charger Spec Sheet
With the background in place, here's the practical process for evaluating any home charger spec sheet against your specific situation. Follow these steps in order — each one narrows your decision before you move to the next.
What you will need
Vehicle owner's manual or manufacturer spec page
Confirms your car's onboard charger limit and accepted connector type.
Tape measure
Measure garage cable run from planned charger mount to car charge port location.
Home electrical panel label or load calculation
Confirms available amperage and open breaker slots for a new dedicated circuit.
Licensed electrician (for assessment or installation)
Required for any new 240V circuit installation and hardwired charger connections.
Charging time calculator (EV manufacturer app or third-party tool)
Helps estimate overnight charge time given your specific battery capacity and charger output.
Find Your Car's Onboard Charger Limit
Before evaluating any EVSE spec, look up your vehicle's maximum AC charging rate in the owner manual, the manufacturer's website, or the vehicle's window sticker. This is your hard ceiling. Common examples:
- Nissan LEAF (40 kWh): 6.6 kW onboard charger
- Chevy Bolt EV: 7.2 kW onboard charger
- Tesla Model 3 Long Range: 11.5 kW onboard charger
- Ford Mustang Mach-E: 10.5 kW onboard charger
- Hyundai Ioniq 5 (with optional upgrade): 10.9 kW onboard charger
Write this number down. Any charger rated above it delivers no additional charging speed — you'd just be overpaying for capacity you can't use.
Confirm the Power Output (kW) Matches Your Needs
Locate the power output in kilowatts on the spec sheet. Use this formula to estimate overnight charging performance:
Hours to full charge = Battery capacity (kWh) ÷ Charger output (kW)
Example: 75 kWh battery ÷ 7.2 kW charger = ~10.4 hours to full from empty. If you plug in at 11 PM and wake at 7 AM (8 hours), you'll recover roughly 57 kWh — enough to add about 190 miles on most EVs. If that's not enough for your daily pattern, you need a higher-output charger (and your car must support it).
Check Amperage Against Your Home's Electrical Panel
Find the amperage (A) on the spec sheet. Then apply the 125% continuous load rule to determine the minimum circuit breaker size:
Required breaker size = Charger amps × 1.25
- 32A charger → 40A dedicated circuit
- 40A charger → 50A dedicated circuit
- 48A charger → 60A dedicated circuit
Check your electrical panel to see if you have available breaker slots and sufficient remaining capacity to add that circuit. If your panel is near capacity or old, this is where you may need a licensed electrician's assessment before buying. See Your Home Electrical Panel and EV Charging for a full panel capacity walkthrough.
Verify the Connector Type Matches Your Car
Find the connector type listed on the spec sheet. Cross-reference it with your vehicle:
- Most non-Tesla EVs sold before 2023 use J1772 — the standard will work with your car.
- Tesla vehicles and newer EVs from Ford, GM, Rivian, and others use NACS. Confirm your car has a NACS port, or that you have a J1772-to-NACS adapter.
If the connector doesn't match and no adapter is available, the charger simply won't work with your car. This seems obvious but is one of the most common return-reason errors in online EVSE purchases.
Determine Plug Type or Hardwired Installation
Check whether the charger is plug-in (comes with a NEMA 14-50, NEMA 6-50, or other plug) or hardwired (connects directly to a junction box).
- If you rent, want portability, or are adding a charger to an existing NEMA 14-50 outlet (common in garages already wired for RV hookups or workshop equipment), a plug-in unit is simpler.
- If you're running a new dedicated circuit anyway, hardwiring often allows higher amperage and is the cleaner permanent installation.
Confirm the outlet type already exists in your garage or factor in the electrician cost to install the appropriate outlet.
Check Certifications, IP Rating, and Cable Length
Now handle the remaining specs as a checklist:
- UL Listed or ETL Listed: Required. Do not buy a charger without third-party certification.
- IP Rating: If mounting outdoors, confirm IP54 minimum; IP65 preferred in wet climates. For indoor garage mounting, IP rating is less critical.
- Cable length: Measure from your planned mount location to where your car's charge port will sit when parked. Add 2–3 feet of slack. Don't assume the listed length is sufficient without measuring.
- Operating temperature: If your garage regularly drops below 14°F (–10°C), verify the charger's rated minimum operating temperature.
If the charger passes all six steps without red flags, it's a sound match for your situation. If any step surfaced a mismatch, eliminate that unit and re-evaluate alternatives using the same process.
Common Spec Sheet Traps to Avoid
Even after working through the steps above, a few spec sheet conventions consistently trip up buyers.
Never Ignore Panel Capacity Before Buying
Buying a 48A charger and then discovering your panel can't support a 60A dedicated circuit is an expensive mistake. Panel upgrades can cost $1,500–$4,000 or more. Always assess your panel first — or have an electrician assess it — before committing to a high-amperage unit.
Adapter Compatibility Is Not Universal
Not every J1772-to-NACS or NACS-to-J1772 adapter works with every charger and vehicle combination. Always verify adapter compatibility with your specific vehicle model and charger brand before relying on one. Using an incompatible adapter at best stops charging; at worst it can damage the port.
"Maximum" vs. Continuous Power Output
Some manufacturers list a peak power figure that assumes ideal voltage conditions (240V exactly). In real home circuits, voltage commonly runs 208–240V depending on utility delivery. A charger rated at 7.7 kW at 240V will deliver about 6.6 kW at 208V. The difference matters if you're trying to hit a specific overnight charge window. Look for chargers that list their output at both 208V and 240V if that granularity matters to you.
Wi-Fi and Smart Features Are Not Efficiency Boosters
App connectivity, scheduling, and load management are genuinely useful features — scheduling overnight charging to hit off-peak utility rates, for example, can meaningfully reduce your charging costs. But these features don't increase the power output. A 32A smart charger charges at the same rate as a 32A dumb charger. Don't pay a $100 premium for smart features you won't use; equally, don't skip them if you have time-of-use electricity rates, because scheduling can pay for itself quickly. The EV Owner's Guide to Reading an Electricity Bill explains time-of-use rates and how they affect what you actually pay per charge.
Cable Length Often Isn't Standardized
Spec sheets list cable length, but it's easy to overlook. A 16-foot cable is fine if your car's charge port is on the rear bumper and your outlet is near the garage door. It may be just barely workable — or not workable at all — if your port is on the front fender and your charger mounts on the opposite wall. Measure your garage before ordering. Most quality EVSEs offer 20–25 foot cable options; some go to 30 feet.
Match the Charger to Your Next Car, Not Just Your Current One
If you're investing in a hardwired Level 2 installation, consider buying a 40A or 48A EVSE even if your current car tops out at 32A. Installation labor is the expensive part — the charger hardware cost difference is usually under $100. A higher-amperage unit future-proofs the installation for your next EV.
Use Off-Peak Scheduling to Cut Charging Costs
Smart chargers with scheduling features let you start charging automatically during off-peak utility hours, often midnight to 6 AM. If your utility offers time-of-use rates, this feature alone can cut your per-mile energy cost by 30–50% compared to charging at peak hours.
Your Car's Onboard Charger Is the Real Speed Limit
No Level 2 EVSE — regardless of its rated output — can charge your battery faster than your car's onboard charger allows. If your vehicle's onboard charger is rated at 7.2 kW, a 11.5 kW EVSE will charge at 7.2 kW. Always look up your vehicle's onboard charger rating before buying an EVSE so you don't overspend on capacity you cannot use.
IP Rating (Outdoor Use)
If you plan to mount the charger outside — a carport, driveway post, or detached garage exterior — the IP (Ingress Protection) rating tells you how well it handles moisture and dust. IP54 is the minimum acceptable for outdoor use; IP65 or higher is better for wet climates. An indoor-rated unit mounted outside will eventually fail and could create a fire or shock hazard. Check this spec explicitly if outdoor mounting is part of your plan.
Level 1 vs. Level 2: The Decision Most Buyers Don't Think Through Carefully Enough
Before spending $400–$800 on a Level 2 EVSE plus electrician costs, it's worth honestly evaluating whether Level 1 might be sufficient for your situation — or whether Level 2 is essential.
When Level 1 (120V) Is Actually Enough
- You drive fewer than 30–40 miles per day and charge every night.
- You have a plug-in hybrid with a small battery (under 20 kWh). Level 1 will replenish a 15 kWh PHEV battery in about 4–5 hours.
- You have a second car that handles longer trips and the EV is a short-commute vehicle.
- You want zero installation cost — Level 1 uses an existing outlet.
When Level 2 Is Worth the Investment
- Your daily driving regularly exceeds 40 miles.
- You have a large-battery BEV (60+ kWh) and need a reliable overnight charge window.
- You want the buffer of arriving home low on charge and still being full by morning.
- Your utility offers significant off-peak rate discounts and you want to take full advantage with scheduled charging.
The financial case for Level 2 also depends on your electricity costs and how much you'd spend on the installation. For a deeper look at what shapes those costs, the Charging Costs and Savings hub is a good reference. And for the terminology that underlies all of this — kWh, MPGe, efficiency ratings — Key Terms Every EV Owner Needs to Understand Charging Costs is worth bookmarking.
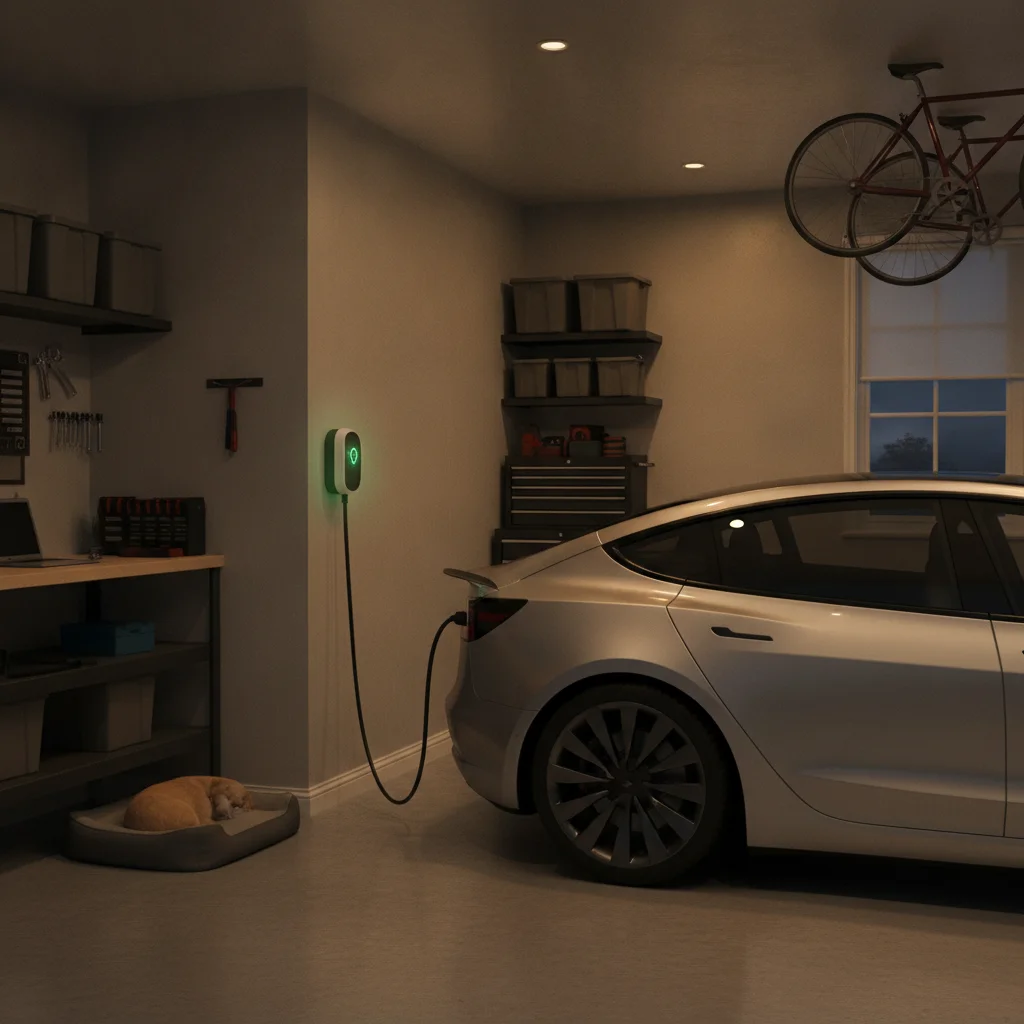
Most full battery electric vehicle owners end up at Level 2 within the first year, even if they start with Level 1. The overnight range anxiety — waking up to 60% charge because you got home late and Level 1 didn't have time to top things up — is a consistent friction point. If you can afford the installation and your panel supports it, Level 2 is the more comfortable long-term choice.
Quick Reference: What the Key Numbers Mean Side by Side
Here's a summary table that you can use to compare charger specs across products at a glance.
| Spec | Level 1 Typical | Level 2 Typical | What It Means for You |
|---|---|---|---|
| Voltage | 120V | 240V | Higher = faster charging potential |
| Amperage | 12–16A | 16–48A | Higher = more power drawn; check panel capacity |
| Power Output | 1.4–1.9 kW | 3.8–11.5 kW | The real-world charging speed number |
| Miles/Hour Added | 3–5 mph | 15–30+ mph | Range gain per hour plugged in |
| Circuit Breaker Needed | 15–20A | 40–60A | Must be 125% of charger's draw |
| Connector | J1772 or NACS | J1772 or NACS | Must match your car's port |
| Installation Cost | $0 (existing outlet) | $200–$1,000+ (electrician) | Factor into total cost of ownership |
One final note: the spec sheet is only half the equation. The other half is your vehicle's own charging capability. Before purchasing any EVSE, pull up your car's owner manual or the manufacturer's website and confirm the onboard charger's AC input rating. That number — not the EVSE's maximum output — is the practical ceiling on your home charging speed. Everything else on the spec sheet exists to ensure the charger can safely deliver up to that ceiling, night after night, without tripping breakers or wearing out connectors.

All claims are backed by peer-reviewed research. Sources on request.