Key Takeaways
Why Interior Condition Moves the Needle on Sale Price
Buyers make emotional decisions faster than they realize. The moment someone opens your car door, they're forming an impression — and that impression is almost entirely about the interior. A clean, fresh-smelling cabin signals that you've cared for the car. A grimy one, even on an otherwise solid vehicle, triggers doubt that's hard to shake.
The good news: interior detailing is one of the highest-return prep tasks you can do before listing. According to resale data from private-party marketplaces, clean, well-photographed interiors consistently attract more inquiries and reduce the likelihood of buyers negotiating aggressively on condition. A buyer who feels good walking in is a buyer who haggles less.
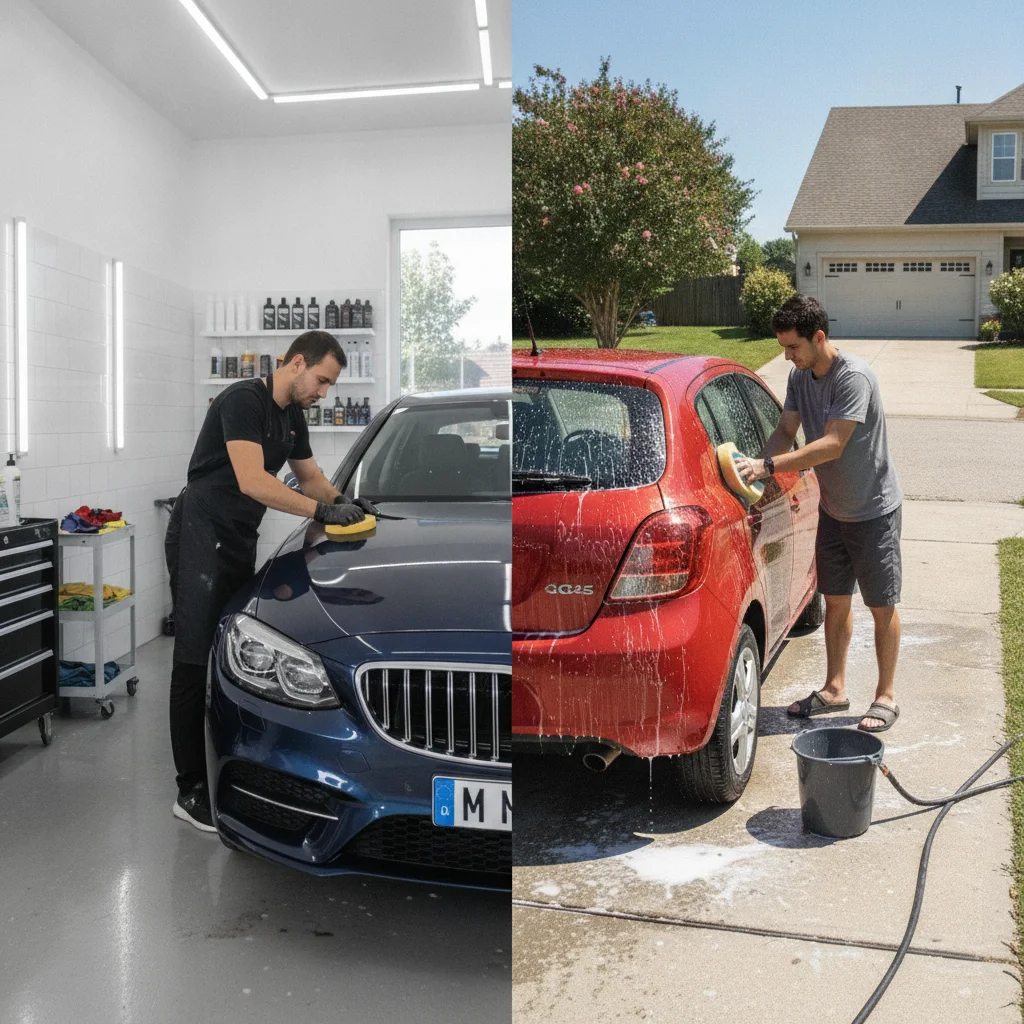
If you're weighing whether to go full DIY or hire someone, take a look at our comparison of professional detailing vs. DIY before spending money. For most sellers, the interior is something you can absolutely handle yourself — and that's exactly what this guide covers.
Keep in mind that interior prep is just one piece of the full pre-sale puzzle. The pre-sale car prep checklist covers exterior, engine bay, and trunk zones as well, so nothing falls through the cracks before your listing goes live.
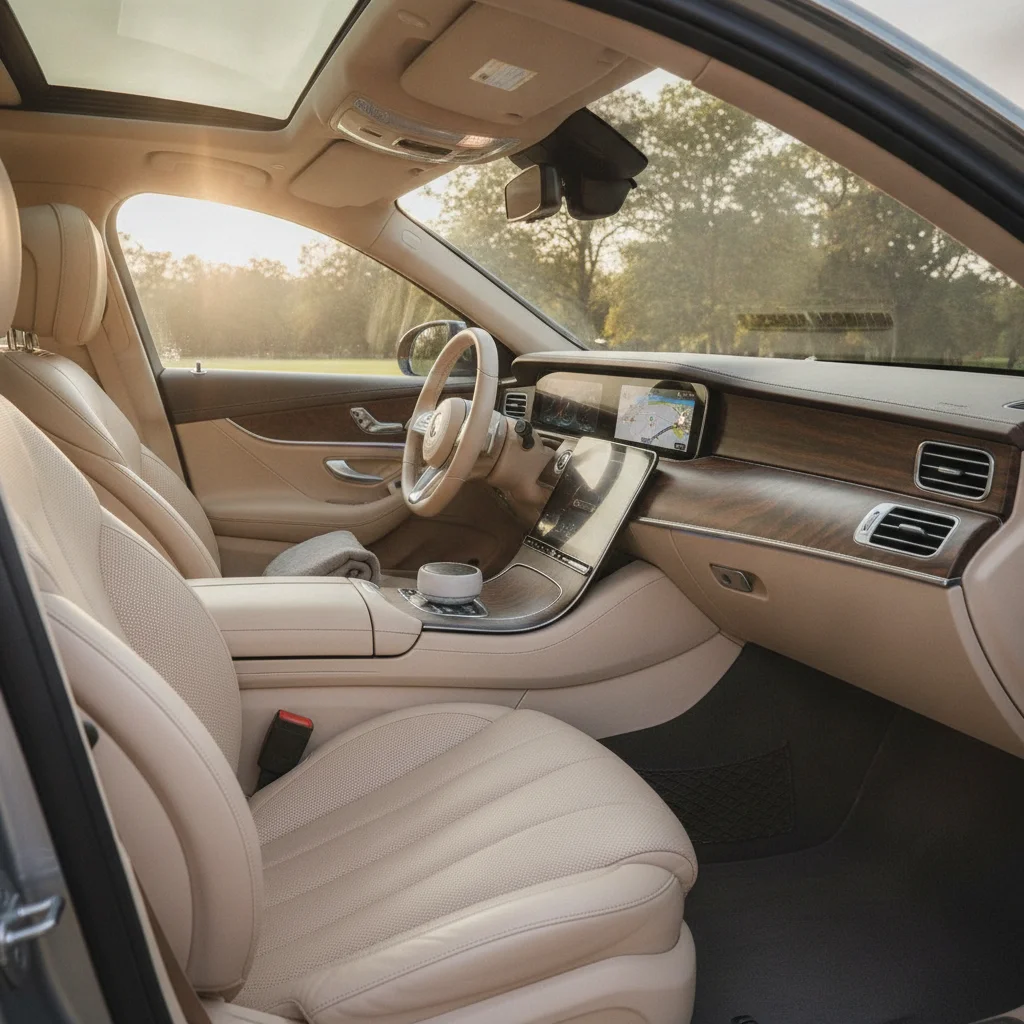
What You'll Need Before You Start
Resist the urge to start cleaning with whatever's under your kitchen sink. The right supplies cost around $30–$40 total and make a real difference in results — and more importantly, they won't damage your surfaces. Here's what to gather before you begin:
Microfiber Cloths (pack of 6+)
Used for wiping down every interior surface — dashboard, seats, glass, and trim — without scratching.
All-Purpose Interior Cleaner
Cleans hard interior surfaces including plastic trim, door panels, and the center console.
Upholstery Foam Cleaner
Specifically formulated for fabric seats and carpet — lifts embedded dirt without over-saturating fibers.
Leather Cleaner and Conditioner
Cleans and restores leather seats and trim without drying or cracking the material.
Stiff Detailing Brushes (2–3 sizes)
Agitates carpet fibers, scrubs seat seams, and loosens grime from vent slats and trim gaps.
Streak-Free Glass Cleaner
Removes haze, fingerprints, and film from all interior glass surfaces including the windshield.
Enzyme-Based Odor Eliminator
Breaks down organic odor compounds from pet accidents, food spills, and mildew at the source.
Low-Sheen Interior Protectant
Restores a clean, factory-finish appearance to plastic and vinyl surfaces without a greasy shine.
What you will need
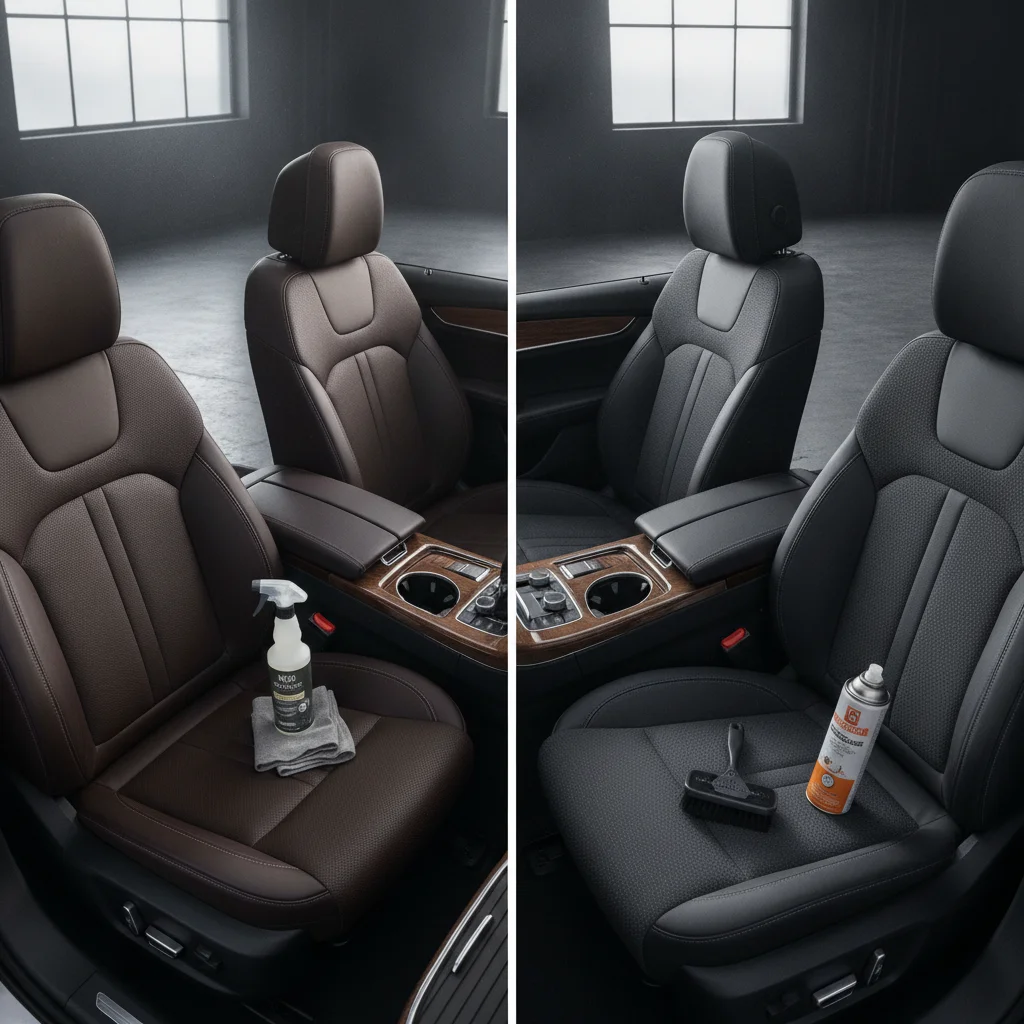
One note on surfaces: if your car has leather seats or trim, the product list changes meaningfully. Cloth-safe foaming cleaners can dry out or discolor leather, and leather conditioner is a step you simply can't skip. See our guide on leather vs. cloth interior care for the specifics — it's worth the five-minute read before you buy anything.
Step-by-Step: Deep Cleaning Your Car's Interior
Work through these steps in order. The sequence is deliberate — moving top to bottom and dry before wet keeps you from dirtying surfaces you've already cleaned. Rushing the order is the number-one reason DIY cleaners have to redo work.
Remove Everything and Vacuum Thoroughly
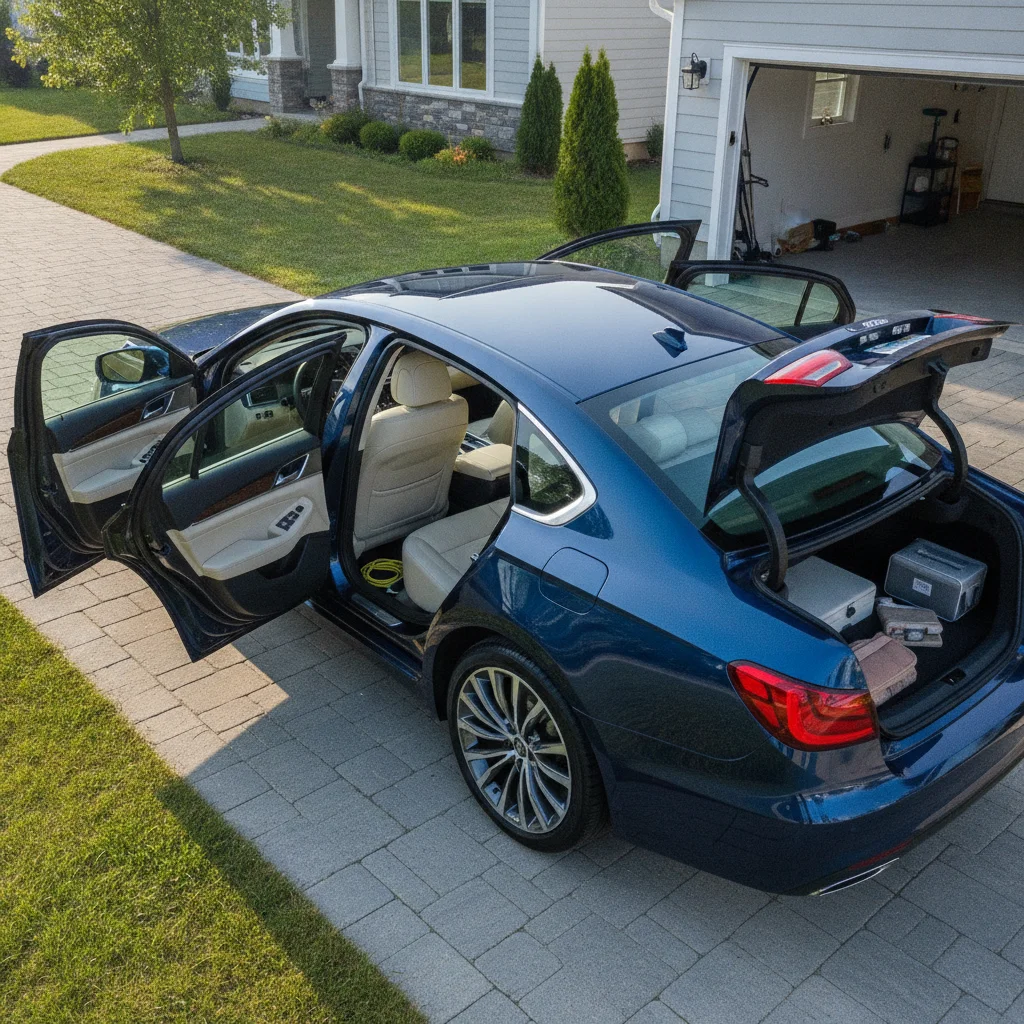
Start by taking everything out of the car: floor mats, trunk items, seat-back pockets, cup holder inserts, and any personal belongings. Put them aside — you'll clean the mats separately.
With the interior empty, vacuum every surface using the crevice tool and brush attachment:
- Seats — work top to bottom, pressing the attachment into seam lines
- Carpet — slow, overlapping passes in multiple directions
- Under and between seats — slide each seat forward and backward to access
- Dashboard vents — a detailing brush loosens dust first, then vacuum
- Door pockets and cup holders
Shake out the floor mats outside the car and vacuum both sides before setting aside.
Clean the Dashboard, Trim, and Hard Surfaces
Spray a small amount of all-purpose interior cleaner onto a microfiber cloth — never spray directly onto the dashboard, as liquid can seep into vents and switches. Wipe down in sections:
- Top of dashboard and instrument cluster surround
- Center console lid and sides
- Door panels and armrests
- Door sills (often forgotten, always visible in photos)
Use a detailing brush to work cleaner into vents, around buttons, and into trim seams. Follow with a dry microfiber to remove any residue. For touch screens, use a slightly damp cloth or a dedicated screen cleaner — no ammonia-based products, which strip anti-glare coatings.
Finish hard surfaces with a low-sheen interior protectant to restore a clean, matte finish. Avoid high-gloss "armor all" style products that leave a greasy shine — they look artificial in photos and attract dust quickly.
Clean the Seats
The approach here depends entirely on your seat material — this is the step where using the wrong product can cause real damage.
For cloth/fabric seats: Apply upholstery foam cleaner according to the label. Work it into the fabric with a brush in circular motions, then blot with a clean microfiber towel. Don't saturate — damp is fine, wet is a problem. Let seats dry fully before the next step (or overnight, if possible).
For leather seats: Use a dedicated leather cleaner, not an all-purpose product. Apply with a soft cloth in gentle circular motions. Follow immediately with a leather conditioner — cleaning alone strips natural oils and can cause cracking over time. Buff lightly with a dry cloth.
Pay extra attention to the driver's seat bolster (the outer edge), which typically shows the most wear from entry and exit. Light surface soiling usually responds well to cleaning; deeper wear is a cosmetic issue you'll want to address honestly in your listing.
Shampoo the Carpets and Clean Floor Mats
Carpet is where the most visible grime lives, and where the biggest transformation is possible. Spray carpet shampoo or diluted all-purpose cleaner onto the carpet in sections. Agitate with a stiff brush, scrubbing in multiple directions to lift embedded dirt. Blot with a clean towel — don't wipe, which just moves dirt around.
For the floor mats, scrub them outside the vehicle using the same method. Rubber mats can be rinsed with a hose; fabric mats should be scrubbed and blotted. Let both dry completely before reinstalling — wet mats reinstalled in a closed car create mildew quickly.
If you have a stain that resists initial cleaning, don't keep scrubbing the same spot — you risk damaging the fibers. The stain-specific removal guide covers targeted treatments by stain type.
Clean the Windows and Mirrors
Interior glass is often the last thing sellers clean and the first thing buyers notice — particularly the windshield, which accumulates an oily haze from off-gassing plastics over time. That haze is especially visible when driving into low sun during a test drive.
Spray glass cleaner onto a microfiber cloth and wipe the windshield in overlapping strokes. Use a second dry cloth to buff — streaks from a single cloth are almost guaranteed. Tilt the rearview mirror aside to get the full windshield surface.
Don't forget:
- Rear window (especially if you have a defroster grid — wipe horizontally to avoid damaging the lines)
- Door glass — roll each window down slightly to clean the top edge
- Rearview mirror face
Treat Odors at the Source
With all surfaces clean, address any lingering smells before closing the car up. If you detected a specific odor earlier — pet, food, smoke, or mildew — treat that source area now with an enzyme-based odor eliminator. Spray generously, let it dwell for 10 minutes, then blot and allow to air dry with doors open.
For general freshness, place open baking soda containers or activated charcoal bags in the footwells and leave overnight with windows slightly cracked. The next morning, remove them and air the car out for 30 minutes before closing it up for photos or a showing.
Resist finishing sprays and air fresheners entirely. Buyers notice — and they interpret it as concealment.
Work in a Logical Order to Save Time
Always clean top to bottom (headliner → dashboard → seats → carpet) and dry before wet. If you shampoo carpets first and then scrub the dashboard, you'll shake dust and debris back onto surfaces you've already cleaned. The sequence in these steps is designed to prevent exactly that.
Budget Tip: Dollar Store Finds That Work
Toothbrushes, spray bottles, and foam applicator pads from the dollar store perform just as well as branded detailing equivalents for most tasks. Save your budget for the actual cleaning products — quality matters more there than in the application tools.
Stubborn stains on carpets or upholstery deserve their own strategy. Most sellers are surprised by how much improvement is possible without replacing anything. The carpet and upholstery stain removal guide breaks down which treatments work on which types of stains — coffee, grease, pet accidents, and more.
Don't Let Carpets Dry in a Closed Car
Wet carpet trapped in a closed cabin is a mildew factory. Always leave doors open or windows cracked while carpets dry, and verify they're fully dry — not just surface-dry — before reinstalling mats or closing the vehicle. Mildew smell is one of the hardest odors to fully eliminate after the fact.
Avoid Multi-Surface Sprays on Screens and Leather
Generic multi-surface sprays often contain ammonia or harsh solvents that damage touch screens, strip leather, and dull coated trim. Check product labels before applying to any surface you're unsure about, and test in a small hidden area first when in doubt.
Disclose What You Can't Fix
A deep clean will dramatically improve your car's presentation, but some stains, tears, or odors won't fully resolve with DIY treatment. Be honest in your listing about any remaining imperfections — buyers who discover undisclosed issues during an in-person inspection lose trust immediately, and that costs you more in negotiation than the condition itself. Honest listings also attract more serious buyers and fewer wasted showings.
The Details Buyers Inspect Most Closely
Most sellers clean the obvious areas and call it done. Buyers, especially experienced ones, know exactly where to look for signs of neglect. Here are the spots that get scrutinized most — and how to make sure they pass the test.
Steering Wheel
Possibly the most-touched surface in any car, and often the most ignored during cleaning. Years of skin oils create a tacky, discolored buildup that's visible and feels unpleasant during a test drive. Use an all-purpose cleaner and a firm brush, then wipe dry. If it's leather-wrapped, follow with a leather conditioner.
Door Pulls and Armrests
These accumulate grime in their contours and edges. A detailing brush or old toothbrush gets into the seams effectively. Wipe down after scrubbing — the difference is immediately visible.
Center Console Crevices
Crumbs, dust, and liquids pool in the gaps around the shifter, cup holders, and between seats. A detailing brush paired with a vacuum attachment clears this out. Silicone cup holder liners (available for a few dollars) can make the cup holders look factory-fresh if originals are stained.
Seat Tracks and Under-Seat Areas
Buyers sometimes look under seats — especially if they're parents checking cargo space. Slide each seat fully forward and backward to vacuum and wipe underneath. It takes three minutes per seat and is completely worth it.
Headliner
Don't scrub. The headliner is glued fabric and aggressive cleaning can cause it to sag or discolor. A light spray of fabric refresher and a gentle blotting motion is the safe approach for most spots.
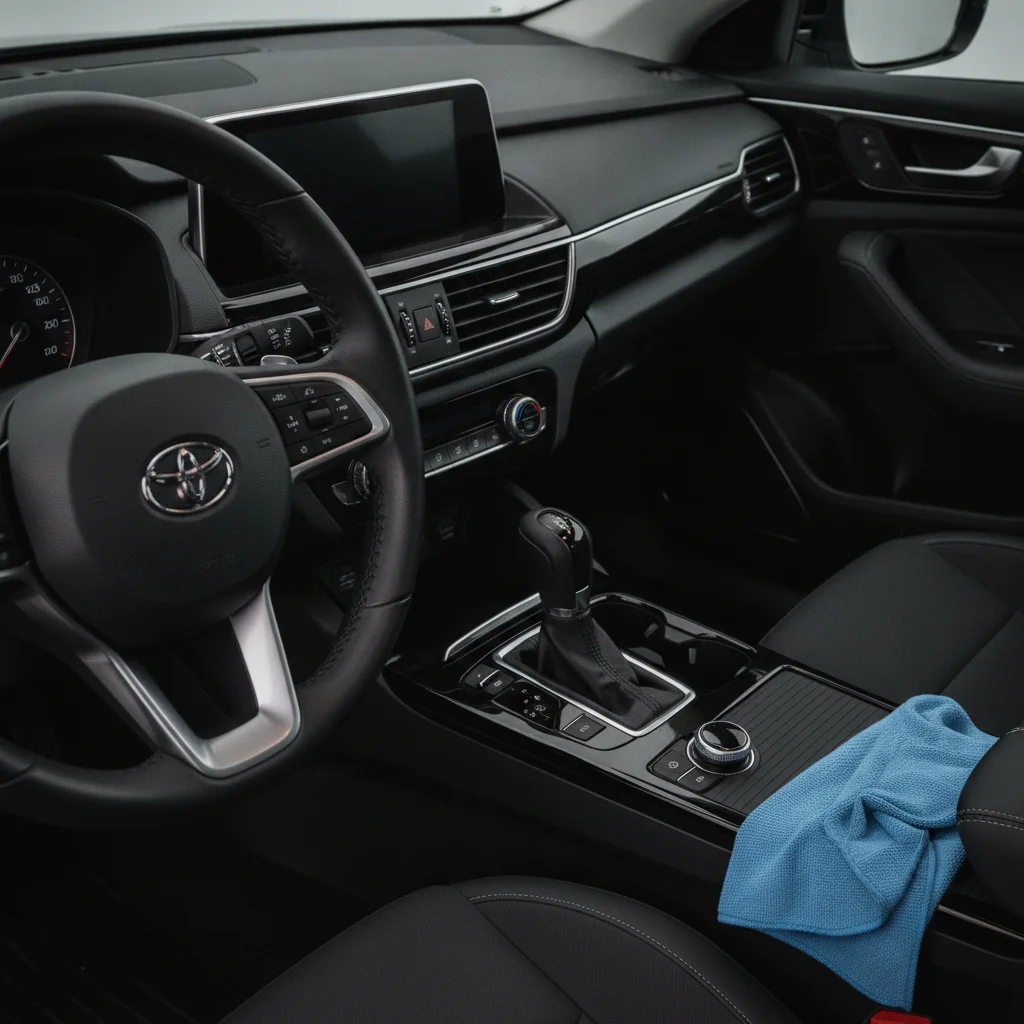
Buyers who know what they're doing will read the interior like a report card. If you want to understand what they're actually evaluating, this breakdown of how buyers evaluate a cabin is genuinely useful — it helps you see your car through a buyer's eyes before photos are taken.
Tackling Odors: The Step Most Sellers Skip
Odor is often the deal-killer that sellers don't see coming. You've been in your car every day — you've stopped smelling it. Buyers haven't, and they'll detect pet smell, smoke, mildew, or food odors within moments of opening the door. Cleaning surfaces removes the visual evidence; it doesn't always remove the smell at its source.
Identify the source first
Musty smells almost always come from wet carpet or moisture trapped under floor mats. Smoke odors live in the headliner, seat foam, and HVAC vents. Pet odors concentrate in carpet fibers. Knowing the source directs your effort.
Enzyme cleaners for organic odors
For pet accidents and food spills, an enzyme-based cleaner (available at most pet stores or online for around $10) actually breaks down the odor-causing compounds rather than just masking them. Apply, let it dwell for 10 minutes, then blot and dry thoroughly.
Activated charcoal or baking soda overnight
After cleaning, place open containers of activated charcoal or baking soda in the car overnight with windows closed. Both absorb residual odors without adding fragrance. This is especially useful if you can't pinpoint a single source.
What not to do
Air fresheners and scent sprays are a red flag to buyers — they signal something is being hidden. A strong pine-tree air freshener hanging from your mirror will make a buyer suspicious before they sit down. Clean the source; don't cover it.
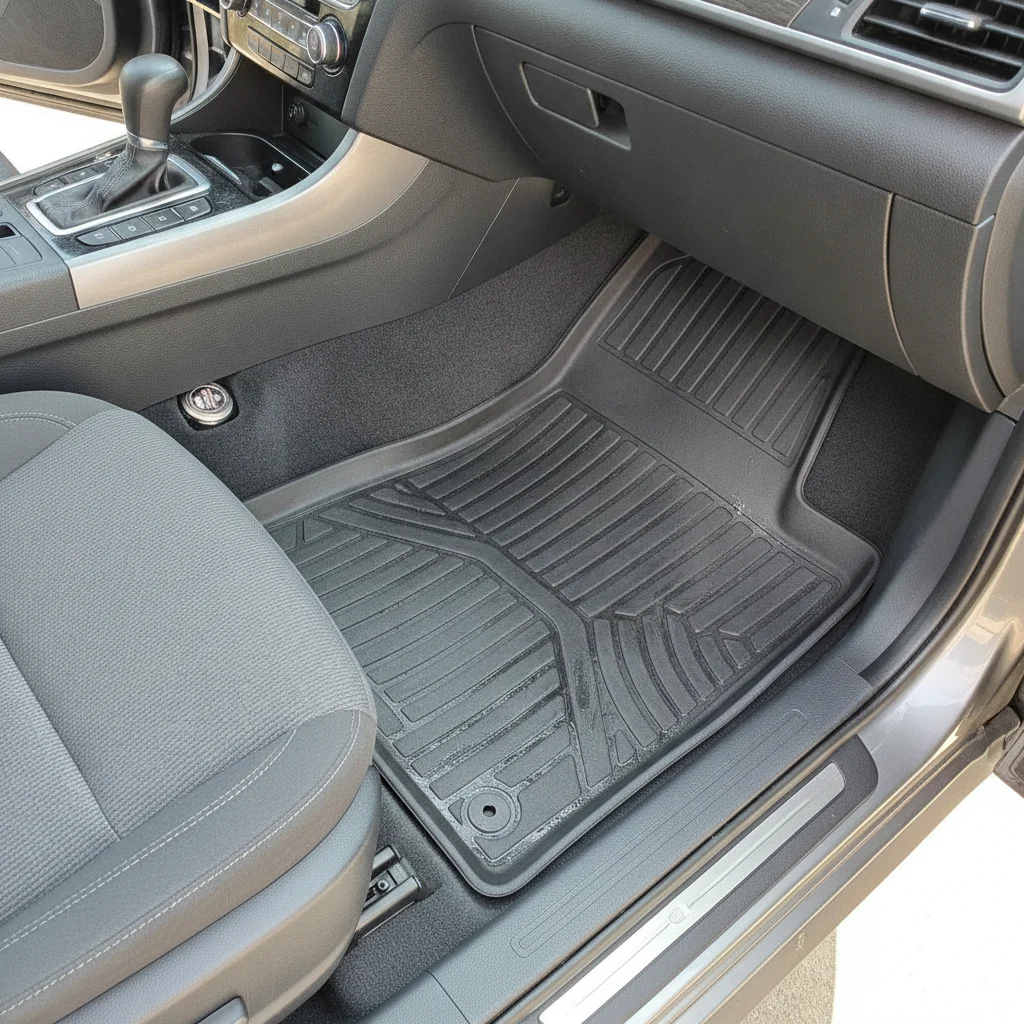
Once the interior smells neutral and looks clean, your listing photos will do the selling for you. Private-party buyers in particular respond strongly to a well-presented interior — it's the primary signal they have about how the car was treated. If you're selling directly to another person, our private party sales hub covers how to list, negotiate, and close the deal effectively once your prep is complete.
Final Check and Listing-Ready Photos
Before you photograph anything, do one final walkthrough with fresh eyes — ideally after a short break so you're seeing the interior less habitually. Open every door, check every surface in natural light. Run a dry microfiber cloth along the dashboard; any remaining dust will show up on it immediately.
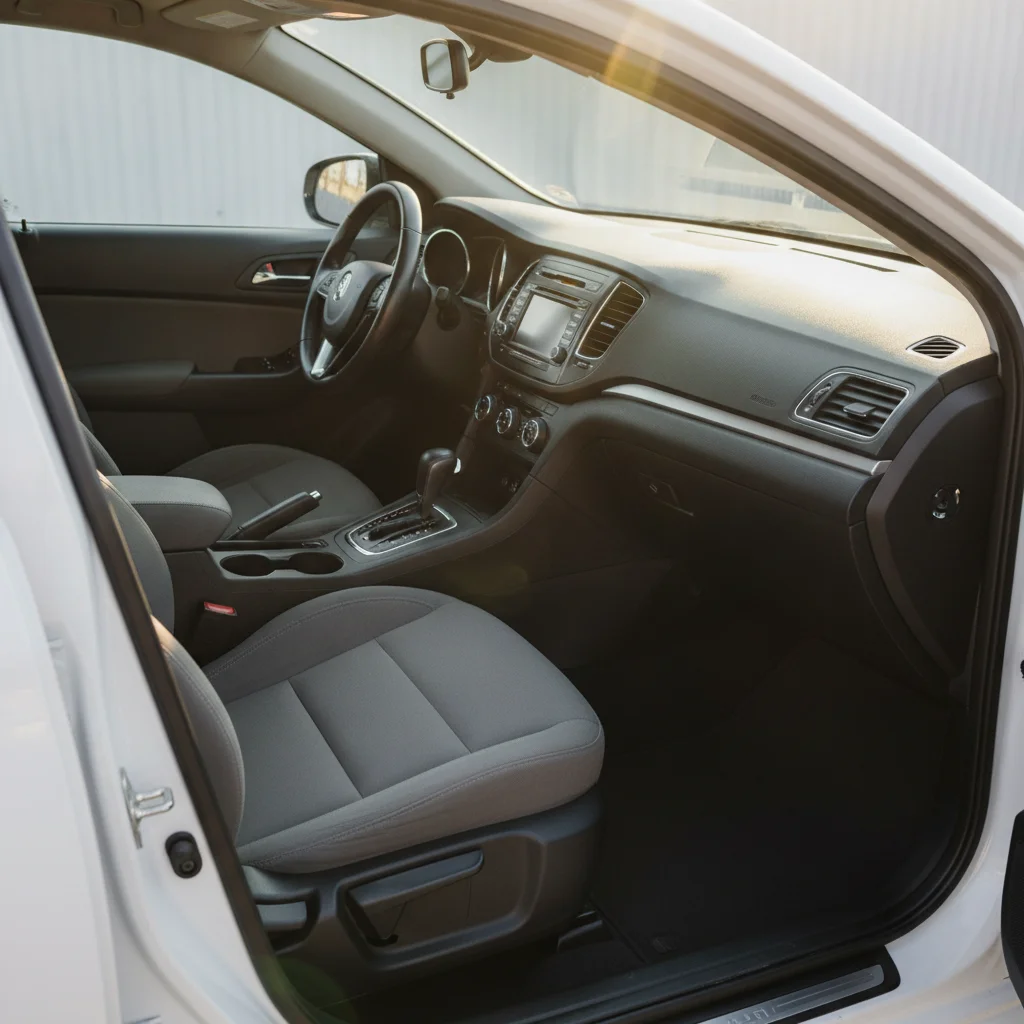
For photos, shoot in indirect natural light — open shade or overcast conditions — rather than direct sun, which creates harsh reflections and washes out color. Get a front-seat shot from the open driver's door, a rear-seat shot, and close-ups of the dashboard and instrument cluster. Clean door sills before you shoot, because they appear in nearly every interior angle.
Avoid shooting with the sunshade up, the windows fogged, or any personal items visible. A clean, empty interior photographs as significantly larger and more appealing than one with a gym bag in the back seat.
If you still have exterior prep items on your list — such as foggy headlights — take care of those before your photo session as well. Restoring foggy headlights is a quick win that photographs well and costs almost nothing. And for sellers who haven't done this kind of prep before, the first-timer's guide to pre-sale car prep is a reassuring place to start if any part of the process still feels uncertain.
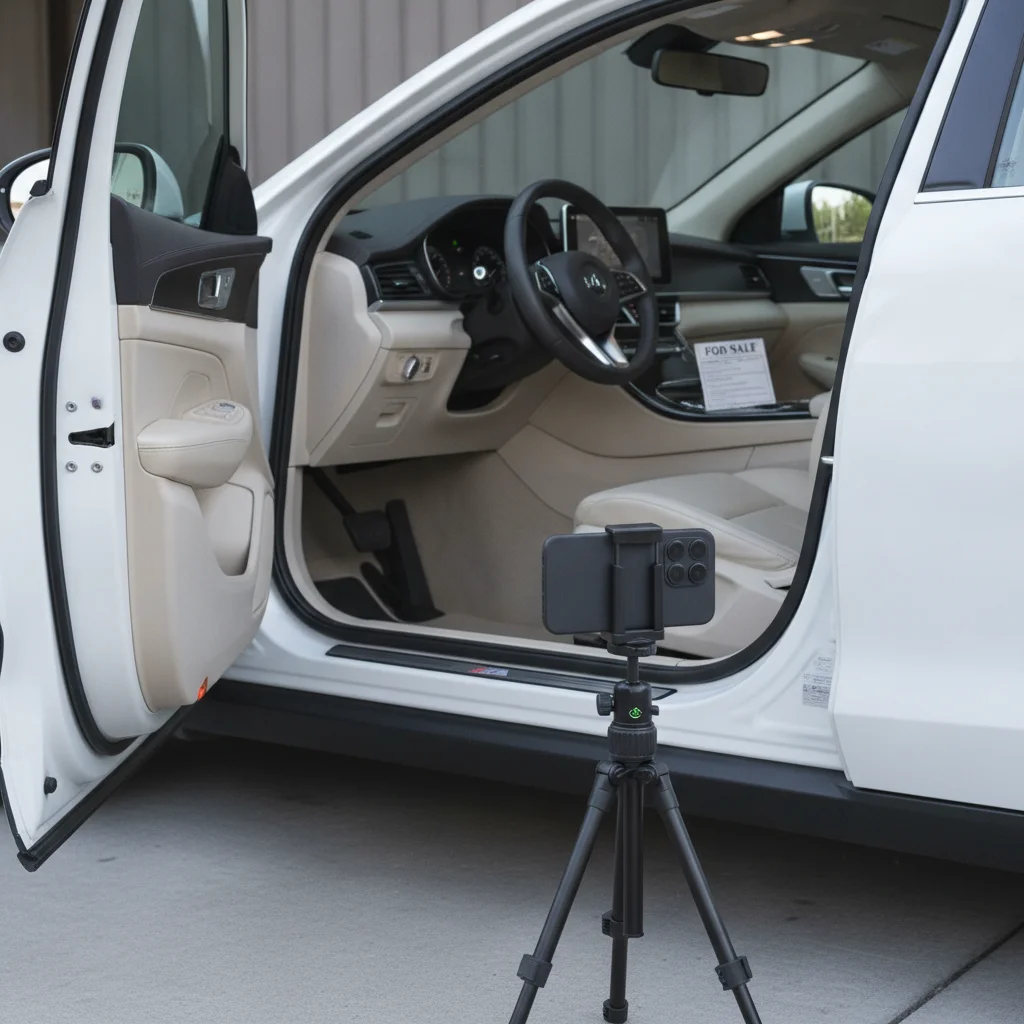
A clean interior is a statement of honesty. It tells buyers you respected the vehicle — and by extension, that the rest of the car is probably worth trusting too. That confidence is what gets you closer to your asking price.

All claims are backed by peer-reviewed research. Sources on request.