Key Takeaways
Why Headlights Matter More Than You Think to Buyers
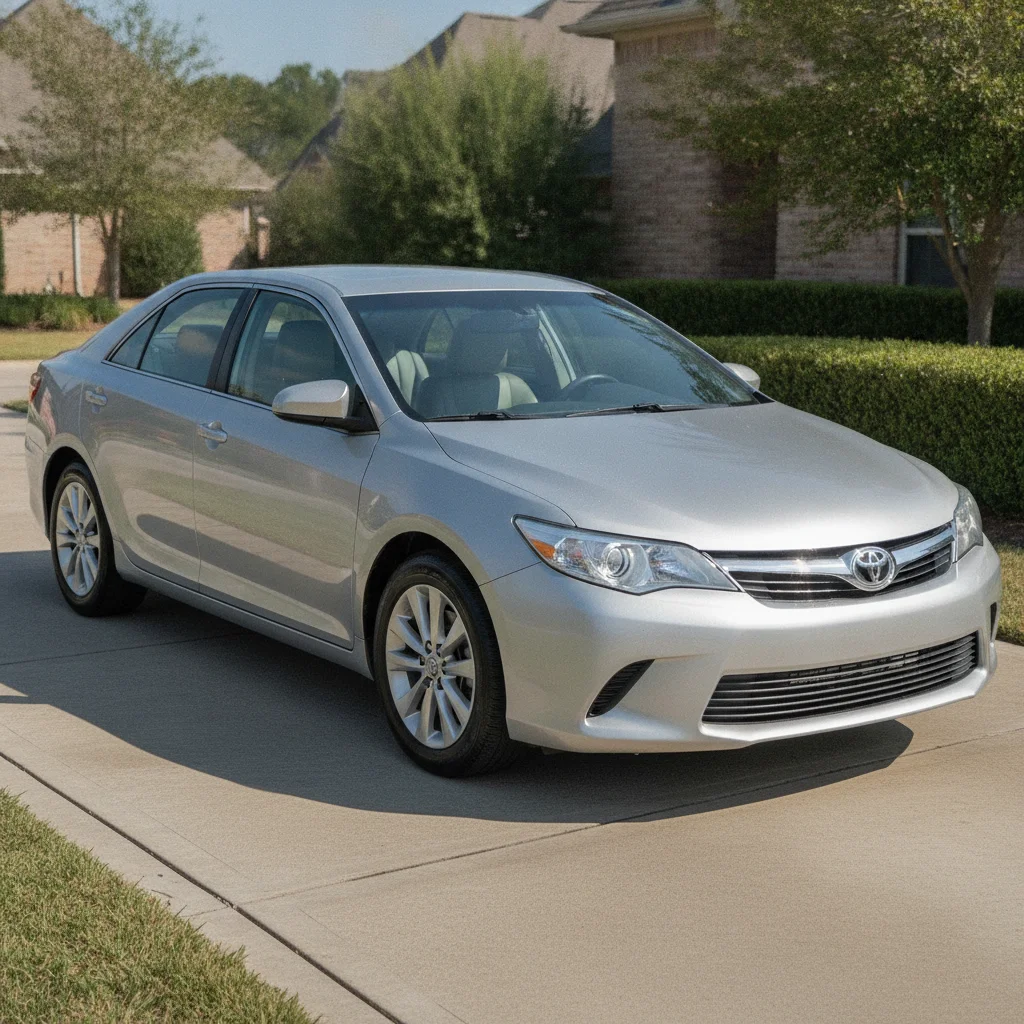
When a prospective buyer pulls up to view your car, the headlights are often the first detail they register — before the paint, before the tires, before they even open the door. Yellowed, foggy lenses have a specific effect on buyer psychology: they signal deferred maintenance. Even buyers who can't articulate exactly what's wrong will feel something is off, and that feeling translates directly into lower offers or lost interest.
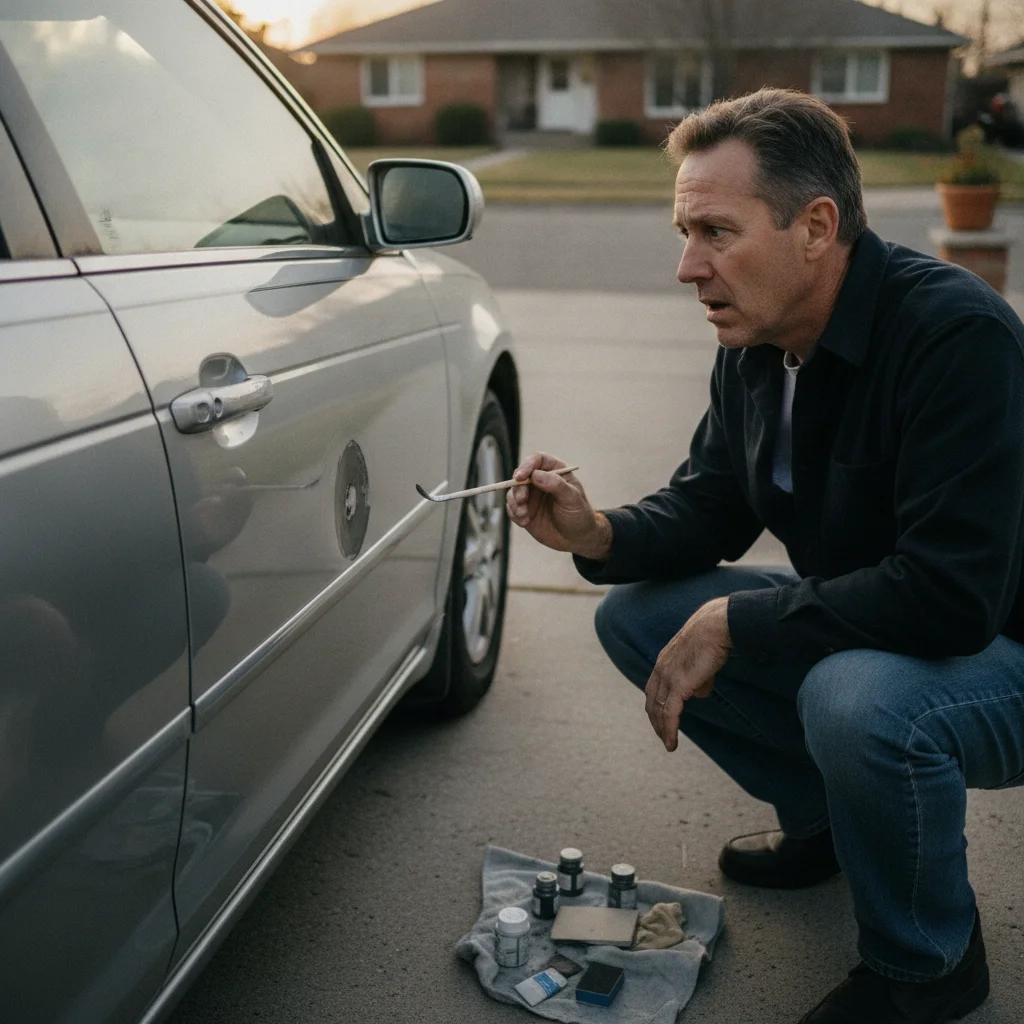
The good news is that this is one of the most correctable issues on a used car. Unlike a dent or a paint scratch, headlight fogging is entirely reversible with the right materials and about an hour of your time. The cost is negligible — most kits run between $10 and $25 at any auto parts store — and the visual impact is significant.
If you're thinking through a broader set of pre-listing improvements, this repair pairs naturally with the advice in steps that slow perceived depreciation. Clear headlights are one of the highest-return items on that list.
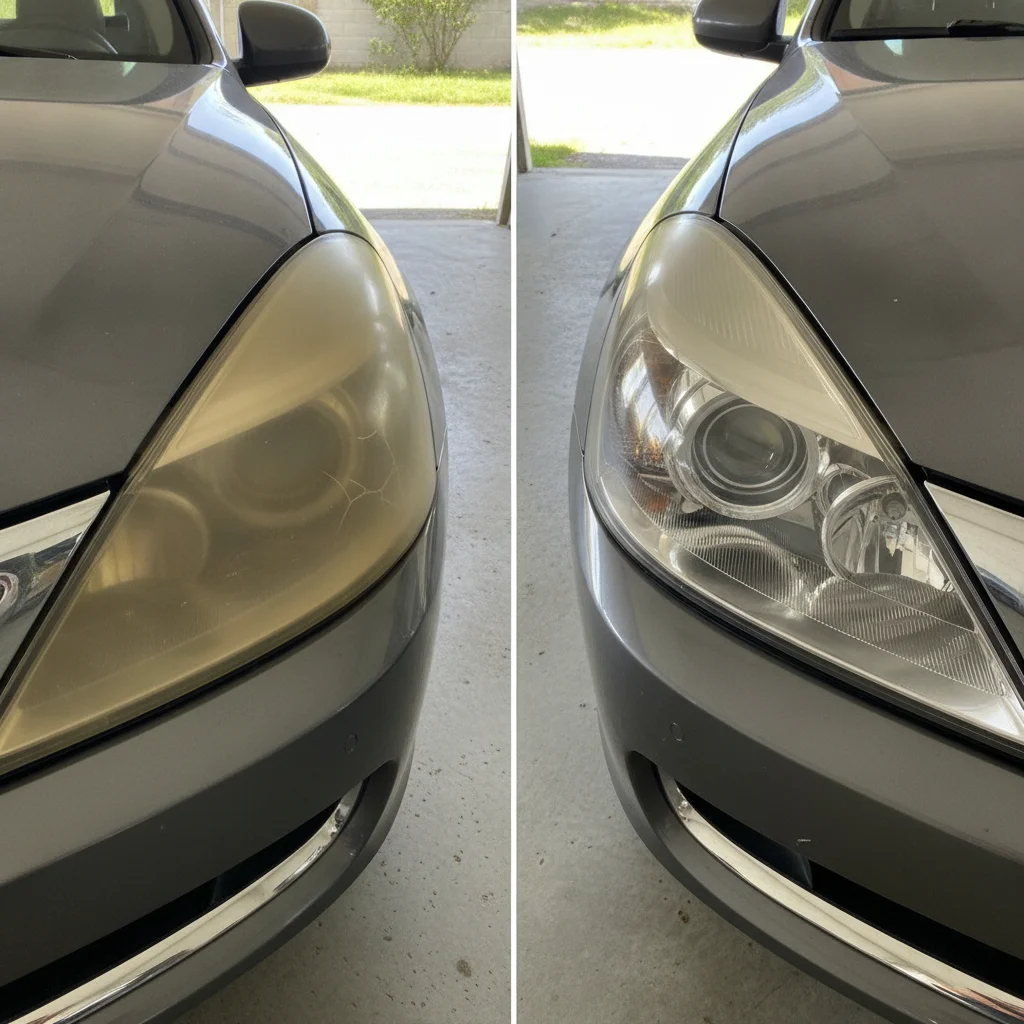
It's also worth being clear about what this guide is — and isn't. Headlight restoration is a legitimate repair that genuinely improves the condition of your lenses. It's not a cosmetic workaround for a deeper problem. If your headlights are cracked, have internal moisture condensation, or have damaged reflectors, no amount of external polishing will fix those issues. For guidance on where the line sits between honest presentation and problematic concealment, this article on mistakes sellers make hiding flaws is worth reading before you list.
What Causes Headlight Fogging
Modern headlight lenses are made from polycarbonate plastic — a material that's lightweight, shatter-resistant, and optically clear when new. The problem is that polycarbonate is highly sensitive to UV radiation. Manufacturers apply a thin UV-resistant coating to the lens surface when the car is new, but this coating degrades over time through sun exposure, heat cycling, and contact with road chemicals.
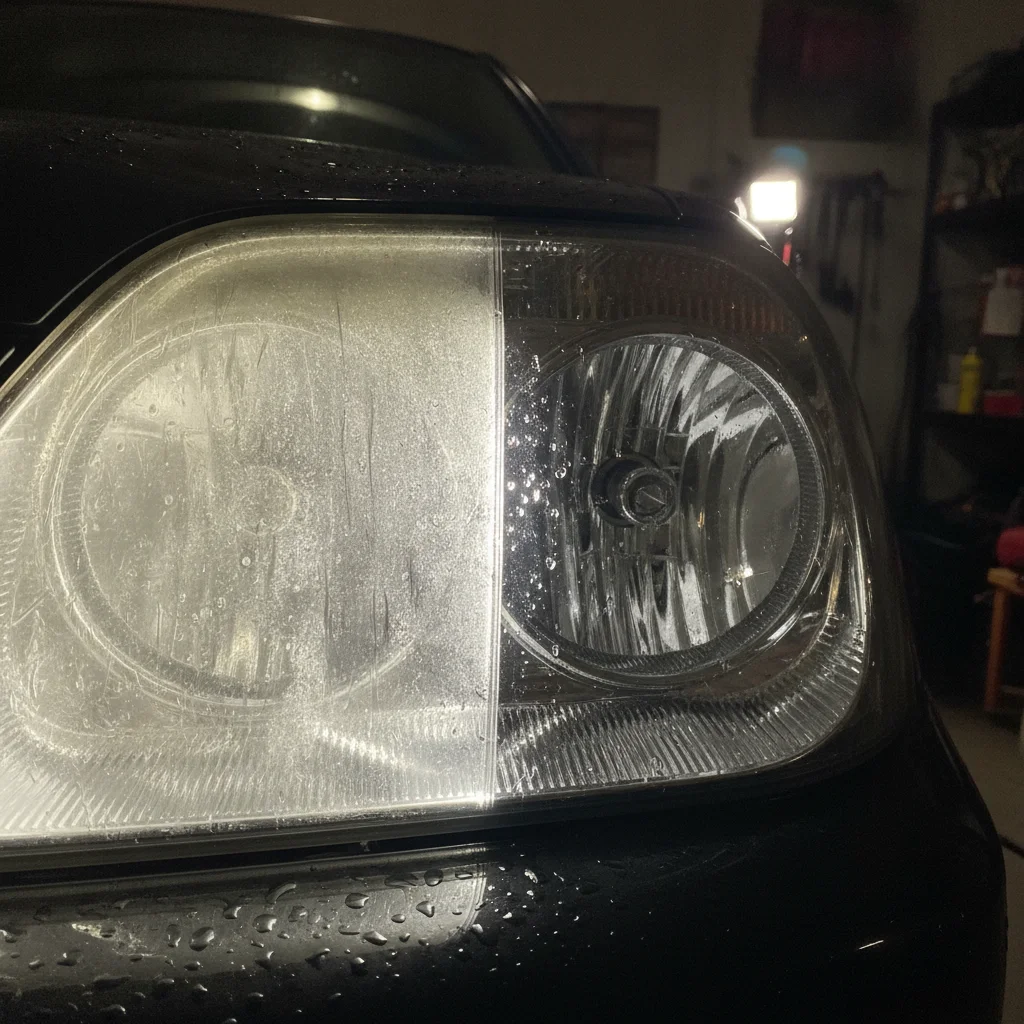
Once the coating breaks down, the bare polycarbonate oxidizes. The result is the characteristic yellow-brown haze most people associate with aging vehicles. This isn't surface dirt — it's a chemical change in the top layer of the plastic itself, which is why washing alone never fixes it.
Oxidized headlights can reduce usable light output by up to 80%, which is a meaningful safety concern beyond the cosmetic issue. The restoration process works by sanding away the oxidized layer entirely and then re-sealing the fresh polycarbonate underneath with a new UV-protective coating — essentially replicating what the factory applied when the car was built.
The sanding stage is what surprises most first-timers. The lens will look dramatically worse before it looks better, which can feel alarming. That's normal, expected, and temporary. Trust the process.
What You'll Need Before You Start
You don't need a professional detail shop's worth of equipment. The list is short, most items cost very little, and you may already own several of them.
Headlight restoration kit
Provides the sandpaper grits, polishing compound, and UV sealant needed for the complete restoration process.
Painter's masking tape (2-inch width)
Protects surrounding paint and trim from abrasive compounds and sandpaper during the restoration.
Microfiber cloths (3–4)
Used for applying compound, buffing between stages, and final cleaning of the lens surface.
Spray bottle filled with water
Keeps the sandpaper wet during wet-sanding stages, which reduces scratching and improves compound action.
Automotive soap or dish soap
Used for the initial cleaning of the headlight lens to remove surface grime before sanding.
Electric drill with foam polishing pad
Speeds up the compound-buffing stage and produces more even results than hand-polishing alone.
Nitrile gloves
Protects your hands from polishing compounds, which can cause skin irritation with prolonged contact.
What you will need
Set everything out before you begin so you're not hunting for a cloth mid-process with compound drying on the lens. Lay each sandpaper grit in order so you pick them up in sequence without second-guessing yourself.
Step-by-Step: The Restoration Process
Follow these steps in order. Each stage builds on the previous one, and skipping ahead — particularly past the finer sanding grits — will leave scratches that the polishing compound can't fully remove.
Clean the headlight lens thoroughly
Start with a genuinely clean surface. Mix a few drops of automotive or dish soap into a bucket of warm water, then use a microfiber cloth or soft sponge to wash each headlight lens completely. Pay attention to the edges and the area where the lens meets the housing — grime accumulates there and can introduce scratches in later stages.
Rinse with clean water and let the lenses air-dry, or pat them dry with a clean microfiber cloth. Do not proceed to masking until the lens is fully dry. Any moisture trapped beneath the tape will compromise adhesion.
Tape off the paint and trim around each lens
This step takes five minutes and saves you from a much bigger problem. Run 2-inch painter's tape around the full perimeter of each headlight lens, covering at least 1.5 to 2 inches of the surrounding paint and any plastic trim or bumper fascia. Press the tape firmly at the edges so abrasive compound cannot work underneath.
If your headlights are positioned close to chrome trim or body molding, add a second layer of tape or use a folded piece of cardboard as a buffer during the sanding stages.
[warning_callout]Wet-sand with the coarsest grit
Most kits include two or three sandpaper grits. Begin with the coarsest — typically 400 or 600 grit. Soak the sandpaper in water for two to three minutes before starting. Keep a spray bottle of water nearby to wet the lens surface constantly throughout this stage.
Sand the lens using firm, even horizontal strokes, working from one side to the other. The goal at this stage is to remove the oxidized outer layer entirely. The lens will look significantly worse — cloudy white and scratched — which is exactly what should be happening. Work evenly across the entire surface, spending about three to four minutes per headlight.
Rinse the lens with clean water and wipe with a microfiber cloth between each grit change so you can see the surface clearly.
Progress through finer grits
Move to the medium grit (typically 1000 or 1500 grit), and then to the finest included grit (usually 2000 or 3000). With each progression, switch to perpendicular strokes — if you sanded horizontally in the previous stage, sand vertically in this one. This cross-hatch pattern helps you see when the previous stage's scratches have been fully worked out.
Keep the lens and sandpaper wet throughout. Each stage should take two to three minutes of consistent work. By the time you finish the finest grit, the lens should look uniformly hazy rather than deeply scratched — a significant improvement from after the first stage.
[in_content_images:0]Apply the polishing compound
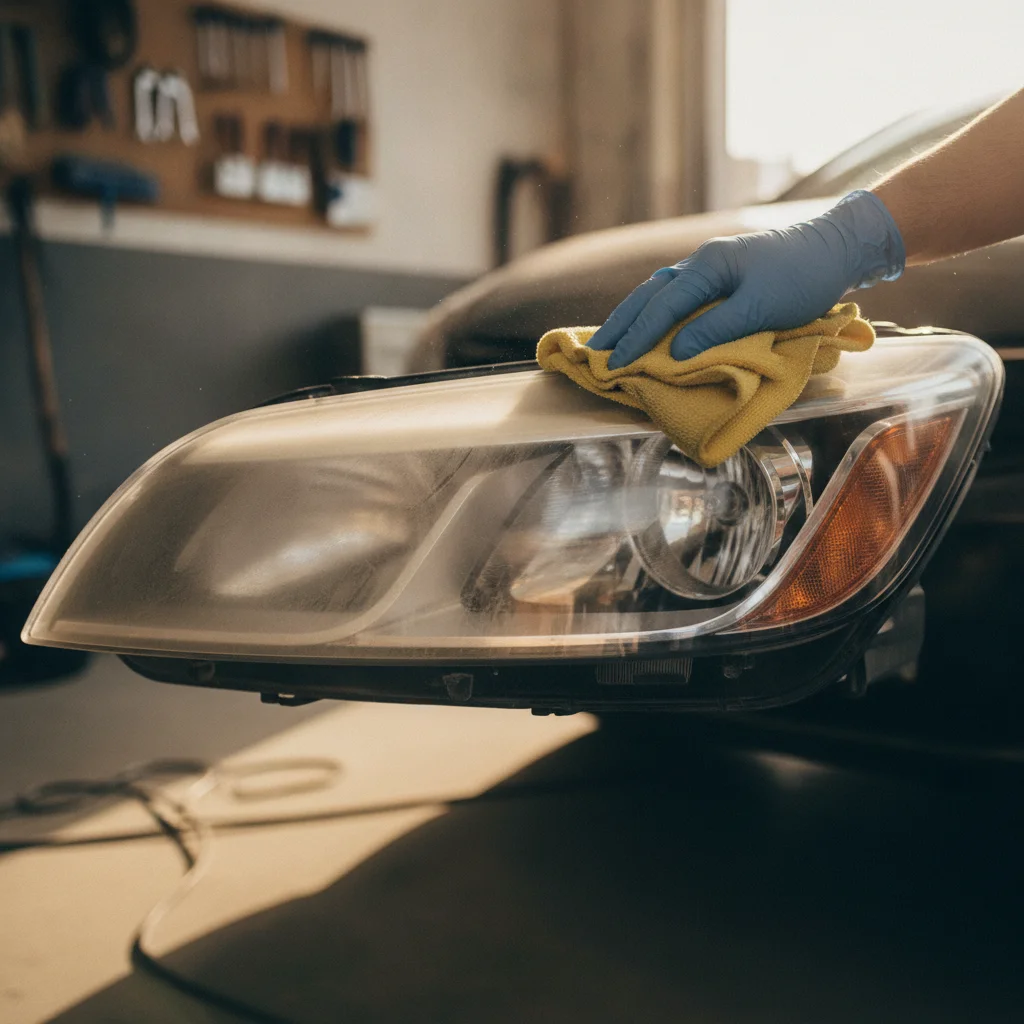
Dry the lens completely with a clean microfiber cloth before applying compound. Apply a dime-sized amount of the included polishing compound to a fresh microfiber cloth or foam applicator pad and work it into the lens using firm, circular motions. If you have an electric drill with a foam pad attachment, this is where it earns its keep — machine polishing produces more consistent results and takes less effort.
Work the compound until it begins to dry and haze on the surface, then buff it off with a clean, dry microfiber cloth using light circular strokes. The lens should now be visibly clearer — you're looking for a noticeable jump in transparency compared to after the sanding stages.
Repeat this compound application once or twice if the lens still looks hazy after the first pass.
Apply the UV protective sealant
This is the most important step, and the one most people rush or skip. The UV sealant is what prevents the lens from re-oxidizing. Without it, the polycarbonate surface you've just exposed by sanding will begin yellowing again within weeks.
Apply the sealant using the dedicated applicator or a clean microfiber cloth — do not use the same cloth you used for compound, as residue will compromise the sealant's adhesion. Work in thin, even coats as directed by your specific kit. Most kits recommend two coats with a short drying time between them.
Do not touch the lens or allow any water contact for at least one hour after the final coat. If possible, keep the car out of direct sunlight while the sealant cures.
[important_callout]Remove tape and do a final inspection
Once the sealant has cured, carefully peel away the masking tape. Pull it back at a low angle — parallel to the paint surface — rather than pulling straight out, which reduces the chance of lifting any paint edge. Check the tape line for any compound residue that may have crept under the edge and wipe it away with a clean damp cloth.
Step back and look at both headlights together. They should be noticeably clearer and more closely matched in brightness. If one still looks slightly hazier than the other, an additional compound pass followed by a fresh sealant application will usually bring them into alignment.
Take your after photos now, while the lenses are at their clearest and the lighting is consistent with your before shots.
For most vehicles in typical condition, one complete pass through these steps is enough to produce a clear, matched pair of headlights that meaningfully improve your listing photos and in-person viewings. If your headlights are severely oxidized — deeply yellowed with visible pitting — you may need to repeat the sanding stages once before moving to compound.
Fitting This Into Your Broader Pre-Sale Prep
Headlight restoration is most effective as part of a coordinated exterior and interior refresh, not a standalone effort. Buyers evaluate the car as a whole, and a pair of gleaming headlights surrounded by a neglected interior or grimy wheels won't carry the impression you're aiming for.
If you're also working on the cabin, interior cleaning for sellers on a budget covers the same practical, low-cost approach — starting with the areas that buyers actually focus on during a viewing. And if your car has higher mileage, which prep steps matter most for high-mileage cars will help you allocate your effort where it actually changes buyer behavior.
Think of headlight restoration as spending $20 to remove a signal that buyers use to justify lower offers. The cleaner and more consistent your car's presentation, the less negotiating leverage a buyer has — and the more confident they'll feel paying close to your asking price.
How Long the Results Will Last
A properly sealed restoration should hold up for 12 to 24 months before any noticeable re-yellowing begins, depending on how much sun exposure your parked car gets. That's a wide enough window that even if you're not listing for another few weeks, you won't lose the results before your buyer sees the car.
If you want to extend the longevity further, applying a quality paste wax or ceramic coating over the cured UV sealant adds another protective layer. Some detailers also recommend parking nose-in to a garage wall or shade structure to reduce direct sun exposure on the lens surfaces — a small habit that meaningfully slows re-oxidation.
The one thing that will shorten the results significantly is washing the headlights with harsh alkaline cleaners or degreasers. Standard car wash soap is fine; commercial degreasers and citrus-based wheel cleaners are not. Keep them away from the lens surface and your UV sealant will last considerably longer.

All claims are backed by peer-reviewed research. Sources on request.