Key Takeaways
Why the Interior Inspection Matters as Much as the Mechanical One
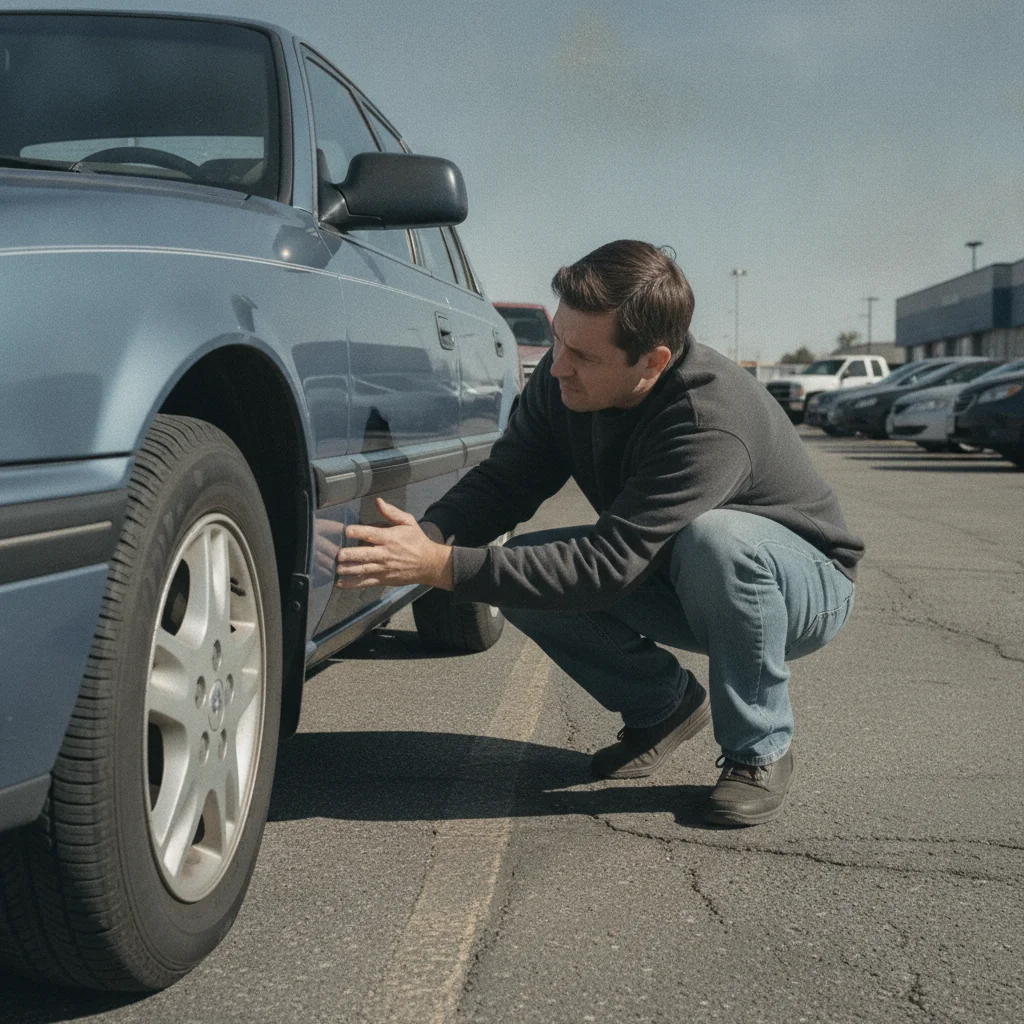
Most buyers spend the bulk of their pre-purchase attention under the hood or underneath the car. That's reasonable — a blown head gasket is more expensive than a cracked armrest. But the cabin is where a car's true history lives. Pedals don't lie. Carpets remember water. Switches fail in predictable patterns when they've been neglected. And sellers — whether private parties or dealers — know exactly how to clean and stage an interior so those stories are harder to read.
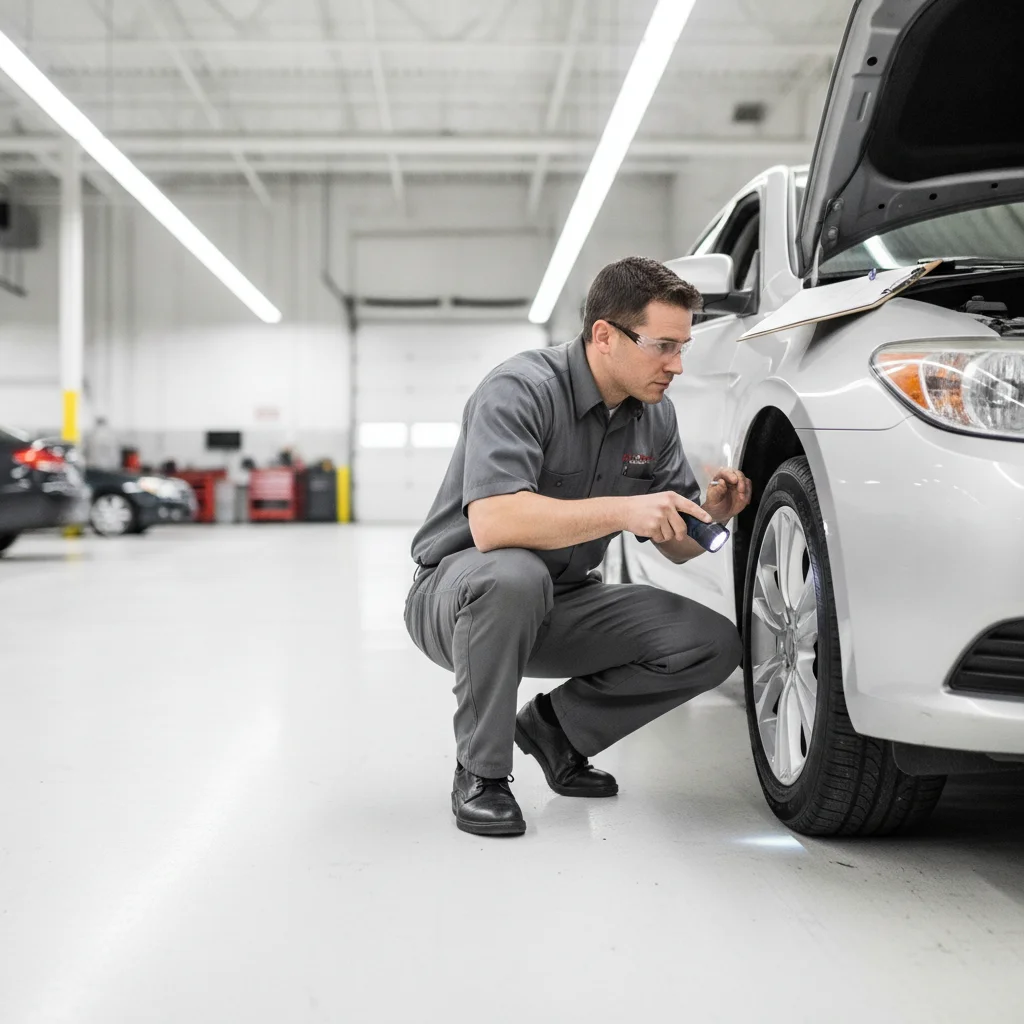
This guide gives you a room-by-room framework for evaluating any car's interior before you ever turn the key. It pairs directly with the Used Car Buyer's Pre-Drive Checklist, which covers exterior and under-hood inspection in parallel. Together, they'll keep you from buying someone else's problem.
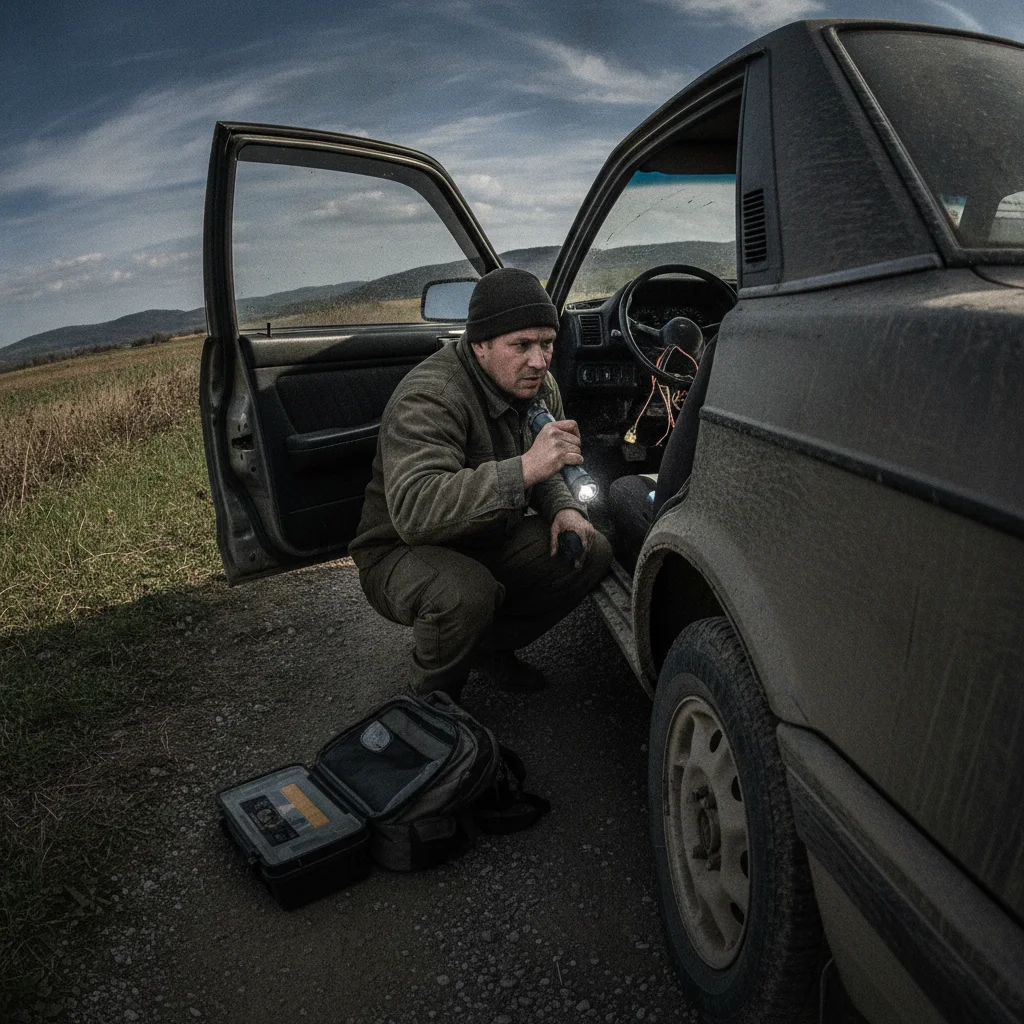
One caveat before you start: dealers in particular invest heavily in presentation. Fresh detailing, air fresheners, and steam-cleaned carpets can neutralize odors and restore visual appeal temporarily. Read more about those tactics in our companion piece on how dealers prepare cars for test drives. The inspection steps below are designed specifically to cut through that layer of polish.
What You'll Need Before You Start
You don't need a professional inspector's toolkit to do this well, but a few basic items make a real difference in what you can detect.
What you will need
LED Flashlight or Smartphone Torch
Illuminates dark areas under seats, inside door pockets, and along floor edges where water stains and damage hide.
Vehicle History Report (Carfax or AutoCheck)
Cross-references odometer readings against service records and flags title issues, accidents, or lemon law buybacks.
Smartphone with Camera
Documents every defect found during inspection for use in negotiation and for a pre-purchase inspector to review.
Small Telescoping Mirror
Lets you inspect under seats, behind the dashboard lip, and into tight trim gaps without removing panels.
OBD-II Bluetooth Adapter + App
Reads stored and pending diagnostic trouble codes from the vehicle's computer without a scan tool.
Pen and Checklist Printout
Keeps your inspection systematic and ensures nothing is skipped across multiple vehicles on the same day.
Plan to spend a minimum of 20 minutes on the interior alone — 30 to 45 is better. If a seller is rushing you or insisting you only look while sitting in the driver's seat, that's a red flag in itself. A motivated, honest seller will give you the time and access you need.
Inspect in Daylight When Possible
Natural daylight is significantly better than artificial lot lighting for spotting stains, discoloration, and inconsistencies in upholstery or trim. If you're viewing a car on a dealer lot at night or in a dim garage, ask to move it outside or schedule a return visit. A seller who won't let you see the car in good light is telling you something.
Bring a Second Set of Eyes
Having a passenger work through the rear seat and cargo area while you focus on the front cabin cuts your inspection time in half and ensures nothing gets missed. Brief them on the key things to press, smell, and photograph before you arrive.
Check Multiple Cars in One Day for Calibration
Inspecting only one car makes it hard to judge what's normal wear for the mileage. If you're serious about buying, schedule two or three cars in a row — you'll quickly develop a feel for what a well-maintained interior looks and smells like at a given price point.
Step-by-Step: How to Inspect a Car's Interior
Work through the cabin in a consistent sequence so nothing gets skipped. The steps below move from high-signal areas (pedals, floors, headliner) to component-level checks (switches, climate, infotainment). Take photos as you go — they're useful leverage if you want to negotiate on condition.
Check the Pedals and Driver's Footwell First
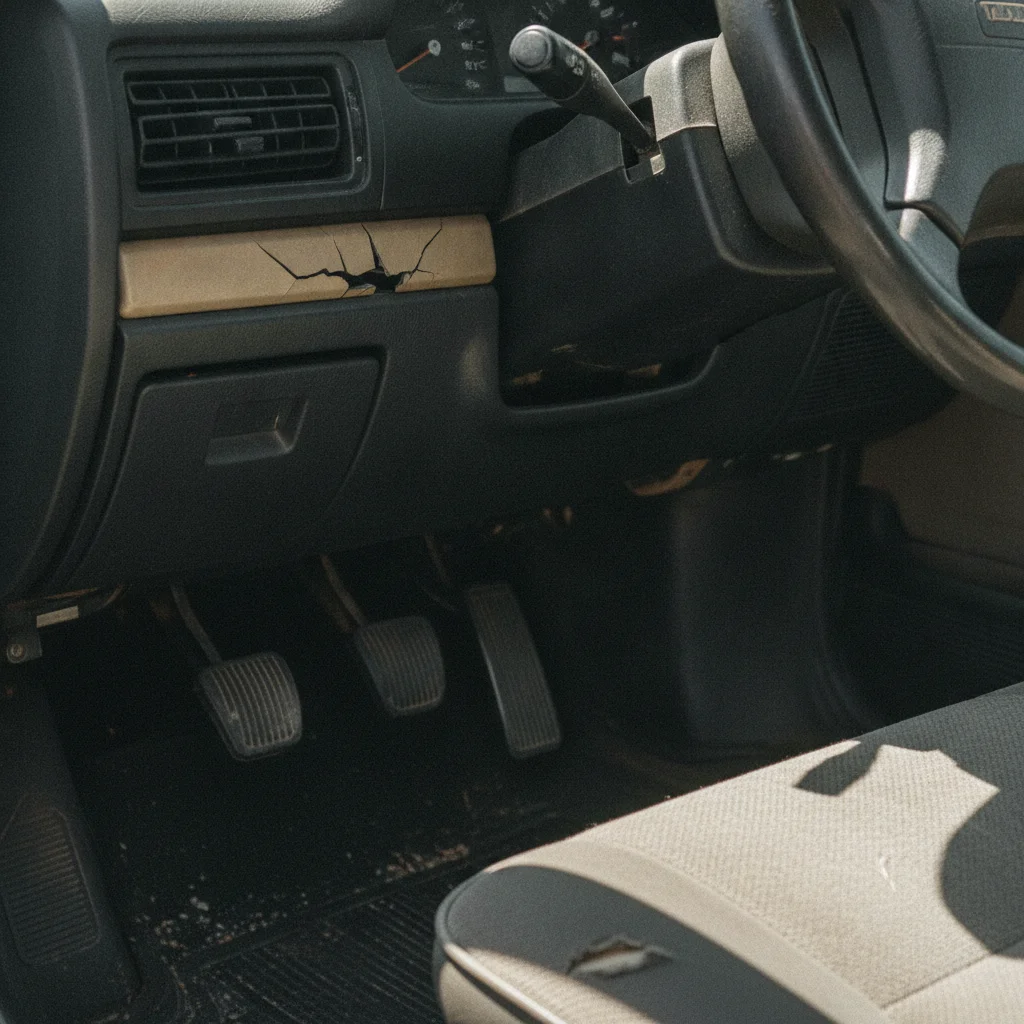
The rubber on the brake, clutch (if applicable), and accelerator pedals wears in direct proportion to miles driven. On a legitimately low-mileage car (under 40,000 miles), you should see minimal flattening or smoothing of the rubber grip pattern. Heavily worn-through pedal rubber on a car claiming 30,000 miles is a serious odometer inconsistency flag.
While you're down there, press the carpet with your palm near the transmission tunnel and in the corners under the dash. Any dampness, stiffness from dried moisture, or a faint sour smell points to a water intrusion issue — whether from a leaking heater core, cowl drain, or windshield seal.
Inspect the Door Sills and Entry Points
Door sill plates (the scuff plates on the entry threshold) take a beating every time someone gets in or out. On most cars they're plastic or aluminum-faced with a brand logo. Look for deep gouges, missing screws, or significant scratching — this correlates directly with frequency of use and gives you a second mileage reality check independent of the odometer.
Also examine the rubber door seals around each opening. Cracked, compressed, or peeling seals let in water and road noise. Replacement is not catastrophically expensive, but it's a signal that maintenance was deferred in other areas too.
Smell the Interior Before You Get Comfortable
Before you sit down and start pressing buttons, stand outside the open door and take a deliberate sniff of the cabin air. Your nose is most sensitive before it adjusts. You're checking for: mildew or damp earth (moisture damage), cigarette smoke embedded in headliner and foam (nearly impossible to fully remove), burned plastic (electrical issue), dog or pet odor (can saturate seat foam), and heavy artificial air freshener layered over something else.
A strong pine tree or "new car" scent hanging in a used car is a classic concealment technique. Ask the seller to open all doors and the trunk and let the car air for five minutes, then smell again.
Evaluate the Headliner and Overhead Components
Look up. The headliner should be uniform in color and firmly adhered — no sagging, bubbling, or discoloration. Oval or ring-shaped stains directly below the sunroof opening indicate clogged drain tubes. Stains near the A, B, or C pillars suggest roof seam or windshield seal failure.
Test the dome lights, map lights, and any vanity mirror lights by hand. Dead bulbs are minor, but multiple failures suggest the car sat for extended periods or has electrical gremlins. Check that the sunroof (if equipped) opens, closes, tilts, and — critically — seals completely shut with no daylight visible around the perimeter when closed.
Test Every Switch, Button, and Control
This step takes time but it pays off. Systematically work through every control in the cabin: power windows (all four, from both the master switch and each door switch), door locks, mirrors, heated/ventilated seat controls, steering wheel controls, horn, hazard lights, interior lighting dimmer, and every button on the HVAC panel.
Sticky or non-returning buttons indicate spilled liquid. Intermittent power windows often signal a failing regulator motor (~$150–$300 per door). A climate control zone that blows only cold or only hot suggests a blend door actuator failure — a surprisingly common repair on higher-mileage vehicles that can run $200–$600 at a shop.
Inspect Seat Surfaces, Adjustment, and Seatbelts
Sit in every seating position — driver, front passenger, and at least one rear position. Check that power seats (if equipped) move fully through all axes: forward/back, up/down, recline, and lumbar if present. A seat that works in only some directions has a failing motor or track — budget $200–$500 to repair.
Look at the seat surfaces closely. On leather or leatherette, check the bolsters (the outer edges of the seat back and cushion) for cracking, peeling, or foam showing through — this is the highest-wear area and appears first on frequently used driver's seats. On cloth seats, look for fading, fraying seams, and staining that survived the cleaning.
Buckle and unbuckle each seatbelt. They should latch positively with a solid click and retract smoothly. A seatbelt that retracts sluggishly or won't stay latched is a safety issue and a fix that's non-negotiable before driving.
Assess the Infotainment System and Instrument Cluster
Turn the ignition to the "on" position without starting the engine. Watch the instrument cluster go through its startup self-test — all warning lights should illuminate briefly then extinguish. Any light that stays on (check engine, airbag, ABS, TPMS, oil pressure) requires explanation and likely a diagnostic scan.
For the infotainment screen, test: touchscreen responsiveness across the full display area (dead zones in the center are common on worn screens), Bluetooth pairing with your phone, backup camera image quality and guidelines, navigation if equipped, and AM/FM/SiriusXM reception. A screen replacement on many modern vehicles runs $500–$1,500+, so don't assume a flickering or slow display is trivial.
[in_content_images:2]Check the Trunk and Rear Cargo Area
Pop the trunk and feel the carpet in all corners — especially the spare tire well. This is the single most reliable location for finding flood or water intrusion evidence, because sellers often clean the main cabin but neglect the well. Press down firmly; any moisture, rust staining on the metal, or water marks on the spare tire or jack hardware is a serious flag.
Lift the trunk carpet or floor panel to inspect the spare tire and jack kit — both confirm the car was purchased with those items and that the spare is properly inflated. While you're there, look at the metal around the trunk opening and hinge points for repaint, uneven panel gaps, or sealant that doesn't match — these indicate rear-end collision repair.
Red Flags That Warrant Walking Away
Most interior flaws are negotiating points, not dealbreakers. A cracked trim piece, a sticky cupholder, a burned-out dome light — these are nuisances you can fix cheaply. But certain findings should stop you cold.
Flood Damage Can Be Nearly Invisible After Cleaning
A professionally cleaned flood-damaged car can look and smell fine inside a climate-controlled lot. The damage lives in the subfloor padding, behind the dashboard, and in the electrical connectors — areas that dry slowly and corrode over months. Always check the spare tire well, smell the HVAC on recirculate, and verify the vehicle history report for title brand or multi-state registration history, which are common flood car red flags.
Mismatched VINs Are a Hard Stop
The VIN on the dashboard plate (visible through the windshield) and the VIN on the door jamb sticker must match each other and the title exactly. A mismatch can indicate a salvage vehicle built from multiple cars, a title wash scheme, or stolen vehicle parts. Do not proceed with a purchase until any VIN discrepancy is fully explained with documentation.
- Pervasive musty or mildew smell that survives airing out: This means moisture intrusion that is ongoing or was severe enough to reach subfloor padding. Remediation can cost $1,500–$4,000 and often never fully resolves.
- Water stains on the headliner, especially in a oval or ring pattern: Indicates a sunroof drain blockage or roof seam failure. Left untreated, it destroys the headliner and breeds mold.
- VIN discrepancy between the dashboard plate and the door jamb sticker: Never ignore this. It can indicate a title wash, a stolen vehicle, or airbag module replacement after a crash.
- Airbag warning light that stays on or flashes: The airbag system may have been deployed and improperly reset, or sensors may be faulty. This is a serious safety issue and an expensive fix.
- Seatbelt pretensioners that feel loose or show burn marks near the pillar: Evidence of a prior collision where the restraint system activated.
Don't Trust a Freshly Detailed Interior Alone
Steam cleaning, ozone treatment, and interior dressings can temporarily neutralize odors and restore the visual appearance of worn surfaces. Press the carpet with your palm, check under seats and in the trunk well, and smell the HVAC output on recirculate mode — these areas defeat most surface-level cleaning efforts.
Airbag and Safety System Lights Are Non-Negotiable
An illuminated airbag or SRS warning light means the passive restraint system may not function in a crash. Do not accept a seller's assurance that it's "just a sensor" without a written diagnostic report. If the system was deployed in a collision and improperly reset, you are driving without functional airbags.
If you encounter any of these, the right move is usually to walk. There are enough good used cars on the market that you don't need to take on structural safety unknowns. If you're still tempted, get a pre-purchase inspection from an independent mechanic before committing — and factor full remediation costs into any offer.
For context on how dealers evaluate these same issues when they're appraising your trade-in, see what dealers look for during a trade-in inspection. The criteria they use internally are almost identical to the buyer's checklist above.
Turning Interior Flaws Into Negotiating Leverage
When the interior has minor but legitimate issues — worn leather bolsters, a cracked center console lid, a non-functional heated seat zone — document everything in photos and put dollar amounts on each repair before you make an offer. Don't guess: look up part costs on RockAuto or a dealer parts portal, and add 1–2 hours of labor at local shop rates.
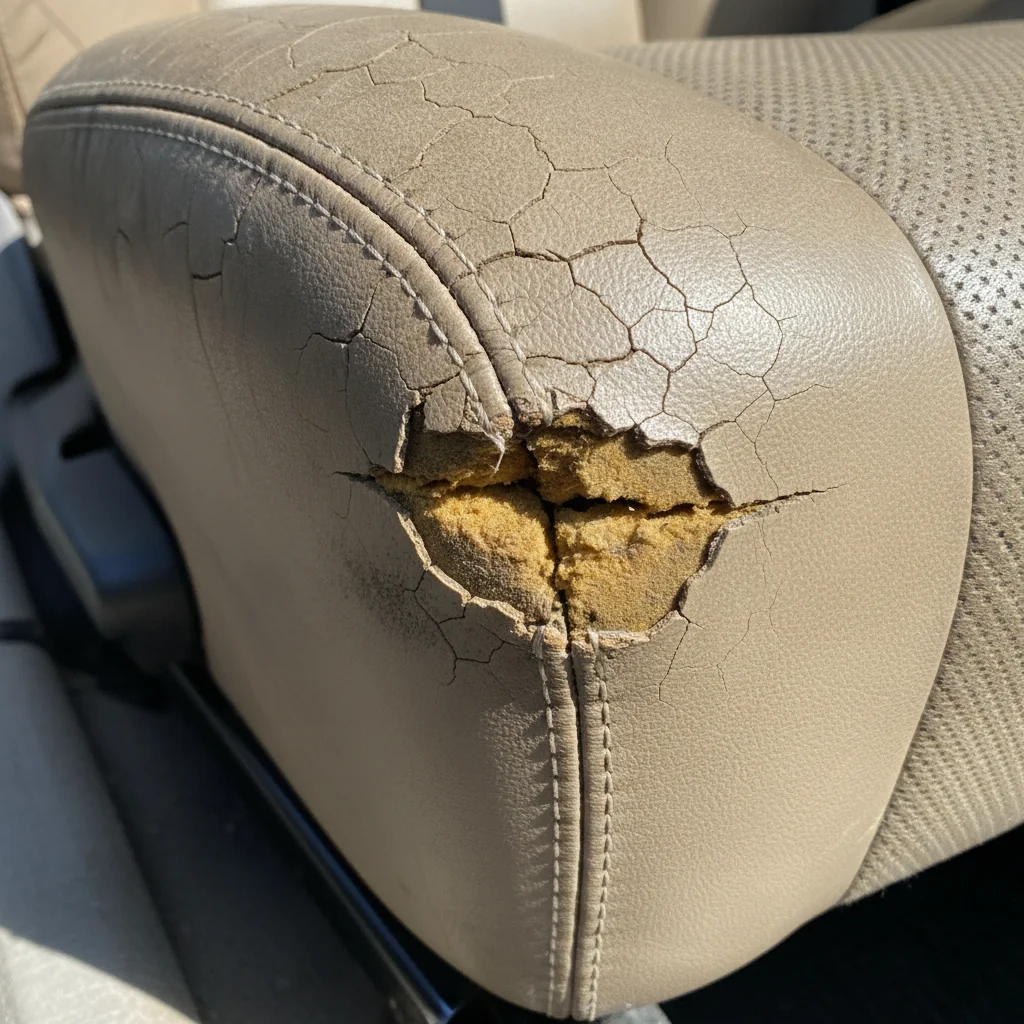
A concise list presented calmly at negotiation time is far more effective than vague complaints. Saying "the driver's seat bolster is worn through to the foam, and a leather repair kit runs $80 plus a $150 shop visit" is harder to dismiss than "the seat looks kind of rough." Sum your documented items and ask for that amount off the asking price — or request that specific repairs be completed before purchase.
Keep in mind that sellers who've prepped their car's interior for sale have already invested time and money in presentation. They expect some pushback on condition and will often meet you partway on pricing if your ask is specific and reasonable.
Once you've finished the interior inspection and feel confident about the car's condition, the next step is getting it moving. Our guide to test drive tactics walks you through exactly what sounds, sensations, and behaviors to evaluate once you're behind the wheel.

All claims are backed by peer-reviewed research. Sources on request.