Key Takeaways
Summary
28 items · 30–60 minutes
Why Preparation Before Installation Matters
Booking an electrician and buying a charger without doing your homework first is one of the most common — and costly — mistakes EV owners make. A poorly planned installation can result in a panel upgrade you weren't budgeted for, a permit rejection that delays the project by weeks, or a charger that simply doesn't communicate with your vehicle correctly.
This checklist is designed to eliminate those surprises. Work through it before you call a single contractor, and you'll walk into that conversation with the information they actually need — panel capacity, desired install location, conduit path, and permit requirements already mapped out.
For a fuller picture of the entire setup process, see our comprehensive home EV charging setup guide — this checklist is the preparation layer that sits on top of that foundation.
There are two realistic scenarios for home charging: Level 1 using a standard 120V outlet, and Level 2 using a dedicated 240V circuit. Level 1 requires almost no preparation — if you have a grounded outlet in your garage, you're largely ready. Level 2 is where this checklist earns its keep, because there are a dozen moving parts that need to align before the install goes smoothly.
Tools and Information You'll Need
Before you start working through the checklist groups below, pull together the following resources. Having them on hand means you can answer each item definitively rather than guessing.
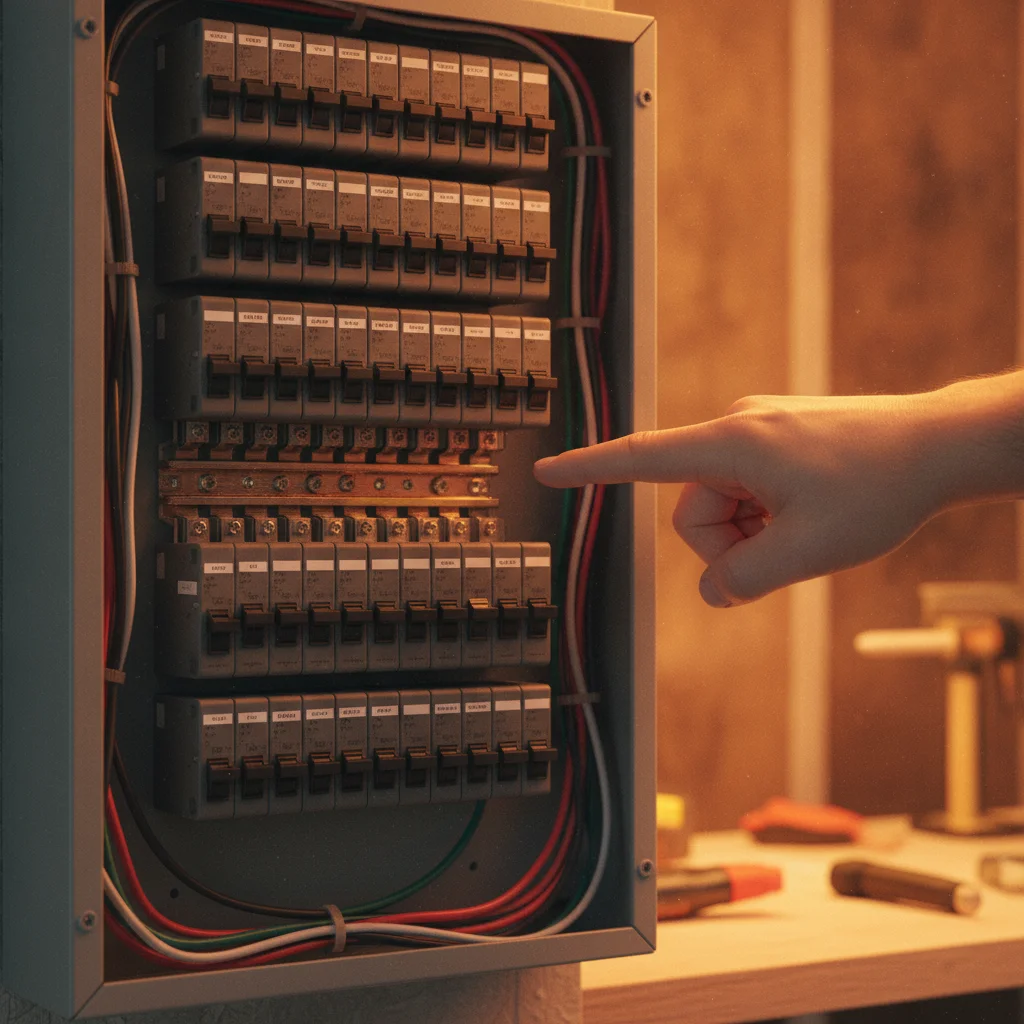
Electrical panel schedule (breaker directory)
Lists every circuit in your panel with its amperage — essential for calculating available capacity before adding a charger circuit.
EV owner's manual or spec sheet
Confirms your vehicle's maximum onboard charger acceptance rate and connector type, so you buy the right EVSE.
Tape measure
Used to measure the distance from your panel to the proposed charger mount location for accurate electrician quotes.
Flashlight or headlamp
Needed to read panel labels and inspect conduit routing paths in garages or utility closets with poor lighting.
Non-contact voltage tester
Allows you to verify whether an existing outlet is live and correctly wired before planning a Level 1 setup.
Utility company account login
Required to check available TOU rate plans, rebate programs, and whether a service upgrade is needed.
Local permit office contact info
Needed to confirm permit requirements and fees before your electrician begins work.
IRS Form 8911 (Alternative Fuel Vehicle Refueling Property Credit)
Used when filing taxes to claim the federal EV charger installation tax credit for eligible homeowners.
If you don't know where to find your panel's breaker directory or load calculation, our plain-English electrical panel explainer walks you through reading your panel from scratch.
The Pre-Installation Checklist
Work through each group in order. Items marked must are non-negotiable — don't proceed to booking an electrician until every one of those is resolved. Should items are strongly recommended for a clean, code-compliant, future-proof install. Nice-to-have items are optimizations worth considering if your budget allows.
Electrical Panel Assessment
Charger Selection & Vehicle Compatibility
Installation Location & Physical Access
Permits & Utility Requirements
Contractor Readiness
Don't Skip the Permit — Even If Your Electrician Offers To
Some contractors will offer to do the work without pulling a permit to save time or avoid inspection scrutiny. Decline. An unpermitted 240V circuit installation can void your homeowner's insurance, create liability if the home is sold, and in some jurisdictions result in fines and mandatory removal of the circuit. The permit and inspection are there to protect you, not slow you down.
Panel Upgrades Take Time — Plan Ahead
If your panel assessment reveals you need a service upgrade (from 100A to 200A, for example), that work involves your utility company, not just an electrician. Utility scheduling backlogs can add 2–8 weeks to your timeline in some regions. Start this process early if your panel is undersized — don't wait until after you've already taken delivery of your EV.
Outdoor and Garage Installations Have Extra Requirements
Chargers installed in unheated garages or outdoors must be rated for those conditions. A charger with an indoor-only NEMA rating exposed to moisture or freezing temperatures is both a safety risk and a warranty violation. Always confirm the EVSE's environmental rating matches your installation environment.
Once you've completed the checklist, you'll have a clear picture of whether you need a panel upgrade, where the charger will physically go, what permits you need to pull, and whether your chosen EVSE (Electric Vehicle Supply Equipment) is compatible with your car. Take that summary sheet to your electrician — it signals that you're a prepared client and typically results in a more accurate quote.
For help finding and screening the right contractor, see our questions to ask any electrician before hiring them.
Level 1 vs. Level 2: Making the Final Call
The checklist will naturally surface whether Level 2 makes sense for your situation. Here's a quick framework if you're still on the fence:
| Factor | Level 1 (120V) | Level 2 (240V) |
|---|---|---|
| Miles added per hour | 3–5 miles | 15–30+ miles |
| Typical daily commute covered | Up to ~40 miles | Up to ~200+ miles |
| Install cost | $0–$300 | $500–$2,000+ |
| Panel upgrade likely? | Rarely | Sometimes |
| Permit required? | Rarely | Almost always |
| Best for | PHEVs, short commutes, renters | BEV owners, most homeowners |
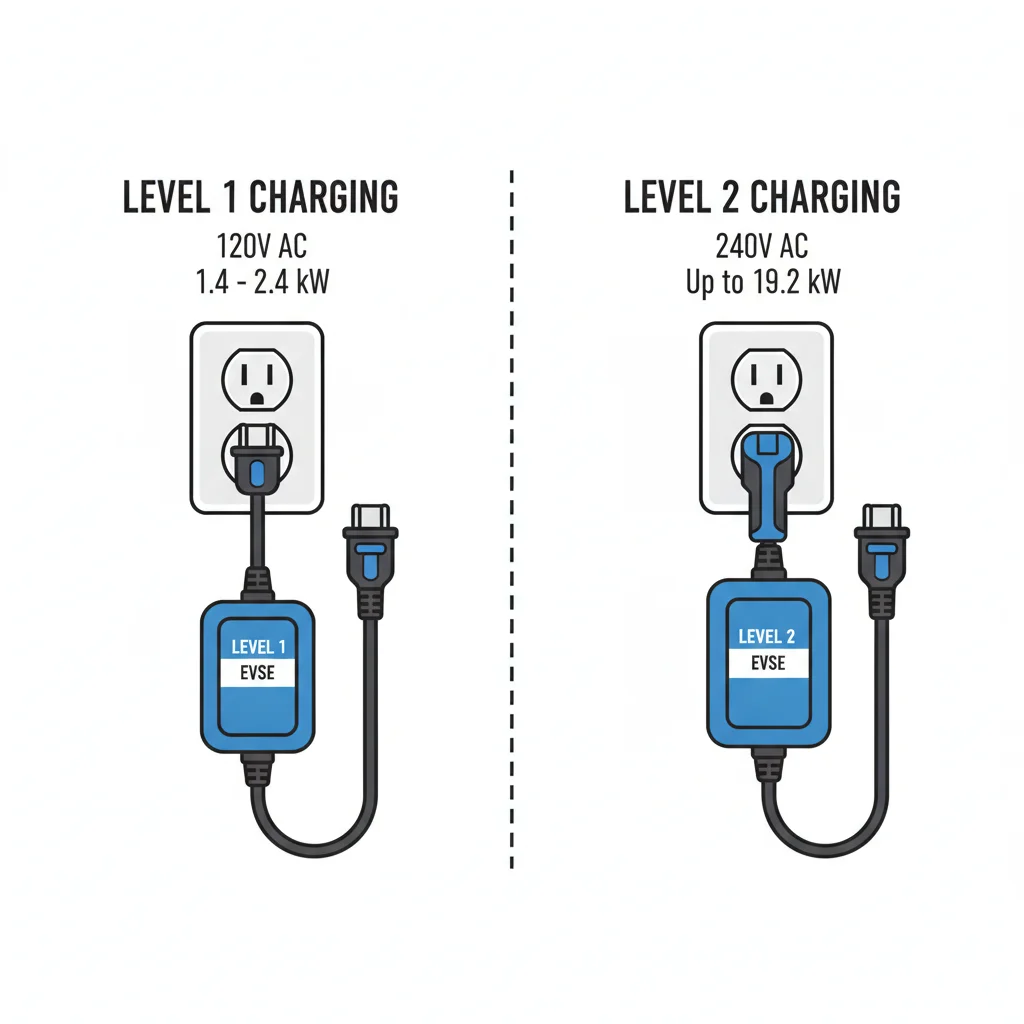
If you drive a full battery-electric vehicle and cover more than 40 miles a day, Level 2 isn't optional — it's the practical minimum. Level 1 will technically work, but you'll spend every night anxious about whether you charged enough for tomorrow.
Federal Tax Credit Requires a Permitted Installation
The IRS Alternative Fuel Vehicle Refueling Property Credit (Form 8911) requires that the charging equipment be installed in a qualifying location and meet applicable safety standards. An unpermitted installation puts your ability to claim this credit in question. Keep your permit, inspection sign-off, and all receipts together — you'll need them when you file. The credit can be worth up to $1,000 for residential filers in eligible census tracts.
After installation, your attention shifts to managing charging costs intelligently. Our charging costs and savings hub covers time-of-use rates, utility rebates, and how to calculate your real cost per mile compared to gasoline.
Permits, Inspections, and Tax Credits
This is the section most DIY-inclined homeowners try to skip — and it's the one that causes the most problems downstream. Electrical permits exist because faulty wiring is a fire hazard, and most jurisdictions treat a Level 2 EV charger install the same as adding a new 240V appliance circuit, which requires a permit and inspection in nearly every state.
What happens if you skip the permit? Your homeowner's insurance may deny a claim related to an electrical fire. Your charger manufacturer's warranty may be voided. And if you sell the house, a permitted, inspected install is a selling point — an unpermitted one is a liability disclosure.
See our detailed state-by-state permit guide for what inspectors typically check and how long the process takes in your area.
On the tax credit side: the federal Alternative Fuel Vehicle Refueling Property Credit (IRS Form 8911) was extended and modified under the Inflation Reduction Act. As of 2024, homeowners in eligible census tracts can claim up to 30% of equipment and installation costs, capped at $1,000 for residential installations. Check IRS.gov and your state energy office for current eligibility — several states stack additional rebates on top.

Your utility company is also worth a call before installation. Many offer EV-specific time-of-use (TOU) rate plans, rebates on approved charger hardware, or even free installation programs for income-qualifying customers. This is a five-minute phone call or web search that can save hundreds of dollars.
After the Checklist: What Comes Next
Completing this checklist puts you in the top tier of prepared EV charging customers. Here's what a typical timeline looks like once you're done:
- Get 2–3 quotes from licensed electricians who have documented EV charger install experience. Use our electrician vetting questions to screen them effectively.
- Pull the permit — your electrician typically handles this, but confirm it upfront. Never let a contractor skip this step.
- Confirm utility enrollment in any TOU rate plan before the first charge cycle. Most utilities let you switch plans online.
- Set your charging schedule in either your vehicle's app or the EVSE app to charge during off-peak hours (typically 9 p.m. – 6 a.m.).
- File for tax credits in the tax year the installation is completed. Keep all receipts and the permit/inspection documentation.
Home charging covers the vast majority of EV owners' needs, but for long-distance travel you'll also want to familiarize yourself with public DC fast-charging networks and how to plan around them. And before any extended road trip, run through our pre-road-trip EV charging checklist to make sure you're covered away from home too.

All claims are backed by peer-reviewed research. Sources on request.