Key Takeaways
Why Non-Mechanics Should Still Open the Hood
Most used car buyers pop the hood, stare blankly for a few seconds, then close it without learning anything. That's a missed opportunity. You don't need to understand how a timing chain works or be able to identify a throttle body on sight. What you're doing is pattern recognition — looking for signs of neglect, amateur repairs, or fluid problems that any informed person can spot with their eyes and nose.
The engine bay is one of the most honest parts of a car. Sellers can detail the interior and touch up body panels, but cleaning up a neglected engine bay takes real effort — and even then, stains, wear, and residue leave traces. Engine bay cleanliness signals maintenance habits to buyers faster than almost any other visual cue.
This guide walks you through exactly what to check, in a logical order, with plain-language descriptions of what you're looking for and what each finding means. Before you start, make sure the engine has been off for at least 15–20 minutes — you're not doing any work, just looking, but hot components and pressurized cooling systems are real hazards.
What you will need
What You'll Need for This Check
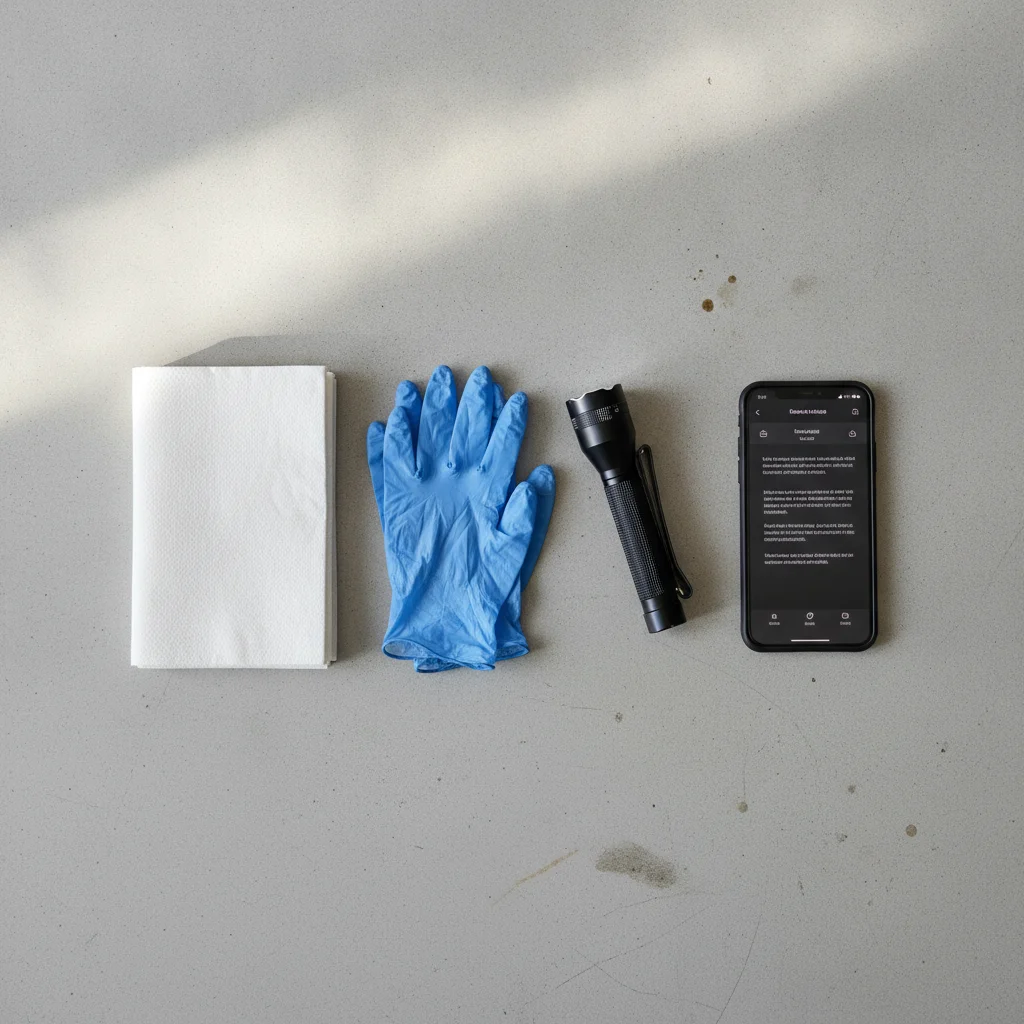
This inspection is intentionally tool-light. The goal is to give any buyer a meaningful read on the car's condition without specialized equipment. That said, a few items make the job easier and safer.
Flashlight or smartphone torch
Illuminate dark corners of the engine bay where leaks, sludge, and corrosion hide.
Disposable nitrile gloves
Let you handle the dipstick and oil cap without getting your hands dirty, making oil condition easier to read on your skin.
White paper towel or rag
Wipe the dipstick clean before re-reading the oil level and color — essential for an accurate reading.
Smartphone camera
Document findings with photos you can share with a mechanic or reference during negotiation.
Notepad or notes app
Record what you find at each checkpoint so you have a written record to discuss with the seller or mechanic.
If you want to go deeper after your visual check — and you should, for any purchase over $5,000 — see our full toolkit guide for DIY inspections. But for today's walkthrough, the basics below are all you need.
Step-by-Step: What to Check Under the Hood
Work through these checks in order. Each one takes under two minutes and builds a cumulative picture of the vehicle's maintenance history. Take notes or photos as you go — you'll want to reference them if you negotiate or consult a mechanic later.
Check the oil level and color
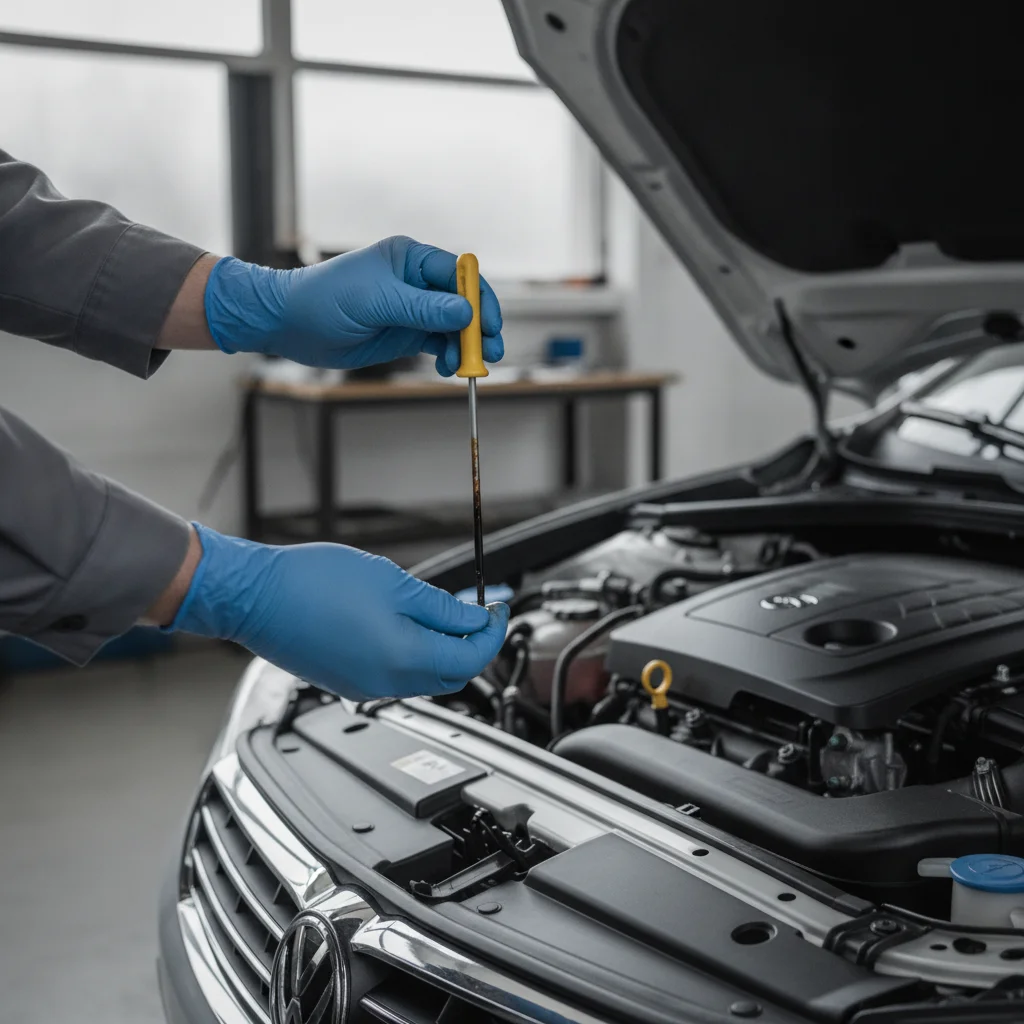
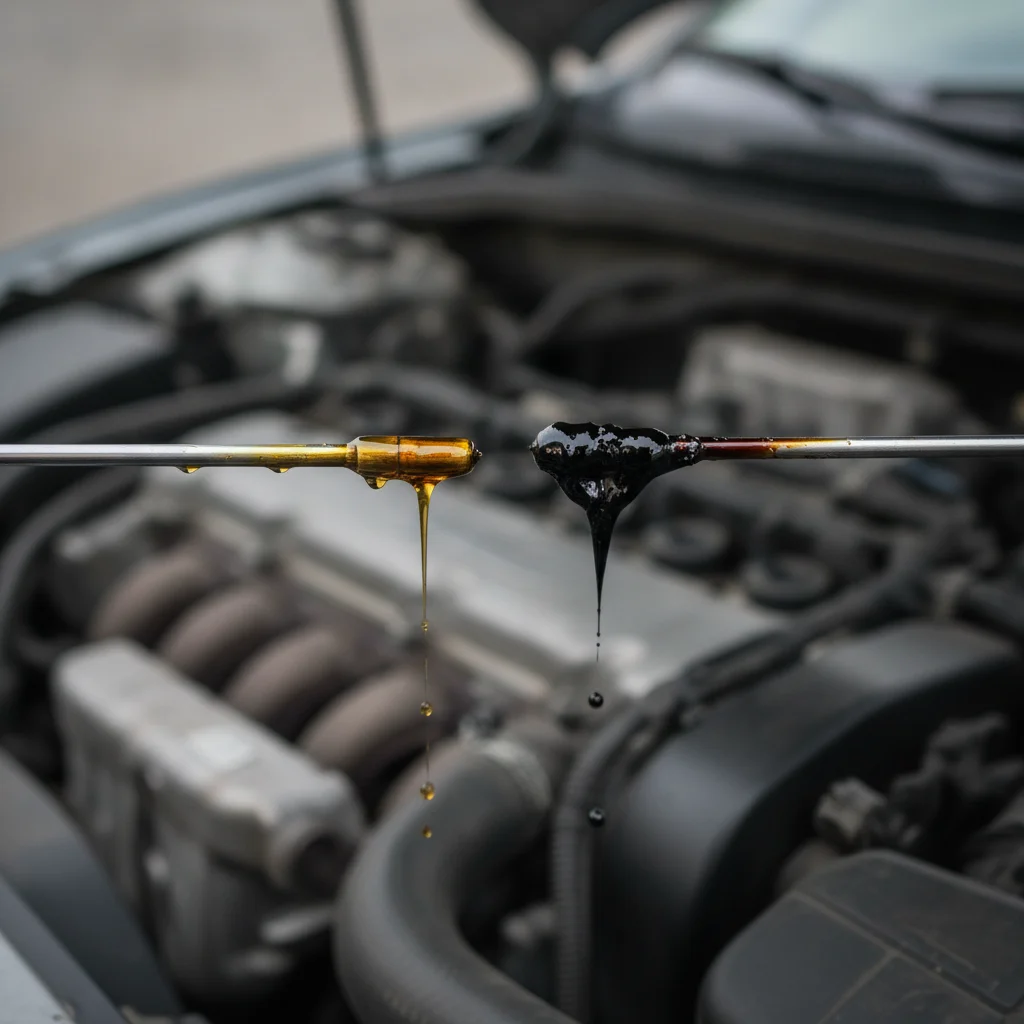
Pull the dipstick (it typically has a yellow or orange ring handle), wipe it clean with your paper towel, reinsert it fully, then pull it out again. Read the level against the MIN and MAX marks on the stick itself.
Now look at the oil on the towel:
- Golden or amber: Fresh, well-maintained oil. Good sign.
- Dark brown to black: Normal for older oil — not alarming on its own if the level is correct.
- Milky, foamy, or grayish: Coolant contamination. This is a serious red flag — possibly a blown head gasket.
- Low level: Could mean burning or leaking oil. Ask when it was last topped off.
Remove the oil filler cap and check for sludge
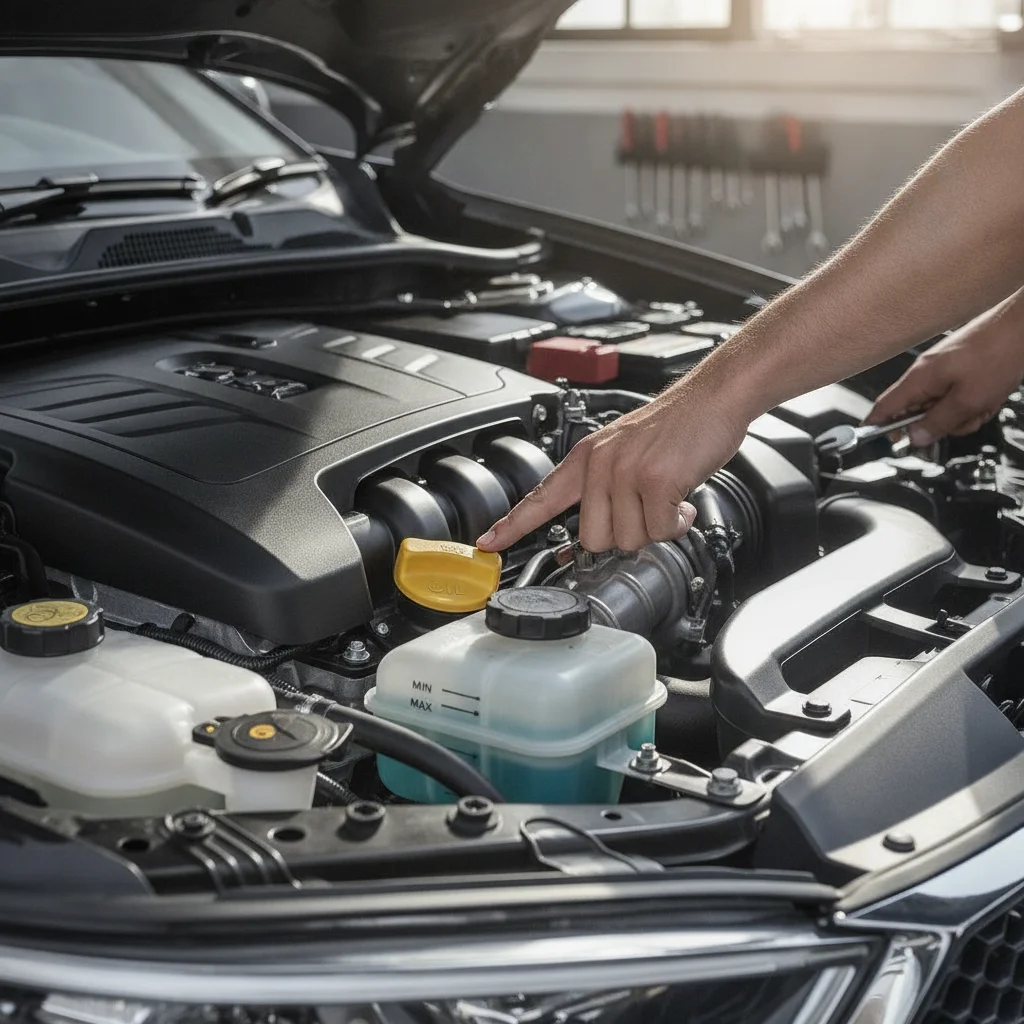
Unscrew the oil filler cap — it's usually on top of the engine with an oil can symbol. Look at the underside of the cap and inside the opening with your flashlight.
- Light brown or tan residue: Normal condensation byproduct. Fine.
- Thick black sludge or tar-like buildup: Oil changes were skipped repeatedly. Sludge inside an engine is expensive to address — it can block oil passages and starve components of lubrication.
- Milky white or creamy residue: Same coolant-mixing concern as milky dipstick oil. Don't dismiss it.
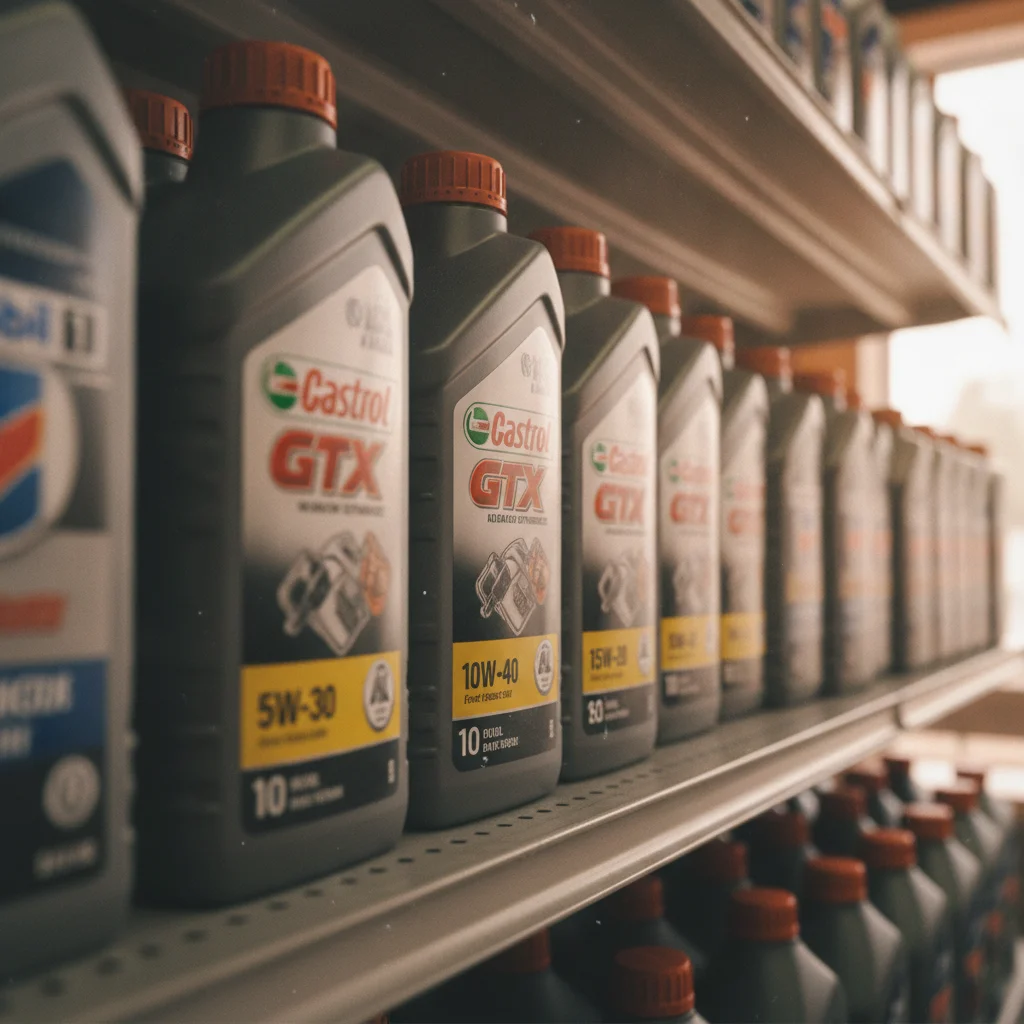
For context on what oil specifications tell you about a car's needs, see our guide on how to read motor oil labels.
Inspect the coolant reservoir
The coolant reservoir is a translucent plastic tank (usually with a pressure cap) connected to the radiator. You don't need to open it — just look through the side.
- Bright green, orange, pink, or blue: Good. That's fresh or reasonably maintained coolant.
- Brown, rust-colored, or murky: The coolant hasn't been changed and corrosion is building up inside the cooling system. Budget for a flush ($80–$150) and possibly a thermostat.
- Empty or very low: Coolant doesn't evaporate — low levels mean a leak somewhere. Check around the radiator hoses and the reservoir itself for dried residue or staining.
- Oily film on top of the coolant: Another sign of a compromised head gasket allowing oil into the coolant circuit.
Look at the battery terminals
Find the battery (usually a black rectangular box with red and black caps or cables). Look at the metal terminals where the cables connect.
- Clean, tight connections with no buildup: Well maintained.
- White, blue, or greenish powder or crust: Corrosion from acid vapor. Mild corrosion is common and cheap to fix, but heavy buildup suggests the battery hasn't been serviced in years and may be failing.
- Loose cables or cracked insulation on the wires: More serious — loose grounds and damaged wiring cause intermittent electrical problems that are expensive and frustrating to diagnose.
If you see heavy corrosion combined with other electrical symptoms (accessories that don't work, warning lights), read more about diagnosing electrical faults before you decide how to proceed.
Squeeze and inspect the major hoses
There are two hoses running from the radiator to the engine (upper and lower radiator hoses) and various smaller hoses throughout the bay. With the engine cold, gently squeeze the large radiator hoses.
- Firm but slightly pliable: Good condition.
- Rock hard and brittle: Rubber has dried out — hose is due for replacement. A cracked or burst radiator hose will strand you.
- Soft, mushy, or spongy: Hose is deteriorating from the inside. Same replacement urgency.
- Visible cracks, bulges, or swelling near the clamp ends: Replace immediately.
Also look at how the clamps are installed. Factory hoses use uniform screw-type clamps. If you see mismatched clamps, wrapped sections of hose, or repair tape, someone has done a field fix that may not hold.
Look for leaks, staining, and fresh sealant
Shine your flashlight along the bottom edges of the engine, around the oil pan, valve cover gaskets, and anywhere hoses connect. You're looking for:
- Wet or oily residue: Active leak — note where it's coming from.
- Dried dark staining: Previous leak that may or may not still be active.
- Fresh-looking RTV silicone sealant (gray, black, or red bead): Someone applied a quick fix to a gasket or seam. It may hold, or it may be masking a bigger problem.
- Undercoating sprayed over the lower engine: A known seller trick to hide oil staining. Fresh undercoating on an engine block where it doesn't belong is a red flag.
Step back and look at the ground directly under the car before you leave the lot. Fresh drips or staining on the pavement tell you whether the leak is active right now. Our fluid leak color guide helps you identify exactly which system is leaking based on color and location.
Do a general visual sweep for anything out of place
Spend 60 seconds scanning the engine bay overall. You're looking for anything that reads as wrong, hasty, or inconsistent with the age and mileage of the vehicle:
- Wiring that's been spliced with electrical tape instead of proper connectors
- Zip ties holding something up that should be bolted
- Missing brackets, caps, or covers
- Burn marks or melted plastic near wiring harnesses
- Components that look significantly newer or older than everything around them (a brand-new alternator on a clean low-mileage car is fine; a brand-new alternator on a high-mileage car means it failed and was replaced — worth asking why)
- Any warning stickers or tags from a repair shop with a recent date (a free data point on service history)
Take a few photos before you close the hood. Even if you don't know what everything is, a mechanic can look at your photos and tell you if something warrants attention.
Once you've completed the visual check, compare your findings to what the seller has told you about service history. Inconsistencies between claimed maintenance and what you see are negotiating leverage — or a reason to walk. For a deeper read on fluid identification, the quick-reference guide to car fluid colors and smells covers every fluid you're likely to encounter.
Red Flags That Should Stop the Deal (or Change the Price)
Not every underhood issue is a dealbreaker, but some findings shift the math significantly. Here's how to triage what you found:
| Finding | What It Likely Means | Suggested Action |
|---|---|---|
| Milky or foamy oil on dipstick or cap | Coolant mixing with oil — possible head gasket failure | Walk away or demand mechanic inspection first |
| Heavy black sludge on oil cap or dipstick | Oil changes severely neglected; potential engine damage | Deduct $800–$2,000+ from offer; get inspection |
| Bright green, orange, or pink coolant turned brown/rusty | Coolant not changed; corrosion inside cooling system | Deduct $300–$600; budget for flush and inspection |
| Mismatched hose clamps or wrapped hoses | DIY repairs, possibly hiding a failure | Ask seller directly; verify with mechanic |
| Corroded or leaking battery terminals | Neglected maintenance; possible electrical gremlins | Minor if isolated; concern if combined with other flags |
| Burn marks or melted plastic near wiring | Electrical fault or previous fire | Strong walk-away signal |
| Fresh undercoating or sealant on block | Possible oil leak being masked | Get mechanic inspection before proceeding |
Milky Oil Means Stop the Inspection
If the oil on the dipstick or under the filler cap looks milky, creamy, or grayish rather than brown or black, that almost certainly means coolant is mixing with engine oil — a classic symptom of head gasket failure or a cracked cylinder head. This is a $1,500–$4,000+ repair on most vehicles. Do not buy this car without a full mechanic inspection confirming the source, and do not let a seller talk you into "it's just condensation" — condensation doesn't make oil look like a milkshake.
Fluid leaks are especially telling. If you see fresh staining or wet residue around hoses, the oil pan, or the radiator, check the ground directly under the car before you leave. Our color-coded fluid leak guide breaks down exactly what each color means and where it's coming from.
Use Your Nose, Not Just Your Eyes
A burnt oil smell near the engine bay often means oil is dripping onto hot exhaust components — even if you can't see an obvious wet spot. A sweet smell near the front of the car usually means coolant is leaking and burning off. Trust your nose as a diagnostic tool; it often catches what eyes miss. For a full breakdown of what smells indicate, the <a href="/maintenance-and-ownership/vehicle-maintenance/warning-signs/reading-your-car-before-it-breaks-down">guide to recognizing pre-failure signals</a> covers this in detail.
Photos Are Free Negotiating Leverage
Every red flag you photograph is a documented finding you can present to the seller or use to justify a lower offer. A photo of sludge on the oil cap, corrosion on the battery terminals, or a cracked hose is far more persuasive than a verbal claim. Take pictures of the dipstick reading, the coolant reservoir, both battery terminals, and any staining or makeshift repairs you find.
After the Visual Check: What Comes Next
Your underhood inspection is one layer of a complete pre-purchase evaluation, not the whole picture. Here's how it fits into the broader process:
- Cross-reference with the vehicle history report. If the seller claims regular oil changes but the dipstick shows neglected oil and the cap has sludge, the history report may show why — or may show no service records at all.
- Start the engine and watch the exhaust. Blue smoke points to burning oil, white smoke to coolant entering the combustion chamber, black smoke to a rich fuel mixture. Exhaust smoke color is one of the clearest engine health signals available without a scanner.
- Take it for a real test drive. Cold starts, hard acceleration, highway speeds, and full braking all reveal issues that an idle engine hides. If you want to know what sounds and sensations to pay attention to, the guide to reading your car before it breaks down is worth reviewing before the drive.
- Book a pre-purchase inspection. Budget $100–$150 for an independent mechanic to put the car on a lift and check what you can't see. This is non-negotiable for any purchase over $5,000, and it's still worthwhile for cheaper vehicles if multiple flags appeared in your visual check.
The combination of your visual underhood check, a test drive, a vehicle history report, and a mechanic's inspection gives you more information than most buyers ever gather — and that information is leverage. Use it to negotiate a fair price, demand repairs as a condition of sale, or walk away with confidence.
Don't Skip the Mechanic Inspection
Your visual check will catch a lot, but it won't catch everything. A mechanic on a lift can spot frame concerns, exhaust leaks, worn CV axles, brake rotor condition, and suspension wear that no amount of underhood looking will reveal. The $100–$150 cost of a pre-purchase inspection is the cheapest insurance policy available for a used car transaction. If a seller refuses to allow a third-party inspection, treat that refusal as a major red flag in itself.
For ongoing maintenance after purchase, a monthly underhood inspection routine takes less than 10 minutes and keeps you ahead of the problems you just learned to spot. And if you want to go further and handle basic repairs yourself, the DIY primer for first-time underhood repairs is a practical starting point.

All claims are backed by peer-reviewed research. Sources on request.