Key Takeaways
Summary
22 items · 15–25 minutes
Why Monthly Beats Whenever You Remember
Most drivers open the hood twice a year: once when the oil-change light comes on, and once when something has already gone wrong. That reactive approach is exactly how a $15 coolant hose turns into a $4,000 engine replacement. A scheduled monthly look-over puts you in control of the timeline instead of letting minor wear dictate it.
Think of your engine bay the same way a pilot thinks about a pre-flight checklist. Aircraft mechanics don't wait for warning lights — they walk around the aircraft before every single flight, looking for anything out of place. Your car deserves at least one thorough visual inspection per month, and the good news is that it costs nothing but a few minutes of your time.
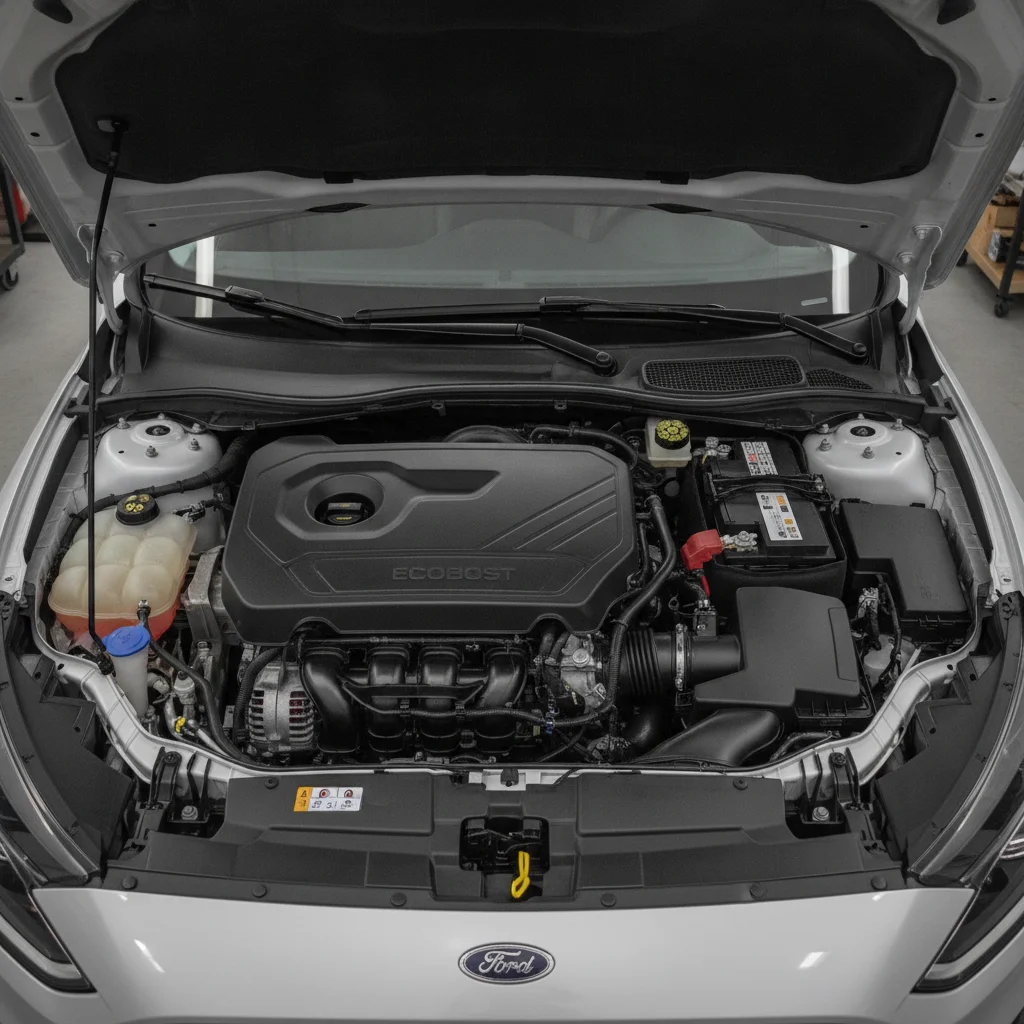
This checklist is organized the way I walk through an engine bay myself: fluids first (because they tell the story of what's wearing out), then belts and hoses (because they're load-bearing and time-sensitive), then electrical and ancillary items. Work through it in order and you won't miss anything significant.
If you'd like to go deeper on any individual fluid check, our guide to fluid checks between service visits covers each reservoir in detail. And if you're newer to opening the hood at all, Under the Hood: What to Look at Even If You're Not a Mechanic is the right starting point.
What You'll Need Before You Start
The barrier to entry here is low. You don't need a lift, a scan tool, or a full tool chest. The items below are everything used in a complete monthly inspection — most of them cost under $10 and last for years.
Clean lint-free rags or shop towels
Wipe the dipstick clean between readings and mop up any small drips during fluid checks.
Flashlight or phone torch
Illuminate the back corners of the engine bay where belts, hoses, and potential leak points are harder to see.
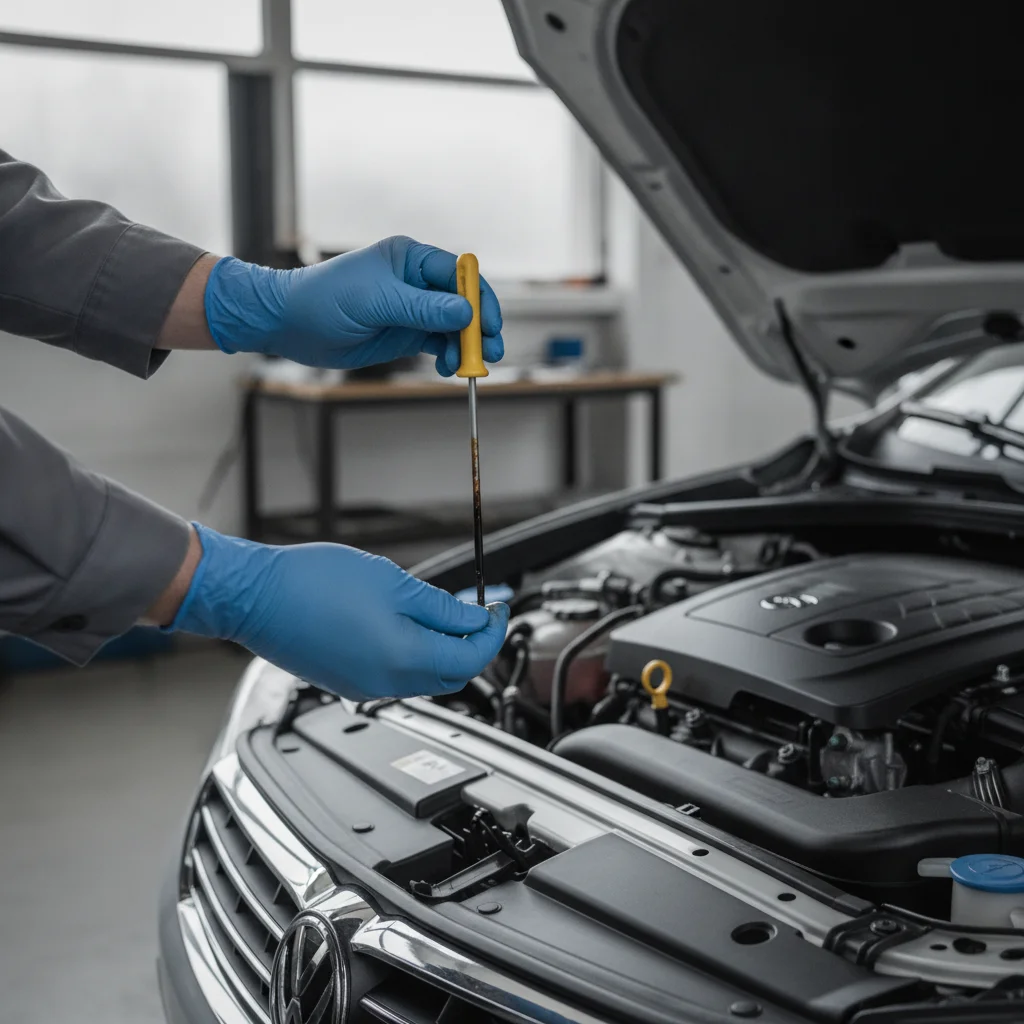
Nitrile gloves
Protect your hands from oil, coolant, and brake fluid, all of which can irritate skin with repeated exposure.
Appropriate top-off fluids (oil, coolant, brake fluid)
Allow you to correct low levels immediately rather than scheduling a separate trip.
Maintenance logbook or note app
Record fluid levels, dates, and mileage each month so you can track trends and spot gradual deterioration.
Battery terminal cleaning brush
Remove corrosion from battery posts quickly without damaging the terminal or cable lug.
Coolant test strips
Measure the freeze protection level and pH of your coolant to determine if a flush is approaching.
One practical note on timing: always run through this checklist on a cold engine — meaning the car has been sitting for at least two hours, ideally overnight. A hot cooling system is pressurized and can spray scalding coolant if you open the reservoir cap. Hot oil readings are also less accurate because oil thins as it heats up. Cold checks are safer and more informative.
Never Open the Radiator Cap on a Warm Engine
The cooling system operates under pressure — typically 14–16 PSI — and coolant temperature can exceed 200°F. Opening the radiator or coolant reservoir cap on a warm engine releases that pressure instantly, spraying boiling coolant several feet in any direction. Always allow the engine to cool completely (at least two hours after driving) before inspecting or adding coolant.
Don't Ignore a Brake Fluid Level Drop
Unlike engine oil, brake fluid doesn't get 'used up' during normal operation. If the level is noticeably lower than last month, there are only two explanations: your brake pads have worn down significantly (fluid fills the growing void in the caliper), or you have a leak somewhere in the hydraulic system. Either scenario requires a shop inspection — do not delay on anything connected to your ability to stop.
The Complete Monthly Inspection Checklist
Work through each group in sequence. The items marked must are non-negotiable monthly checks — if you only have five minutes, do those. Items marked should are strongly recommended and take very little additional time. Nice-to-have items reward the detail-oriented and help you build a reliable condition history for your vehicle.
Engine Oil
Coolant and Radiator
Belts and Hoses
Brake and Power Steering Fluid
Battery and Electrical
Air Filter and Ancillary Checks
If anything in the belt or hose group looks questionable, don't wait for the next month's inspection — have a shop look at it within the week. Serpentine belts, in particular, follow a steep degradation curve: they look fine right up until they snap. Our Routine Servicing hub explains typical service intervals so you can align your inspection findings with scheduled shop visits.
A Cracked Belt Is an Emergency Waiting to Happen
The serpentine belt drives your alternator, power steering pump, air conditioning compressor, and water pump simultaneously. When it fails — and a cracked belt will fail — you typically lose power steering immediately, the battery stops charging, and the engine begins to overheat within minutes. A roadside serpentine belt failure often results in a tow bill, emergency labor rates, and possible cooling system damage totaling $800–$1,500. The belt itself costs $30–$80. Monthly inspection is the entire difference between those two outcomes.
Reading What You Find: Common Warning Signs Decoded
Knowing what to look for is only half the job. Knowing what it means is what converts an inspection into action. Here's a plain-language decoder for the most common findings.
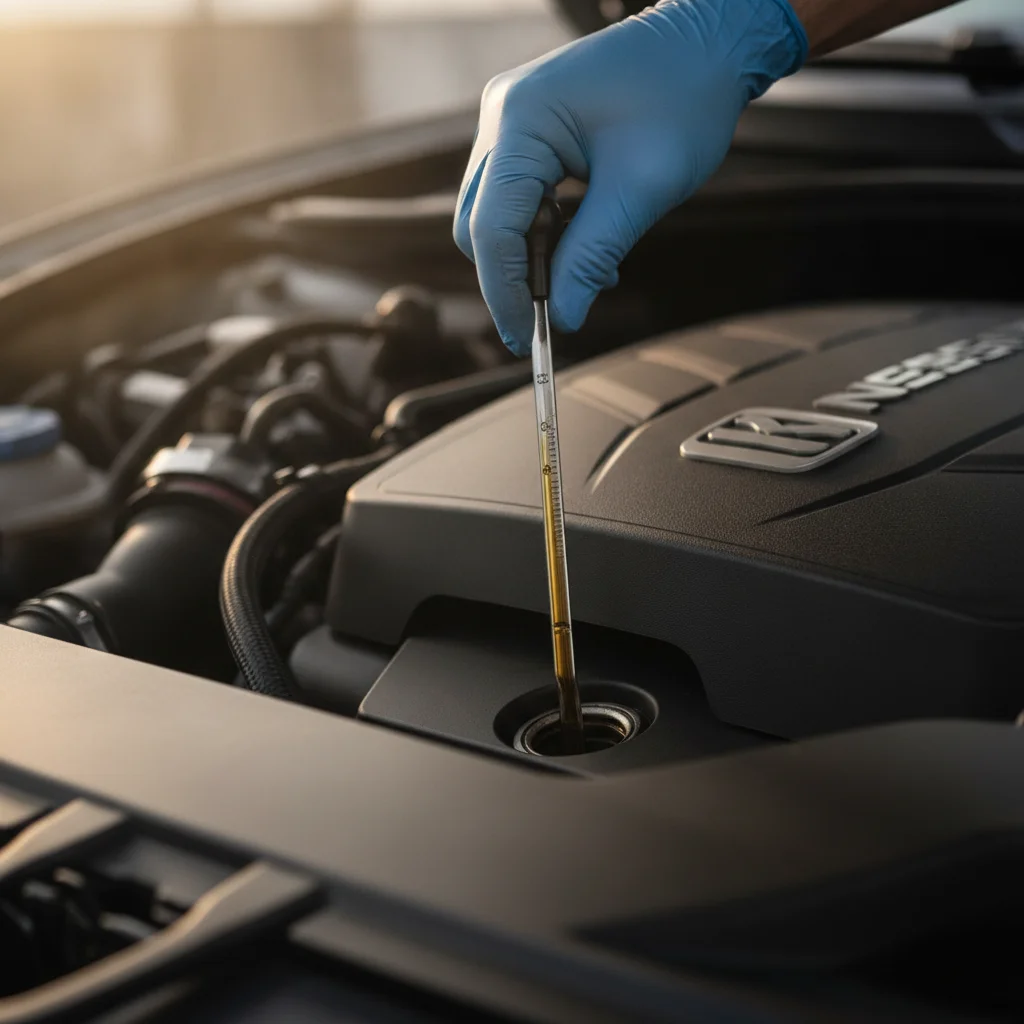
Oil on the dipstick
Milky or frothy oil — this looks like a chocolate milkshake and signals coolant mixing with oil, almost always the result of a blown head gasket. Do not drive the car. This is a tow-it-to-the-shop situation. Repair costs typically run $1,500–$3,000; ignoring it guarantees engine replacement.
Very dark, gritty oil — overdue for a change. Schedule one immediately. Running severely degraded oil accelerates wear on bearings, camshaft lobes, and cylinder walls.
Oil level low with no visible leak — your engine is consuming oil internally. One quart low is not unusual in high-mileage engines; more than a quart low per 1,000 miles warrants a compression test.
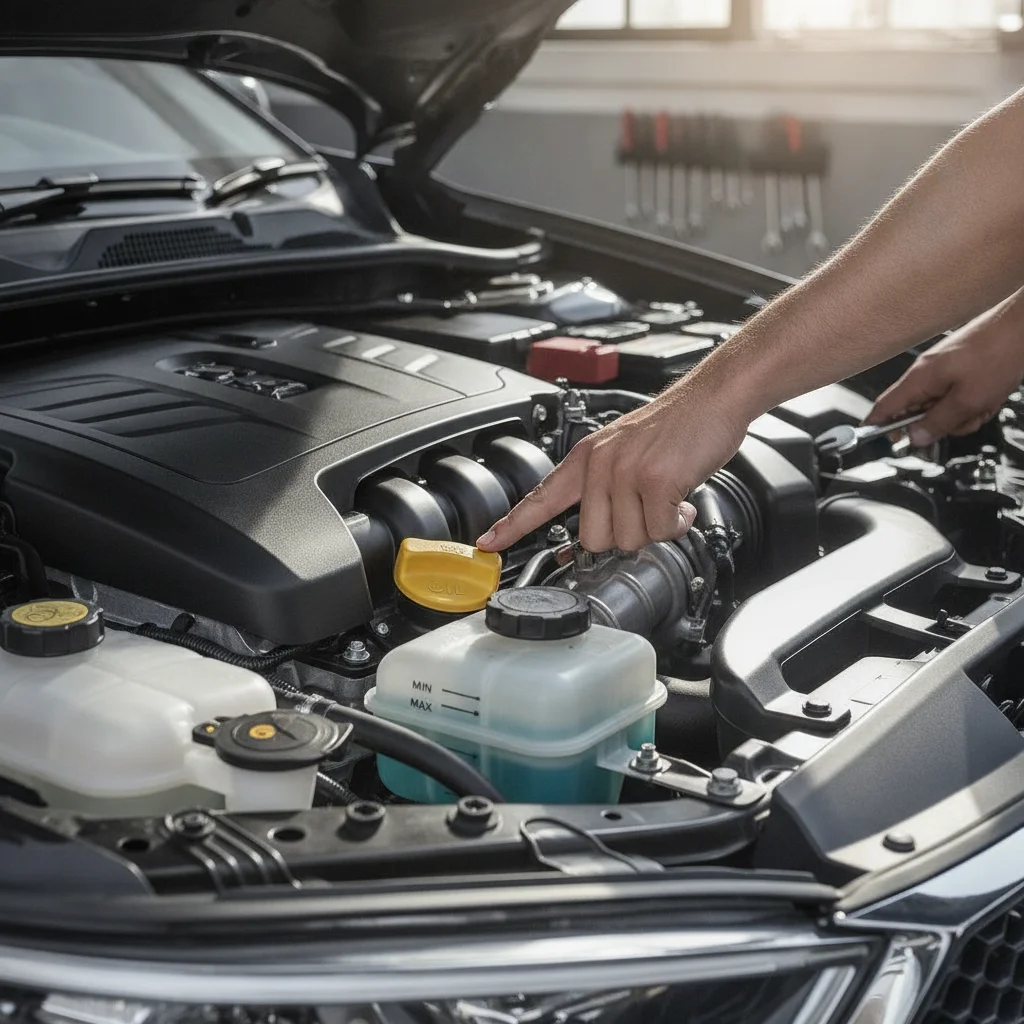
Coolant color and smell
Coolant should be bright green, orange, pink, or blue depending on your vehicle's specification — never brown or rust-colored. A sweet maple-syrup smell around the engine bay is a classic coolant leak indicator, even if you can't see the source visually. Trace it by looking at the water pump, radiator end tanks, and heater hose connections.
Belt surface texture
Run your fingernail across the ribbed underside of the serpentine belt. It should feel uniformly smooth. Cracks, fraying on the edges, or chunks missing from the ribs mean the belt is overdue for replacement. Budget $80–$200 for the part and labor depending on your vehicle — far less than the $500–$1,500 tow, diagnosis, and emergency repair bill that follows a roadside failure.
Hose firmness
Squeeze the large radiator hoses at both ends. A healthy hose feels firm but slightly pliable — like a firm rubber eraser. A hose that collapses easily under light pressure has degraded internally and will fail under the heat and pressure of normal operation.

Battery terminal corrosion
White or blue-green powder around the terminals is oxidized lead sulfate. It increases electrical resistance and can cause hard starts, alternator strain, and even a no-start on a cold morning. A tablespoon of baking soda dissolved in warm water, applied with an old toothbrush, cleans it up in minutes. Rinse, dry, and apply a thin coat of petroleum jelly to slow future buildup.
For a more structured look at how all these findings connect to seasonal driving demands, see our Seasonal Maintenance Prep checklist. And if you're heading into winter, the pre-winter garage checklist pairs well with this monthly routine.
Keeping Records and Knowing When to Escalate
The most underrated habit in DIY car maintenance is writing things down. A $1 pocket notebook kept in the glovebox — or a note in your phone — lets you track trends over time. Oil that drops half a quart one month, then a full quart the next, is telling you something the dipstick alone can't: the rate of consumption is accelerating. Without a record, that trend is invisible.
Record the date, your odometer reading, each fluid level, and any observations about belt condition, hose feel, or visible leaks. After three to four months you'll have a baseline for your specific vehicle — what's normal for it, and what's changing.
When a finding requires a shop visit
- Immediately: Milky oil, active coolant or oil leak, brake fluid significantly low, belt with visible cracks or missing ribs.
- Within one week: Any fluid trending steadily downward month over month, hose that collapses under light pressure, battery terminals with heavy corrosion buildup.
- At next scheduled service: Air filter noticeably dirty, windshield washer reservoir empty, minor surface corrosion on battery terminal.
If your vehicle uses a condition-based oil life monitor rather than a fixed mileage interval, your monthly inspection findings should inform how you interpret that system — a car driven hard in stop-and-go traffic will degrade oil faster than the algorithm may account for. Our article on mileage-based vs. condition-based service reminders explains how these systems work and where their blind spots are.
Finally, if you're evaluating a used car rather than maintaining one you already own, this monthly routine gives you a useful mental model — but the stakes are higher. A one-time pre-purchase inspection covers more ground and catches more history. Our complete pre-purchase vehicle inspection checklist walks through every system you should verify before signing anything.
Build the monthly habit, keep the records, and act on what you find. That's the entire framework. Fifteen minutes once a month is genuinely all it takes to keep most mechanical problems from becoming financial emergencies.


All claims are backed by peer-reviewed research. Sources on request.