Key Takeaways
Why Your Photos Are Your First (and Sometimes Only) Pitch
On most private sale platforms — Facebook Marketplace, Craigslist, AutoTrader, Cars.com — buyers scroll fast. A listing with dark, blurry, or incomplete photos gets passed over in under two seconds. A listing with crisp, well-composed images earns a click, and a click is where the transaction starts.
Think of your photos the way a retailer thinks about product photography. The car doesn't get better or worse based on how it's photographed — but a buyer's perception of its value absolutely changes. Sellers who invest an hour in proper photography routinely report more inquiries, higher opening offers, and buyers who show up less combative on price.
Before you even think about shooting, run through your pre-listing valuation checklist so you know what the car is worth and can price it accurately. Overpriced listings with great photos still get ignored — but accurately priced listings with great photos move fast.
Prep the Car Before You Touch the Camera
This step gets skipped constantly, and it shows. A dirty car looks bad in photos regardless of how good your camera is. Before your shoot:
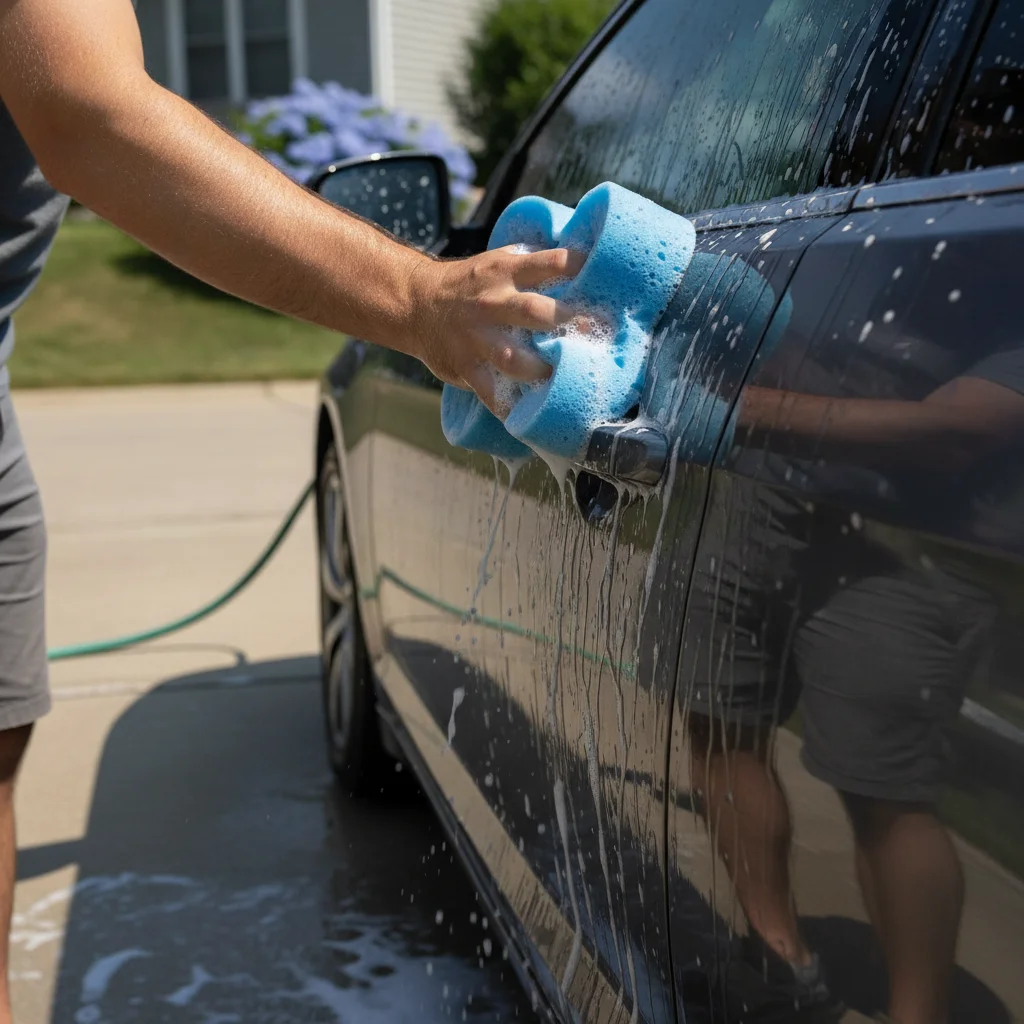
- Wash and dry the exterior completely. Water spots and dust show up dramatically in sunlight. A basic hand wash and chamois dry takes 20–30 minutes and is non-negotiable.
- Clean the windows inside and out. Dirty glass shows up as a haze in interior shots and makes the car look neglected.
- Vacuum the interior. Floor mats, seats, cargo area — all of it. A muddy floor mat in one photo can anchor a buyer's impression of the whole car.
- Clear out personal items. Phone holders, fast food bags, sunglasses, car fresheners — remove everything. Clutter makes the interior look small and unkempt.
- Pop the trunk and cargo area. Clear it out completely. An empty, clean trunk is a selling point; a full one looks like you're hiding something.
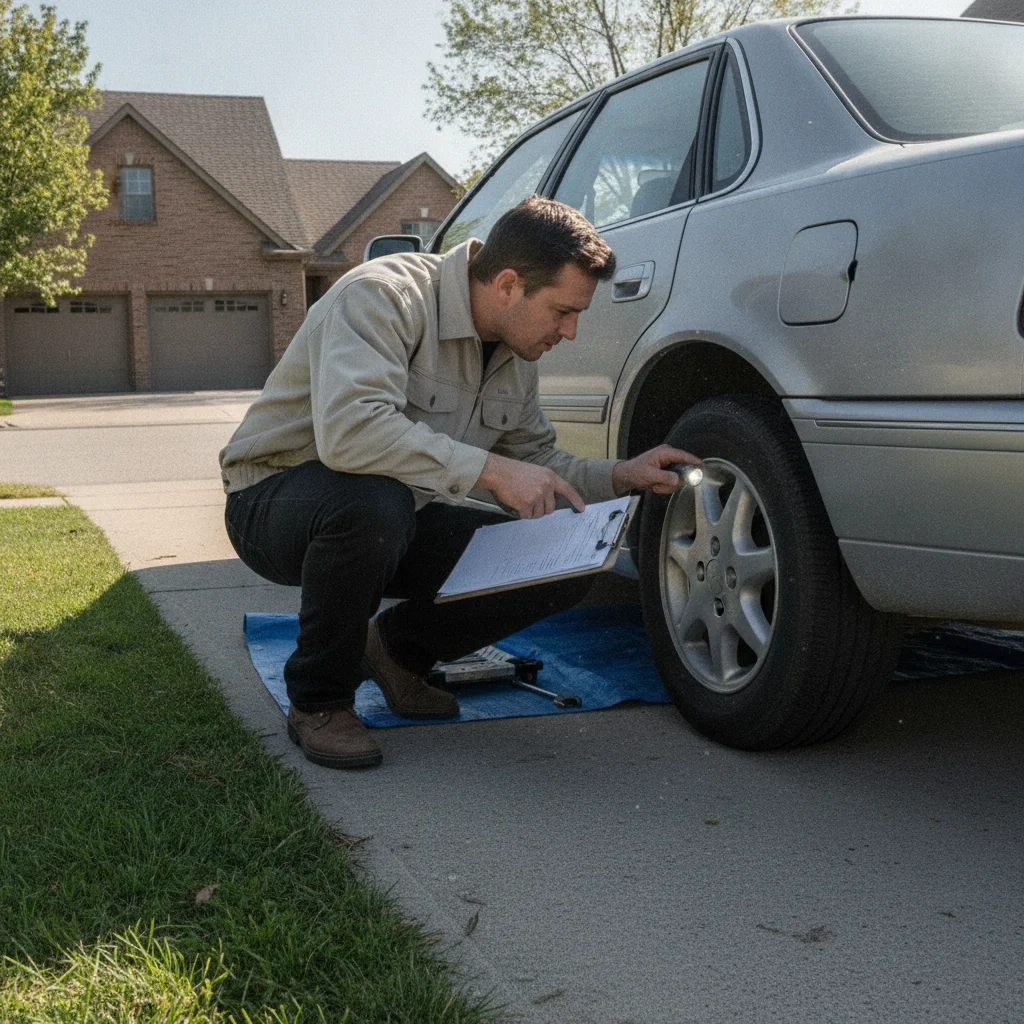
- Check tire and wheel condition. Dirty wheels are among the most common photo problems. A quick scrub with a wheel brush makes a real difference.
Note: there's a meaningful difference between prepping for photos and prepping for an in-person viewing. A wax that produces a glassy shine photographs beautifully but can reveal swirl marks under direct inspection lighting. See how to detail differently for each stage before you go too deep into a full detail.
Check the <a href="/selling-your-car/preparing-to-sell/detailing-and-repairs">Detailing & Repairs hub</a> Before You Detail
Not every cleaning and repair step delivers equal return before a private sale. Some fixes — like a deep engine bay degrease or new floor mats — photograph well and increase perceived value. Others cost more than they recover. The <a href="/selling-your-car/preparing-to-sell/detailing-and-repairs">Detailing & Repairs hub</a> breaks down which steps are worth your time and money before you invest a weekend in prep work you may not need.
Location Matters More Than Your Camera
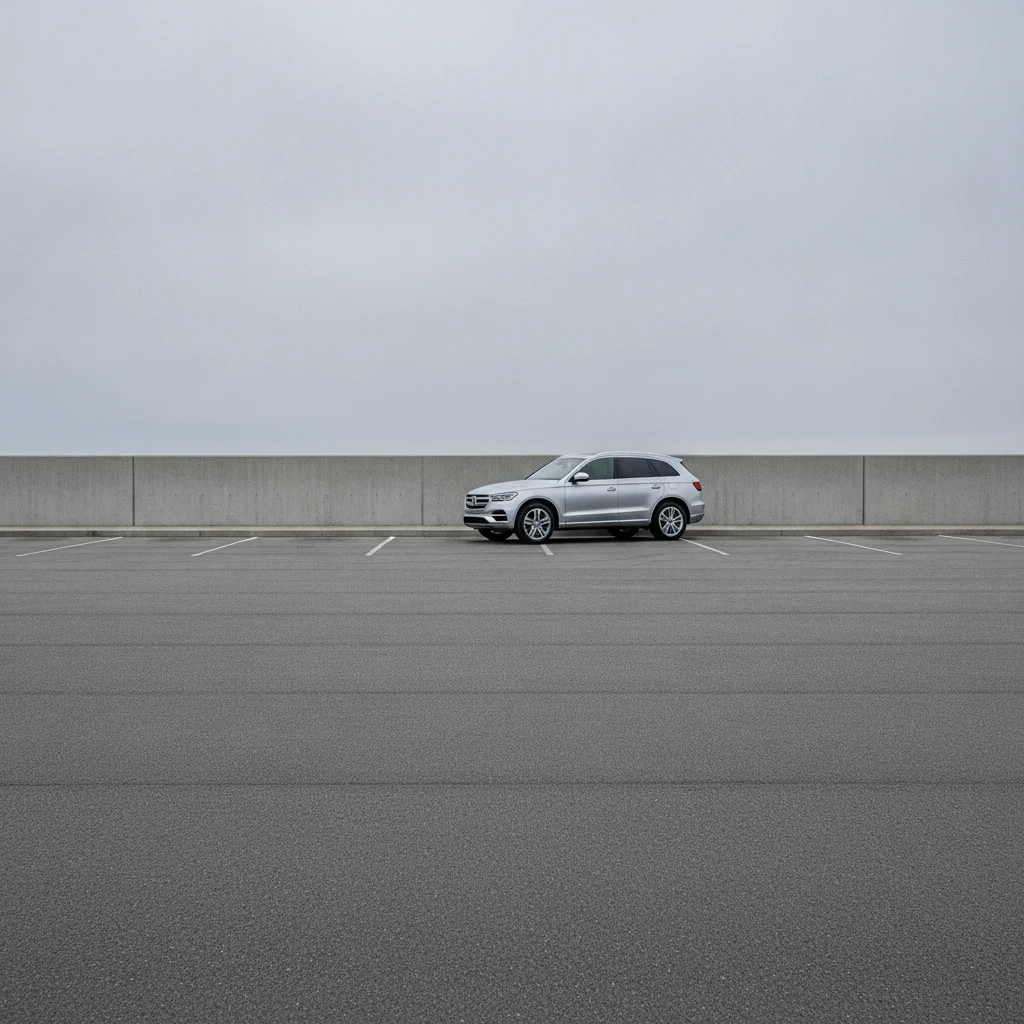
The background of your photo is part of the photo. A car sitting in a messy driveway with trash cans, a second vehicle, and a basketball hoop in frame tells the buyer your car is an afterthought. A car parked in front of a clean commercial parking structure, an empty corporate lot on the weekend, or a wide open park path communicates that you take the vehicle seriously.
Here's what to look for in a shoot location:
- Neutral backgrounds
- Concrete, asphalt, or a plain wall work well. Avoid residential driveways, active streets with pedestrians, and busy commercial areas with signage.
- Consistent shade or open sky
- Mixed light — where part of the car is in sun and part in shadow — is one of the hardest problems to fix. Find a spot that's either fully shaded or fully in open light.
- Level ground
- Shooting uphill or downhill makes the car look distorted. A flat lot gives you clean, proportional shots.
- Enough room to walk all the way around
- You need 15–20 feet of clear space on all sides to capture proper angles without backing into obstacles.
Empty corporate or retail parking lots on weekend mornings are a reliable go-to. Most are flat, have neutral backgrounds, and see little traffic before 10 a.m.
The Right Light at the Right Time
Lighting is the single biggest technical factor in automotive photography, and the good news is you can control it entirely with timing. Here's how light behaves at different times of day:
5x
More inquiries for listings with 20+ photos
Analysis of major private sale platforms consistently shows listings with comprehensive photo sets generate significantly more buyer contact than sparse listings.
72%
Of buyers cite photos as the #1 decision factor
According to Cox Automotive's annual car buyer journey study, photo quality ranks above price, mileage, and written description for initial listing engagement.
47 seconds
Average time buyers spend on a listing before deciding
Industry data on private sale platform behavior shows most buyers decide whether to inquire within under a minute — making first-impression photography critical.
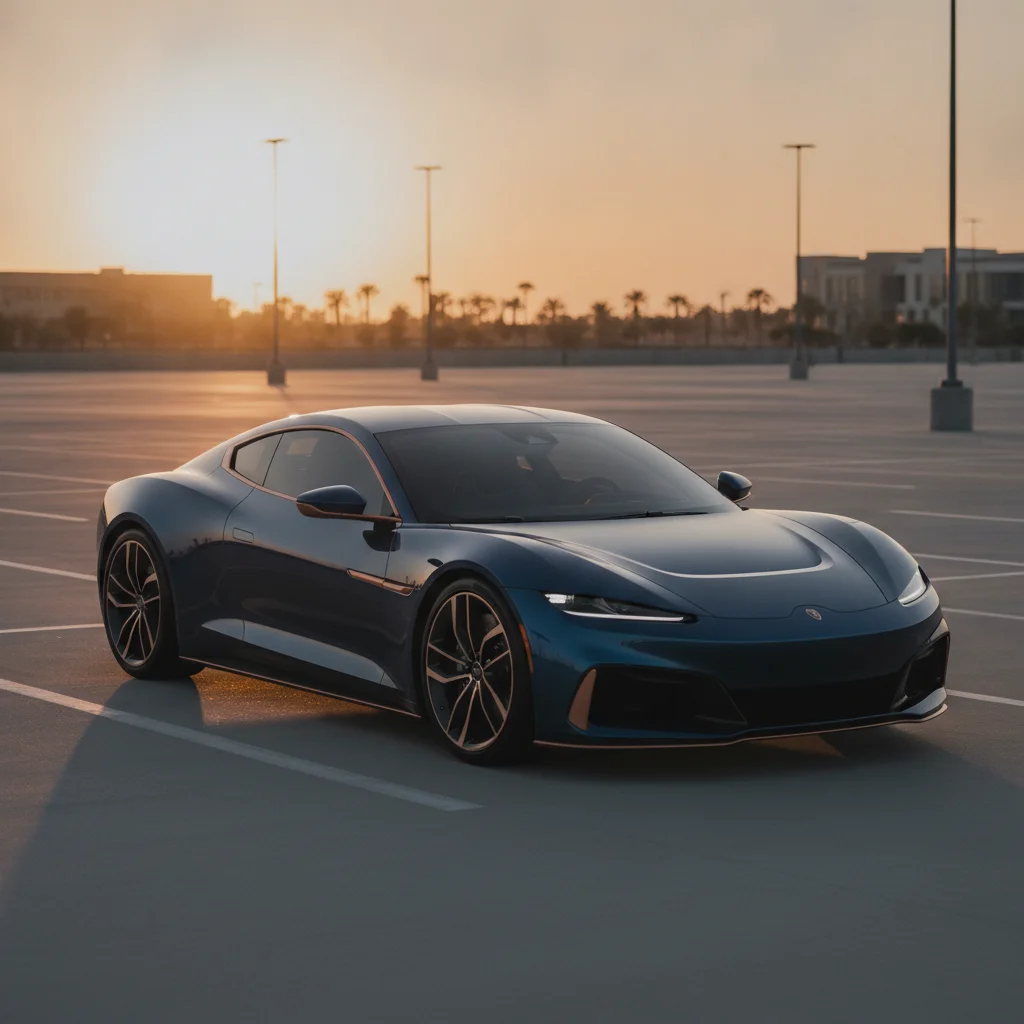
Golden hour — the 45 to 60 minutes after sunrise or before sunset — produces warm, low-angle light that wraps around the car's body lines without creating harsh reflections or blown-out highlights. This is the sweet spot.
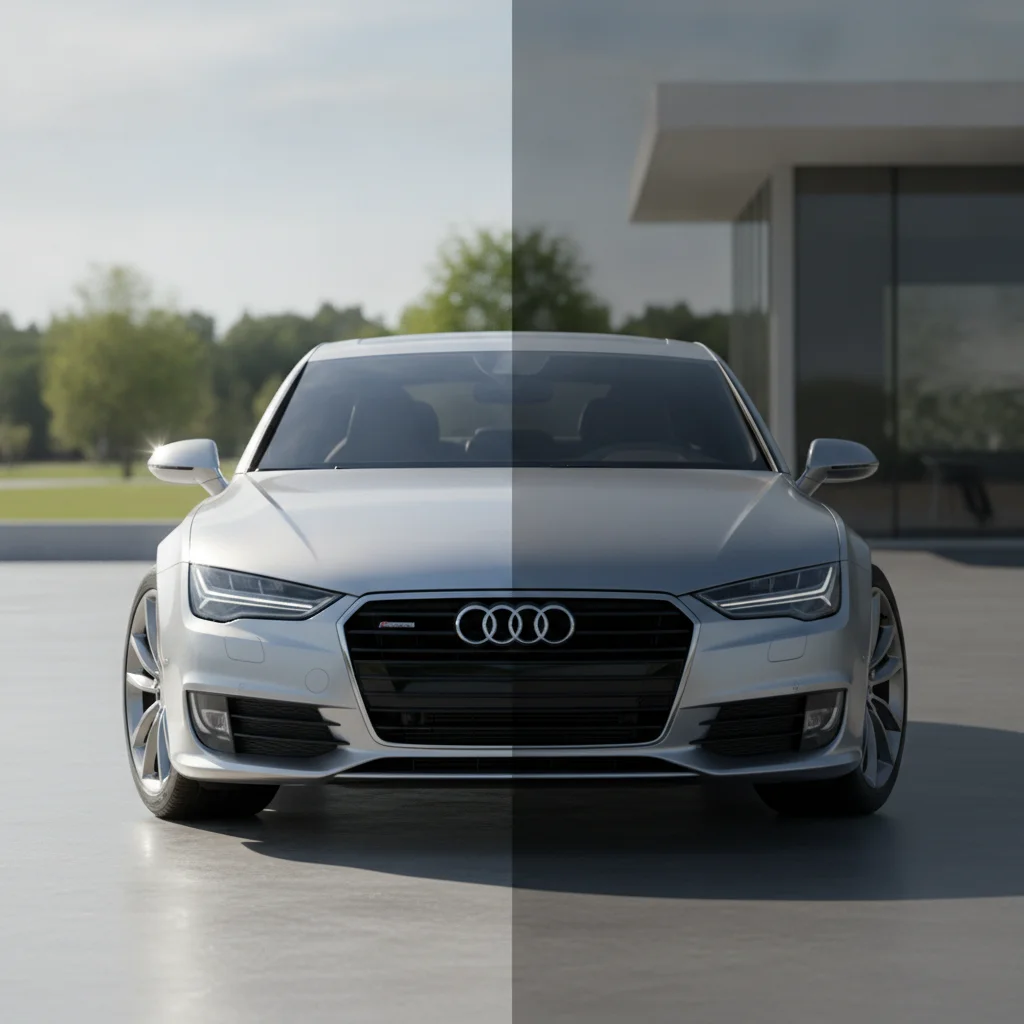
Midday sun is the worst time to shoot. High overhead light creates strong shadows under bumpers, door handles, and mirrors, and blows out light-colored paint into flat, featureless white. If noon is your only option, shoot in full shade instead.
Overcast days are underrated. A uniform cloudy sky acts like a giant softbox, giving even, shadow-free light across the entire car. Colors look accurate and detail is preserved. The only drawback is that metallic and pearl paints lose some of their depth without directional light.
Avoid shooting into the sun. Position yourself so the sun is behind you or at a 45-degree angle off your shoulder. This keeps the car's surface lit without lens flare washing out the image.
Overcast Days Are a Legitimate Option
Don't cancel your photo session because it's cloudy. A fully overcast sky produces even, diffused light with no harsh shadows and no direct reflections — conditions that professional photographers often prefer for automotive work. Colors render accurately and you can shoot at any time of day without worrying about sun position. The main trade-off is that metallic paints and pearl finishes lose some of their sparkle without directional light.
The Shot List: Cover Every Angle Buyers Expect
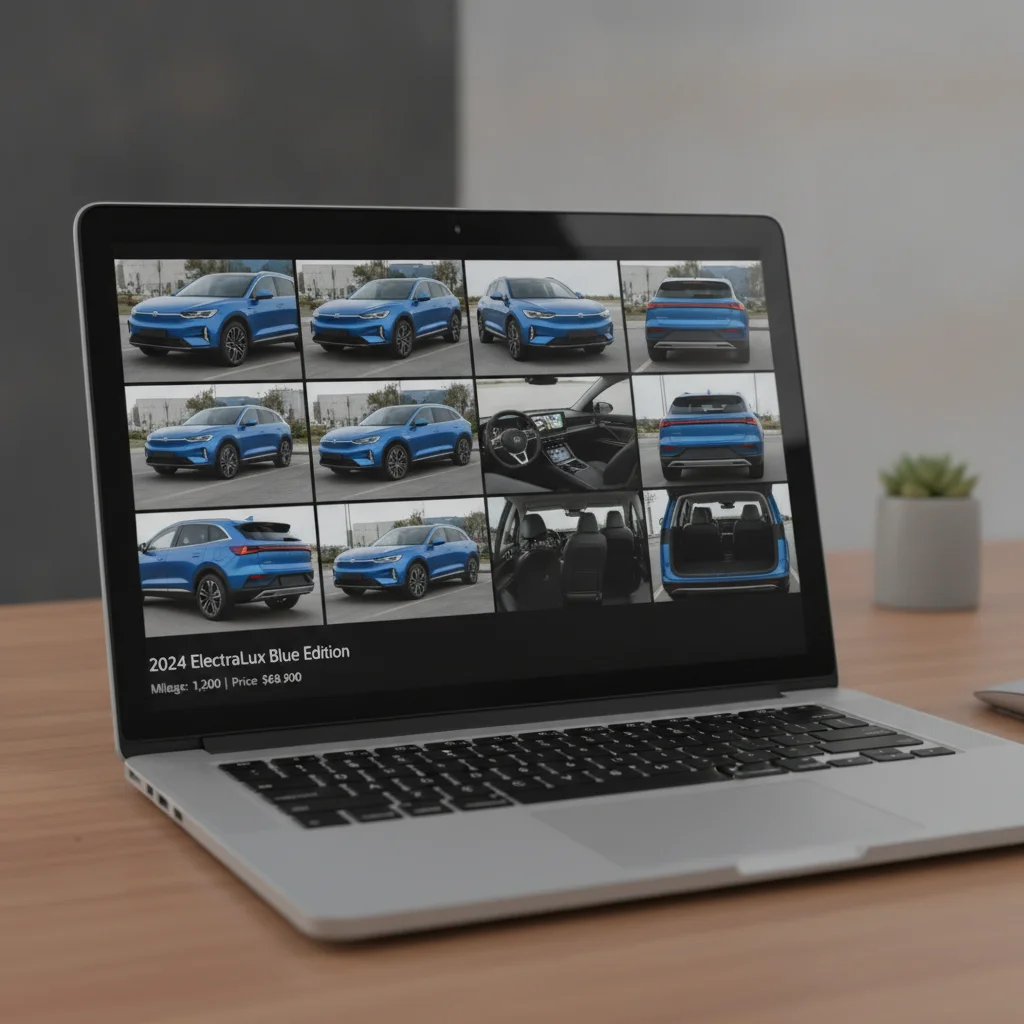
Incomplete photo sets are a red flag for buyers. If a listing has 6 photos, buyers assume the missing angles hide problems. The minimum competitive shot list for a private listing is 20–25 photos. Here's exactly what to capture:
Exterior — Required Angles
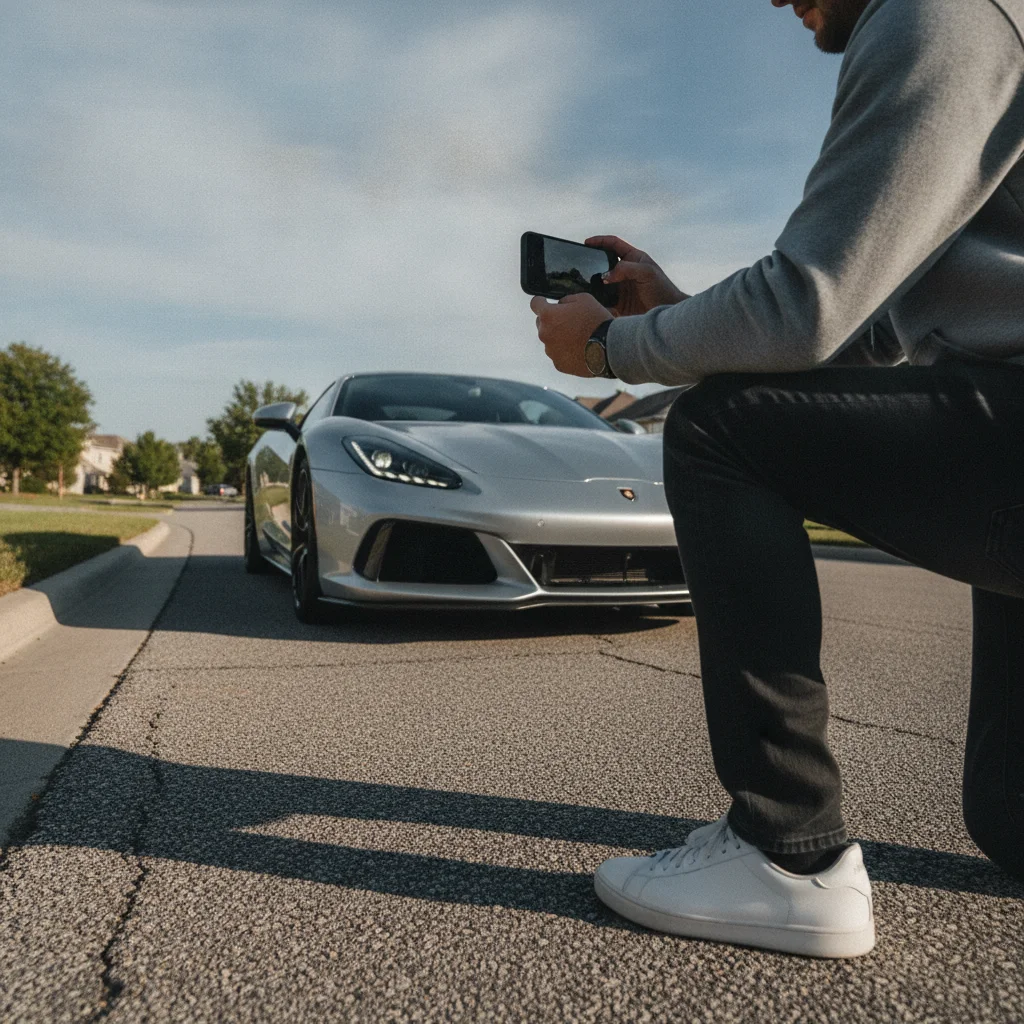
- Front three-quarter (driver's side) — the hero shot, shot low and slightly in front of the wheel
- Rear three-quarter (passenger's side)
- Driver's side profile (full length, car centered in frame)
- Passenger's side profile
- Straight-on front
- Straight-on rear
- Close-up of each wheel and tire (4 shots)
- Roof panel
- Trunk or cargo area, open and empty
Interior — Required Shots
- Driver's seat from the open door, showing dash, steering wheel, and seat
- Rear seat area
- Odometer reading (engine running so the display is live)
- Infotainment screen (powered on)
- Center console and gear selector
- Cargo area or trunk, interior view
Under the Hood
- Full engine bay shot (clean the bay if it's excessively dirty)
Damage and Wear — Disclose It Visually
- Any dents, scratches, chips, or fading — one close-up per imperfection
- Tire tread condition if notably worn
- Any interior wear — worn bolsters, cracked dash, stained carpet
Showing damage proactively isn't a liability — it's a negotiation tool. Buyers who see the dent in the photo and come to view the car already have it priced in. Buyers who discover it in person feel deceived and hammer you on price. For more on how buyers evaluate what they see, read what buyers look for before making an offer.
Always shoot the three-quarter front angle as your lead photo
The front three-quarter shot — taken from slightly in front of the front wheel at roughly 45 degrees — shows the most of the car in a single frame: the front fascia, the side profile, and part of the roof. Most platforms let you designate a lead photo, and this angle consistently performs best as a thumbnail that earns clicks.
Photograph every imperfection with a dedicated close-up shot
Hiding damage in your photos doesn't protect you — it backfires. Buyers who discover undisclosed flaws in person negotiate aggressively downward and lose trust in everything you've told them. Showing imperfections upfront filters out buyers who can't accept the car's condition, and keeps negotiations predictable with those who can.
Shoot the odometer with the ignition on so it reads accurately
An odometer photo is proof of mileage. Buyers who can't verify mileage before arriving waste both of your time. More practically, mileage is one of the top three factors in how buyers evaluate asking price — showing it clearly up front removes one layer of suspicion from the transaction.
Use a consistent distance from the car on all profile and exterior shots
Inconsistent distances between shots create a disjointed, unprofessional feel that subtly signals to buyers that you put minimal effort into the listing. Consistent framing — same distance, same height, same crop — makes the listing look deliberate and organized, which transfers to buyer confidence about how you maintained the car.
Always show the infotainment system powered on
A blank, off infotainment screen raises immediate questions: Is it broken? Does CarPlay work? Is the display cracked? Showing it live and functional removes a common buyer worry that has no good outcome for you if left unaddressed. It also lets you highlight features like navigation or a backup camera.
Remove license plates from all photos before posting
Your license plate is personally identifiable information. Once it's in a public listing, it can be used to run lookup services that reveal your registration address, vehicle history, and potentially your name. This is a low-effort, high-value privacy step that takes 60 seconds.
Camera Technique: Getting Sharp, Professional-Looking Shots Without Gear
You don't need a DSLR. A modern iPhone or Android flagship — anything from the last four years — is capable of producing listing photos that outperform 90% of what you'll see on Marketplace. What you do need is discipline around a few basic technique rules:
Shoot Low
The most common mistake sellers make is shooting from standing height, which makes cars look stubby and unremarkable. Drop to knee height — roughly 2–3 feet off the ground — for exterior shots. This low angle elongates the car, captures the full roofline, and separates the vehicle from the background.
Keep It Level
Use your phone's built-in grid lines (Settings > Camera > Grid on iPhone) to keep the horizon perfectly level. Crooked horizon lines look amateurish and are an easy fix.
Use Portrait Mode Sparingly
Portrait mode blurs the background, which can look good for hero shots but obscures depth and detail on three-quarter angles. Use it only for close-up detail shots (wheels, interior trim, badges) where background separation adds visual polish.
Don't Use the Digital Zoom
Zooming in digitally on a phone camera drops resolution significantly. Instead, physically move closer to the subject. If you need a tighter crop on a detail, use your feet, not your fingers.
Take Multiple Shots Per Angle
Shoot three to five frames at each position and pick the sharpest one. Small variations in posture, angle, and timing make a real difference. Storage is free — bracketing your shots costs nothing.
Basic Editing Is Expected
A small amount of post-processing — brightness, contrast, and color temperature adjustments — is standard practice. Use the built-in editor on your phone or a free app like Snapseed. Keep edits subtle: the goal is accurate representation, not a sales brochure. Buyers who arrive and find the car looks significantly different from the photos feel misled, and that erodes any goodwill you've built.
“In real estate, they say homes sell on photos before buyers ever walk through the door. Private car sales are no different. A buyer who arrives having already seen 25 great photos is a different negotiation than a buyer who arrives with unanswered questions.”
— Dean Merritt, Used Car Transaction Expert and Private Sale Specialist
Quick Wins: What to Do Right Now
If you're prepping a listing this week and want to move fast, here's where to spend your time first:
Once your photos are done, make sure the written listing is doing the same level of work. Writing a car listing that actually gets responses covers how to write a description that's specific, honest, and compelling — because photos get the click, but the words close the inquiry.
And if you're still unsure whether your asking price is in the right range before you post, the pre-listing valuation checklist walks you through pulling comps from multiple sources so you're not leaving money on the table.

All claims are backed by peer-reviewed research. Sources on request.