Key Takeaways
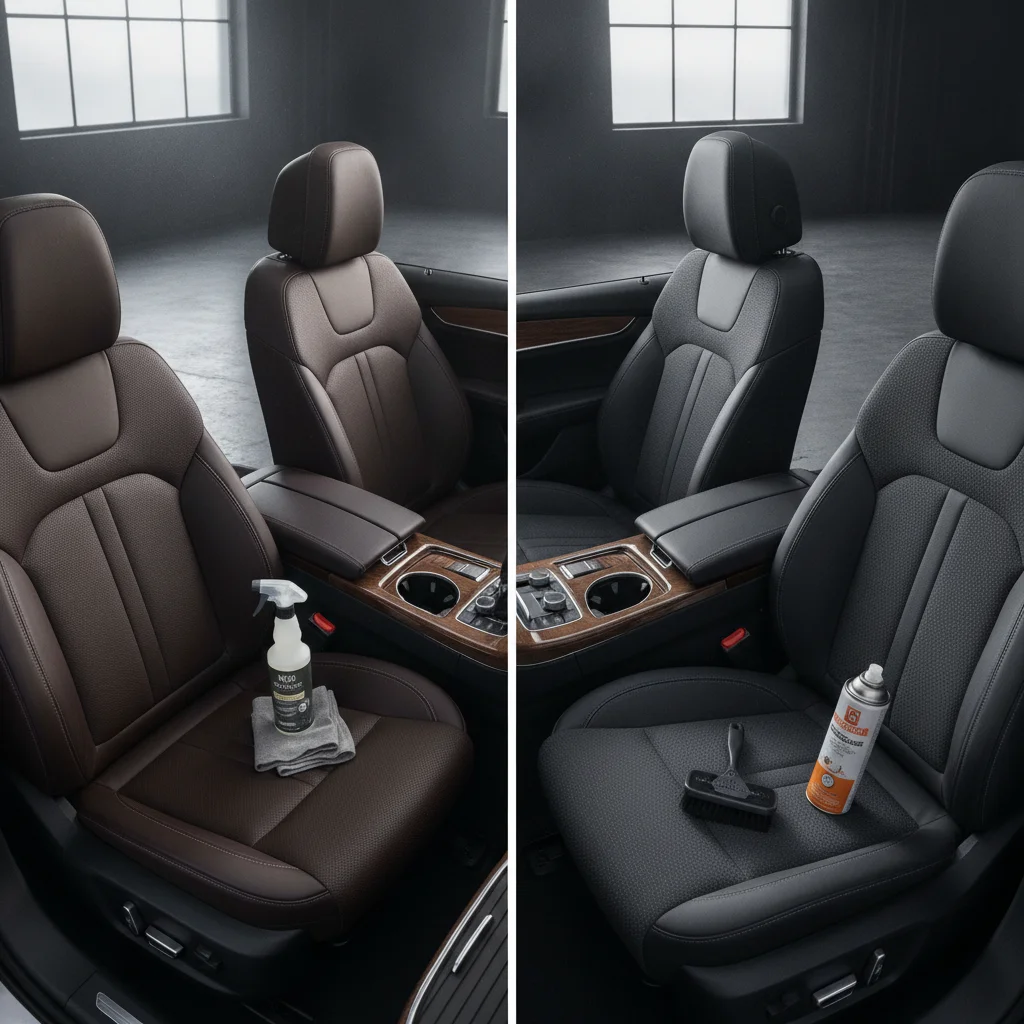
Option A
Leather Interior
The premium surface that demands careful conditioning, not just cleaning.
Best for: Sellers with leather-equipped vehicles who want to restore suppleness, remove surface grime, and prevent cracking before showings.
Option B
Cloth Interior
The forgiving but stain-prone surface that responds best to deep extraction.
Best for: Sellers with fabric-upholstered vehicles who need to lift embedded dirt, odors, and set-in stains before buyer inspections.
If your car has leather seats with visible dryness, cracking, or surface grime
Leather Interior care routine
A dedicated leather cleaner and conditioner combo will restore the look and feel that buyers associate with a well-maintained premium vehicle.
If your car has cloth seats with staining, embedded pet hair, or persistent odor
Cloth Interior care routine
Enzyme-based cleaners and a wet/dry vacuum or extractor will pull out what surface wiping cannot, giving the cabin a genuinely fresh feel.
If you're on a tight budget and can only do one thing before a showing
Cloth Interior care routine
Cloth seats tend to show neglect more visibly through staining and odor, so deep cleaning them typically yields the greatest visible improvement per dollar spent.
If your vehicle has a mixed interior with leather bolsters and cloth inserts
Leather Interior care routine
Prioritize the leather sections first since they are the visible focal points; then treat cloth inserts with a fabric-specific cleaner to avoid cross-contamination.
If you want to maximize resale value on a higher-trim or luxury vehicle
Leather Interior care routine
Buyers paying a premium expect supple, clean leather — a properly conditioned cabin signals that the whole car has been maintained with the same care.
Why Interior Type Changes Everything
When you're preparing a car for sale, the interior is often the make-or-break moment for buyers. They slide into the seat, run a hand along the surface, and form an immediate impression. What they're reacting to — consciously or not — is whether the cabin feels cared for. And the path to that impression is completely different depending on what your seats are made of.
Leather and cloth aren't just different materials. They respond to cleaning products differently, absorb odors differently, and show wear in entirely different ways. A product that works beautifully on one surface can cause real damage to the other. Using a strong fabric spray on finished leather can strip its protective coating. Applying a leather conditioner to cloth seats just leaves a greasy residue that attracts more dirt.
The good news is that neither prep job is particularly expensive or complicated — you just need to follow the right process for your specific surface. This guide breaks that down clearly, so you can walk into your first buyer showing with a cabin that holds up to scrutiny.
If you want a broader look at how buyers evaluate an interior beyond just the seats, this inspector's perspective on reading a cabin is worth a few minutes of your time.
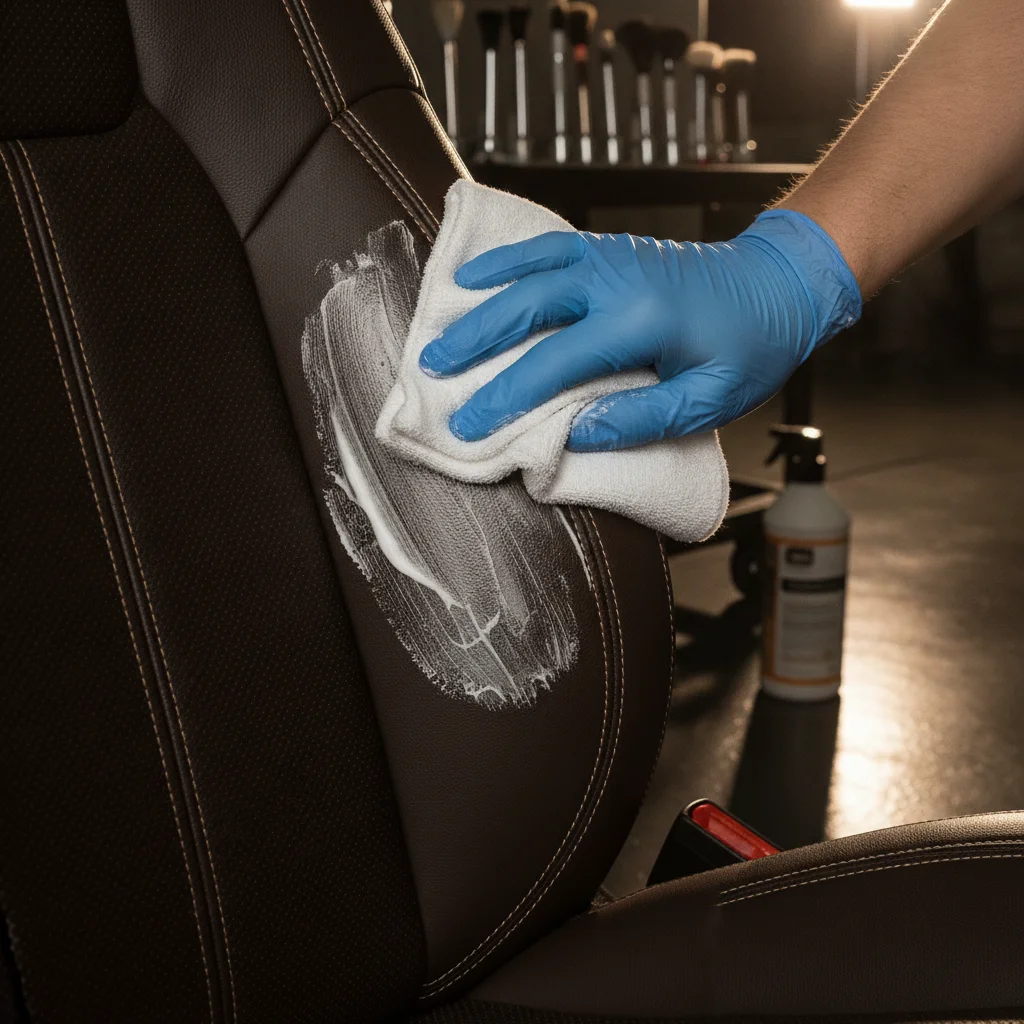
Leather Interior Care: What the Surface Actually Needs
Leather is durable, but it's also a natural material that dries out, cracks, and fades when neglected. Before a sale, your goal is simple: clean the surface without stripping it, then restore its moisture so it looks and feels the way it should.
Step 1 — Vacuum the Seams First
This is the step most sellers skip, and it matters. Grit, crumbs, and debris collect in the seams and stitching of leather seats. If you apply cleaner before clearing that debris, you're essentially rubbing it into the surface. Use a soft brush attachment and go carefully along every seam.
Step 2 — Apply a pH-Balanced Leather Cleaner
This is non-negotiable: use a cleaner specifically formulated for leather, not an all-purpose cleaner. Most all-purpose products are too alkaline and will degrade the finish over time — or immediately if your leather's protective coating is already thin. Apply the cleaner to a microfiber cloth, not directly to the seat, and work in small circular sections. A light foam is ideal; avoid soaking the surface.
Step 3 — Condition Before the Leather Dries
Cleaning removes not just dirt but a small amount of natural moisture. If you stop at cleaning, the leather will look dull and may start to feel stiff. Apply a leather conditioner while the surface is still slightly damp from cleaning — it absorbs better and leaves a more even result. Buff lightly with a clean cloth. The finish should look slightly enriched, not greasy or shiny.
What About Cracks and Scuffs?
Shallow surface scuffs can often be reduced with conditioner alone. Deeper cracks or color fading are a different story — leather repair kits are available at auto parts stores and can make a meaningful visual improvement, but they require patience and some practice to blend properly. If you have significant damage on high-visibility areas like the driver's seat bolster, it may be worth considering whether a professional detailer makes sense for that specific repair.
Know Your Leather Type Before You Clean
Not all leather is the same. Most modern vehicles use pigmented or protected leather, which has a clear coating and responds well to standard leather cleaners. Older or luxury vehicles may have aniline or semi-aniline leather, which has little to no protective coating and is much more sensitive to moisture and cleaners. If you're unsure, test any product on a hidden area — under a seat or along the lower back panel — before applying it broadly. When in doubt, a product labeled 'safe for all leather types' is the lower-risk choice.
Faux Leather and Vinyl Need Different Care Too
Many vehicles at lower trim levels use synthetic leather — often called leatherette, SofTex, or MB-Tex depending on the manufacturer. These surfaces clean easily and don't require conditioning the way genuine leather does, but they can be damaged by harsh solvents. A mild soap solution or a dedicated synthetic leather cleaner is the safest approach. Check your owner's manual or the window sticker from when the car was new to confirm what your seats are actually made of.
Mixing Products Can Cause Problems
It's tempting to use whatever cleaning products you have on hand and switch between them. Resist that urge. Some upholstery cleaners leave a residue that reacts poorly with conditioning products applied afterward, and some pre-treatments can interact with enzyme cleaners in ways that reduce the effectiveness of both. Pick one product line per surface and follow its instructions from start to finish.
Addressing Leather Odors
Leather doesn't absorb odors the way cloth does, but smells do collect in the seams, cracks, and any areas where the finish has worn through. After conditioning, a light mist of an interior-safe odor neutralizer (not a fragrance spray) along the seam lines is usually sufficient. Avoid spraying directly onto the leather surface itself.
Cloth Interior Care: Getting Below the Surface
Fabric upholstery is more forgiving to clean in some ways — you don't have to worry about stripping a protective coating — but it presents its own challenge: stains and odors embed deeply into the fibers, and surface-only cleaning rarely gets them out. Buyers notice lingering smells and visible staining immediately, so the goal here is extraction, not just wiping.
Step 1 — Remove Loose Debris Thoroughly
Before any liquid touches the fabric, vacuum everything out. Use a crevice tool for seat gaps and a brush attachment for the seat face and sides. For pet hair specifically, a rubber glove or stiff bristle brush dragged across the fabric will pull it up before vacuuming. This step prevents debris from turning into muddy smearing once cleaners are applied.
Step 2 — Pre-Treat Visible Stains
Don't apply a general upholstery cleaner over stains and hope for the best — that often sets them further into the fabric. Instead, identify the stain type and pre-treat with an appropriate product. Enzyme-based cleaners work well on organic stains (food, beverage, pet accidents). Let the pre-treatment dwell for the time specified on the product label before moving to the next step. For a full breakdown of which treatments work on which stain types, this seller's stain removal guide covers the specifics clearly.
Step 3 — Scrub and Extract
Apply your upholstery cleaner to a brush (not directly to the seat) and work it into the fabric in a circular motion, section by section. Then extract: a wet/dry vacuum is the minimum; a portable carpet extractor or steam cleaner will give significantly better results on heavily soiled fabric. The extraction step is what actually pulls the dissolved dirt and cleaner residue back out of the fibers, rather than leaving it behind to re-soil.
Step 4 — Allow Full Drying Before Showings
Damp cloth seats feel unpleasant and smell musty. Allow at least four to six hours of drying time with the doors open or windows cracked. If you're working against a tight timeline, a portable fan aimed at the seat surface speeds this up considerably. Never close up a car with damp upholstery — you'll create a mildew problem that's harder to fix than the original staining.
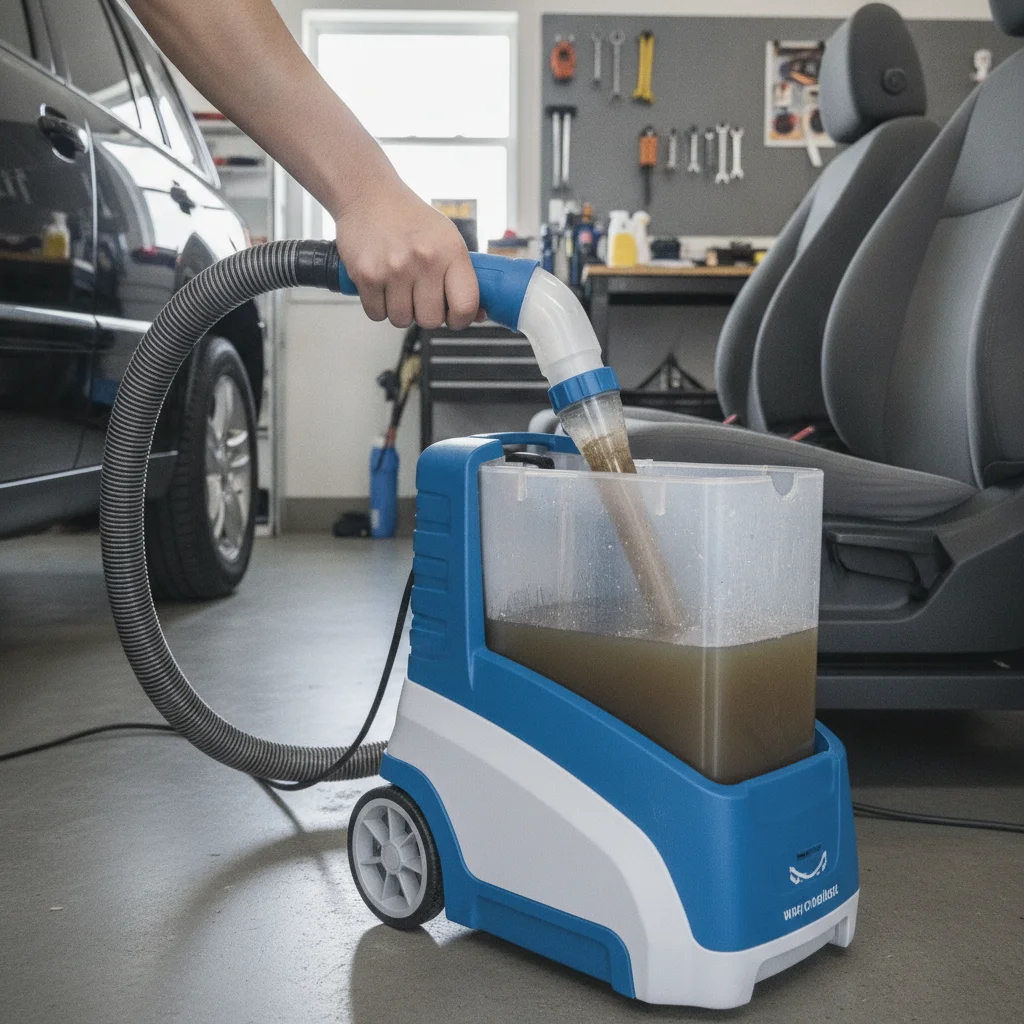
For a full walkthrough of interior cleaning beyond just the seats — including dashboard, carpets, and trim — this budget-focused seller's interior guide is a practical next step.
Head-to-Head: How the Two Approaches Compare
Understanding the differences at a glance helps you plan your time and budget before you start. Here's how the two care routines stack up across the factors that matter most to sellers.
| Criterion | Leather Interior | Cloth Interior |
|---|---|---|
| Primary cleaning product | pH-balanced leather cleaner | Enzyme-based upholstery cleaner |
| Conditioning required | Yes — essential after every clean | No — not applicable |
| Odor location | Seams, cracks, worn areas | Deep in fibers and padding |
| Extraction needed | No — surface treatment only | Yes — critical for real results |
| Drying time required | 30–60 minutes | 4–6 hours minimum |
| Risk of over-wetting | High — use sparingly | Moderate — extract thoroughly |
| DIY-friendliness | Moderate — technique matters | High — more forgiving process |
| Approximate product cost | $20–$45 for cleaner + conditioner | $15–$35 for cleaner + pre-treatment |
| Biggest seller mistake | Skipping conditioner after cleaning | Surface-only cleaning without extraction |
| Impact on buyer perception | Signals premium care and value | Signals hygiene and daily maintenance |
$1,500+
Average interior detail premium at resale
According to iSeeCars research, a clean, well-maintained interior can add over $1,500 to a used vehicle's perceived value compared to a neglected cabin.
78%
Buyers deterred by interior odors
A Cox Automotive consumer study found that nearly 78% of used car buyers said a bad interior smell was a significant factor in walking away from an otherwise acceptable vehicle.
2–4 hours
Time for a thorough DIY interior prep
Most sellers can complete a proper leather or cloth interior cleaning and treatment in a focused two-to-four hour session using widely available products.
$25–$50
Typical DIY product cost for full interior prep
A complete set of surface-appropriate cleaners, conditioner, microfiber cloths, and a brush for either leather or cloth upholstery typically costs well under $50 at auto parts retailers.
Common Mistakes That Cost Sellers Money
The most expensive interior prep mistakes aren't usually about using the wrong product — they're about misjudging what's fixable and what isn't, or skipping steps that seem unnecessary until a buyer points them out.
Using the Wrong Cleaner for the Surface
This is the most common error. An all-purpose cleaner used on finished leather can cause permanent dullness or tacky residue. A leather conditioner applied to cloth creates an oily film that attracts dust and makes the seat surface feel unpleasant. Always confirm the product is rated for your specific surface before applying it.
Cleaning Without Addressing Odor
A visually clean interior that still smells stale or musty will lose buyers at the sniff test. Odor removal is a separate step from cleaning — particularly for cloth seats, where smells live deep in the padding. For fabric interiors, an enzyme-based odor eliminator applied after cleaning (and allowed to fully dry) is the most effective approach. For leather, focus on the seams and any worn areas where the protective coating has thinned.
Over-Wetting Leather
Leather doesn't like being soaked. Applying cleaner directly to the surface in large quantities can cause uneven absorption, water spotting, and in some cases, swelling along the seams. Always apply to a cloth first, then to the seat — and use the minimum effective amount.
Ignoring the Non-Seat Surfaces
Buyers form their impression of an interior holistically. A beautifully cleaned set of leather seats surrounded by a grimy dashboard and sticky door panels sends a mixed message. Budget time for the full cabin, not just the seats. If you want a sense of how buyers actually evaluate these details, this look at interior evaluation from a buyer's perspective is instructive for sellers too.
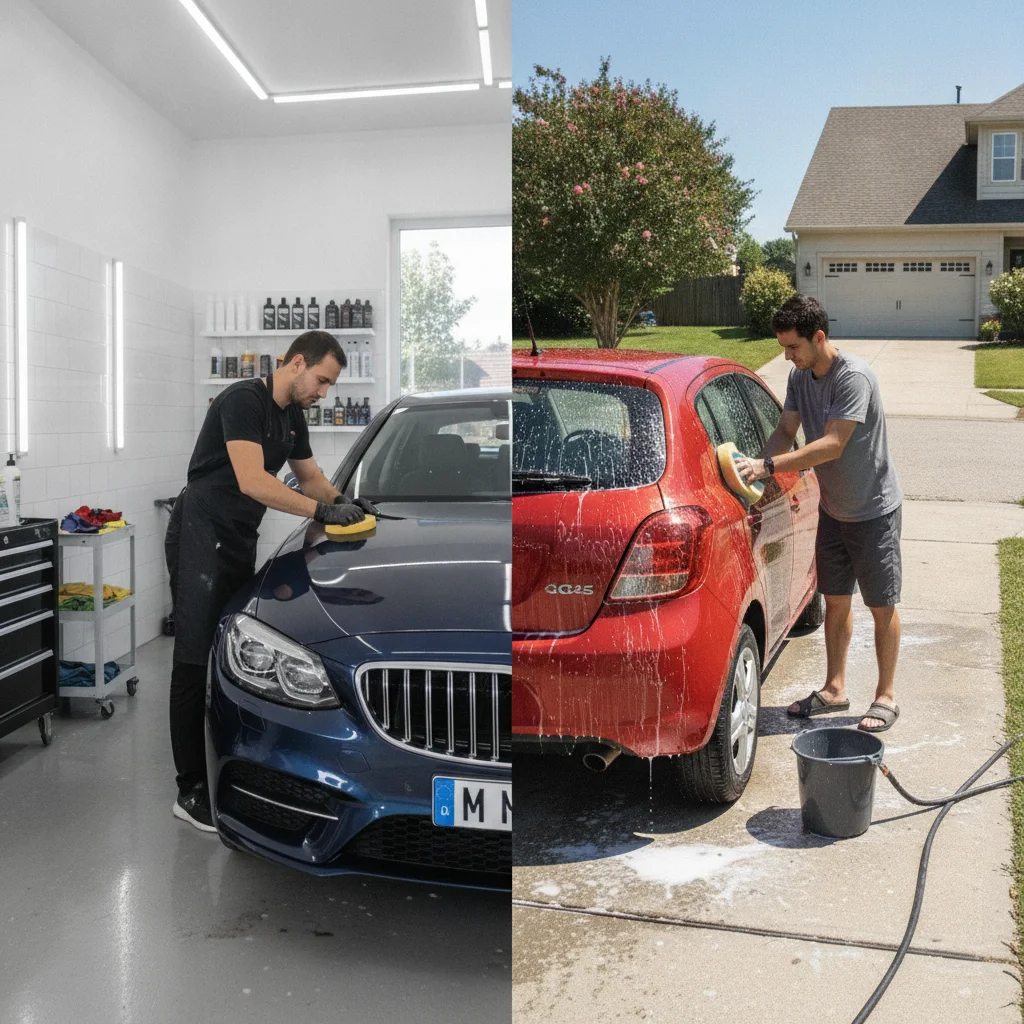
Also worth noting: exterior color affects how buyers perceive overall cleanliness. If your prep extends to the outside of the car, detailing strategies differ by paint color and the same tailored approach applies.
Realistic Expectations: What You Can and Can't Fix
Interior prep before a sale is about meaningful improvement, not perfection. Setting realistic expectations helps you spend your time and money where it counts.
What Responds Well to DIY Treatment
- Light surface grime on leather — clears up well with proper cleaning and conditioning.
- Mild fabric staining — most food and beverage stains are significantly reduced or eliminated with enzyme cleaners and extraction.
- General musty odor — usually addressable with a full cleaning plus an appropriate odor neutralizer.
- Pet hair — fully removable with the right tools and patience.
- Dull leather finish — conditioning alone often restores a noticeably richer appearance.
What Has Realistic Limits
- Deep leather cracking — conditioner softens it but doesn't fill it. Repair kits help but require skill to match color accurately.
- Set-in fabric stains from years ago — most reduce but may not disappear entirely. Being upfront with buyers is better than over-promising.
- Smoke odor in cloth upholstery — this is the hardest odor to fully eliminate from fabric. Multiple treatments and full padding extraction may still leave a trace.
- Torn or worn-through upholstery — cleaning improves the surrounding area but won't close a tear. Seat covers are an option for cloth; professional repair is the better path for leather.
The goal isn't a showroom-perfect interior — it's an interior that a reasonable buyer can look at and feel confident the car has been maintained. That's a more achievable target, and it's the one that actually moves the sale forward.

All claims are backed by peer-reviewed research. Sources on request.