Key Takeaways
Why Interior Stains Matter More Than You Think
When buyers walk up to a used car, the exterior is the first impression — but the interior is where the deal is won or lost. A buyer who sits down and notices a large coffee stain on the passenger seat or a dark smear on the carpet is already mentally calculating how much to knock off the price. Even buyers who don't negotiate aggressively will feel less confident about the car overall.
The good news is that most carpet and upholstery stains respond well to targeted treatment. You don't need expensive professional equipment to make a meaningful difference. What you do need is the right product matched to the right stain type, and a method that lifts rather than spreads the contamination.
This guide breaks the process down by stain category so you're not wasting money on generic cleaners that won't work on your specific problem. Before you start, it's worth reading about common detailing myths — some well-meaning prep advice can actually make stains harder to treat.
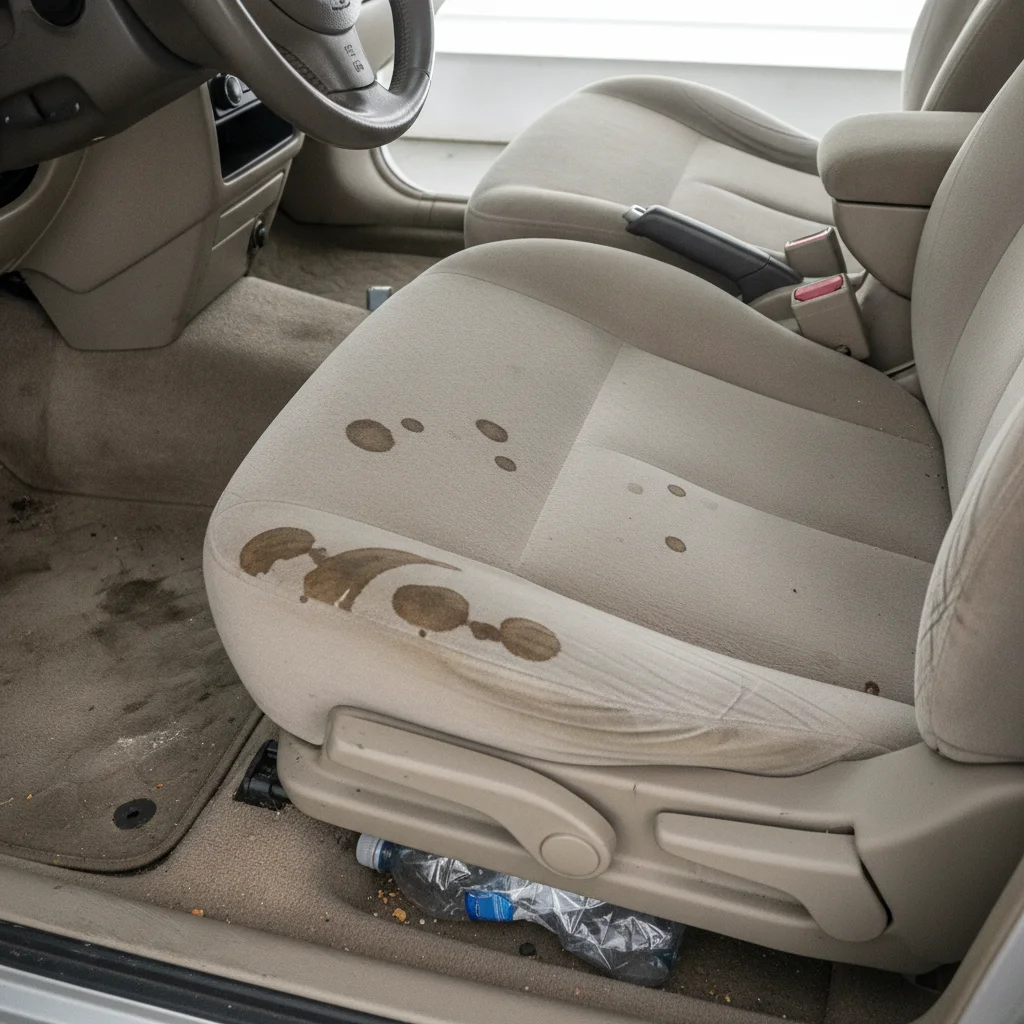
One important framing point: the goal here is not perfection. The goal is honest, best-effort improvement. A stain that goes from glaringly obvious to faintly visible is a win. It shifts the buyer's perception from "this car was neglected" to "this car was lived in and cared for." That's a meaningful psychological difference.
What You'll Need Before You Start
Having the right tools on hand before you begin prevents interruptions and ensures you can work through each stain systematically. The materials below cover the most common stain types you'll encounter in a used car interior.
What you will need
Enzyme-based upholstery cleaner
Breaks down organic stains including food, beverages, pet accidents, and biological matter.
Automotive degreaser or citrus cleaner
Dissolves oil and grease-based stains in carpet and fabric upholstery.
Isopropyl rubbing alcohol (70%+)
Removes ink and marker stains from carpet and fabric without damaging fibers.
White microfiber cloths (at least 6)
Used for blotting and applying products; white color lets you see stain transfer clearly.
Soft-bristle brush
Agitates carpet fibers to help cleaners penetrate and lift embedded dirt and stains.
Baking soda
Absorbs surface oil before liquid treatment and neutralizes odor compounds after biological stain cleaning.
Vacuum cleaner with crevice attachment
Removes loose debris before treatment and extracts baking soda residue after odor neutralization.
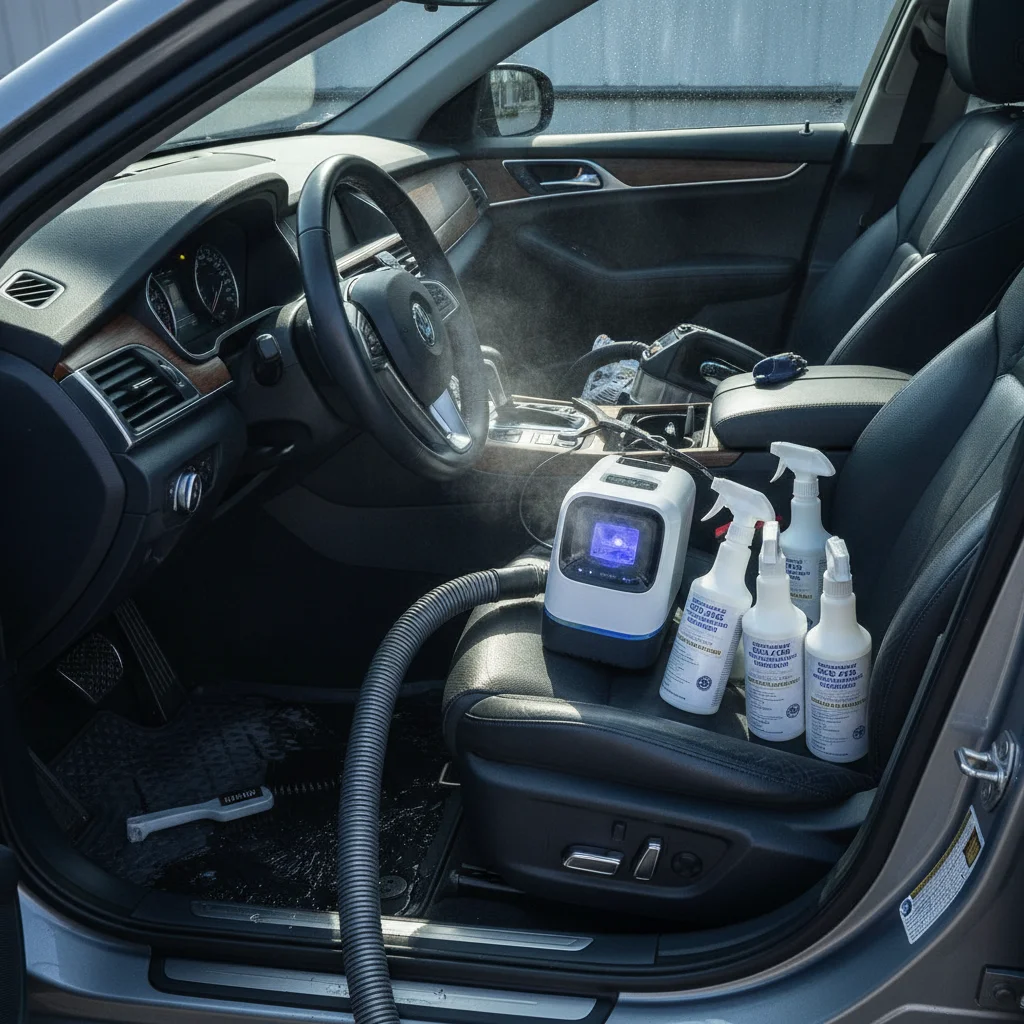
Portable wet/dry vacuum or carpet extractor
Extracts cleaning solution and deep-seated contamination more effectively than blotting alone.
A note on products: avoid using household cleaners like dish soap directly on carpet unless diluted heavily. Most dish soaps leave a residue that attracts more dirt over time and can make the area look worse within a few weeks — long enough after the sale to create problems. Purpose-built automotive interior cleaners are formulated to rinse clean and won't leave that sticky residue.
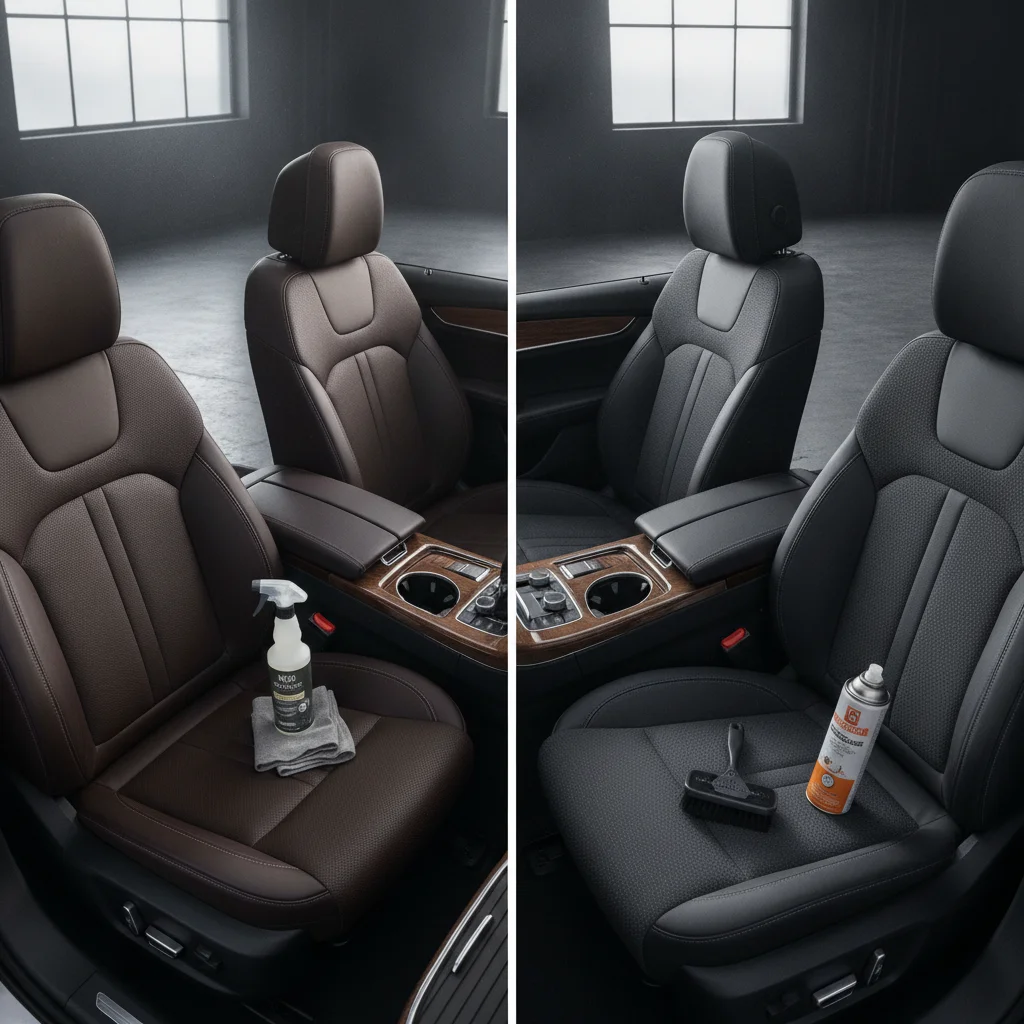
If your car has leather seating, the approach is quite different from cloth upholstery. The steps below focus primarily on fabric and carpet surfaces. For leather-specific guidance, see our article on leather vs. cloth interior care.
Step-by-Step Stain Removal by Type
Work through each stain individually rather than trying to treat the whole interior at once. This allows the product to dwell and work without drying out, and it lets you assess each result before moving on. The steps below address the four most common stain categories found in pre-sale car interiors.
Vacuum the area thoroughly before applying any liquid
Before any wet treatment, vacuum the stained area with a crevice attachment to remove loose debris, crumbs, and dried material sitting on top of the fibers. Applying liquid to a surface with loose particles just drives that debris deeper into the carpet or fabric weave.
For carpet, use a stiff-bristle brush to agitate the fibers first — this lifts compacted dirt so the vacuum can extract it. Work in short strokes against the grain of the pile, then vacuum again.
Treat food and beverage stains with enzyme cleaner
Food and drink stains — coffee, soda, juice, fast food residue — respond best to enzyme-based cleaners. These products break down the organic compounds in the stain at a molecular level rather than just dissolving the surface layer.
- Apply a generous amount of enzyme cleaner directly to the stain.
- Let it dwell for 5–10 minutes. Don't skip this step — dwell time is what makes enzyme cleaners work.
- Blot firmly with a clean white microfiber cloth, working from the outside edge of the stain inward. This prevents the stain from spreading.
- Repeat the application if the stain is still visible. Most food stains require 2–3 passes.
- Finish with a damp clean cloth to rinse the area, then blot dry.
Address grease and oil stains with a degreaser
Grease stains from food wrappers, sunscreen, or motor oil tracked in from shoes require a different approach. Enzyme cleaners won't cut through the lipid structure of oil — you need a dedicated automotive degreaser or a diluted solution of a citrus-based cleaner.
- Sprinkle a small amount of baking soda or cornstarch on the stain and let it sit for 10 minutes. This absorbs surface oil before you apply liquid.
- Vacuum up the powder thoroughly.
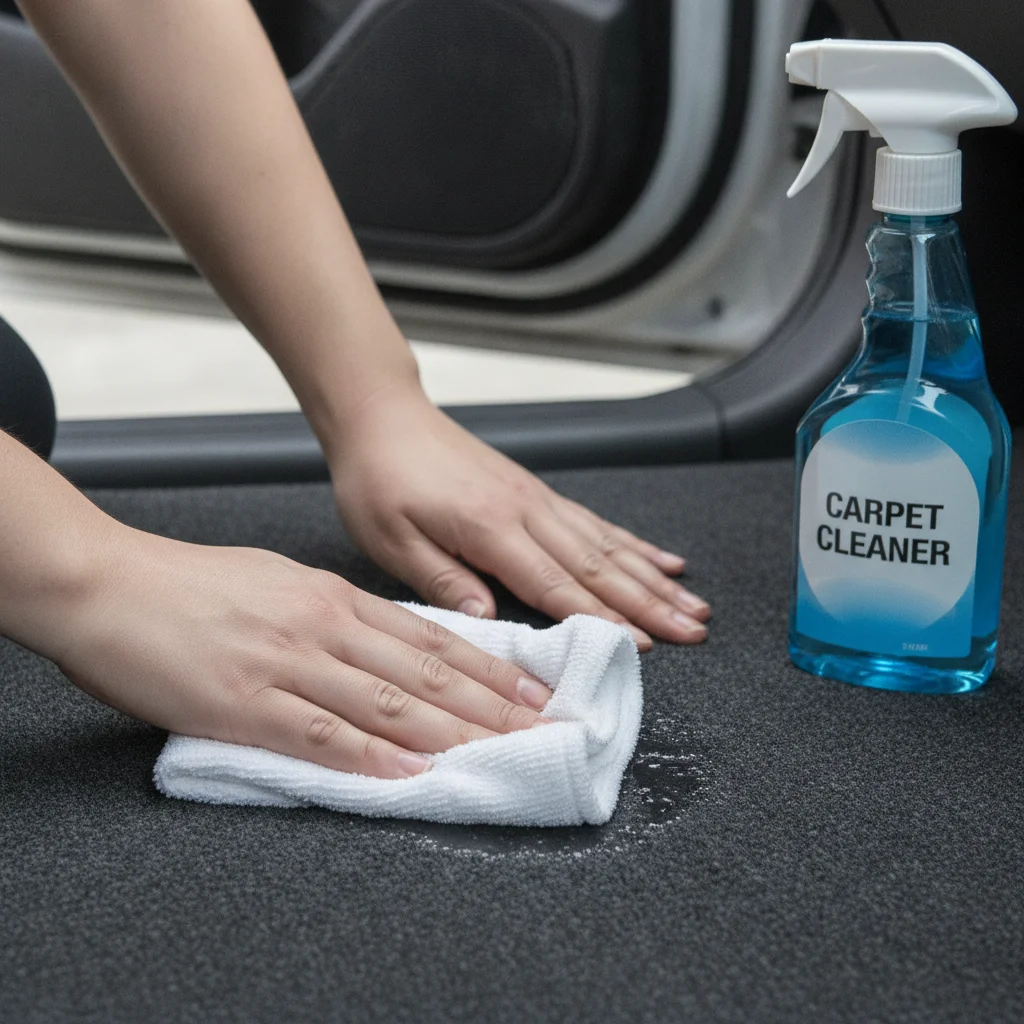
- Spray the degreaser on the stain and work it in gently with a soft-bristle brush using short back-and-forth strokes along the carpet grain.
- Blot with a clean microfiber cloth. You should see the oil transferring to the cloth.
- Rinse with a damp cloth and blot dry. Repeat if needed.
Treat ink stains with rubbing alcohol
Ink stains — from ballpoint pens, markers, or printer ink — respond to isopropyl rubbing alcohol (70% or higher). The alcohol dissolves the ink without damaging most fabric upholstery or carpet when used carefully.
- Dampen a clean white cloth with rubbing alcohol — don't pour alcohol directly onto the fabric.
- Dab the stain gently, working from the outer edge inward. You'll see ink transferring to the cloth.
- Use a fresh section of cloth as it becomes saturated with ink to avoid re-depositing color onto the surface.
- Once the stain is reduced, blot the area with a damp cloth to remove alcohol residue, then allow to dry.
Handle biological stains with enzyme cleaner and baking soda
Biological stains — pet accidents, vomit, blood — contain proteins and uric acid that bond strongly to fibers and produce persistent odors even after the visible stain is gone. Enzyme cleaners are essential here because they break down these compounds rather than just covering them.
- If any material is still present, remove it with a plastic scraper or gloved hands before applying any product.
- Blot up as much liquid as possible with paper towels or a dry cloth. Press firmly — don't rub.
- Apply an enzyme cleaner liberally and let it dwell for 10–15 minutes.
- Blot with a clean cloth until no more transfer occurs.
- Sprinkle baking soda over the damp area and leave it for several hours or overnight. Baking soda neutralizes remaining odor compounds.
- Vacuum the baking soda thoroughly once dry.
After you've completed treatment on all visible stains, let the interior air out thoroughly with the doors open for at least 30 minutes before inspection. Residual moisture trapped under carpet can lead to mildew odors — which are a separate and significant buyer concern. If odors are already present in the vehicle, those need their own treatment; see our guide on removing odors that kill deals before showing the car.
When to Stop DIY and Call a Professional
There are stains where the honest answer is: a $12 bottle of cleaner isn't going to cut it. Knowing when to escalate to a professional detailer — and when that cost is worth it — saves you both time and frustration.
Consider professional detailing when you're dealing with any of the following:
- Set pet urine or vomit: These biological stains penetrate carpet backing and the foam padding beneath. DIY products treat the surface but rarely reach the deeper layers where the odor compounds are anchored. A professional using an extractor machine can pull the contamination out rather than just masking it.
- Ink from a burst pen: Fresh ink is workable at home. Dried, spread ink — especially on light-colored fabric — often needs enzymatic treatments and extraction equipment to avoid making the stain larger.
- Large oil or grease stains near the driver's floor: These are often layered with months of foot traffic grinding the grease deeper into fibers. A machine extraction paired with a degreaser is significantly more effective than hand scrubbing.
- Mold or mildew growth: If you see visible mold or smell it strongly, this is a health concern as well as an aesthetic one. Professional treatment with anti-microbial agents is the safer and more effective route.
A professional detail for the interior typically runs $100–$200 depending on your area and the car's condition. If it helps you list the car at a higher price or close a deal that would otherwise fall through, it's almost always worth it. For a broader look at affordable interior prep, the interior cleaning for sellers guide can help you prioritize where to spend your time and money.
How to Present the Interior Honestly After Cleaning
Once you've done your best work on the stains, take a clear-eyed look at what remains. Some stains will be gone entirely. Others will be reduced to a faint shadow. A few stubborn ones may still be clearly visible. Your job now is to present the car honestly — which, perhaps counterintuitively, is also the smartest sales strategy.
Buyers who discover hidden or disguised damage during a showing or inspection feel deceived, and that emotional response almost always ends the deal — sometimes before any price negotiation even begins. Sellers who proactively acknowledge a remaining stain and explain what they've already done to treat it come across as trustworthy, which makes buyers far more comfortable moving forward.
A simple approach: when showing the car, briefly mention any remaining marks as you walk through the interior. Something like, "There's a faint mark on the rear carpet — I treated it, it came up quite a bit, but it didn't fully disappear" is a statement that builds confidence rather than eroding it. Attempting to cover stains with floor mats and hoping buyers don't notice is the kind of strategy that typically backfires — and can create legal exposure in some states. The article on mistakes sellers make when hiding flaws covers exactly why this approach tends to hurt more than it helps.
Don't Use Floor Mats to Hide Stains
Placing a floor mat over a carpet stain to conceal it from buyers is a disclosure risk and an integrity issue. Buyers routinely lift mats during inspections, and discovering a covered stain at that moment often kills the deal entirely. If the stain can't be adequately treated, disclose it and price accordingly.
Pricing is the other lever you have. A car with a visible but disclosed stain, listed at a fair price, will attract buyers who are comfortable with it. A car with a hidden stain listed at full price will generate cancellations and lowball offers once the buyer sees the interior in person. Transparency protects both the transaction and your reputation as a seller.
Photograph the Interior Before and After
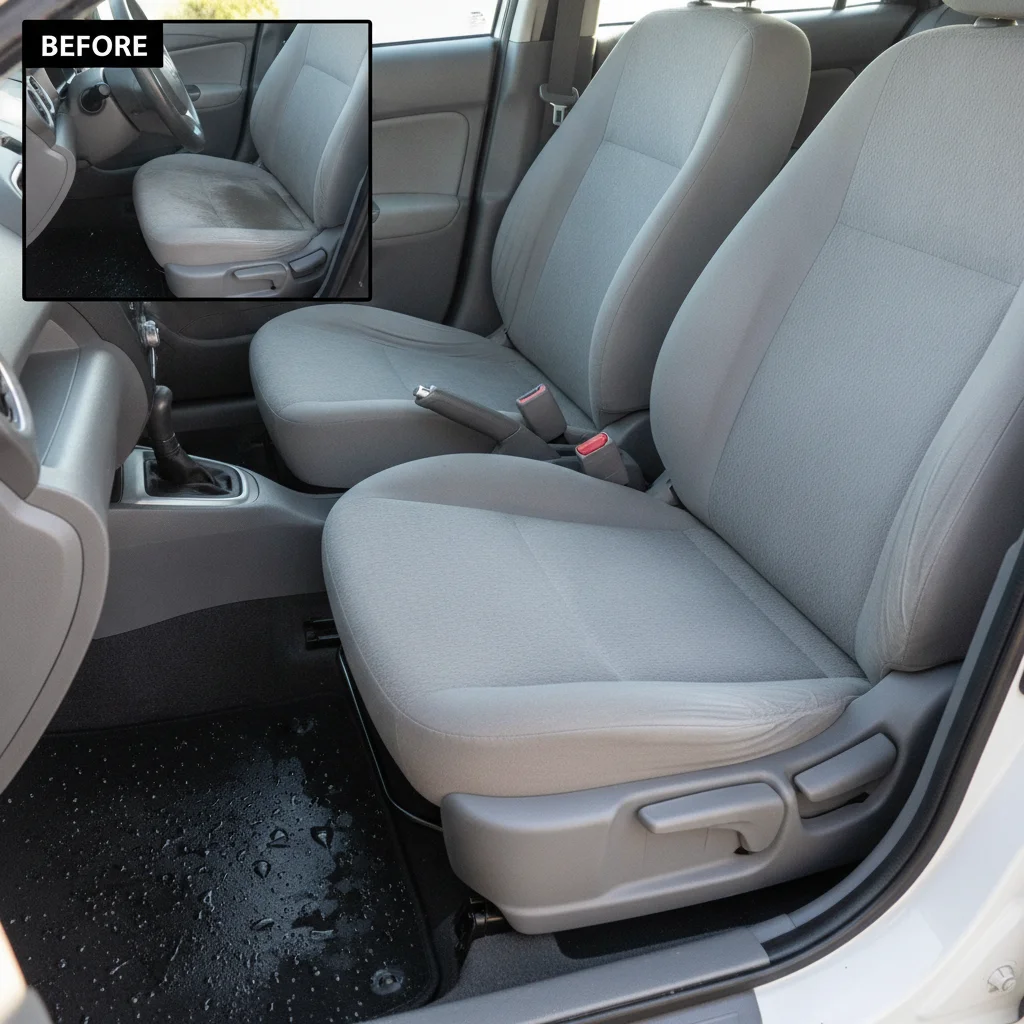
Take clear photos of stained areas before you begin treatment and after your best-effort cleaning. If a stain is still partially visible, including both photos in your listing shows buyers exactly what they're looking at and demonstrates you've already put work into the car. This level of transparency tends to attract more serious, less adversarial buyers.
Dry Thoroughly Before Any Showing
Allow treated areas at least 4–6 hours of drying time with the doors open before showing the car. A carpet that smells clean but feels damp creates its own negative impression. If weather doesn't allow for open-door drying, a portable fan directed at the floor area accelerates the process significantly.

All claims are backed by peer-reviewed research. Sources on request.