Key Takeaways
Why Fluid Levels Matter More Than You Think
Most mechanical failures don't announce themselves dramatically. They creep in quietly — a slow coolant leak here, a brake fluid level that drops a little each month there. By the time a warning light fires up on the dash, you may already have accelerated wear or a safety issue on your hands.
Checking and topping off your own fluids is one of the most high-value habits you can build as a car owner. It costs almost nothing, takes minutes once you know what you're doing, and it gives you a regular window into your car's health. A fluid that's consistently low tells you something is wrong. A fluid that looks dark or contaminated tells you something has been wrong for a while.
There's also a real dollars-and-cents angle here. Engines that run low on coolant overheat. Overheating warps heads, cracks blocks, and turns a $50 top-off into a $3,000 repair. Brake systems low on fluid develop a spongy pedal and, in serious cases, fail altogether. None of that shows up favorably on a pre-purchase inspection when it's time to sell. If you care about resale value — and you should — consistent fluid maintenance is one of the simplest things you can do. Check out the Detailing & Repairs hub for more on how upkeep choices pay off at sale time.
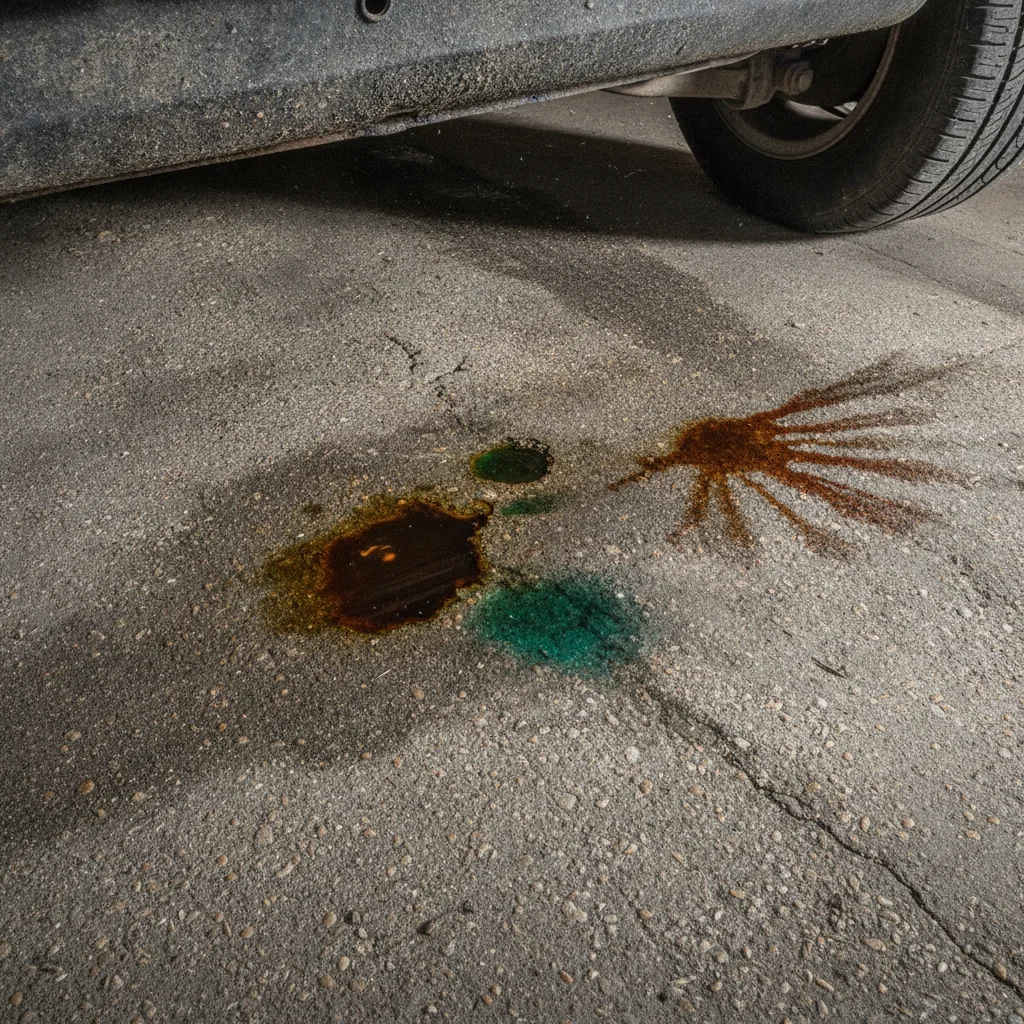
This guide walks through every major fluid your car uses, how to check it, and how to top it off safely. If you're also seeing spots under your car, pair this with our color-coded fluid leak guide to figure out what's dripping and why.
What You'll Need Before You Start
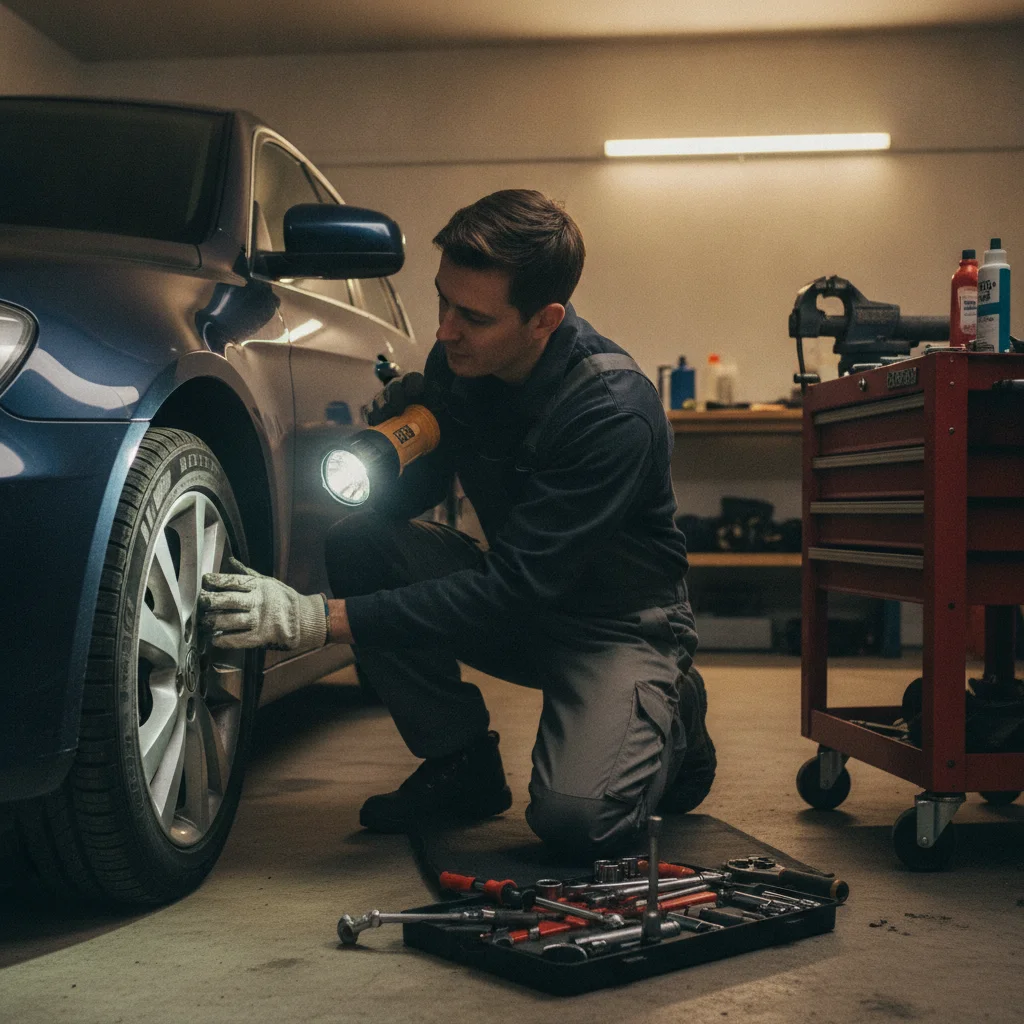
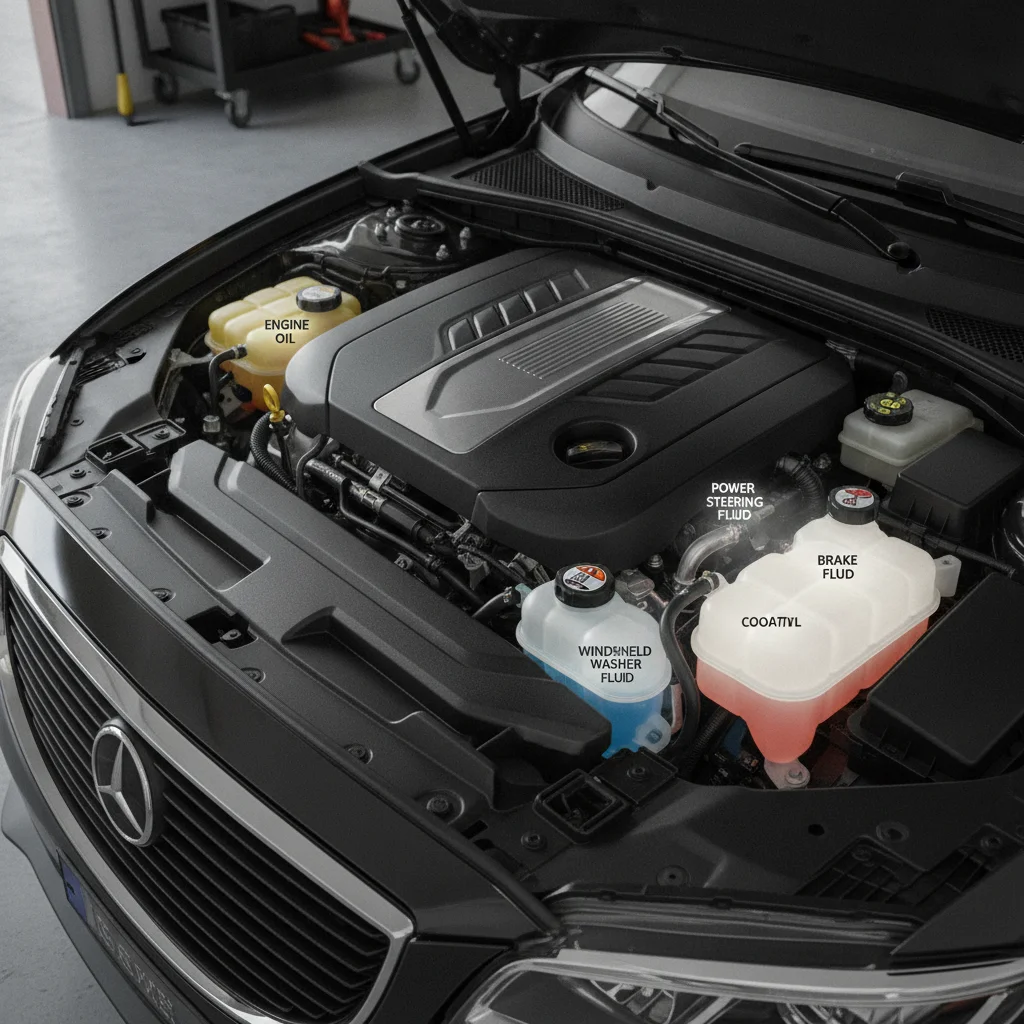
You don't need a full shop setup to do this. Most fluid checks and top-offs require only basic supplies and about 15 minutes on a flat, cool surface. Here's what to have on hand before you pop the hood.
What you will need
Owner's Manual
Confirms the correct fluid type and capacity for every system in your specific vehicle.
Nitrile Gloves
Protects skin from brake fluid (a paint stripper and skin irritant) and engine coolant (toxic to humans and animals).
Small Funnel
Prevents spills when pouring fluid into narrow reservoir openings.
Clean Shop Rags or Paper Towels
Used to wipe dipsticks clean before getting a true reading and to clean up any spills.
Flashlight
Illuminates dark corners of the engine bay where reservoirs and dipsticks can be hard to see.
Turkey Baster or Fluid Transfer Pump
Useful for removing old or contaminated fluid from a reservoir before topping off with fresh fluid.
One firm rule before anything else: always check your owner's manual for the exact fluid specifications your car requires. This is not optional. Using the wrong coolant type, the wrong power steering fluid, or a brake fluid with the wrong DOT rating can cause corrosion, seal damage, or system failure. The manual will list what you need. If you don't have the manual, most manufacturers post them online by VIN or model year.
Step-by-Step: Checking and Topping Off Each Fluid
Work through these in order when you do a full fluid check. Each fluid has its own location, dipstick or reservoir, and top-off procedure. Take your time the first couple of times — once you know where everything lives in your engine bay, a full check takes about five minutes.
Check Engine Oil
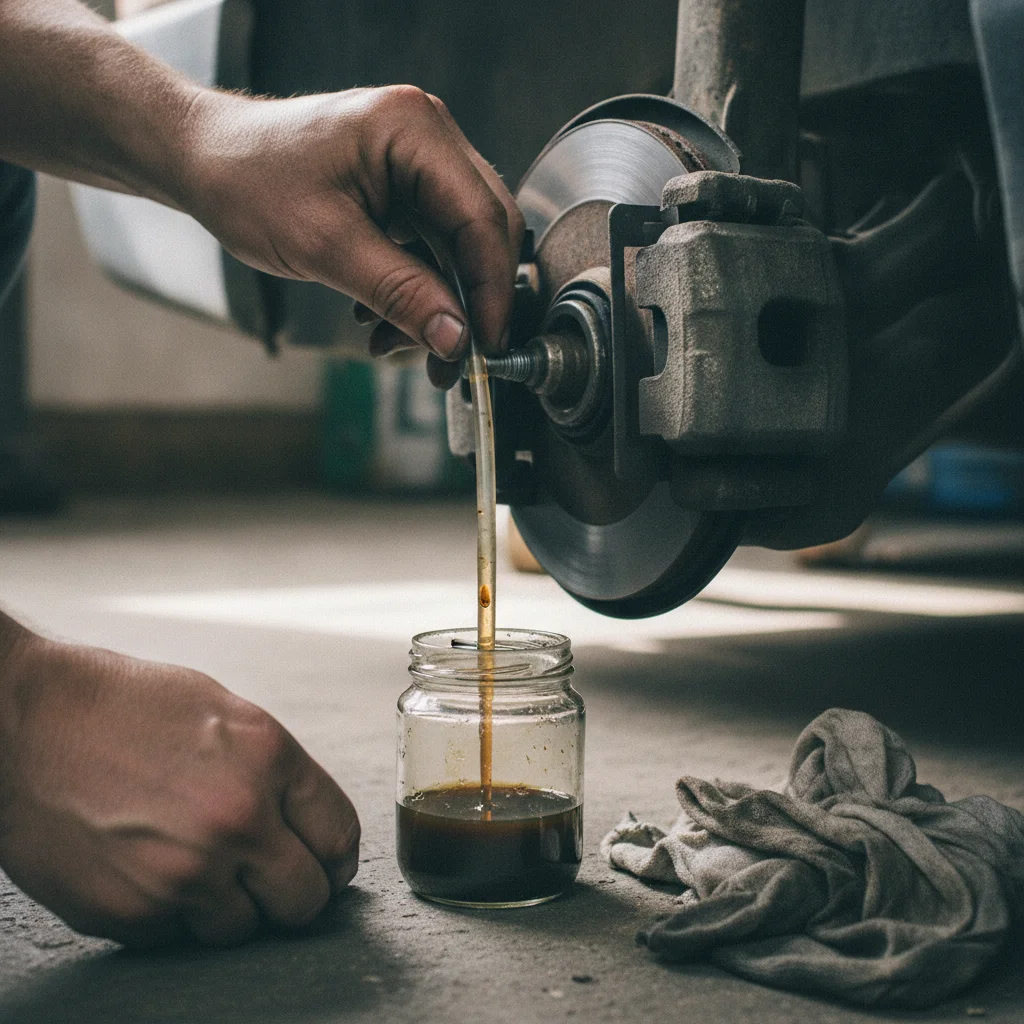
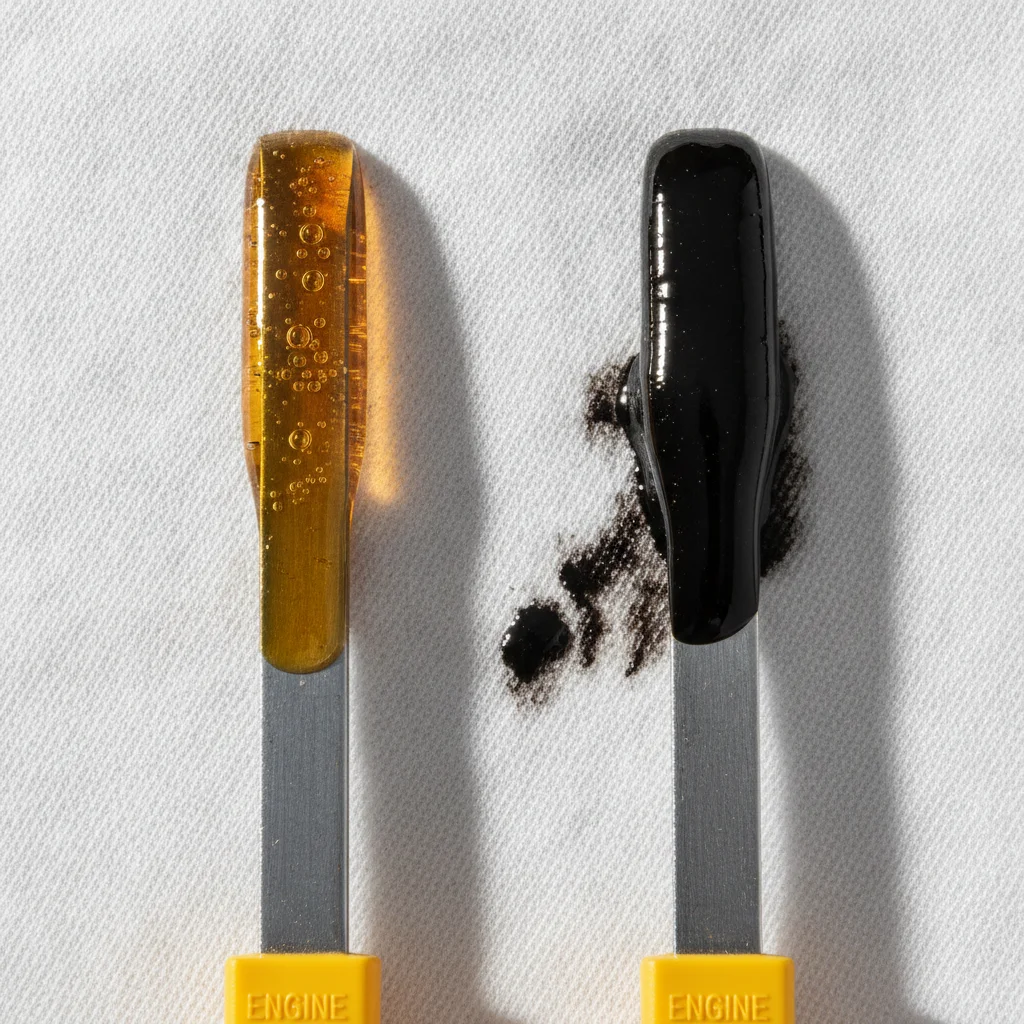
Pull the oil dipstick (usually a brightly colored ring or handle near the front of the engine), wipe it clean with a rag, reinsert it fully, then pull it out again for an accurate reading. The oil level should fall between the two marks on the dipstick — often labeled MIN and MAX or marked with holes or lines.
Also look at the oil color on the rag. Fresh oil is amber and slightly translucent. Old oil is dark brown or black. Very dark oil that's also gritty or smells burnt means an oil change is overdue. If the level is low, add the correct grade (e.g., 5W-30) in small amounts — about half a quart at a time — checking between additions to avoid overfilling.
Check Coolant (Engine Coolant / Antifreeze)
Do not open the radiator cap on a warm engine. Wait at least 30 minutes after driving. The coolant system is pressurized and a hot cap release can spray scalding fluid.
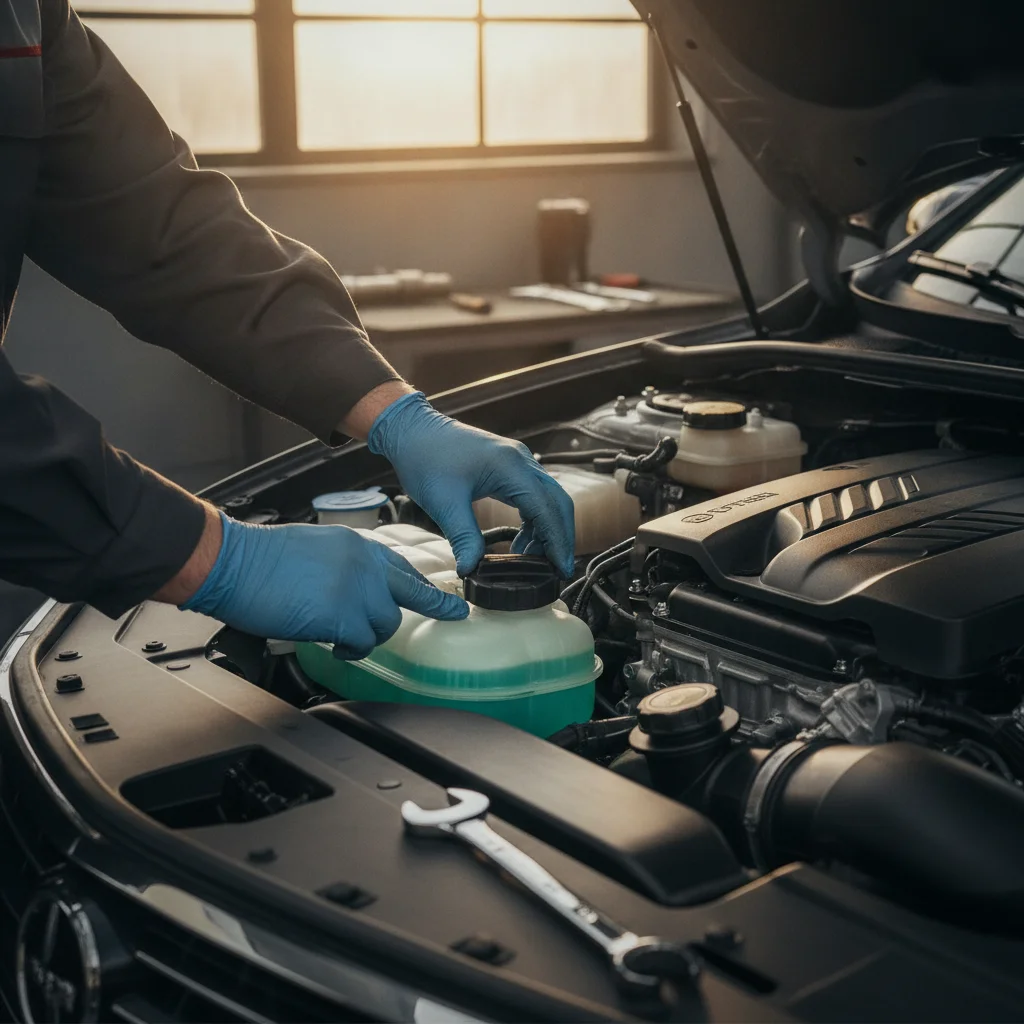
Instead, check the translucent plastic overflow reservoir (usually mounted near the radiator). It has MIN and MAX lines on the side. If the level is below MIN, add the correct coolant — most modern engines use either OAT or HOAT formula, and mixing them can cause gel deposits. Dilute concentrated coolant 50/50 with distilled water, or use pre-mixed coolant if you're not sure.
While you're here, look at the coolant color. Healthy coolant is bright — green, orange, pink, or blue depending on type. Brown, rusty, or muddy coolant means it's degraded and needs a full flush, not just a top-off.
Check Brake Fluid
The brake fluid reservoir is a small translucent or opaque plastic container on top of the master cylinder, typically located at the back of the engine bay on the driver's side. Most have a MIN and MAX line visible from the outside.
Put on gloves before opening the cap. Brake fluid is hygroscopic — it absorbs moisture from the air — so don't leave the cap off longer than necessary. If the level is low, use only the DOT rating specified on the cap or in your manual (DOT 3, DOT 4, and DOT 5 are not interchangeable). Also note: brake fluid naturally drops slightly as brake pads wear down. A small drop is normal. A sudden or large drop is not.
Check Power Steering Fluid
Not all cars have hydraulic power steering — electric power steering (EPS) systems require no fluid at all. If your car has a power steering reservoir (a small capped container with a steering wheel icon), check it while the engine is cold. Many reservoirs have dipstick caps with HOT and COLD markings; use the appropriate range for current engine temperature.
If the fluid is low, add only the type specified by your manufacturer — some systems require ATF (automatic transmission fluid), others use dedicated power steering fluid, and mixing them can degrade seals. Add in small increments and check as you go.
Check Transmission Fluid
Automatic transmission fluid (ATF) is checked similarly to engine oil in most vehicles — with a dipstick while the engine is warm and running in Park or Neutral. Some newer vehicles have sealed transmissions with no dipstick at all; those require a dealer or shop check via the fill plug.
Pull the transmission dipstick (often red-handled), wipe, reinsert, and pull again. ATF should be between the marks and appear red or pink. Dark brown or burnt-smelling ATF means the fluid is degraded and the transmission may be running hot. Top off with the exact ATF spec listed in your manual. Many modern transmissions require specific fluid — the wrong ATF can cause shifting problems and damage internal clutch packs.
Check Windshield Washer Fluid
This one's straightforward — look for the reservoir marked with a windshield/wiper icon, pull the cap, and fill with premixed washer fluid. Don't use plain water. In cold climates, water freezes in the lines and cracks the reservoir. In warm climates, water breeds bacteria and leaves streaks.
Use a washer fluid rated for your climate — summer blends have degreasing agents, winter blends include antifreeze. Some blends do both. Fill to the MAX line and you're done.
Do a Full Fluid Check Monthly
Build the habit of checking all fluids once a month — takes about 10 minutes when the engine is cold. You'll catch slow leaks early, avoid emergency situations, and have a cleaner maintenance record when it's time to sell or trade in. Set a phone reminder on the first of each month and it becomes second nature.
Label Your Fluids Before You Buy
Before heading to the auto parts store, photograph your owner's manual fluid spec pages or note the exact fluid names. Coolant types, ATF grades, and brake fluid DOT ratings vary by vehicle, and buying the wrong product is an easy mistake. Most store staff can help if you bring the year, make, and model.
Track Levels Over Time
Keep a simple log — even just a note on your phone — with the date and level each time you check. If coolant goes from MAX to MIN in three weeks, that pattern tells you something is leaking. A single low reading is often nothing. A pattern of low readings is always something.
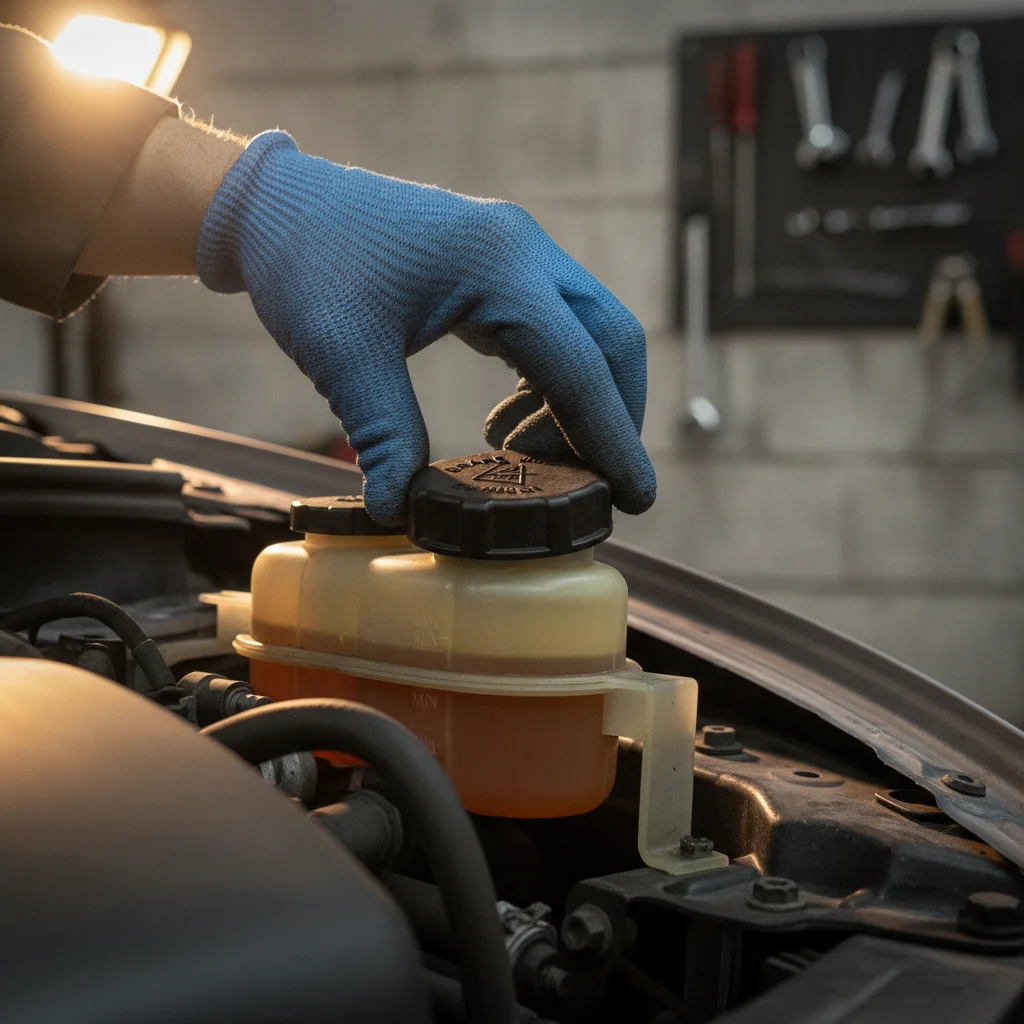
If you find that a fluid level is significantly lower than it should be — not just a little below the max line — that's worth paying attention to before you simply refill and forget it. Most closed systems like brake fluid and power steering don't evaporate or burn off. A low level almost always means a leak somewhere. Our fluid leak identification guide can help you track down where it's coming from.
When Topping Off Isn't Enough
Topping off handles the symptom. It doesn't fix the cause. If you're refilling a fluid more than once between oil changes, something is leaking, burning, or failing — and a top-off is just buying time.
Here's a rough guide to when you should stop topping off and start digging deeper:
- Coolant repeatedly low: Could be a slow leak at a hose, the water pump, the radiator, or a failing head gasket. If you see white smoke from the exhaust or find a milky residue on the oil dipstick, stop driving and get it checked immediately — those are signs of coolant entering the combustion chamber.
- Brake fluid repeatedly low: Brake fluid in a healthy, sealed system stays at the same level (it drops slightly as pads wear, which is normal). A rapid or repeated drop means a leak in a caliper, line, or master cylinder. That's a safety issue. See our guide on bleeding your own brakes if you suspect air has entered the lines.
- Power steering fluid repeatedly low: Check the rack, hoses, and pump for wet spots or staining. EPS (electric power steering) systems don't use fluid at all — if your car has EPS and the reservoir is gone, you have the wrong car model open in front of you.
- Transmission fluid low: Automatic transmissions are sealed systems. Fluid that disappears means it's leaking somewhere. Don't just refill — have the pan and seals inspected.
For a broader look at how to catch problems before they grow expensive, see our full walkthrough on inspecting your own car for early warning signs. And if you drive an EV, the fluid picture is a little different — check out which fluids your EV still uses for what applies to you.
Never Mix Different Coolant Types
Mixing OAT (orange) coolant with HOAT (yellow/green) or IAT (green) coolant can create a gel-like sludge that clogs your radiator and water pump passages. Always use the type specified for your vehicle, and if you're unsure what's already in the system, do a full flush before adding new coolant.
A Milky Dipstick Is a Red Flag
If you pull the engine oil dipstick and see a creamy, milky residue near the top or on the cap, coolant is mixing with your oil — a classic sign of a blown head gasket or cracked block. Stop driving the vehicle immediately. Continuing to drive with coolant in the oil accelerates bearing wear and can destroy the engine in a matter of miles.
Never Open a Hot Radiator Cap
The cooling system operates under pressure. Opening the radiator cap or coolant reservoir on a hot engine can cause boiling coolant to eject suddenly, causing severe burns. Always wait at least 30 minutes after the engine has been off before touching any cooling system component. When in doubt, wait longer.
Wrong Fluid Can Cause Immediate Damage
This isn't a case where close enough is fine. Brake fluid DOT ratings, ATF specifications, and coolant chemistry are engineered for specific systems. Adding the wrong product can swell seals, cause corrosion, or in the case of brake fluid incompatibility, contribute to brake failure. Always confirm the correct fluid before you pour anything. Check the cap, the reservoir label, and your owner's manual.
Quick-Reference: Fluid Check Intervals
Different fluids need attention at different intervals. Here's a practical schedule to keep on your phone or tape inside your glove box:
| Fluid | Check Interval | Typical Top-Off / Change Interval |
|---|---|---|
| Engine oil | Monthly or at every fill-up | Every 5,000–10,000 miles (synthetic) |
| Coolant | Every 3 months | Every 30,000–50,000 miles (flush) |
| Brake fluid | Every 6 months | Every 2–3 years or 30,000 miles |
| Power steering fluid | Every 3 months | Every 50,000–75,000 miles (if hydraulic) |
| Transmission fluid | Every 6 months | Every 30,000–60,000 miles (type-dependent) |
| Windshield washer | Monthly | As needed |
The coolant interval above refers to a full flush, not just a top-off. For a deeper look at what a coolant flush actually does and how to know when it's time, see our coolant flush guide. Similarly, if you want to identify fluids by appearance or smell rather than by system, our fluid colors and smells reference guide is a useful companion.
Staying on top of these intervals doesn't just prevent breakdowns — it keeps your car's maintenance history clean, which buyers and dealers notice. A car that's been properly fluids-maintained is genuinely worth more at trade-in than one that hasn't.

All claims are backed by peer-reviewed research. Sources on request.