Key Takeaways
Why a Self-Inspection Is Worth Your Time
Most expensive car repairs share a common origin story: a small problem that went unnoticed until it got loud, hot, or completely failed. A worn belt doesn't snap overnight. A brake pad doesn't disappear in a week. A slow coolant leak doesn't empty your reservoir in one drive. These things degrade gradually, and that gradual decline is your window to act cheaply.
Think of this inspection the way a pilot thinks about a pre-flight walkaround. The pilot isn't an aircraft engineer, but they know exactly what to look for and what looks wrong. You can develop the same calibrated eye for your car — and the financial payoff is real. A $12 serpentine belt replacement becomes a $900 tow-plus-repair bill once that belt snaps on the highway. Catching it before that moment is pure money in your pocket.
This guide walks you through a complete self-inspection covering tires, fluids, belts and hoses, brakes, lights, and a few undercarriage basics. You'll need no specialized mechanical knowledge — only the tools listed below and a willingness to get close to your car for 30–45 minutes. Once you've done it twice, the whole process gets faster and more intuitive.
If you want a quick-reference version to run monthly, pair this walkthrough with the monthly under-the-hood inspection routine to keep yourself on schedule.
What you will need
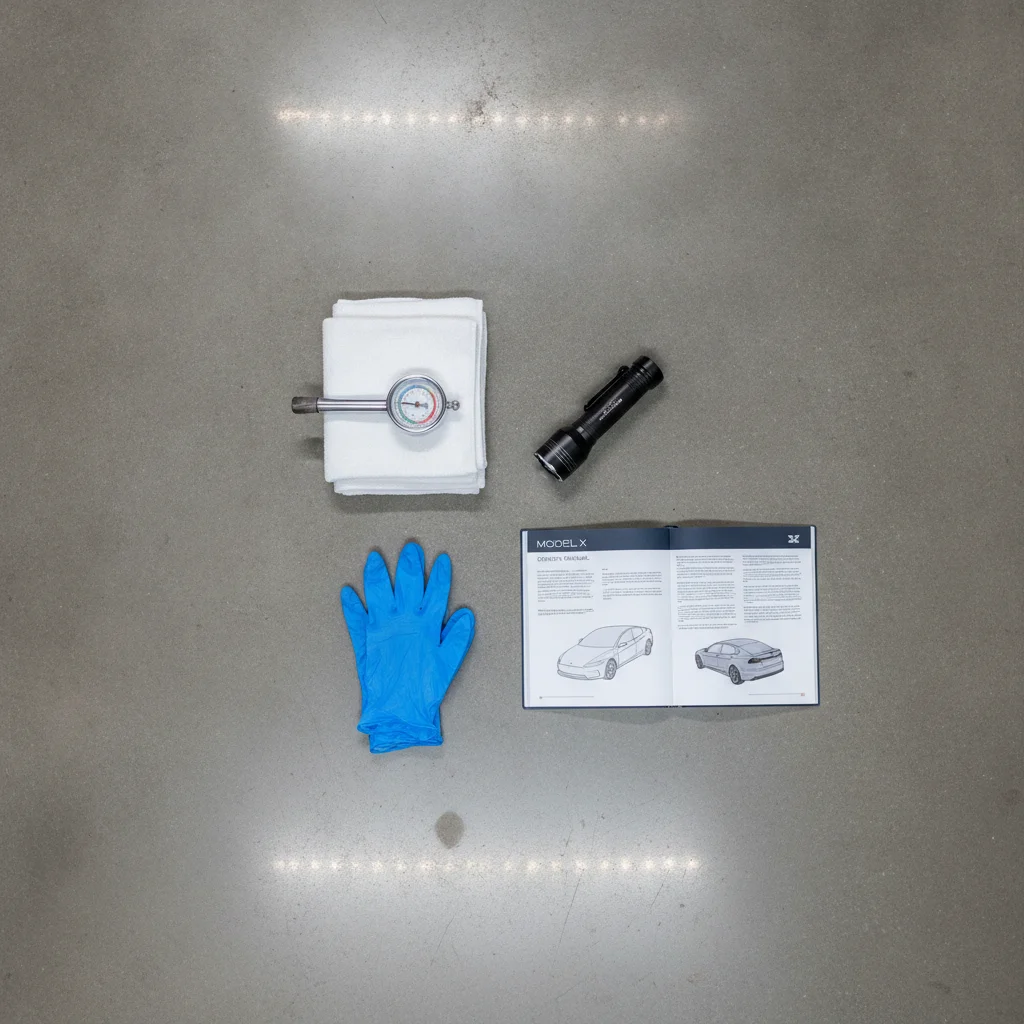
What You'll Need Before You Start
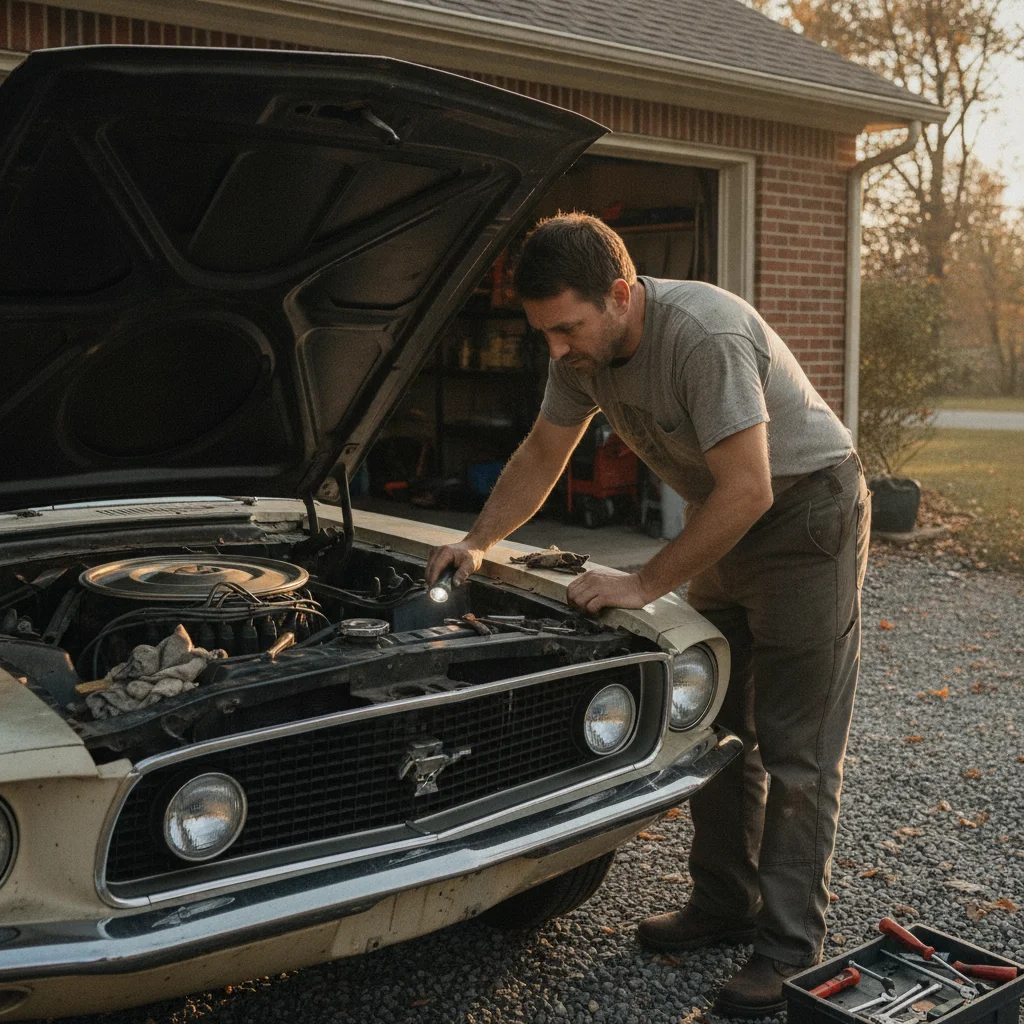
Before you pop the hood, gather your tools and pick the right environment. A shaded driveway or garage floor works well — avoid direct sunlight, which makes it harder to see fluid colors accurately, and never perform any inspection with the engine running unless explicitly instructed.
Tire Pressure Gauge
Measures PSI in each tire so you can compare against the manufacturer spec on your door jamb sticker.
Flashlight or Headlamp
Illuminates the engine bay, undercarriage, and brake components that are hard to see in ambient light.
Clean Rags or Paper Towels
Used to wipe dipsticks clean before reading fluid level and color accurately.
Owner's Manual
Provides the correct fluid specifications, tire pressure ranges, and service intervals specific to your vehicle.
Tread Depth Gauge
Precisely measures remaining tire tread depth in 32nds of an inch — more accurate than the penny test.
OBD-II Scanner
Reads diagnostic trouble codes stored in the vehicle's computer so you can investigate any check engine light.
Nitrile Gloves
Protects your hands from grease, battery acid, and brake fluid during underhood and undercarriage checks.
Park on a flat, level surface and let the engine cool for at least 10–15 minutes before checking fluids. A hot engine can give you inaccurate readings on the dipstick and, more importantly, pressurized coolant can spray dangerously if you open the radiator cap while it's warm.
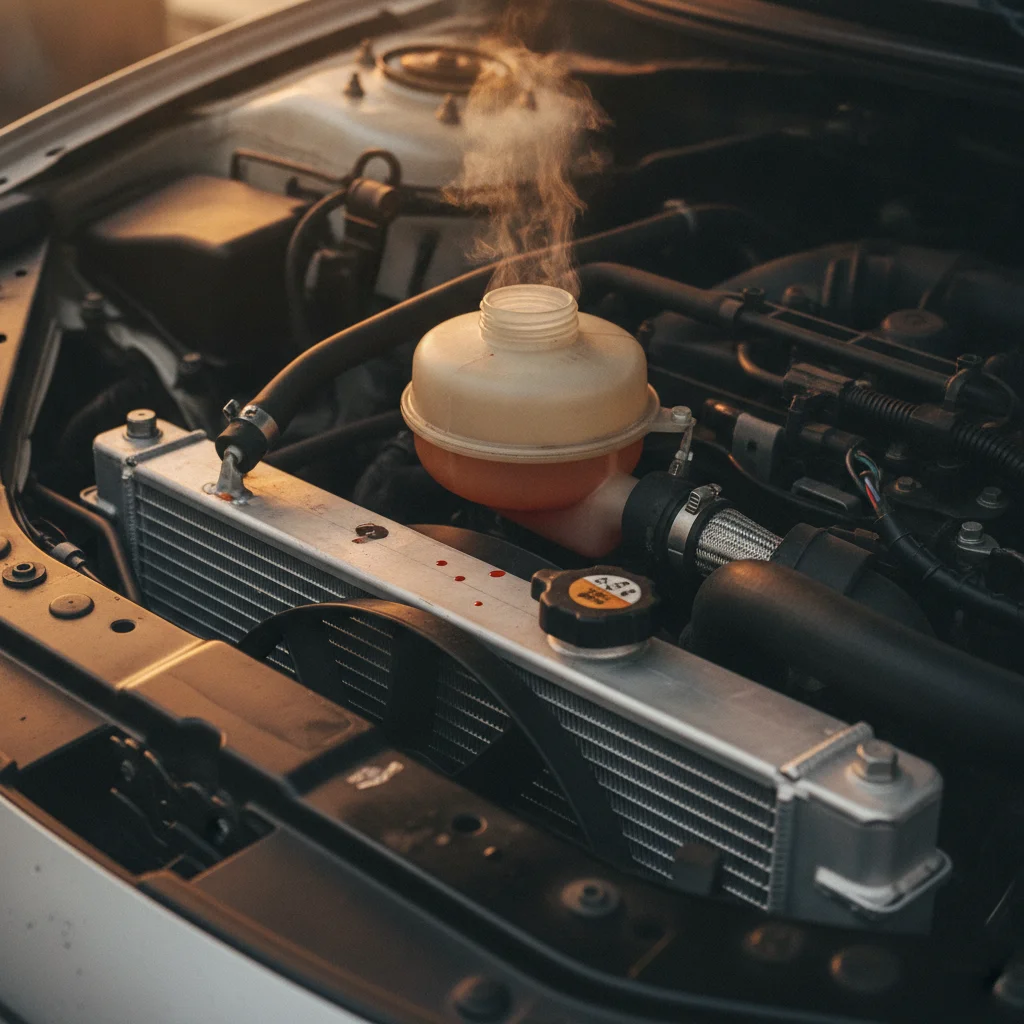
Never Open a Hot Radiator Cap
The cooling system operates under pressure — typically 13–16 PSI when hot. Opening the cap on a warm or hot engine can cause boiling coolant to spray forcefully, causing severe burns to your face and hands. Always wait until the engine is fully cool and the upper radiator hose feels slack before opening the cap.
Don't Dismiss a Low Brake Fluid Warning
Unlike oil or washer fluid, brake fluid level is a functional indicator — it drops as pads wear down, and it can also signal a leak in the hydraulic system. A low reading combined with a soft or spongy pedal feel means you should not drive the car until a mechanic has inspected it. This is a safety-critical system.
The Step-by-Step Inspection Walkthrough
Work through the steps below in order. The sequence is deliberate — exterior and tires first (no tools needed, done while the engine cools), then underhood fluids, then belts and hoses, then brakes and lights. This order minimizes wasted time and keeps you safe.
Walk Around the Exterior
Start with a slow walk around the entire vehicle before you open anything. You're looking for four things: obvious body damage or new dents, fluid spots or puddles on the ground beneath the car, tire sidewall bulges or cuts, and any panel or trim that looks misaligned (a sign of past collision repair that may indicate structural issues).
Crouch down and check the ground under the engine, transmission, and rear axle. A dark wet patch under the engine could be oil; a bright green or orange puddle is coolant; a clear oily fluid under the front wheels is often power steering or brake fluid — both serious. A light oily sheen directly under the front of the engine on a hot day can be normal AC condensation.
Inspect All Four Tires
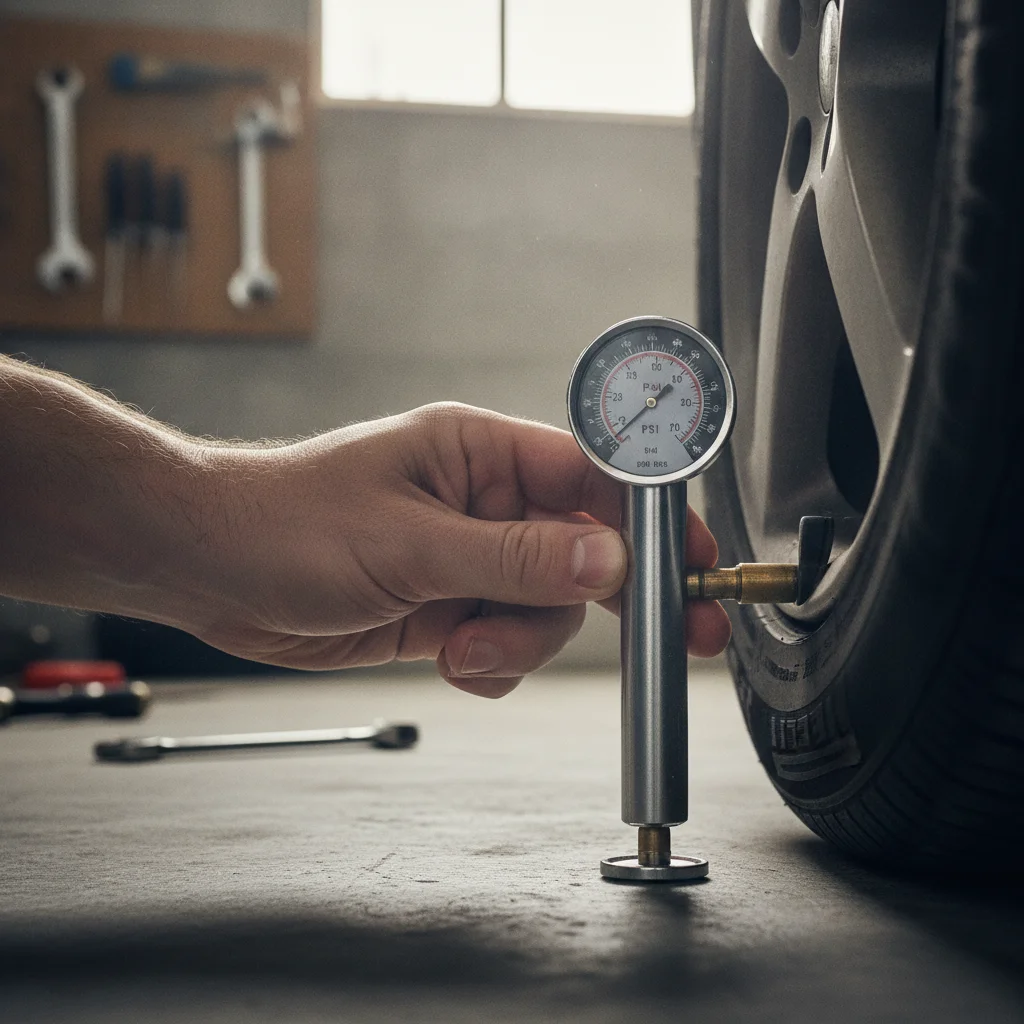
Check each tire for three things: pressure, tread depth, and condition. Use your pressure gauge on the valve stem with the tire cold (before you've driven more than a mile). Compare the reading to the sticker inside the driver's door jamb — not the number molded into the tire sidewall, which is the maximum, not the recommended pressure.
For tread, use the quarter test: insert a quarter upside down into a tread groove. If you can see above Washington's head, you have less than 4/32" remaining — time to start shopping for tires. At 2/32" (the penny test threshold) the tire is legally worn out in most states and dangerously compromised in wet conditions.
Examine the sidewalls for bulges, cuts, or cracks. A sidewall bulge means the internal structure has failed — that tire can blow out with no further warning. Don't drive on it.
Check All Fluid Levels
With the engine cold, open the hood and work through each fluid in sequence:
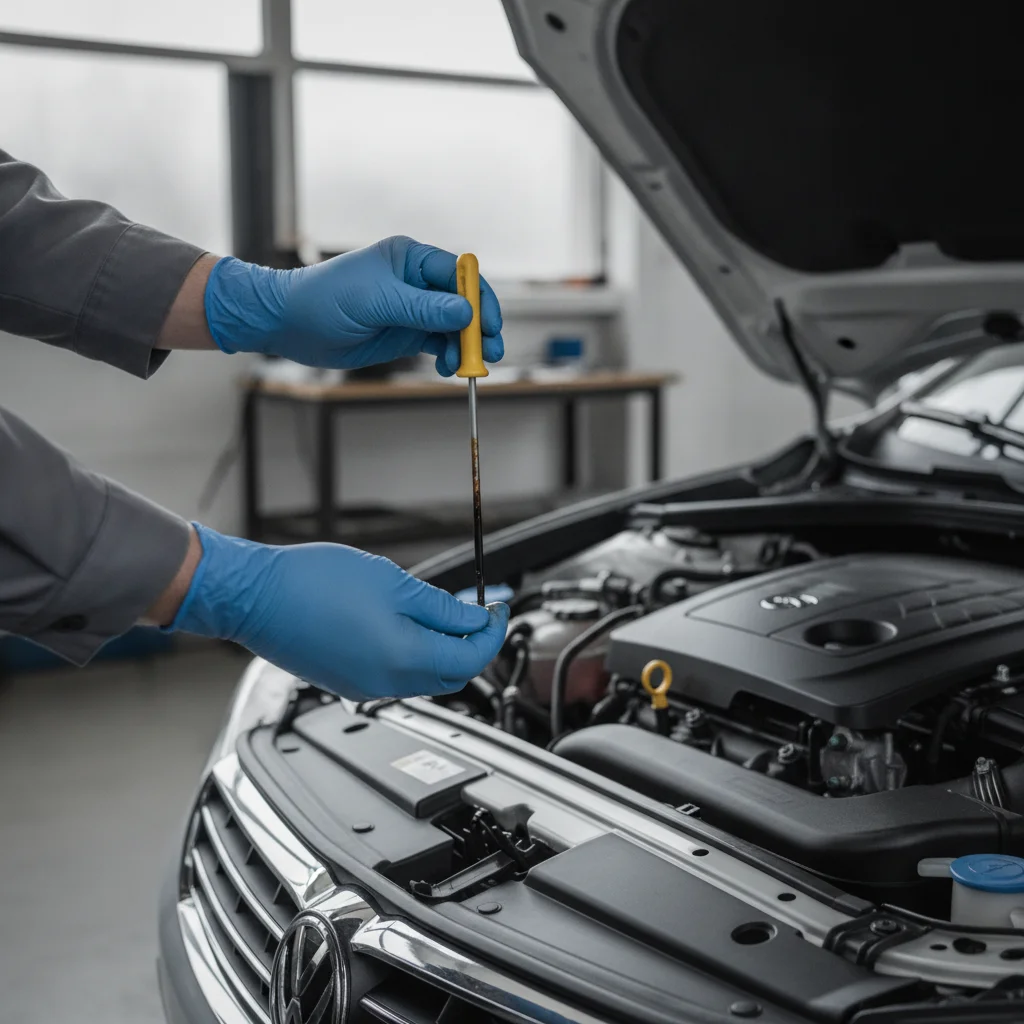
- Engine oil: Pull the dipstick, wipe it clean, reinsert fully, pull again. The oil should fall between the MIN and MAX marks. Note the color — amber is healthy, black means it's due for a change.
- Coolant: Check the translucent overflow reservoir (never the radiator cap on a warm engine). The level should be between LOW and FULL. Check the color — it should be vibrant, not brown or rusty.
- Brake fluid: The reservoir is typically a small translucent cylinder near the firewall on the driver's side. It should read at or near MAX. Low brake fluid often means worn pads (the fluid drops as the caliper pistons extend) or a leak — either needs prompt attention.
- Power steering fluid: If your vehicle has hydraulic power steering (many newer cars use electric), there's a small reservoir with a dipstick or MIN/MAX markings. Low fluid here can cause whining and eventual pump failure.
- Windshield washer fluid: Not safety-critical, but an empty reservoir in winter or on a dusty road is a real visibility hazard. Top off with premixed fluid.
For a more detailed breakdown of fluid inspection techniques, see fluid checks every driver should be doing between service visits.
Inspect Belts and Hoses
With the hood still up, locate the serpentine belt — the wide, ribbed belt that runs across multiple pulleys at the front of the engine. Run your finger lightly along its ribbed surface. You're feeling for cracks, fraying at the edges, or a glazed, shiny surface on the ribs (glazing means it's slipping). Look at the overall tension — a belt that's clearly sagging or wobbling suggests a tensioner problem.
If your vehicle is older than 7–8 years and has a timing belt (not a timing chain — check your manual), note when it was last replaced. Most timing belts are due every 60,000–100,000 miles depending on manufacturer. A snapped timing belt typically destroys the engine on interference-design motors. This is one of the most expensive surprises preventable maintenance can avoid.
Next, squeeze each coolant hose (the large rubber hoses running from the radiator to the engine). A healthy hose feels firm but slightly pliable. A hose that feels rock-hard and inflexible is heat-hardened and brittle — it can crack suddenly. A hose that feels mushy or collapses under gentle pressure has internal degradation. Either extreme warrants replacement soon.
Inspect Brakes Visually
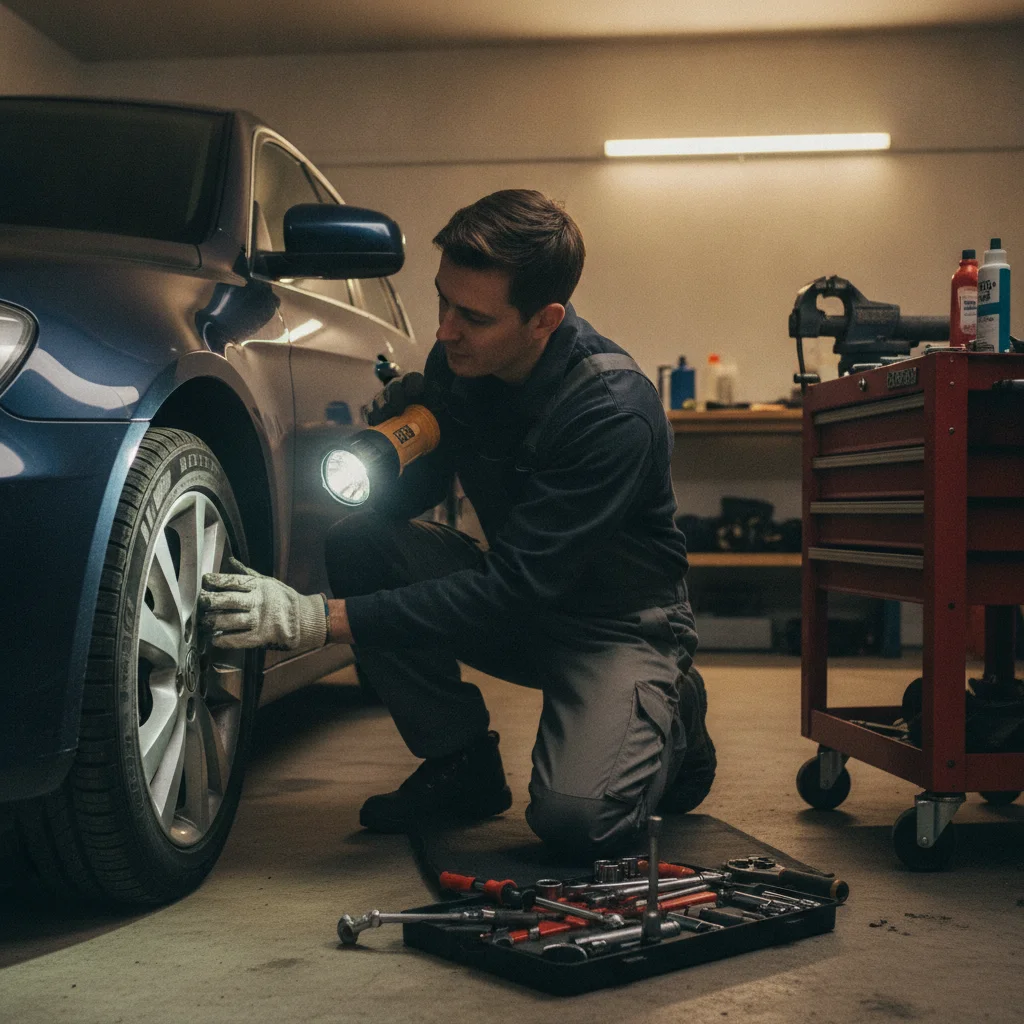
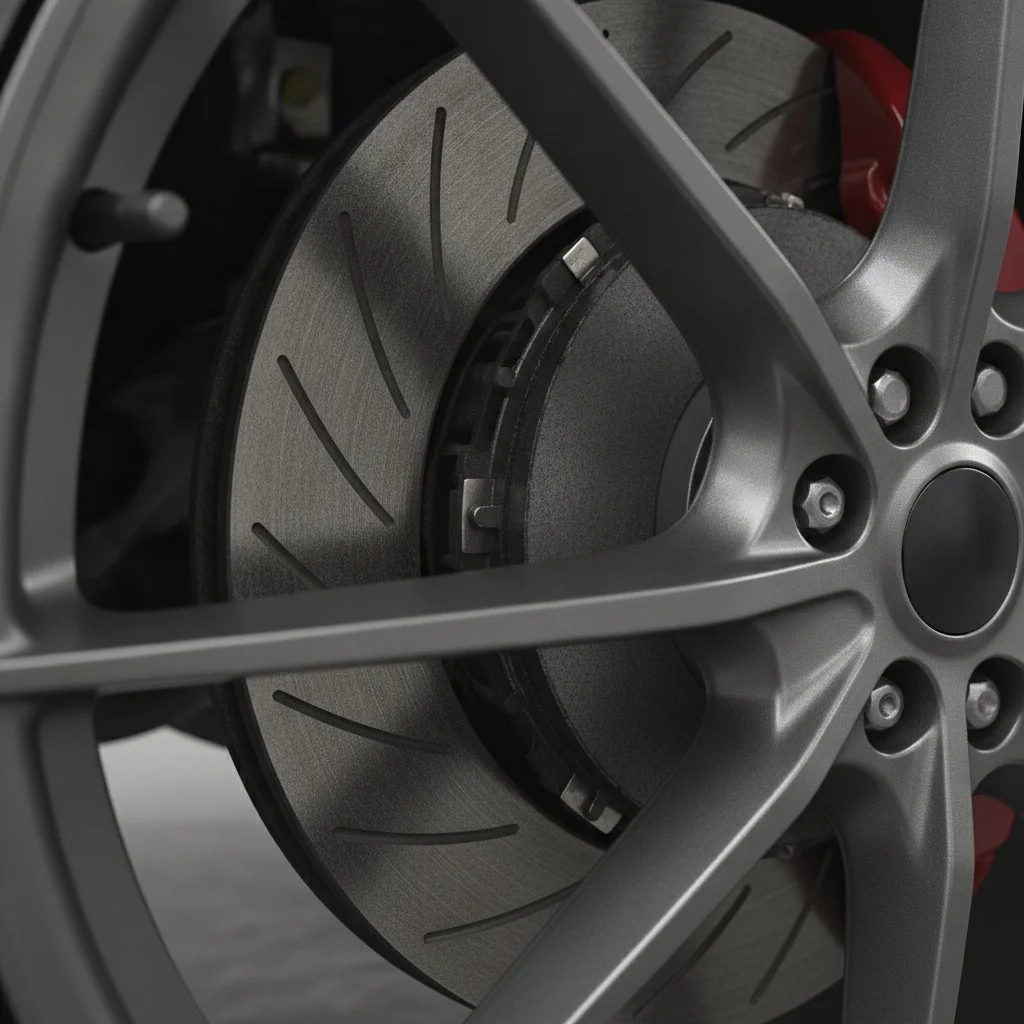
You can get a useful visual on your brake pads without removing the wheels on most vehicles. Look through the spokes of each wheel at the brake caliper and rotor. The pad is the dark rectangular piece clamped against the shiny rotor disc. If the pad material appears thinner than the width of a standard pencil eraser (roughly 3mm), it's time to replace them. At 2mm or less you'll start hearing metal-on-metal squealing — the built-in wear indicator doing its job.
Look at the rotor surface itself. Some surface rust after rain is normal and will scrub off. Deep grooves or heavy scoring cut into the rotor face means the pads wore down past the metal backing and damaged the rotor — the rotor now needs replacement too, which roughly doubles the cost of a basic pad job.
Also note the brake fluid reservoir level you checked in Step 3. A noticeably low level combined with pads that look thin is a clear signal: the fluid dropped because the calipers have extended to compensate for pad wear. That's expected behavior — but it tells you the pads are genuinely near end of life.
Test All Exterior Lights
Walk around the car and check every light. You'll need a wall or garage door to reflect headlights, or a helper to stand behind the car while you operate the controls. Check: low beams, high beams, front and rear turn signals (left and right), hazard flashers, brake lights, reverse lights, and any fog lights if equipped.
A blown bulb on a turn signal will cause the dashboard indicator to flash at double speed — that rapid clicking is the car's self-diagnostic telling you a circuit is open. Most exterior bulbs are inexpensive and replaceable at home. For electrical issues beyond a simple bulb swap — flickering lights, accessories that stop working, or circuits that keep blowing fuses — diagnosing electrical gremlins yourself covers the diagnostic process step by step.
Quick Undercarriage and Exhaust Check
You don't need a lift for this. After the inspection walk, crouch low enough at the rear of the car to observe the exhaust pipe and tailpipe. Start the engine briefly (in a well-ventilated area) and watch the exhaust. A little white steam on a cold morning is normal condensation. Persistent white smoke after warm-up suggests coolant burning — a head gasket issue. Blue smoke means oil is burning in the combustion chamber. Black smoke points to a rich fuel mixture.
Look under the front and rear suspension areas for anything that seems out of place — rubber boots (CV axle boots and tie rod boots) should be intact with no grease splattered around them. A torn CV boot that's been spinning will fling grease everywhere and allow water and grit into the joint, destroying it within months.
Listen to the exhaust note. A new rattling sound from under the car often means a heat shield has come loose — annoying but inexpensive. A deep ticking or tapping that changes with engine speed is more serious and warrants a shop visit.
Once you've completed every step, take two minutes to jot down what you found. Note the date, your mileage, fluid levels, and any concerns. A simple note in your phone is fine. This log becomes invaluable the next time you're at a shop — you can describe the problem specifically, which saves diagnostic time and prevents upselling. For a deeper look at how to communicate findings effectively, see diagnosing a warning sign yourself before visiting a mechanic.
Make It a Two-Minute Pre-Drive Habit
For everyday driving, you don't need to run the full inspection every time — but a quick 90-second exterior walk before you leave each morning pays dividends. Check for flat tires, any new fluid puddles, and all four lights before you pull out. The <a href="/maintenance-and-ownership/safety-legal/road-safety-tips/the-pre-drive-walkthrough-most-drivers-skip">pre-drive walkthrough most drivers skip</a> gives you a simple sequence that becomes automatic within a week.
Keep a Simple Inspection Log
After each inspection, take 60 seconds to note the date, mileage, fluid levels, and any findings in your phone's notes app or a small notebook stored in your glove box. Patterns emerge over time — a reservoir that keeps dropping by the same amount each month tells you there's a slow leak to find. This log also makes you a much more informed customer when you visit a shop.
Don't Skip the Spare Tire
The spare is part of the vehicle too, and it's the one component you'll be desperate for at exactly the wrong moment. Check the spare's pressure every time you check the other four tires. Full-size spares should match the door jamb spec; compact "donut" spares are typically 60 PSI — check your manual.
Understanding What You Found
Interpreting Fluid Colors
Fresh motor oil is amber and translucent. Black, opaque oil is overdue for a change but not an emergency — schedule it within the next 500 miles. Milky or foamy oil is an emergency: it suggests coolant is mixing with oil, which can indicate a head gasket failure. Don't drive the car; call a mechanic.
Coolant should be bright green, orange, or pink depending on the type. Brown, rusty coolant means the system is corroding internally and needs a flush. For a full breakdown of what your cooling system is telling you, read coolant warning signs before your engine overheats.
Brake fluid should be nearly clear to very light yellow. Dark brown fluid indicates moisture contamination — brake fluid is hygroscopic, meaning it absorbs water over time, which lowers its boiling point and compromises stopping power. This is a safety-critical finding that warrants a flush.
Interpreting Tire Wear Patterns
| Wear Pattern | Likely Cause | Action |
|---|---|---|
| Center wear | Overinflation | Adjust pressure to spec |
| Edge wear (both sides) | Underinflation | Inflate to spec, check for slow leak |
| One-edge wear | Alignment or camber issue | Schedule alignment check |
| Cupping/scalloping | Worn shocks or struts | Have suspension inspected |
| Flat spots | Hard braking or parking too long | Usually self-corrects; watch for vibration |
If vibration accompanies any of these patterns, consult why your car is shaking and when to worry about it to pinpoint the source before it damages additional components.
When to Call a Professional
Self-inspection is about early detection, not full diagnosis. If you find brake fluid below the minimum line on the reservoir, or pads that look thinner than a quarter, don't delay. Same goes for any belt with cracking, glazing, or fraying — these are not "watch and wait" findings. For a deeper inspection of things you can't easily see yourself, a professional pre-purchase or maintenance inspection is worth every dollar. See the case for a third-party mechanic inspection to understand what a pro checks and how to arrange one affordably.
Milky or Foamy Oil Means Stop Driving
If the oil on your dipstick looks milky, tan, or foamy — like a chocolate milkshake — coolant has entered the oil system. This is a serious mechanical failure, typically a blown head gasket or cracked block. Driving with contaminated oil will destroy engine bearings rapidly. Park the car and call a mechanic before starting it again.
Bulging Tire Sidewalls Are a Blowout in Progress
A visible bulge or bubble in a tire's sidewall means the internal reinforcement layers have failed at that point. There is no repair for this condition — the tire must be replaced immediately. Driving on a bulged tire at highway speed can result in a sudden blowout with loss of vehicle control. Do not put this off.
Building This Into a Habit
A one-time inspection is useful. A monthly inspection routine is genuinely protective. The easiest way to build the habit is to anchor it to something you already do — many shop technicians recommend the first Sunday of each month, or whenever you pay a bill that reminds you of car costs. Put it on your calendar like an oil change.
Seasonal checks deserve special attention. Cold weather is particularly hard on batteries, tire pressure, coolant concentration, and wiper blades. If you want a comprehensive pre-winter framework, the weekend garage checklist: 15 things to inspect before winter hits walks you through everything worth checking before temperatures drop.
Before any long drive, run an abbreviated version of this inspection focused on tires, fluids, and lights. Long highway miles amplify small issues — a tire at 20 PSI that handles fine around town becomes a blowout risk at 75 mph for three hours. The pre-trip vehicle safety check is a good companion guide for road trips specifically.
As your confidence grows, you'll naturally start noticing things outside the formal inspection window — a new noise, a new smell, a change in how the steering feels. That instinct is worth developing. Pair it with the habit of checking for dashboard codes using an inexpensive reader; the guide to reading your own OBD-II codes shows you how to do that for about $25. And for those curious about going further with simple fixes, the DIY Repairs hub covers the repairs that most motivated car owners can handle at home without a lift or special training.
Your car is a significant financial asset. Inspecting it regularly isn't a chore — it's how you protect that investment on your own terms, one check at a time.

All claims are backed by peer-reviewed research. Sources on request.