Key Takeaways
Brake Bleeding
Brake bleeding is the process of flushing air bubbles out of your vehicle's hydraulic brake lines. Because brake fluid doesn't compress but air does, any air in the system makes the pedal feel soft or spongy instead of firm. Bleeding restores that firm pedal by pushing fresh fluid — and the air trapped inside — out through small valves at each brake caliper or wheel cylinder.
Modern ABS-equipped vehicles may require a scan tool to cycle the ABS module during bleeding so air trapped in the hydraulic control unit is fully purged.
Why Air Gets Into Brake Lines in the First Place
Your brakes are a closed hydraulic system. When you press the pedal, fluid pressure travels from the master cylinder through metal lines and rubber hoses to the calipers at each wheel, squeezing the pads against the rotors. It works because fluid doesn't compress — push on it at one end, and the force moves instantly to the other.
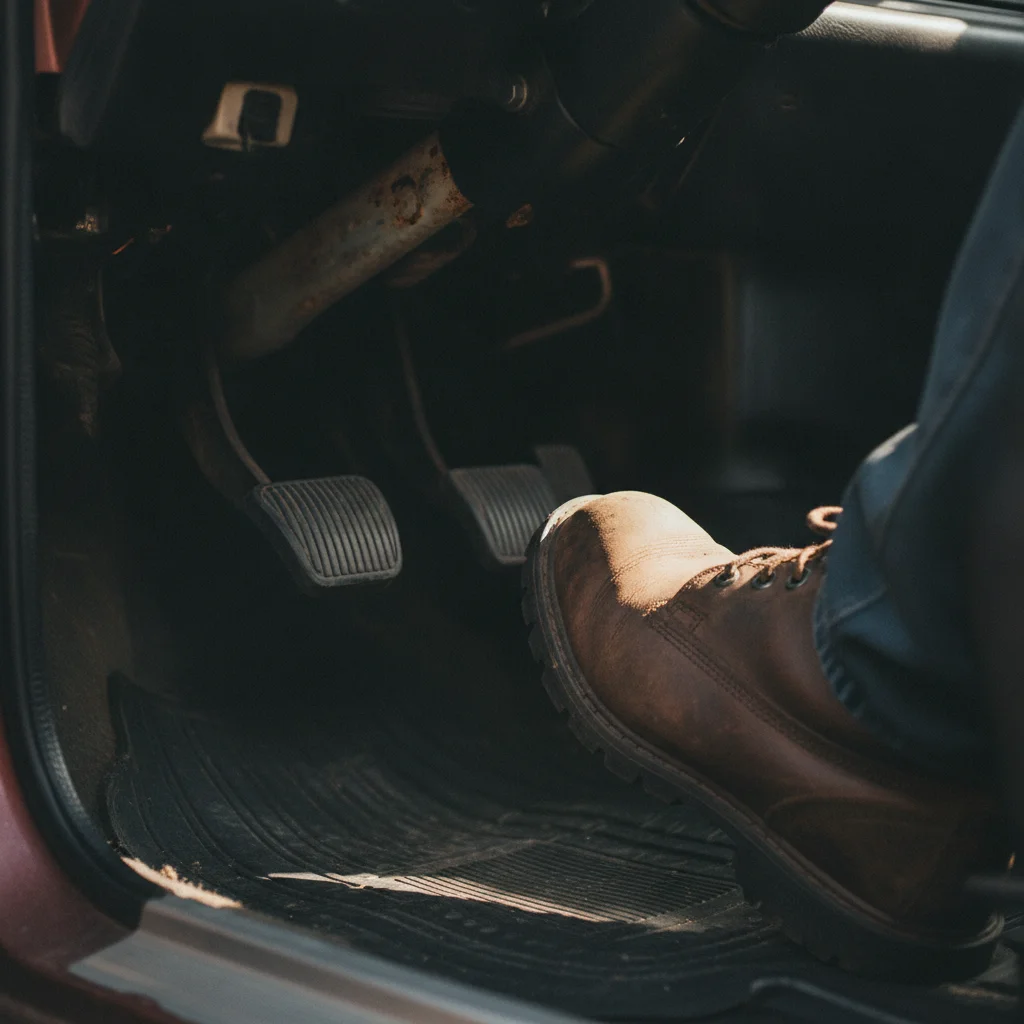
Air doesn't behave that way. Compress air and it just squishes. That's why even a small bubble in the line gives you that mushy, "going to the floor" feeling instead of a firm, confident stop. A changing pedal feel is one of the first signs something is off in the system.
Air typically enters the system through a few routes:
- Brake work. Any time a caliper, hose, or hard line is opened — to replace pads, a caliper, or a leaking line — air gets in. Bleeding afterward is not optional; it's required.
- Old fluid boiling. Brake fluid absorbs water from the air over time (it's hygroscopic). Wet, degraded fluid has a lower boiling point. Under heavy braking, it can vaporize and create air pockets — a phenomenon called vapor lock.
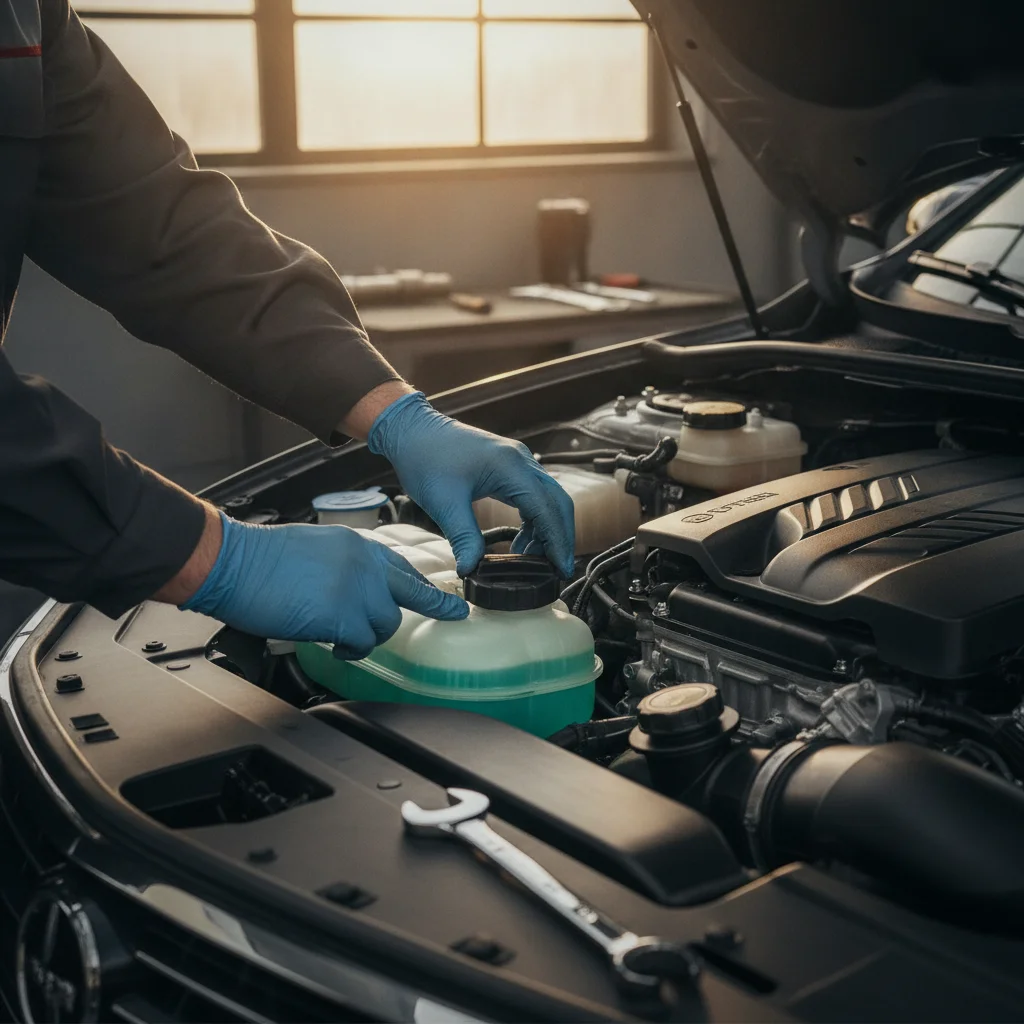
- A low master cylinder reservoir. If the reservoir runs dry, it pulls air into the lines just like a straw that runs out of liquid. This is also why you should never let the reservoir go empty during a bleed job.
- A failing caliper or wheel cylinder. Worn seals can let fluid weep out and air creep in. If you're bleeding brakes and one corner just won't firm up, a leaking caliper may be the real problem.
What You'll Need Before You Start
Bleeding brakes doesn't require a lift or a professional shop. Here's a realistic gear list:
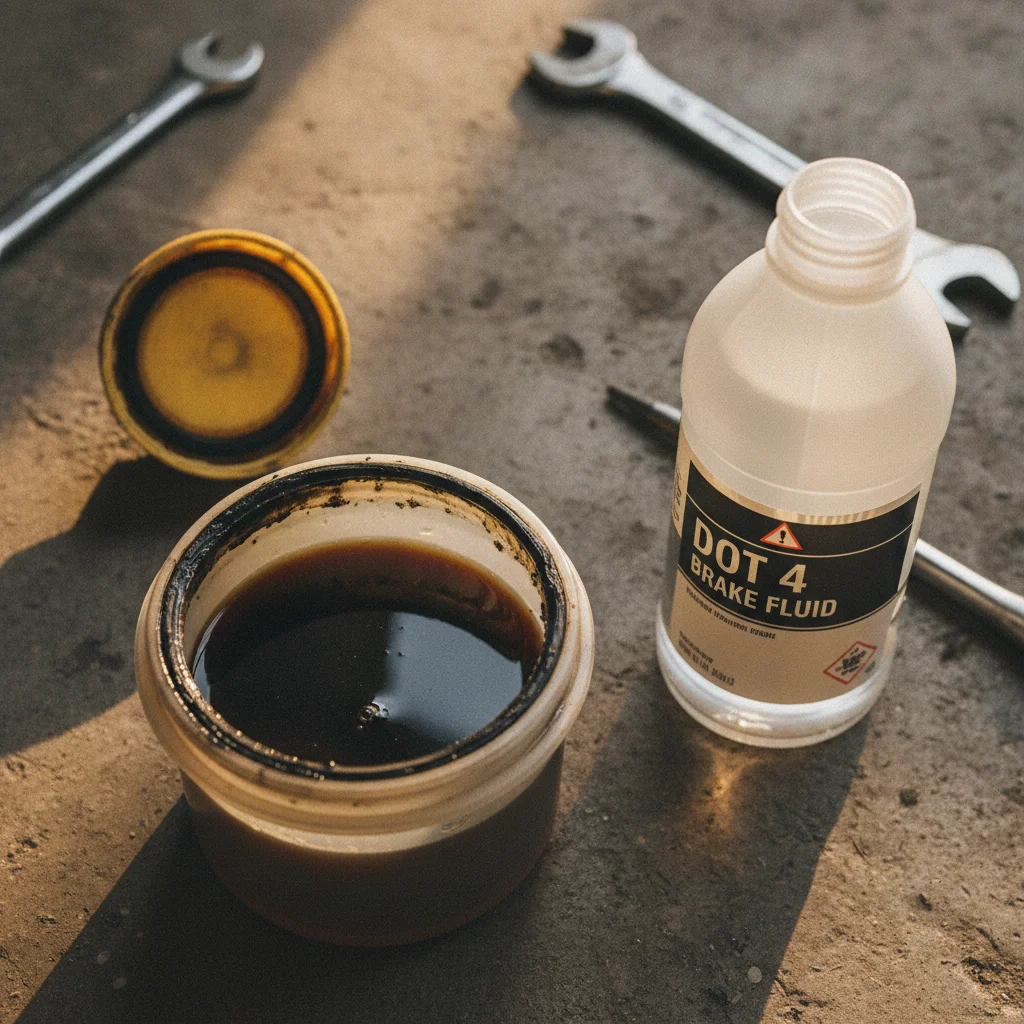
- New brake fluid — correct DOT rating for your vehicle (check the cap on the master cylinder reservoir or the owner's manual)
- A wrench for the bleeder screws — typically 8mm, 10mm, or 3/8" depending on the vehicle
- Clear plastic tubing — small diameter, fits snugly over the bleeder nipple
- A clean catch jar or bottle
- Rags and gloves — brake fluid strips paint and irritates skin
- A floor jack and jack stands — you'll need wheels off or at least access to each caliper
If you're working solo, add one of these to the list:
- A vacuum bleeder kit — a hand pump that pulls fluid out through the bleeder screw without a second person
- A pressure bleeder kit — attaches to the reservoir cap and pushes fluid through the system under gentle pressure
Label Your Fluid Clearly Before You Start
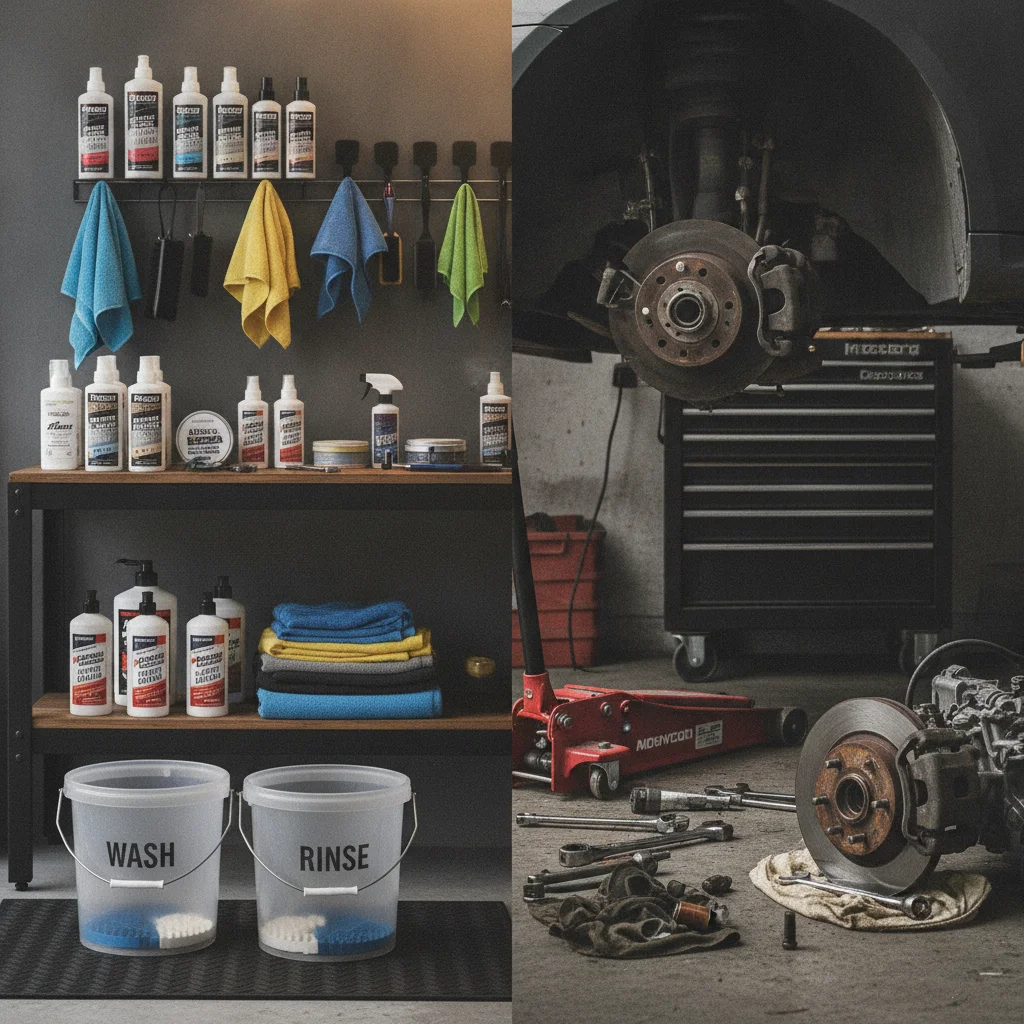
Set out only the correct DOT-rated fluid before you begin and keep the cap on the reservoir except when adding. It sounds obvious, but it's easy to grab the wrong bottle in a cluttered garage. Mixing fluid types is one of the few brake bleed mistakes that can cause complete system failure.
Test Low-Speed First, Always
Before driving on any public road after bleeding brakes, test in a parking lot at walking speed, then 10–15 mph. You want three or four firm, straight stops before trusting the system at highway speeds. If anything feels off, pull over immediately and call for help rather than trying to drive it to a shop.
You do not need to remove wheels in all cases — some bleeder screws are accessible with the wheel on — but having the wheel off gives you much better visibility and wrench access. If you're not sure how to safely lift and support a vehicle, read up on where DIY has real limits before you get under it.
The Bleeding Process, Step by Step
Brake bleeding follows a specific order — typically starting with the wheel farthest from the master cylinder (usually the right rear on most vehicles) and working toward the closest (left front). This ensures fresh fluid pushes any air the full length of the system before you move to shorter runs. Check your service manual; some manufacturers specify a different sequence.
- Top off the reservoir. Fill it to the MAX line with fresh fluid. Check it every wheel or two as you work — never let it drop below MIN.
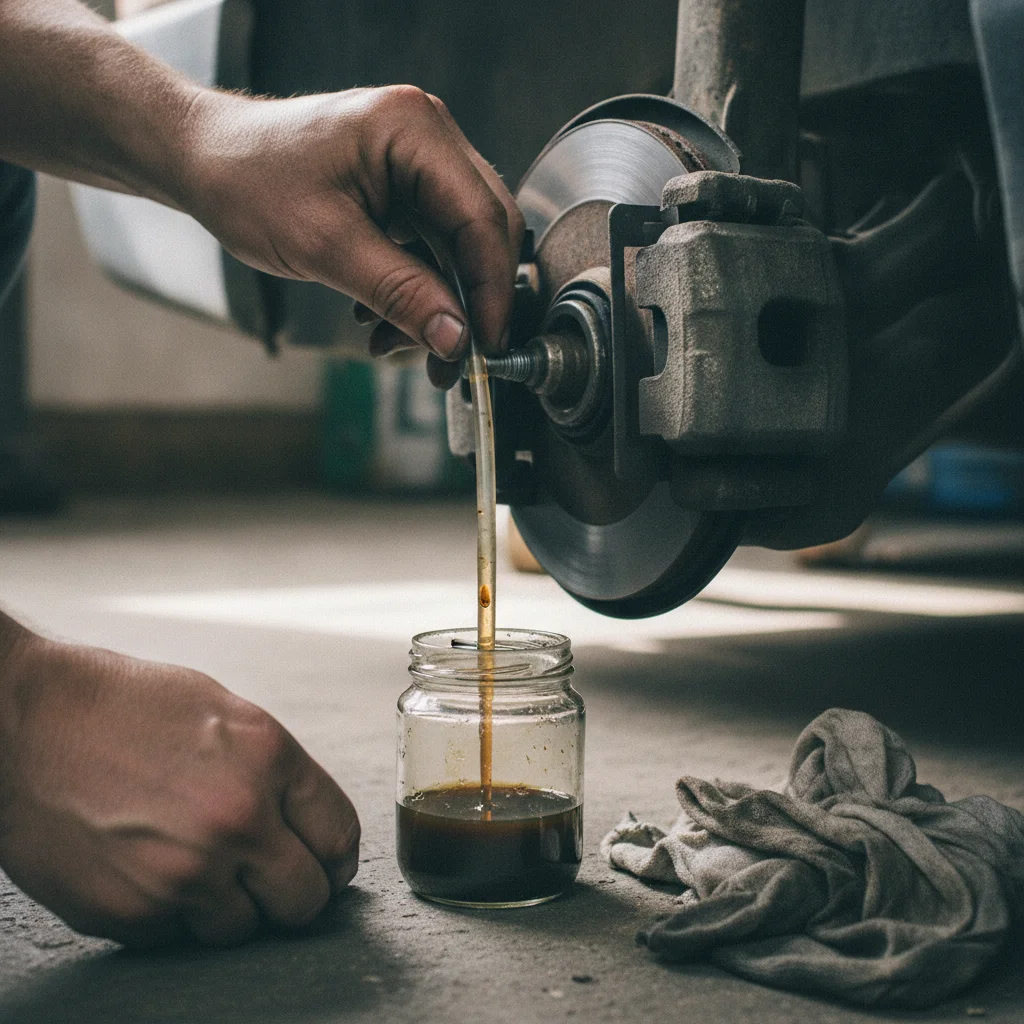
- Locate the bleeder screw. It's a small nipple on the back of the caliper or wheel cylinder, usually covered by a rubber dust cap. Remove the cap and place your wrench on the screw before attaching the tube — bleeder screws corrode and can round off easily.
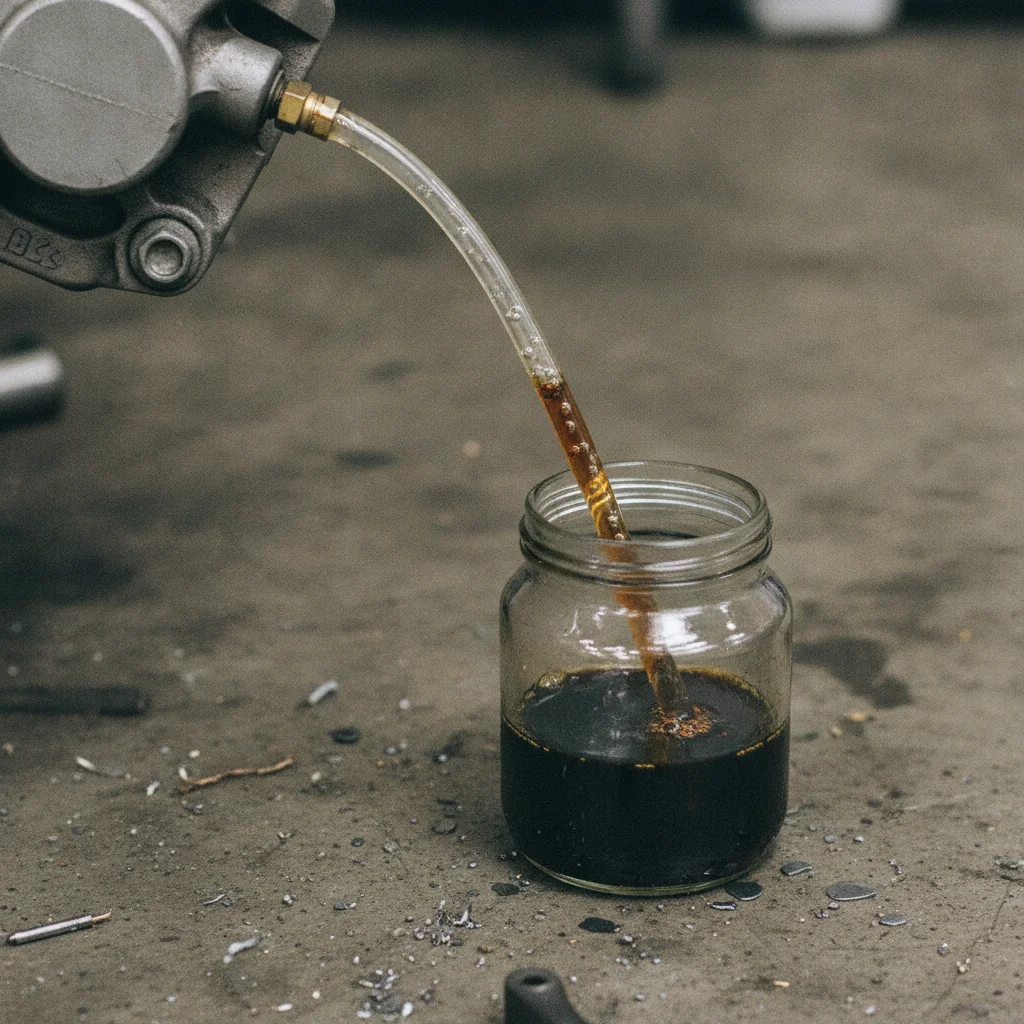
- Attach the clear tube. Slip it over the nipple and drop the other end into your catch jar. The tube going into the jar prevents siphoned air from being pulled back in.
- Two-person method: Have your helper pump the brake pedal three or four times, then hold it down firmly. Open the bleeder screw a quarter to half turn — you'll see fluid (and maybe air bubbles) flow into the tube. Close the screw before your helper releases the pedal. Repeat until the fluid runs clear and bubble-free.
- Vacuum method: Attach the vacuum pump to the tube, open the bleeder screw, and pump the handle to draw fluid through. Watch for bubbles. Keep drawing fluid until bubbles stop and the fluid looks fresh and clean.
- Move to the next wheel. Top off the reservoir again before moving on.
- Test the pedal. With everything closed and the reservoir capped, pump the pedal several times. It should feel firm and consistent — no travel to the floor, no sponginess.
Once all four wheels are done, do a slow, careful test in a parking lot before driving on the road. Firm, predictable stops mean you're done. A pedal that still goes soft is a signal to stop and investigate further — don't assume it will work itself out.
EV and Hybrid Brake Systems Are Different
Electric vehicles and most hybrids use regenerative braking as the primary slowdown method, with traditional hydraulic brakes as a secondary system. The hydraulic circuit still needs to be bled the same way, but air symptoms may be harder to detect because the friction brakes engage less frequently. <a href="/electric-vehicles/ev-ownership-costs/ev-maintenance-basics/regenerative-braking-and-your-brake-pads-whats-actually-happening">Regenerative braking affects pad wear</a> and how the system feels underfoot in ways worth understanding before you diagnose a pedal issue.
ABS Systems and Trapped Air
On most routine bleeds, the ABS module doesn't need special attention — air won't be trapped in there from a standard pad swap or caliper job. But if you've had a major brake line repair or the system ran completely dry, all bets are off. When in doubt, a shop with a bi-directional scan tool can confirm whether the ABS unit needs to be cycled.
The ABS Wrinkle: When a Scan Tool Is Needed
Most vehicles built after the mid-1990s have ABS (anti-lock braking systems), and most of the time you can bleed them with the standard process above. The system's hydraulic control unit sits in line with the brake circuit, but air typically doesn't get trapped there during a routine bleed or pad replacement.
The exception is when the ABS module itself has been opened — say, after a major brake line repair, replacement of the ABS actuator, or a severe leak that emptied the system completely. In those cases, air can be trapped inside the HCU's solenoid valves, and no amount of pedal pumping will push it out. A scan tool with ABS bleeding capability cycles the solenoids electronically to release that trapped air.
EV and Hybrid Brake Systems Are Different
Electric vehicles and most hybrids use regenerative braking as the primary slowdown method, with traditional hydraulic brakes as a secondary system. The hydraulic circuit still needs to be bled the same way, but air symptoms may be harder to detect because the friction brakes engage less frequently. <a href="/electric-vehicles/ev-ownership-costs/ev-maintenance-basics/regenerative-braking-and-your-brake-pads-whats-actually-happening">Regenerative braking affects pad wear</a> and how the system feels underfoot in ways worth understanding before you diagnose a pedal issue.
ABS Systems and Trapped Air
On most routine bleeds, the ABS module doesn't need special attention — air won't be trapped in there from a standard pad swap or caliper job. But if you've had a major brake line repair or the system ran completely dry, all bets are off. When in doubt, a shop with a bi-directional scan tool can confirm whether the ABS unit needs to be cycled.
If your vehicle has had significant ABS work or if the brakes feel soft even after a thorough standard bleed, this is the point where a shop visit makes sense. The scan tool step itself isn't dangerous, but guessing at it without the right equipment wastes time and fluid and can leave you with an unsafe vehicle.
Common Mistakes That Can Make Things Worse
Brake bleeding is forgiving if you stay methodical, but a few errors can leave you worse off than when you started:
~2 years
Recommended brake fluid replacement interval
Most brake fluid manufacturers and OEM service schedules recommend replacing brake fluid every 24 months regardless of mileage.
3–5%
Water content that triggers fluid replacement
Industry standards generally indicate that brake fluid with 3–5% water content by weight has degraded enough to significantly lower its boiling point and should be replaced.
$20–$50
Typical DIY cost for a full brake bleed
A vacuum bleeder kit and a quart of brake fluid typically costs $20–$50 total; shops charge $70–$150 for the same service.
- Letting the reservoir run dry
- This is the biggest one. If you pull the reservoir to empty, you've just pumped air into the master cylinder — now you have a much bigger bleeding job ahead of you, and potentially a damaged master cylinder.
- Opening the bleeder too far
- A quarter to half turn is enough. Open it too far and it leaks around the threads or the screw snaps off entirely. Extracting a snapped bleeder screw is a whole other job.
- Releasing the pedal before closing the screw
- In the two-person method, if your helper lets go before the screw is closed, you pull air right back through the threads. Close first, release second — every time.
- Using the wrong fluid
- Glycol-based fluids (DOT 3, 4, 5.1) and silicone-based DOT 5 are not compatible. Mixing them can cause seal swelling, sludge, and complete brake system failure. Checking the right fluid spec before you buy takes 30 seconds and prevents an expensive disaster.
- Skipping the post-bleed test
- Always test in a controlled, low-speed environment before returning to traffic. A pedal that felt fine in the driveway with the engine off can behave differently under real braking load.
Label Your Fluid Clearly Before You Start
Set out only the correct DOT-rated fluid before you begin and keep the cap on the reservoir except when adding. It sounds obvious, but it's easy to grab the wrong bottle in a cluttered garage. Mixing fluid types is one of the few brake bleed mistakes that can cause complete system failure.
Test Low-Speed First, Always
Before driving on any public road after bleeding brakes, test in a parking lot at walking speed, then 10–15 mph. You want three or four firm, straight stops before trusting the system at highway speeds. If anything feels off, pull over immediately and call for help rather than trying to drive it to a shop.
Is This Job Within Your Skill Level?
Here's the honest answer: for most careful, patient DIYers, yes. You don't need mechanical experience beyond changing oil or doing minor maintenance. The tools are inexpensive, the process is repeatable, and the feedback — does the pedal feel firm or not? — is immediate and clear.
That said, brakes are the one system on your car where a mistake has direct safety consequences. The job becomes genuinely risky when:
- You're working on a vehicle that's had extensive brake system repairs or ABS component replacement
- You discover a leaking caliper, damaged hose, or cracked line during the process
- The pedal remains soft after completing all four corners correctly
- You're not confident you can safely lift and support the vehicle
Those situations call for a shop, not a YouTube rabbit hole. The financial cost of having a professional handle a complicated bleed is minor compared to the cost — in every sense — of brake failure on the road.
If you're evaluating which car maintenance tasks you can reasonably take on yourself and which ones require professional judgment, this breakdown of DIY vs. professional repair risk is worth a read.
“Brake fluid is the most neglected fluid in the average car. People check their oil religiously and never think about their brakes until something goes wrong. Bleeding and flushing on schedule is the cheapest insurance you can buy for a system that literally keeps you from hitting things.”
— Chip Foose, Automotive designer and restorer with decades of hands-on vehicle experience
For most routine situations — fresh fluid, pad replacement, or restoring a spongy pedal — bleeding your own brakes is a genuinely worthwhile skill. You'll understand your brake system better, catch problems earlier, and save real money on a job shops often upsell without urgency.

All claims are backed by peer-reviewed research. Sources on request.