Key Takeaways
Summary
22 items · 2–5 minutes per drive
Why Two Minutes Before You Drive Matters More Than You Think
The average American driver spends more time choosing a playlist than checking their vehicle before pulling out of the driveway. That gap between intention and habit is well-documented: a 2022 survey by the Car Care Council found that roughly 84 percent of vehicles on U.S. roads have at least one maintenance item in need of attention — and the majority of those issues are visible to the naked eye before the engine even starts.
This isn't about paranoia or mechanical expertise. Professional drivers — commercial truckers, bus operators, emergency responders — are legally required to perform a pre-trip inspection before every shift. The logic translates directly to everyday commuters: a flat tire caught in the driveway is a minor inconvenience; one caught at highway speed is a potential emergency.
The walkthrough described here is designed for a typical American driver with no mechanical background. It covers the exterior of your vehicle in a logical circuit, takes two to five minutes, and requires nothing more than your eyes and a moment of deliberate attention. Think of it as the equivalent of checking your mirrors before pulling into traffic — a basic safety habit that pays compound dividends over time.
For deeper mechanical checks — fluids, belts, brake wear — see our guide to inspecting your own car for early warning signs. And if you're preparing for a long trip rather than a daily commute, the pre-road-trip maintenance check goes deeper into fluids, tires, and systems checks.

What You'll Need (Almost Nothing)
One of the most practical things about this routine is its barrier to entry: essentially zero. No diagnostic tools, no jack stands, no grease-stained gloves. The items below are helpful enhancements, not prerequisites.
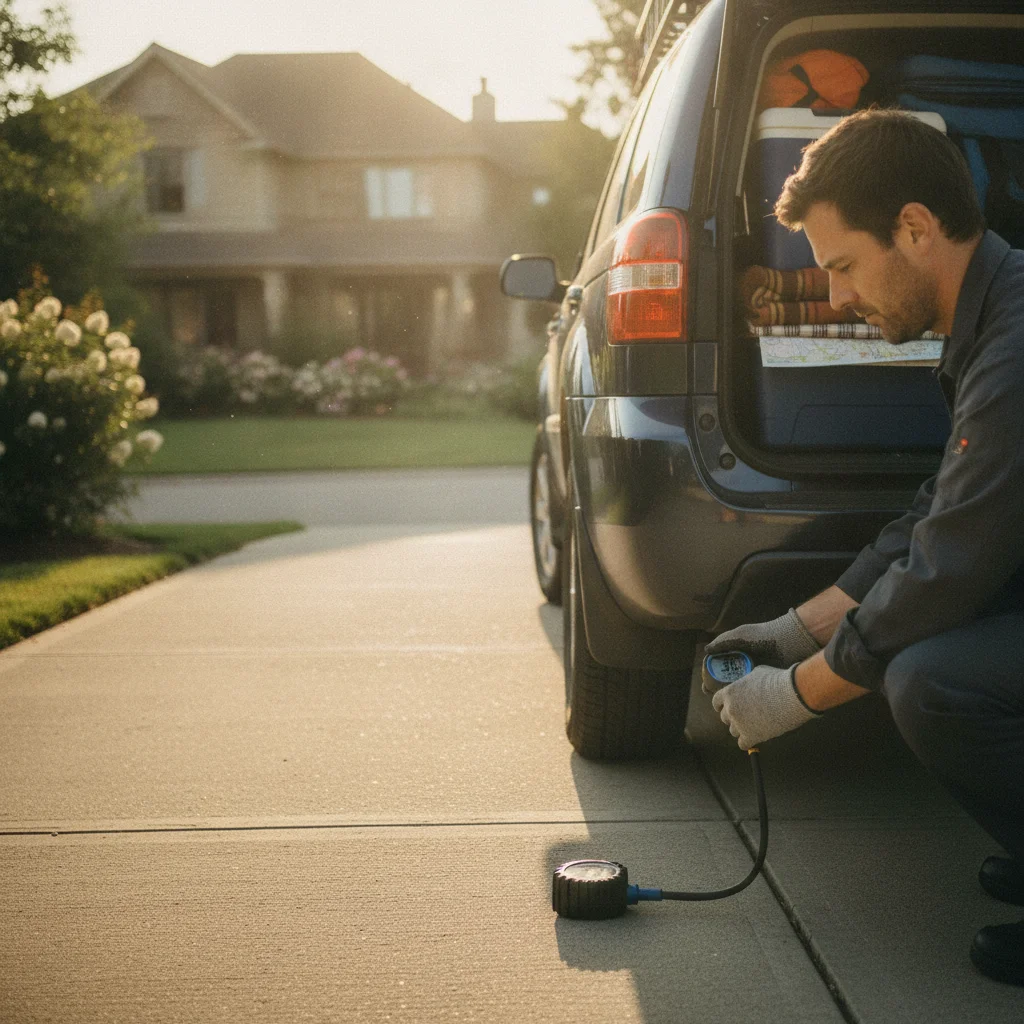
Tire pressure gauge
Provides an accurate PSI reading when a visual check suggests a tire may be underinflated — removes guesswork from the single most common pre-drive finding.
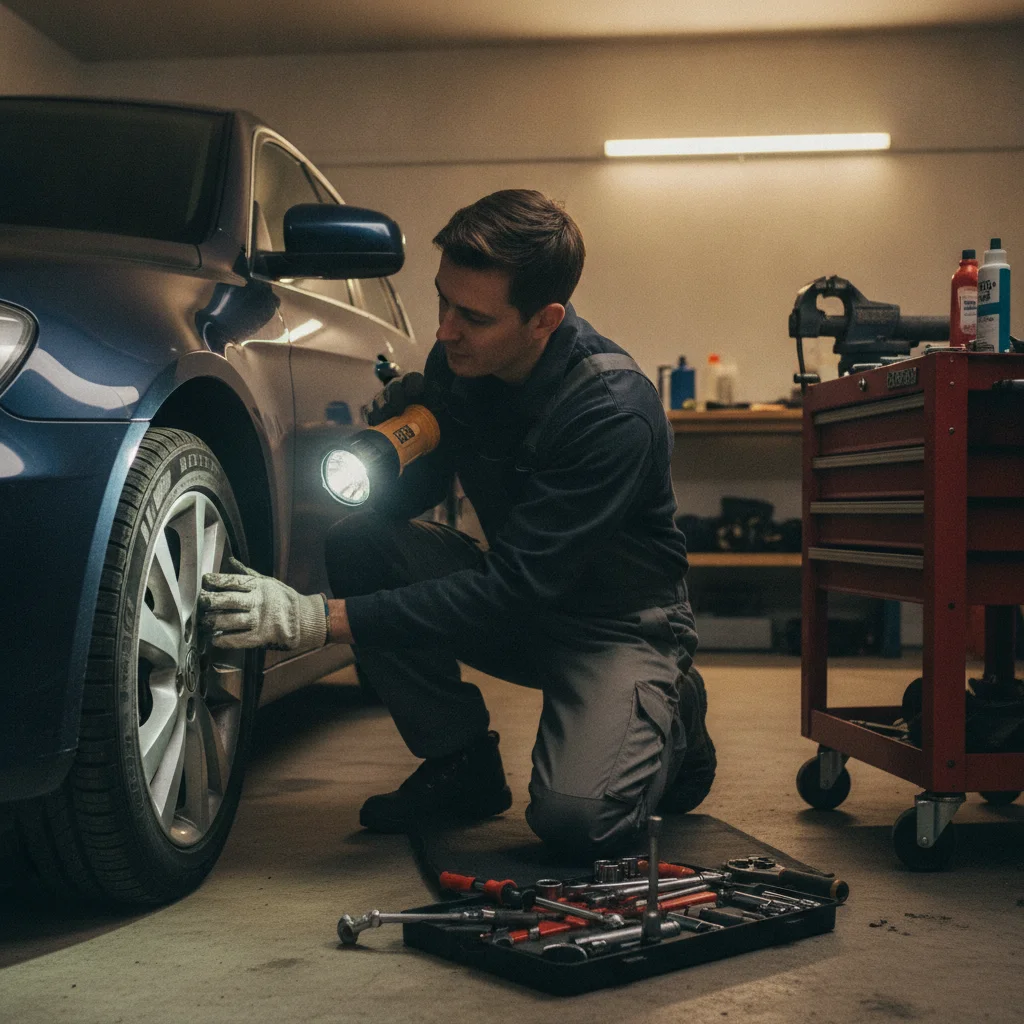
Flashlight or phone torch
Illuminates undercarriage fluid spots and wheel wells in low-light conditions such as early mornings, covered garages, or winter darkness.
Rubber gloves (nitrile)
Allows you to touch and assess fluid consistency without skin contact — useful when distinguishing between water and an oily brake fluid leak.
Microfiber cloth
Quickly wipes the windshield or mirrors when smearing from overnight dew or frost would otherwise impair visibility before you leave.
The most important tool is simply the habit of stopping before you open the driver's door. Once that pause is automatic, the rest of the walkthrough follows naturally.
The Full Pre-Drive Walkthrough Checklist
Work through these checks in a consistent order — either clockwise or counterclockwise around the vehicle — so nothing gets skipped. Starting at the driver's front corner and ending at the driver's rear corner ensures you cover all four quadrants plus the roof line and underbody perimeter.
Never Skip the Rear Walkround Before Reversing
Backup cameras cover roughly 10 to 20 feet directly behind the vehicle, but the image reaches your eyes with a lag and the lens may not capture low-profile objects like curbs, toys, or small animals. The NHTSA estimates that backover incidents result in hundreds of fatalities annually, the majority involving children under five. Physically walking behind the vehicle before shifting into Reverse is the single most important step in this checklist and takes under 10 seconds.
Ground Check (Before You Circle)
Tires and Wheels
Lights and Signals
Exterior Body and Glass
Obstructions and Surroundings
In-Cabin Verification (Final Step Before Moving)
Underinflated Tires Are Not Always Visible
A tire can lose up to 20 percent of its recommended pressure before the sidewall sag becomes obvious to the naked eye. At highway speeds, a significantly underinflated tire generates excess heat that accelerates structural breakdown and can lead to sudden blowout. Use a gauge if you suspect a tire has been slowly losing air over several days — especially before a highway drive or after a significant temperature drop.
Dashboard Lights That Clear Themselves Are Not Fine
A warning light that illuminates briefly at startup and then disappears may indicate an intermittent fault that the vehicle's onboard computer is logging but not yet treating as critical. These stored codes are retrievable with an OBD-II scanner. Repeatedly clearing themselves is often how check-engine or battery lights behave before a full failure. Don't interpret a light that goes out on its own as confirmation that everything is normal.
A note on frequency: this full checklist is designed for daily use. If you drive the same car every day from a private driveway, you'll begin to notice subtle changes — a tire that looks slightly lower than yesterday, a new oil spot on the concrete — that would be invisible to someone who only checks occasionally. Consistency is what converts this from a list into a diagnostic tool.
Reading the Ground Beneath Your Car
The patch of pavement or concrete where your car sits overnight is one of the most overlooked diagnostic resources available to any driver. Fresh fluid spots tell you something changed since the last time you drove. Here's a quick field guide:
| Fluid Color / Appearance | Likely Source | Urgency |
|---|---|---|
| Clear water, directly under center or slightly forward | A/C condensate — normal in warm weather | None |
| Clear or pale yellow, oily feel | Brake fluid or power steering fluid | High — check immediately |
| Amber to dark brown, oily | Engine oil | Medium-high — monitor level, schedule inspection |
| Bright green, sweet smell | Coolant / antifreeze | High — risk of overheating |
| Reddish, slippery | Transmission fluid or power steering fluid | Medium-high |
| Dark and oily near wheels | Differential or axle seal leak | Medium |
Even a quarter-sized spot warrants attention. The warning signs hub covers how to identify and prioritize the most common fluid and noise alerts, and is a useful companion reference to this walkthrough.

Adjusting Mirrors and Blind Spots Before You Move
Mirror and blind-spot verification isn't traditionally included in a walkthrough checklist — it happens inside the car. But it belongs in the pre-drive habit stack because it directly follows the exterior check and is most likely to be skipped when you're in a hurry.
Key points to verify before shifting into gear:
- Side mirrors: You should see a sliver of your own vehicle's rear quarter along the inside edge, with the majority of the mirror showing the lane beside you.
- Rearview mirror: Full view of the rear window — not tilted up or toward the ceiling from the last person who drove.
- Head restraint position: Top of the restraint should align with the top of your ears, not the middle of your neck.
- Seat distance from pedals: If someone else drove recently, re-verify that your seating position gives you full pedal travel without locking your knee.
Cargo or passenger changes shift your vehicle's blind zones more than most drivers realize. A loaded trunk, a rear-facing car seat, or a bike rack on the hitch all alter sightlines. For a full breakdown of where your vehicle's blind zones are and how to compensate, see what blind spots your vehicle has and how to compensate.
Once you're moving, the pre-drive discipline extends into how you scan the road environment. Experienced drivers process hazards 12 to 15 seconds ahead, not just what's directly in front of them. Scanning the road ahead is the natural next skill to pair with this exterior check habit.

Building the Habit: Making It Automatic
Research on habit formation suggests that new behaviors anchor most reliably when they're attached to an existing cue-routine-reward chain. In practical terms: pair the walkround with something you already do before every drive — unlocking the car with the key fob, picking up your coffee, putting on sunglasses. The moment one of those familiar actions triggers, the walkround follows.
For the first two weeks, a printed or phone-saved version of this checklist is genuinely useful. Professional aviation checklists exist precisely because even expert pilots rely on structured prompts, not memory, for safety-critical steps. There's no shame in consulting a list — the goal is the habit, not the performance of not needing one.
Over time, the walkthrough becomes pattern recognition. You stop consciously working through items and start simply noticing deviations from your vehicle's normal state. That's when the routine becomes most valuable: not as a formal inspection, but as a calibrated baseline that flags anything that changed overnight.
If you recently purchased a vehicle and want to extend this pre-drive discipline to a thorough mechanical evaluation, the complete pre-purchase vehicle inspection checklist covers every system from exterior panels to undercarriage in structured detail. And if you're looking at a used car specifically, the used car buyer's pre-drive checklist narrows the focus to the red flags that matter most before a first test drive.
The core insight is simple: your car's condition doesn't only change at service intervals. It changes every time it sits parked, every time the temperature swings, every time someone else moves it. Two minutes of attention before you drive is one of the highest-return safety investments available to any driver — requiring no appointment, no cost, and no expertise beyond the willingness to look.

All claims are backed by peer-reviewed research. Sources on request.