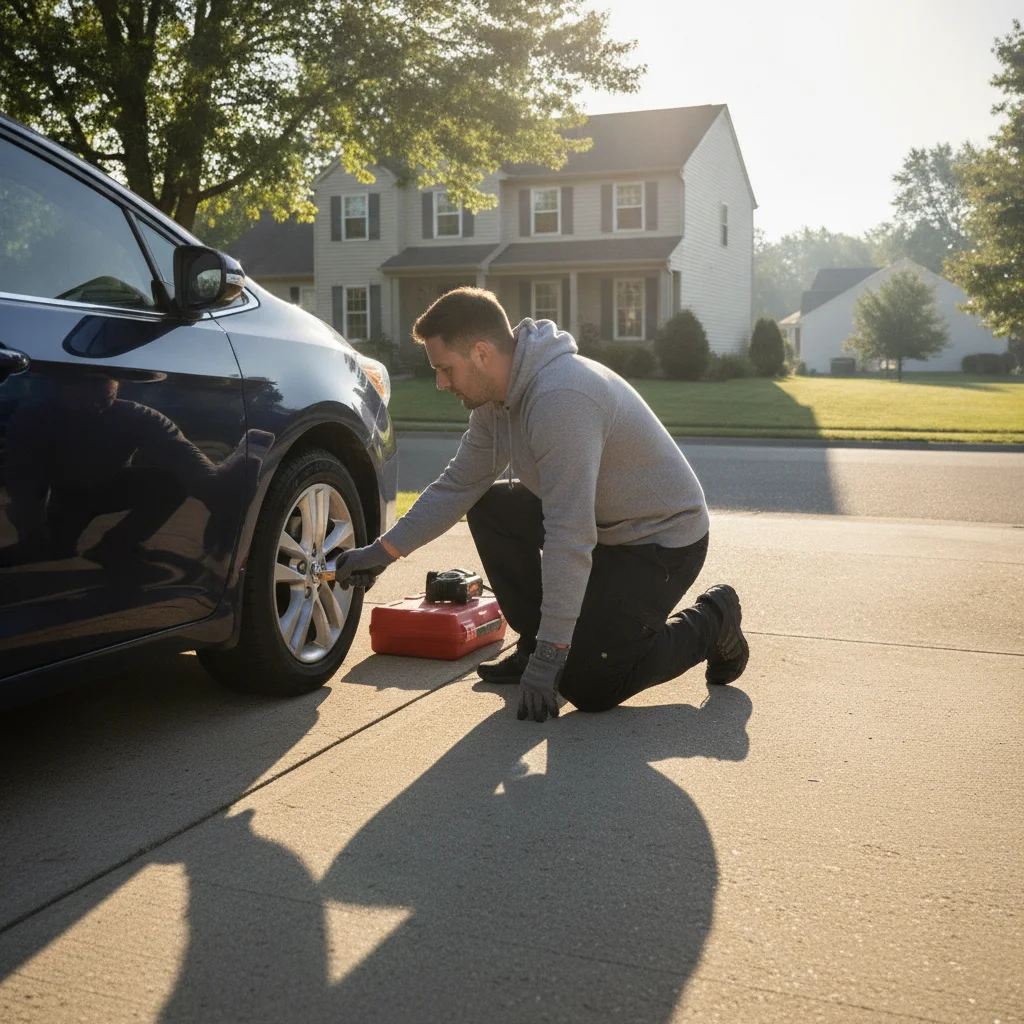
Key Takeaways
Summary
28 items · 30–60 minutes
Why a Pre-Trip Maintenance Check Isn't Optional
AAA rescues more than 30 million drivers a year, and the most common causes — dead batteries, flat tires, and engine overheating — are almost universally preventable. What makes road trips uniquely punishing is the compounding effect of sustained highway speeds, heavy loads from luggage and passengers, and unfamiliar terrain. A slow brake pad wear that barely registers in city driving can become a safety crisis when you're descending a mountain grade in the Rockies with a car full of people.
The good news is that most catastrophic road-trip failures broadcast warning signs days or weeks in advance. This checklist is built around catching those signals before you're 400 miles from a trusted mechanic. Run it 48 to 72 hours before your departure date — not the morning of — so you have a realistic window to get anything addressed.
If you're driving an electric vehicle, this list applies to your mechanical systems, but you'll also want to consult the pre-road-trip EV charging checklist for route planning and charge-stop preparation.
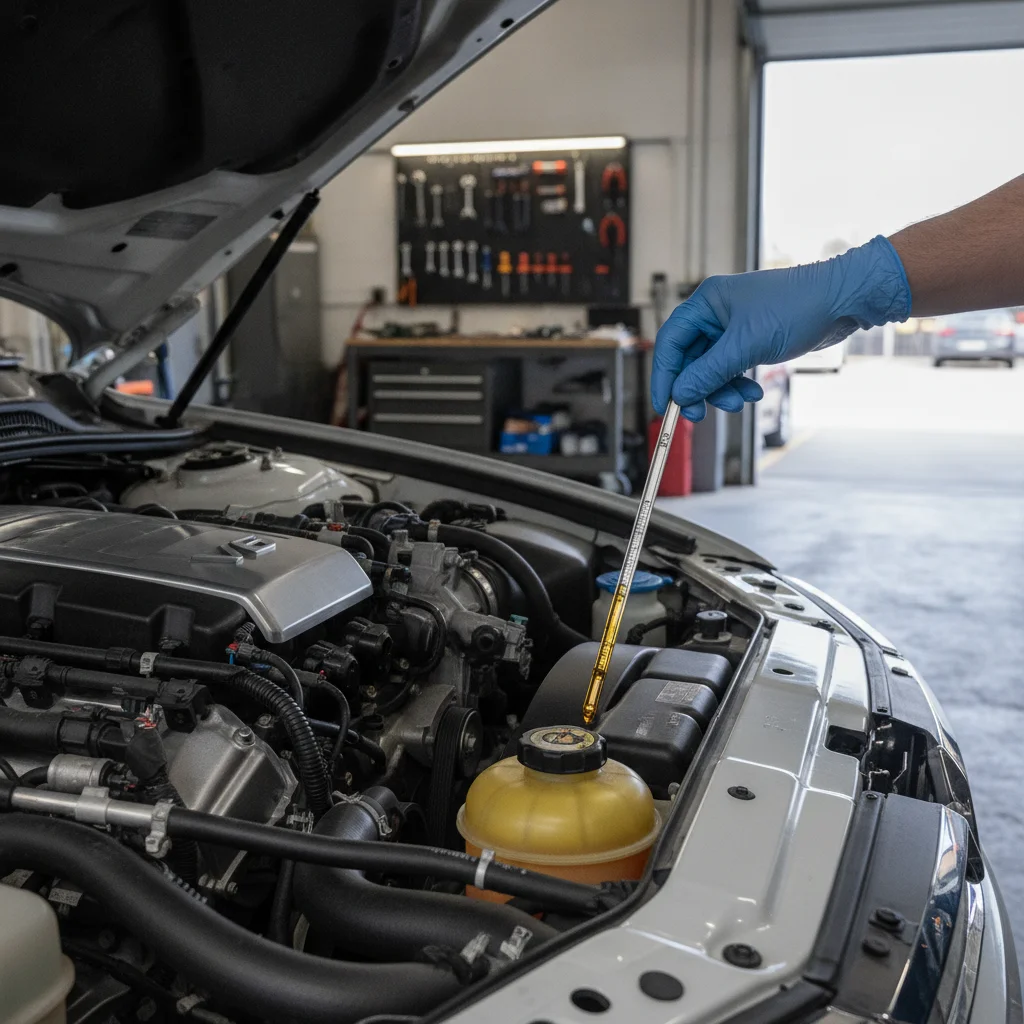
Think of this as a structured audit — not a casual glance under the hood. Work through each category in order. If you find something that needs professional attention, flag it immediately and build repair time into your schedule rather than hoping for the best on the road.
What You'll Need to Run This Checklist
Most of these checks require nothing more than basic tools you should already own. A few items — brake inspection, for instance — may prompt you to make a quick shop appointment rather than DIY. Here's what to have on hand before you start:
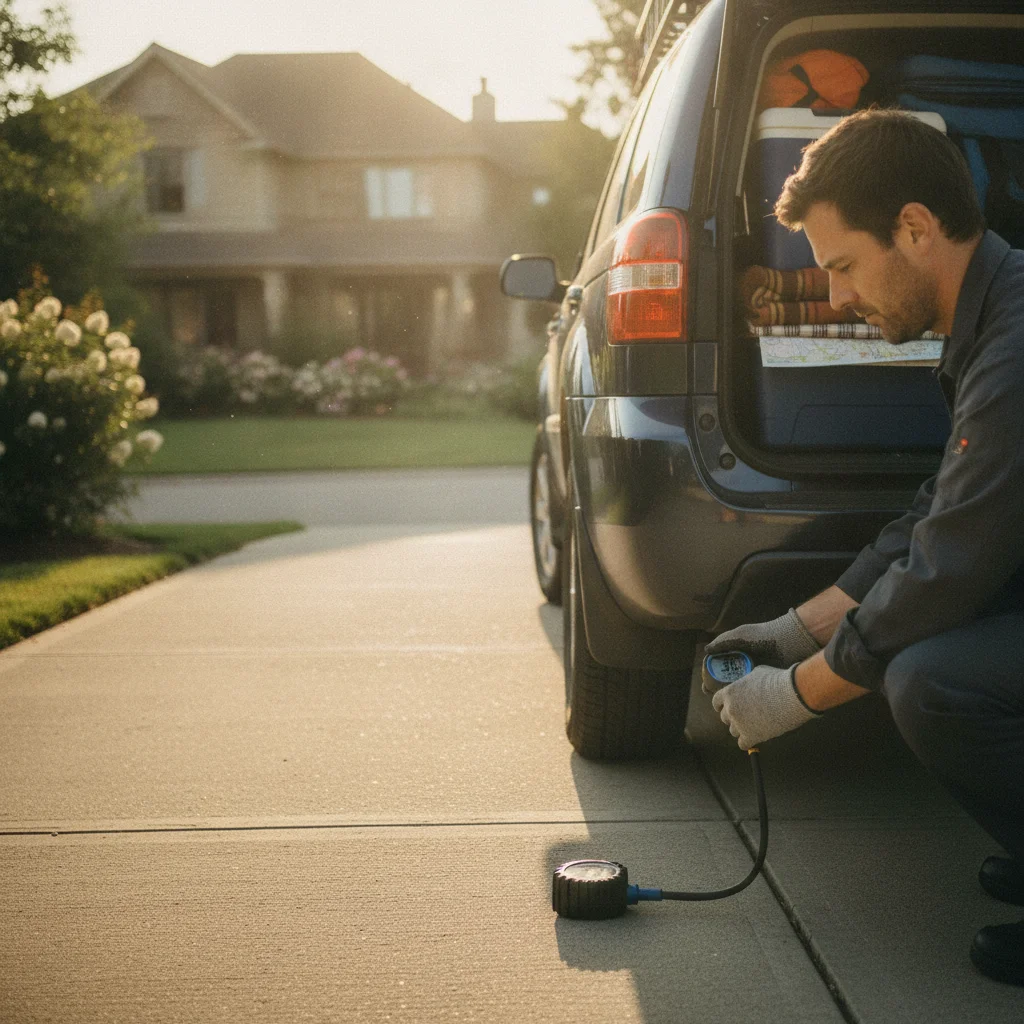
Tire pressure gauge
Accurately measures PSI in all four tires and the spare to ensure safe inflation before departure.
Tread depth gauge
Measures remaining tire tread depth more precisely than the penny test alone.
OBD-II scanner
Reads stored diagnostic trouble codes from the vehicle's computer to identify any check engine light causes.
Flashlight or work light
Illuminates the engine bay and underneath the vehicle for fluid and belt inspection.
Clean lint-free rag
Wipes the dipstick clean for accurate oil and transmission fluid level readings.
Portable tire inflator
Allows you to top off tire pressure to spec without requiring a gas station stop.
Vehicle owner's manual
Provides manufacturer-specific fluid specs, service intervals, and jack point locations specific to your model.
Plan to run this checklist in daylight, ideally after the car has been parked for at least two hours so the engine is cool enough for safe fluid inspections but recent enough that the battery has had a recent charge cycle.
The Full Pre-Road-Trip Maintenance Checklist
Work through each group below in sequence. Items marked must are non-negotiable before departure. Items marked should are strongly recommended, especially for trips over 200 miles. Nice-to-have items add a useful layer of protection but won't strand you if skipped.
Tires
Fluids
Brakes
Lights & Electrical
Engine & Belts
Dashboard & Warning Systems
Never Check Coolant on a Hot Engine
Opening the coolant reservoir or radiator cap on a hot engine can cause scalding steam or fluid to eject under pressure, causing serious burns. Always wait at least two hours after driving before inspecting coolant. If the cap shows signs of pressure when you press it, wait longer.
Low Brake Fluid Can Signal a Leak
Unlike other fluids, brake fluid in a well-maintained system doesn't simply 'get used up.' If your reservoir is significantly low, it often means brake fluid has leaked somewhere in the system — or your brake pads are severely worn and pulling fluid into the calipers. Either scenario warrants professional inspection before you drive any distance.
Don't Ignore Multiple Yellow Flags
Each minor issue in isolation might seem manageable, but finding three or four 'small' problems simultaneously is a sign of a vehicle that hasn't been serviced regularly. Deferred maintenance items interact — an overloaded alternator, a marginal battery, and worn belts can combine to cause a complete breakdown that none of them would cause alone.
If you complete this checklist and find more than one or two minor items to address, consider whether your vehicle is overdue for a full service visit. Stacked deferred maintenance multiplies risk exponentially on long drives. The pre-trip vehicle safety check guide offers a useful companion reference for interpreting what you find.
Interpreting What You Find: When to Drive, When to Delay
Running a checklist is only useful if you're willing to act on what it surfaces. Here's a practical framework for evaluating what you find:
Green: Go as planned
All fluids are at or near the full mark. Tire pressure is within 2–3 PSI of the manufacturer spec. Tread depth is above 4/32". Lights are working. No warning lights are illuminated on the dashboard. Brakes feel firm and responsive in a slow test stop.
Yellow: Proceed with a stop scheduled
Tire pressure is low but correctable at a nearby gas station. Washer fluid or coolant is slightly low and you're adding topped-off fluid before departure. A non-critical warning light — TPMS or low washer fluid — is on but explained. You have a minor cosmetic ding that doesn't affect safety systems.
Red: Do not depart without professional inspection
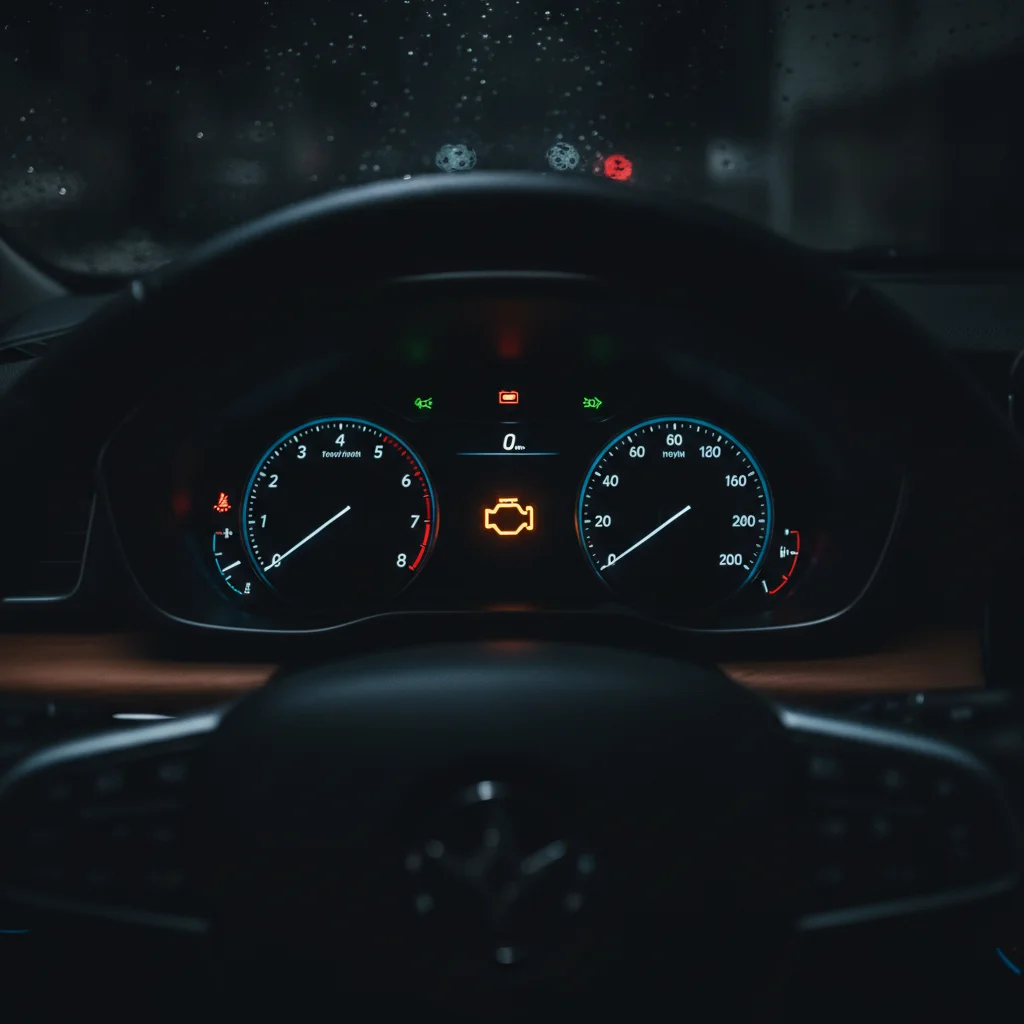
Any brake warning light, grinding or squealing under light braking, a check engine light you haven't diagnosed, visible belt cracking or fraying, a spare tire that's flat or missing, or tire tread below 2/32" (the legal minimum in most states). These aren't items to monitor en route — they're reasons to delay departure.
A Check Engine Light Is Never 'Probably Fine'
The check engine light covers hundreds of possible fault codes, ranging from a loose gas cap to a failing catalytic converter to a misfiring cylinder. Some of these faults can cause rapid engine damage at sustained highway speeds. Never depart on a road trip with an undiagnosed check engine light — get it scanned first. Most auto parts retailers offer free OBD-II scans, and many faults are simple fixes once identified.
Tire Failure Is the Leading Cause of Loss-of-Control Crashes
The National Highway Traffic Safety Administration attributes roughly 11,000 tire-related crashes per year to tire failure — with blowouts being the most dangerous. The combination of highway speeds, heat buildup from sustained driving, and an underinflated or worn tire creates conditions where failure probability spikes significantly. If a tire has any doubt attached to it, replace it before the trip, not after.
It's also worth reviewing your auto insurance policy before a long trip. Confirm your roadside assistance coverage, understand your deductible if you need a tow, and check whether your policy covers rental vehicles if your car needs to stay behind at a shop. These details matter most when you're already stressed in an unfamiliar place.
For a broader look at driving habits that reduce accident risk across all road conditions, the Road Safety Tips hub is a solid ongoing reference. And if you want a safety-focused companion checklist that addresses crash risk specifically — not just mechanical preparedness — see Before a Long Road Trip: The Safety Checks That Matter Most.
Building Maintenance Checks Into Your Regular Schedule
The most efficient version of this checklist is one you almost don't need — because your vehicle is already well-maintained heading into any trip. The standard service milestones provide a useful backbone:
| Service Item | Typical Interval | Notes |
|---|---|---|
| Engine oil change | 5,000–7,500 miles (conventional); 7,500–10,000 miles (synthetic) | Check owner's manual for exact spec |
| Tire rotation | Every 5,000–7,500 miles | Often bundled with oil change |
| Air filter replacement | Every 15,000–30,000 miles | More frequent in dusty climates |
| Brake inspection | Every 12 months or 12,000 miles | Replace pads typically at 3–4mm remaining |
| Coolant flush | Every 30,000–50,000 miles | Varies significantly by manufacturer |
| Spark plugs | Every 30,000–100,000 miles | Iridium plugs last significantly longer |
| Timing belt | Every 60,000–100,000 miles | Failure can destroy engine; don't skip |
If your road trip is coming up within 2,000 miles of any of these service milestones, completing the service before you leave is almost always the right call. Shops fill up fast around holiday weekends — schedule early.
Buying a used vehicle for a road trip or planning a long drive in a car you're considering purchasing? The Test Drives & Inspections hub covers what to look for during a professional pre-purchase inspection, many of which overlap directly with this checklist.
Pack These Items Before You Leave
Even a perfectly maintained vehicle can encounter unexpected problems. A compact emergency kit doesn't add meaningful weight but can dramatically reduce how a roadside situation unfolds. The basics:
- Jumper cables or a portable jump starter — dead batteries are the number-one AAA call
- Tire plug kit and portable inflator — handles minor punctures without requiring a full spare swap
- Reflective triangles or road flares — critical for visibility if you stop on a highway shoulder
- Basic tool kit — screwdrivers, pliers, zip ties, duct tape
- First aid kit — minor injuries happen; be prepared to handle them
- Water and a blanket — particularly important in remote or desert routes
- Paper copy of your insurance card and roadside assistance number — your phone may be dead when you need it most
This isn't an exhaustive survival kit — it's a realistic set of items that address the most statistically likely roadside scenarios for a well-prepared driver. Build the habit of checking and restocking it once a year, ideally right before road-trip season begins.

All claims are backed by peer-reviewed research. Sources on request.