Key Takeaways
Summary
32 items · 20–40 minutes
Why the Pre-Drive Check Matters More Than the Drive Itself
Most buyers treat the test drive as the main event. They sit down, drive around the block, decide it feels fine, and start talking price. The problem with that sequence is that roughly 80% of the information that will affect your ownership costs is visible before you ever turn the key — if you know where to look.
A pre-warmed engine won't show you cold-start smoke. A freshly detailed interior covers water stains. A dealer-prepped car sitting in a lit showroom conceals paint mismatch. The pre-drive inspection strips away the presentation and puts your eyes on the raw condition of the vehicle.
This checklist is designed to be completed in 20–40 minutes on-site, ideally on a car that has not been started or moved that day. Work through it before you ask for the keys. You'll negotiate with far more confidence — or you'll catch a deal-breaker before you've wasted an hour driving something you'd never buy. If you want a deeper companion resource, our complete pre-purchase vehicle inspection checklist covers everything through signing, including a mechanic's lift inspection walkthrough.
One more thing worth noting: if you're considering buying a car online and skipping the in-person visit entirely, the calculus changes significantly. See our pre-purchase checklist for buying a car online for a parallel guide built around remote purchases.
Tools You'll Need On-Site
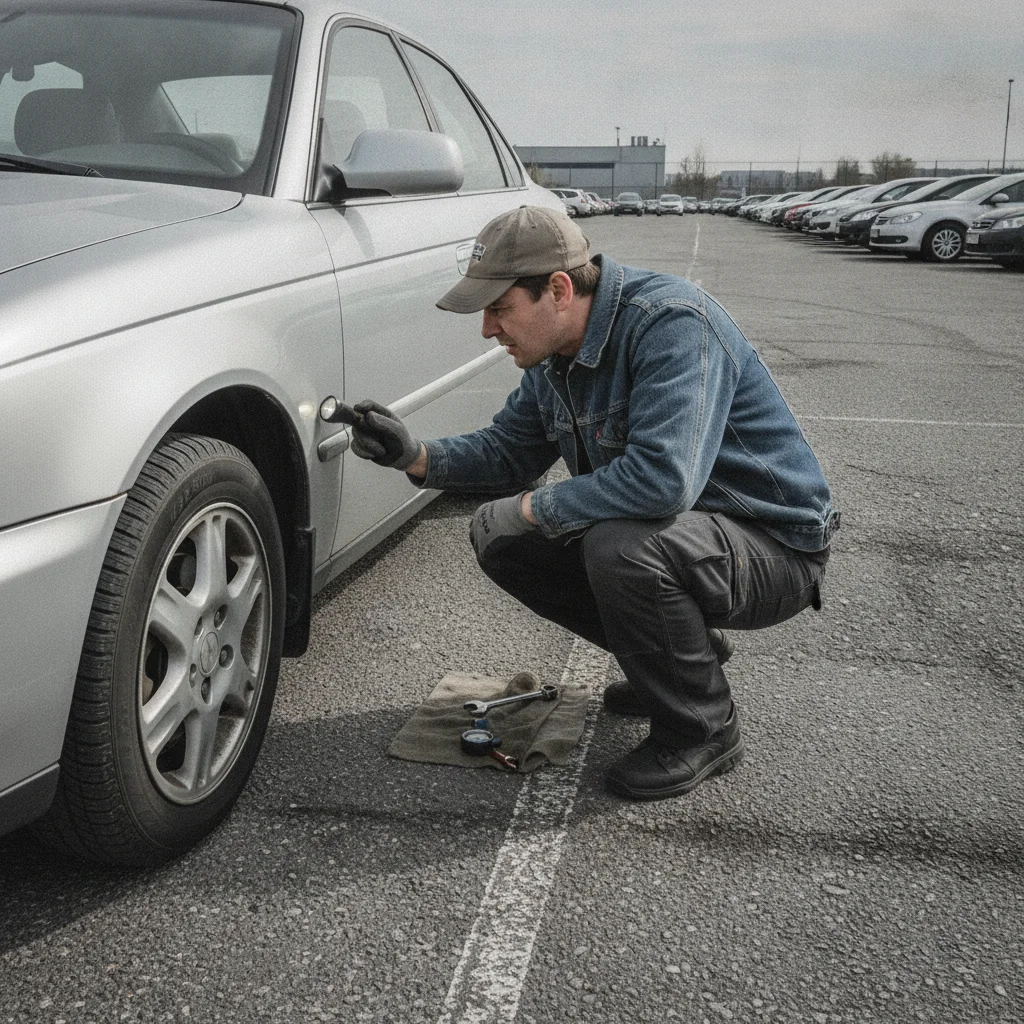
You don't need a mechanic's toolkit, but showing up empty-handed means you'll miss things. These items fit in a small bag and cost under $60 total for the ones you don't already own. The OBD-II scanner alone has caught deal-killers that would have cost buyers $3,000+ in deferred repairs.
Flashlight
Illuminate engine bays, under-dash areas, and wheel wells where natural light doesn't reach.
Tire Tread Depth Gauge
Measure exact tread depth at multiple points across each tire to identify uneven wear.
OBD-II Bluetooth Scanner
Read stored and pending diagnostic trouble codes from the vehicle's computer before the test drive.
Vehicle History Report (Carfax / AutoCheck)
Verify accident history, title status, odometer readings, and ownership count before the visit.
Small Telescoping Mirror
Inspect behind bumper fascias, under doors, and along the undercarriage without lying on the ground.
Paint Thickness Gauge
Detect body filler and repainted panels by measuring paint depth across each body panel.
Notepad or Checklist App
Record findings panel-by-panel so you can reference them during price negotiation.
One tool not listed above that's worth having: your phone loaded with the specific model's known issues. A 30-second search for " common problems" before you leave the house often surfaces the exact things a mechanic would flag — blown head gaskets, faulty HVAC actuators, timing chain stretch. Knowing those failure points in advance tells you exactly where to look.
The Full Pre-Drive Checklist
Work through these groups in order. Exterior first, because you want natural light and you want to walk the car before your energy goes into conversation with the seller. Under-hood second. Interior third. Cold startup last. Documentation runs parallel — have the title and history report in hand before you start the engine.
Never Inspect a Car After Dark
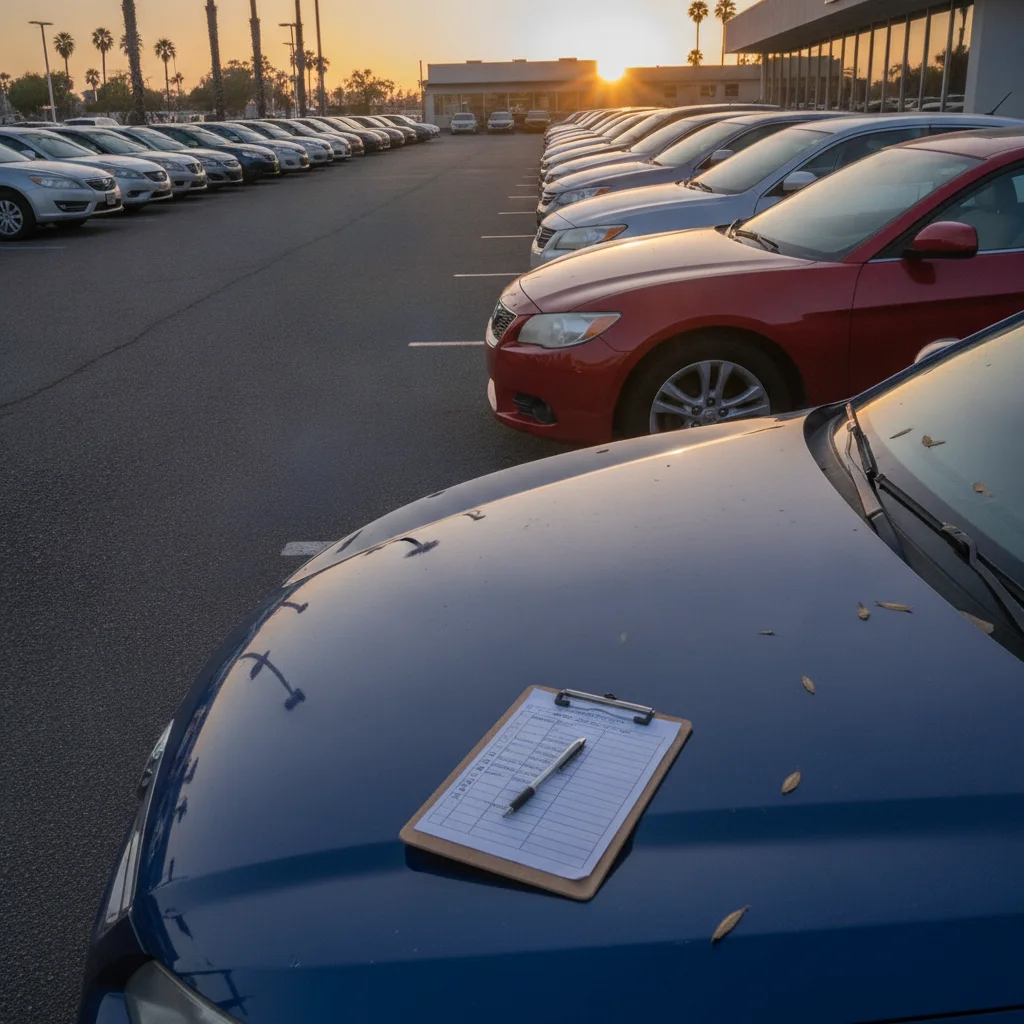
Artificial lighting — especially dealer lot lights — is specifically designed to make cars look their best. Overspray, mismatched paint, and rust are nearly invisible under sodium vapor or LED canopy lighting. Schedule your visit for late morning or early afternoon when the sun is direct and there are no shadows hiding the roofline.
Cleared Codes Don't Mean a Clean Bill of Health
Sellers — both private and dealer — sometimes clear diagnostic trouble codes right before a showing. If your OBD-II scanner shows zero stored codes but the car was recently driven for exactly 50–100 miles, that's a pattern. Ask to see recent repair receipts, and always schedule an independent mechanic inspection regardless of what the scanner shows.
Odometer Fraud Is More Common Than You Think
Digital odometers are not tamper-proof. Cross-reference the displayed mileage against the vehicle history report, service stickers inside the door jamb, and interior wear — a 60,000-mile car should not have a steering wheel worn down to bare plastic. If anything conflicts, walk away.
Pre-Inspection Preparation
Exterior Body & Paint
Tires & Wheels
Under the Hood
Interior Condition
Pre-Start & Cold Startup
Documentation & Next Steps
Get Insurance Before You Drive It Home
The moment you take ownership, you are financially responsible for that vehicle — even during the drive home from the seller's driveway. Most state minimums won't cover the car itself, only the other party. Make sure you have collision and comprehensive coverage in place before you hand over the money. Our <a href="/car-insurance/coverage-types/collision-and-comprehensive/before-buying-a-used-car-physical-damage-coverage-checklist">physical damage coverage checklist</a> walks you through what to get lined up first.
A Pre-Purchase Inspection Is Not Optional
This pre-drive checklist covers what you can check yourself — but it does not replace a mechanic's lift inspection. A trained technician will find frame damage, worn CV joints, leaking axle seals, and brake rotor thickness issues that you simply cannot see from ground level. Budget $100–$200 for a pre-purchase inspection and treat it as part of the vehicle's purchase cost.
Reading What the Car Tells You
The checklist above gives you the items. This section gives you the interpretation — what combinations of findings mean, and when to walk away versus when to negotiate.
Paint Findings and What They Signal
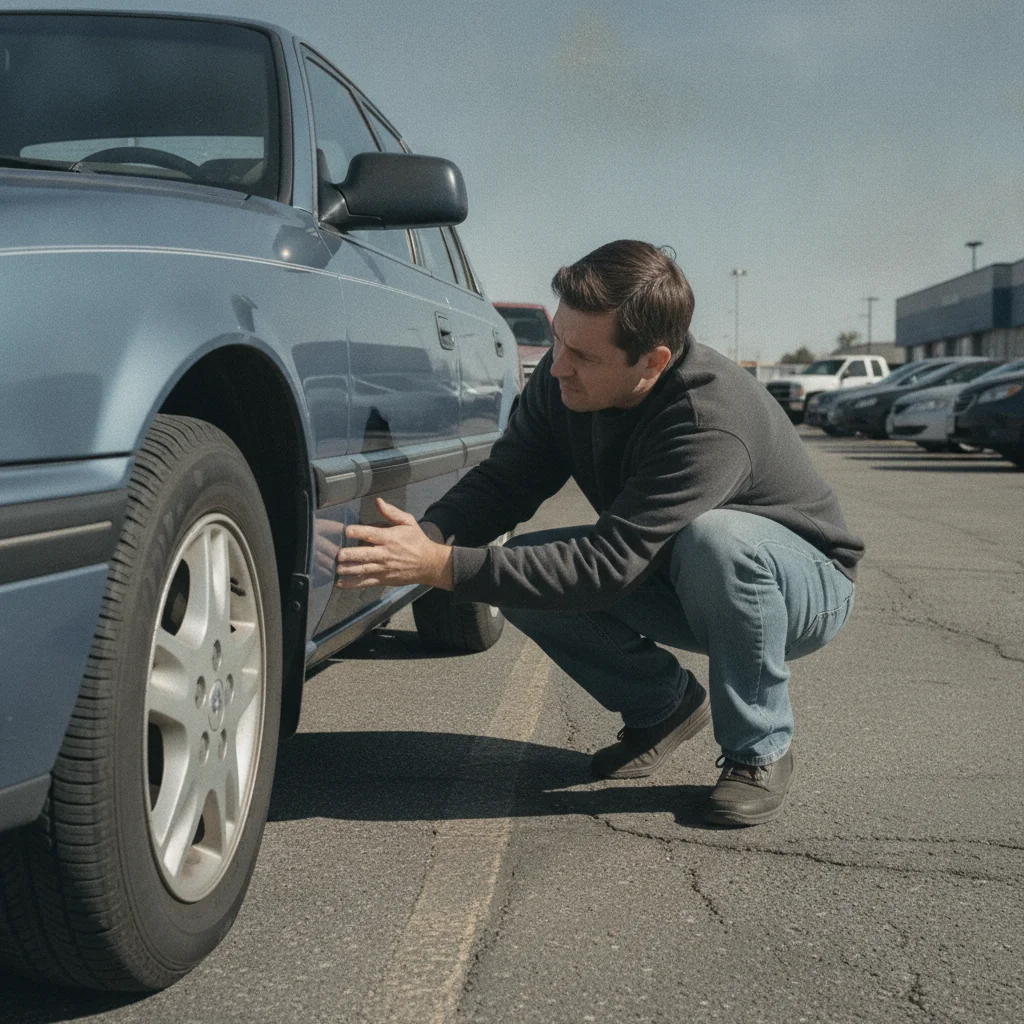
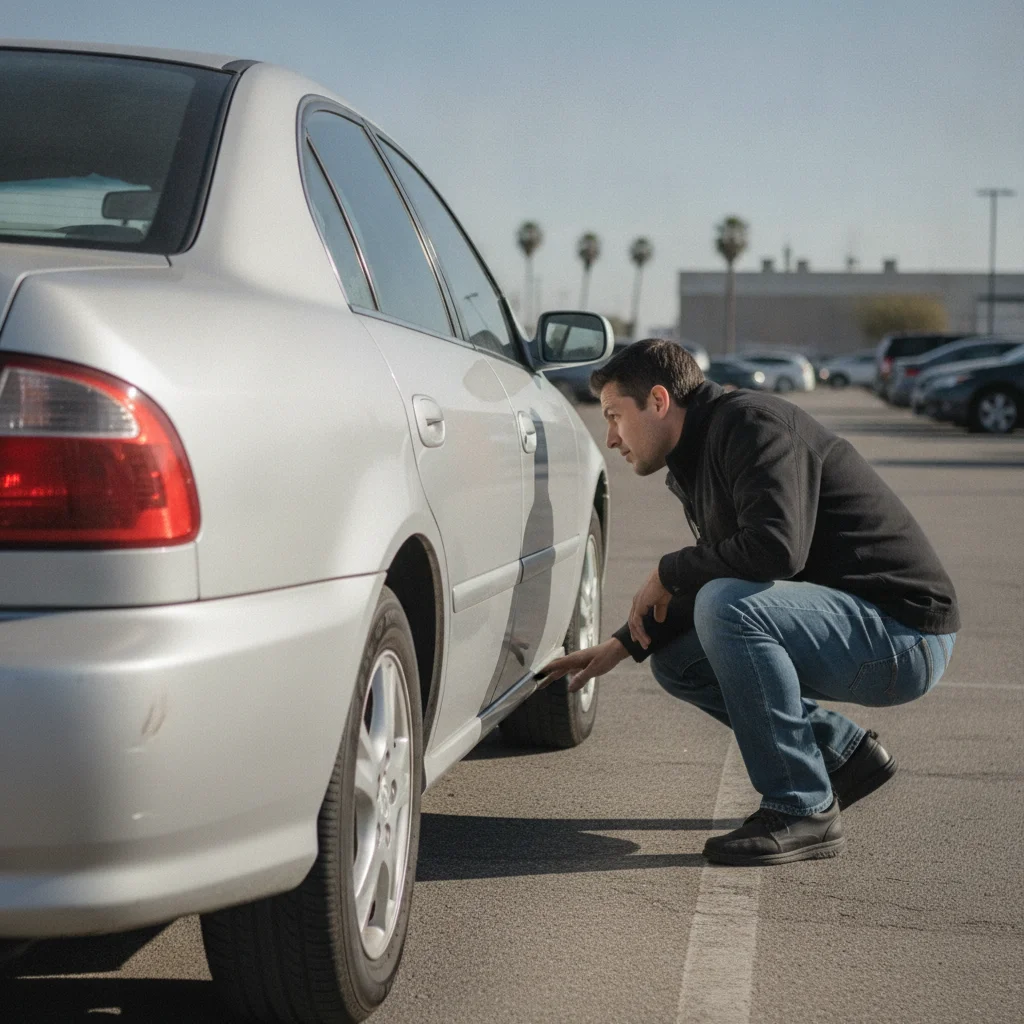
A single repainted panel isn't automatically a dealbreaker — fender benders happen. What matters is whether the seller disclosed it, whether the vehicle history report reflects it, and whether the repair quality is acceptable. Wavy bodywork or mismatched texture alongside a panel gap wider than adjacent panels typically means a harder hit and a cheaper repair. That combination deserves a $500–$1,500 price reduction at minimum, or a skip entirely on older vehicles where frame alignment is harder to verify.
Fluid Findings and What They Signal
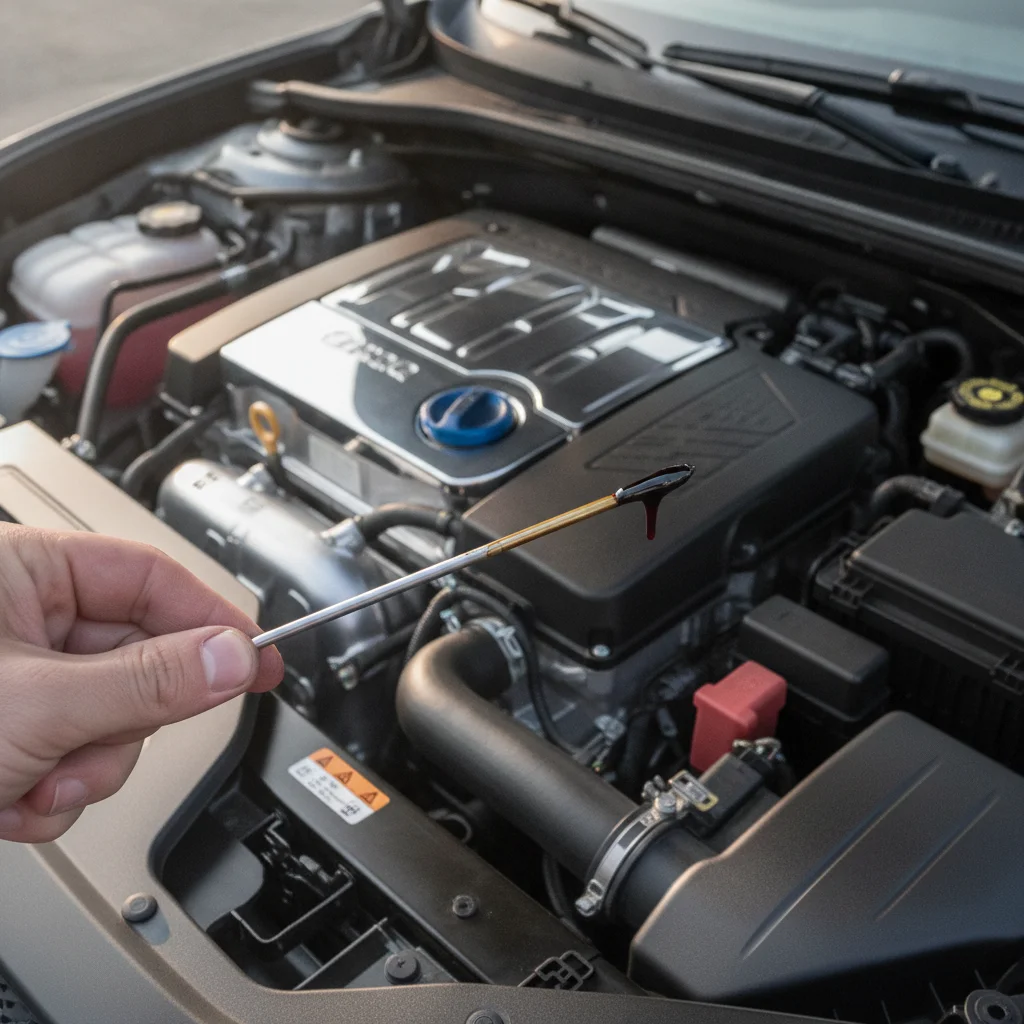
Milky oil — that white emulsified residue under the oil cap — is one of the most consequential findings you can make. It almost always signals coolant infiltration, which on many engines means a blown head gasket. The repair bill on a 4-cylinder engine runs $1,500–$2,500; on a V8 or aluminum-block engine, double that. If you see it, don't let the seller talk you into a story about short trips causing condensation. That's only true in extreme cold climates with very short drives. Walk away or get a $200 mechanic's compression test first.
Brown or rust-tinged coolant means a neglected cooling system that may have internal corrosion. Budget for a full flush and possibly thermostat or hose replacement, and watch for overheating issues down the road.
Tire Findings and What They Signal
All four tires wearing evenly and showing 5/32" or more is a good sign. Inside-edge wear on the front tires means the car has been running with negative camber — often from a hit or a worn control arm bushing. This isn't always expensive to fix ($150–$400 alignment), but if the seller doesn't know about it, it suggests the car has been driven rather than maintained. The test drive and inspection hub has additional guidance on what to probe during the actual drive once you've cleared this checklist.
Four mismatched tires from four different brands on a low-mileage car is a yellow flag. It suggests the car has been driven hard and tires replaced reactively rather than proactively. Not a dealbreaker, but worth noting in your negotiation.
Interior Wear vs. Mileage
This comparison is one of the more reliable fraud-detection tools available to a non-specialist buyer. A genuine 50,000-mile car should have a steering wheel that's starting to show wear at the 9 and 3 positions but is still mostly intact. A genuine 80,000-mile car will have more visible wear on the driver's seat bolster. If the interior looks like 150,000 miles but the odometer reads 72,000, trust the interior. What buyers actually notice first is a useful companion read that shows you which cues are most reliable from a seller's perspective — which is exactly the inverse of what you need as a buyer.
Dashboard Warning Lights
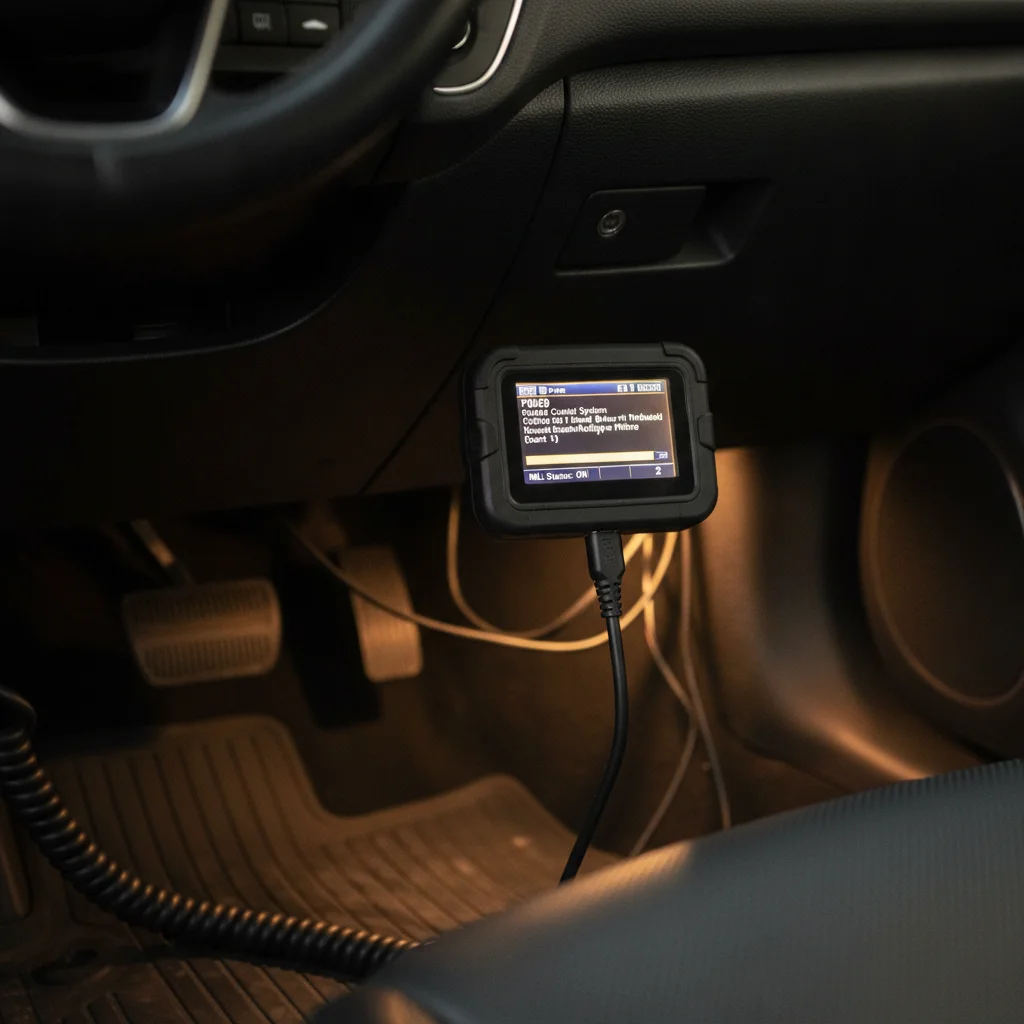
Every warning light should illuminate briefly at startup and then extinguish. If the check engine light doesn't illuminate at all during the startup sequence, suspect a pulled bulb — a classic low-effort concealment move. Your OBD-II scanner will tell you the truth regardless. Pending codes that haven't yet triggered the check engine light are especially telling; they mean the computer has noticed a problem but hasn't registered it formally yet. That's not a clean bill of health — it's a warning in progress.
Be aware that dealers prep their cars specifically to make them look and feel their best. Our article on how dealers prepare cars for test drives covers the specific tactics used — and how to see past them.
After the Pre-Drive Check: Your Next Three Steps
You've worked through the checklist. Now what? The path forward depends on what you found.
If the car passed your pre-drive check
- Take the test drive — focused on brake feel, steering pull, transmission shifts, and any vibration at highway speed.
- Book a pre-purchase inspection — schedule it before you make any financial commitment. A good independent shop will put the car on a lift and check the undercarriage, brake rotor thickness, CV axle boots, and exhaust condition. Budget $100–$200 and treat it as the cost of due diligence, not an optional extra.
- Get insurance in place — don't wait until after you sign. Use the physical damage coverage checklist to make sure you have the right coverage before you take the wheel home.
If the car raised yellow flags
Itemize every finding in your notes. Use those findings as negotiation points — not as reasons to accept a bad deal, but as documented justifications for a specific price reduction. A reputable seller will engage with specifics. A seller who dismisses documented findings without explanation is telling you something important.
If the car showed red flags
Milky oil, structural rust on the frame rails, major panel misalignment that wasn't disclosed, cleared codes on a car with obvious symptoms — these aren't negotiation points. They're exit signals. Your time and goodwill are worth protecting. Move on.
If you're buying from a private party and want to understand the seller's perspective — including what a serious, safety-conscious seller does before letting buyers inspect their car — the seller's pre-drive safety checklist is worth reading. It tells you exactly what a prepared, honest seller looks like, which makes spotting the unprepared or dishonest ones much easier.
And if this car checks out financially and mechanically, don't overlook its remaining depreciation exposure. Gauging remaining depreciation risk before you buy is the final piece of making sure you're getting a fair deal — not just a clean car.

All claims are backed by peer-reviewed research. Sources on request.