Key Takeaways
Where Your Vehicle's Blind Spots Actually Are
Blind spots are the zones around your vehicle that fall outside the coverage of your mirrors and your forward field of vision. They're not hypothetical — they're measurable, and researchers have mapped them with some precision. Understanding where your specific vehicle's dead zones sit is the foundation of safer driving.
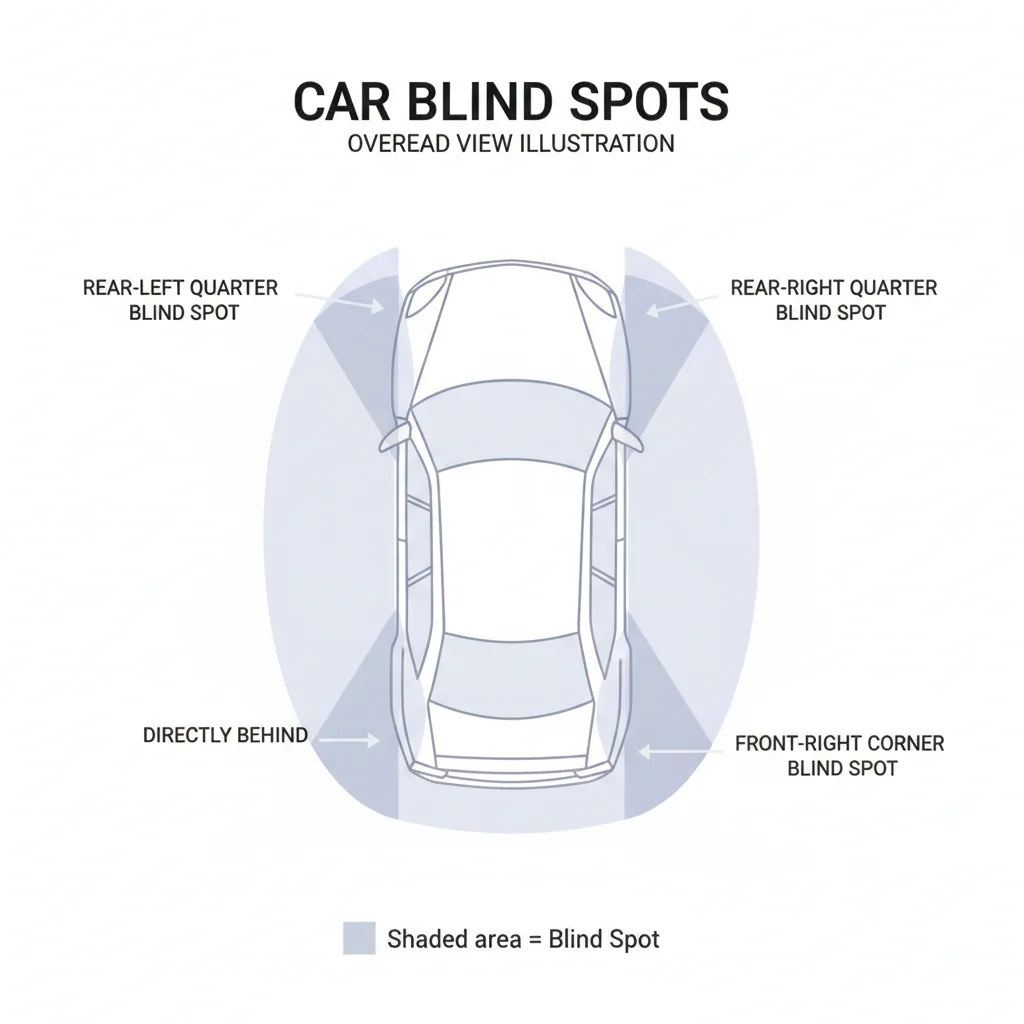
For a typical sedan, the major blind zones fall into four areas:
- Rear quarters (left and right): The angled sections flanking your rear window, roughly where the C-pillars sit. These are the zones where a motorcycle or compact car can vanish entirely when you're preparing to change lanes.
- Right front corner: The passenger-side A-pillar and the hood's right edge create a forward blind zone — relevant when a pedestrian or cyclist is approaching an intersection from the right.
- Directly behind the vehicle: At low speeds, the rear bumper area below the line your rearview mirror covers. This is the zone responsible for the majority of backup-over incidents involving children, which the NHTSA estimates kill an average of 50 people per year in the U.S., with children under five disproportionately represented.
- Close lateral zones: The area immediately adjacent to both front doors — visible neither in the door mirrors at standard settings nor in the rearview.
Larger vehicles make the geometry worse. A full-size pickup truck's rear blind zone can extend 30 to 50 feet behind the bumper at walking speed. SUVs with high beltlines and small rear windows compound the problem with reduced over-the-shoulder visibility. If you've recently moved from a compact car to a truck or crossover, your old mental map of your vehicle's envelope is no longer accurate.
Thick A-pillars — a consequence of modern side-impact safety requirements — have also enlarged the forward blind zones on many newer vehicles. A 2023 IIHS analysis noted that taller, more upright hood designs on crossovers, while improving pedestrian safety in collisions, also reduce the driver's ability to see close-in objects ahead of the front bumper.
Blind Spots Change When You Change Vehicles
Your mental model of a vehicle's blind zones is vehicle-specific. Moving from a compact car to a pickup truck, an SUV, or a rental vehicle means the dead zones are in different places and often significantly larger. A full-size truck can have a rear blind zone extending 30 to 50 feet behind the bumper. Take two minutes to reassess mirror settings and sightlines any time you're driving an unfamiliar or newly acquired vehicle.
Understanding your vehicle's geometry isn't a one-time exercise. If you switch vehicles — renting, borrowing, or buying — spend two minutes reassessing before pulling into traffic. The blind-zone map changes significantly between a compact sedan, a minivan, and a full-size pickup.
Tools and Technology That Help — and Their Limits
The automotive industry has invested heavily in compensating for the human eye's limitations. Here's what's available and what each system can and cannot do.
Properly adjusted side and rearview mirrors
The primary tool for monitoring adjacent and rearward blind zones — effective only when set using the BGE method rather than default inward-facing positions.
Blind-spot monitoring (BSM) system
Radar-based system that alerts the driver to vehicles in the rear lateral zones; supplements but does not replace correct mirror adjustment.
Rear-view camera
Provides a direct video feed of the low-angle zone directly behind the vehicle during reversing; standard on all new U.S. vehicles since 2018.
Aftermarket blind-spot mirrors (convex spot mirrors)
Small adhesive convex mirrors added to the lower outer corner of existing side mirrors to expand lateral coverage angle.
A second person for mirror-setup verification
Walks around the vehicle during initial BGE mirror setup to confirm continuous visual coverage with no gaps between mirror zones.
Blind-spot monitoring (BSM): Radar sensors — typically mounted near the rear bumper — detect vehicles in your rear lateral zones and illuminate a warning icon in the corresponding side mirror. Studies from the Insurance Institute for Highway Safety found that BSM reduces lane-change crashes by about 14% and injury lane-change crashes by 23%. That's a meaningful improvement, but it also means roughly three-quarters of those crashes still happen. BSM systems commonly fail to detect motorcycles at high speed differentials, cyclists, and pedestrians — and they can generate false positives from guardrails and barriers in curves.
Rear-view cameras: Federally mandated on all new U.S. vehicles since May 2018, backup cameras provide a direct view of the low-angle zone directly behind the vehicle. They are most effective for slow-speed reversing in parking lots and driveways. They don't replace mirror checks during highway lane changes.
Surround-view cameras: Found on many mid-range and premium vehicles, these stitch together a 360-degree bird's-eye view from four cameras. Useful at very low speeds (parking, tight maneuvering) but the image quality at highway speeds makes them impractical for lane-change decisions.
Cross-traffic alert: A companion system to BSM, this uses the same rear-side radar to warn you of approaching vehicles when reversing out of a parking space. IIHS data show cross-traffic alert cuts backing crashes by 22% and backing injury crashes by 36%.
Electronic Aids Are Supplements, Not Substitutes
Blind-spot monitoring systems, backup cameras, and surround-view displays improve safety outcomes in aggregate, but each has specific failure modes. BSM commonly misses fast-closing motorcycles, cyclists, and pedestrians. Backup cameras don't help with highway lane changes. Over-reliance on these systems — treating them as a replacement for mirror adjustment and head checks — has been documented as a behavioral risk in IIHS research.
Even if your vehicle has all of these systems, they represent an additional layer of awareness — not a replacement for correct mirror adjustment and physical head checks. Relying exclusively on electronic aids is the automotive equivalent of relying on spell-check to catch every logical error in an important document.
What You Need Before You Start
Correcting your mirrors and building a physical check habit requires almost nothing in the way of equipment — but a few conditions matter for the initial setup.
What you will need
Once your mirrors are set correctly and you've run through the steps below, the habit becomes automatic within a week or two of consistent practice. The one-time investment of doing the setup right is worth the full effort.
For a broader look at the two-minute pre-drive checks that complement proper mirror use, see The Pre-Drive Walkthrough Most Drivers Skip.
Step-by-Step: Adjusting Your Mirrors and Building the Head-Check Habit
The following steps walk you through the standard mirror-adjustment protocol used by advanced driving instructors, followed by the physical head-check technique. Work through them in order the first time — the mirror settings in the early steps affect what you'll verify in the later ones.
Set your driving position before touching the mirrors
Sit in your normal driving position — don't adjust posture to reach the mirrors more easily. Your seating position determines your sightlines; the mirrors must be calibrated to you as you actually drive, not to a temporary stretched position. Adjust your seat height, distance, and seatback angle to where you'll genuinely sit during a long drive before proceeding.
Set the rearview mirror to frame the rear window
Adjust the rearview mirror so that the entire rear window is visible and roughly centered in the mirror frame. The horizon line should split the mirror approximately in half — you shouldn't be looking mostly at the headliner or mostly at the road. If your vehicle has an auto-dimming rearview mirror, confirm it's functioning (a small green indicator is usually visible). If your rear window is small or obstructed, note this now — it means your side mirrors will carry more of the workload.
Adjust the driver-side mirror using the BGE method
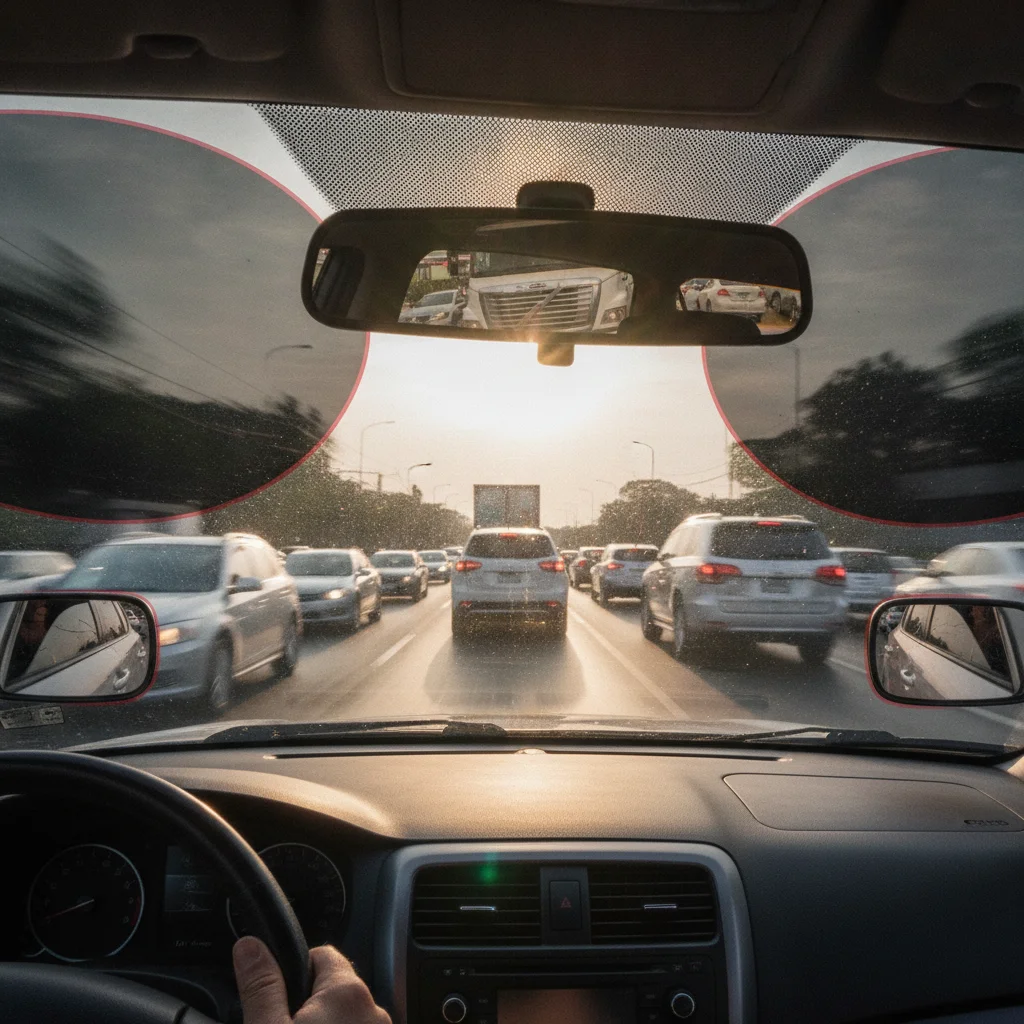
The BGE (Blindspot, Glare Elimination) method, developed by the Society of Automotive Engineers and widely recommended by driving safety researchers, moves the side mirrors significantly outward compared to typical driver habit.
- Lean your head until it nearly touches the driver-side window glass.
- From that position, adjust the left mirror outward until you can just barely see the left rear corner of your car — the minimum overlap needed.
- Return your head to center. The mirror should now show the lane to your left, not your car's body.
At first this will feel wrong — you're used to seeing your own car. That discomfort is calibration shock, and it fades within a day or two.
Adjust the passenger-side mirror using the BGE method
The passenger-side mirror requires more outward displacement because the driver is farther from it.
- Lean toward the center console until your head is approximately over the center of the vehicle.
- From that position, adjust the right mirror outward until you can just see the right rear corner of your vehicle.
- Return to normal seating position. The mirror should predominantly show the right lane and approaching vehicles, with only a sliver of your car's right flank visible.
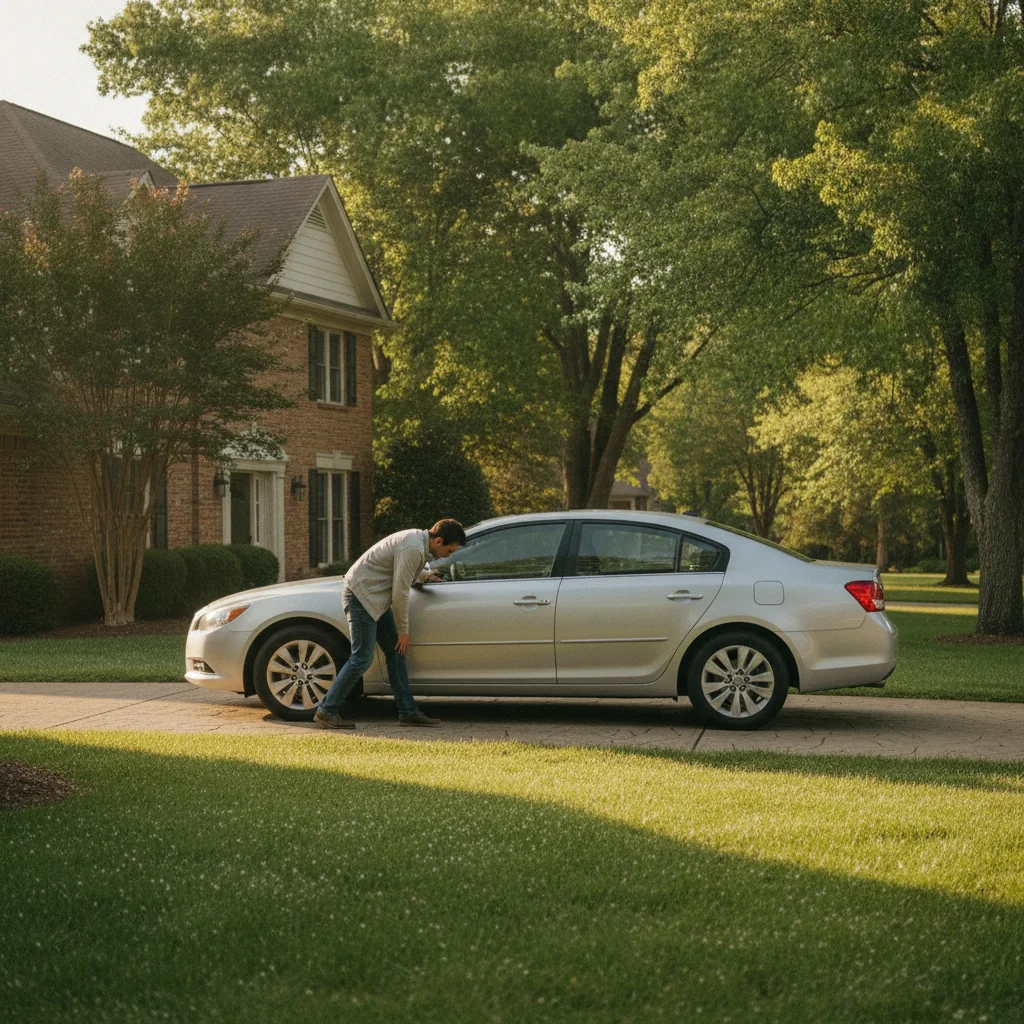
Repeat the walk-around verification described in Step 3 on the passenger side. A helper walks from behind toward the passenger corner — continuous visual tracking with no gap confirms correct adjustment.
Learn when and how to do the physical head check
Even with correctly set BGE mirrors, a brief physical head check (shoulder check) is the final confirmation before any lateral movement — lane changes, merges, pulling from a curb, or entering a highway on-ramp.
Proper technique:
- Timing: Check mirrors first (rearview, then the relevant side mirror), signal your intent, then do a quick head rotation over the appropriate shoulder — a 60-to-90-degree turn is sufficient. You're looking for objects in transition between mirror coverage zones.
- Duration: The glance should be under one second. You're confirming a zone, not studying it. Eyes returning to the road ahead quickly is more important than a prolonged look sideways.
- What to look for: Movement, headlights (in low light), or the silhouette of a vehicle, motorcycle, or cyclist that isn't yet in mirror coverage.
At highway speeds, even a 1.5-second distraction while your head is turned means your vehicle has traveled roughly 110 feet without your eyes on the road ahead. Keep the glance sharp and brief.
Verify your setup in real traffic
The walk-around test with a helper is ideal for setup verification, but you can also confirm your mirror calibration in real traffic during your next highway drive.
- Allow a vehicle to overtake you from behind in an adjacent lane. Track it in your rearview mirror, then watch for it to transition into your side mirror. With BGE settings correct, the vehicle should appear in the side mirror before it exits the rearview — no gap, no moment of invisibility.
- If you notice a gap — a moment where the vehicle disappeared — your side mirror is still aimed too far inward. Nudge it outward slightly and re-test.
- If the side mirror shows the overtaking vehicle long before it leaves the rearview, your coverage is good.
This live-traffic verification is particularly valuable because it tests your actual seating geometry and real vehicle behavior, not a controlled parking-lot scenario.
Once these steps are completed, the full process takes under 30 seconds at the start of each drive — and even less time once the positions become muscle memory. For conditions that make blind spots even more dangerous, see Safe Following Distance in Rain, Fog, and Snow for guidance on how to recalibrate your spacing when visibility is cut further.
Common Mistakes That Reintroduce Blind Spots
Even drivers who've set their mirrors correctly can undo the benefit through a handful of habitual errors. Recognizing these mistakes is as important as the initial setup.
Aiming side mirrors inward to see your own car
This is the most prevalent error in American driving. The logic feels intuitive — seeing your own car feels like a reference point. But your car's flanks are already known quantities. The mirror's job is to show you what's next to and behind you, not to show you paint you paid for. An inward-aimed side mirror creates a massive dead zone in the adjacent lane that the BGE method eliminates.
Skipping the head check after mirror setup
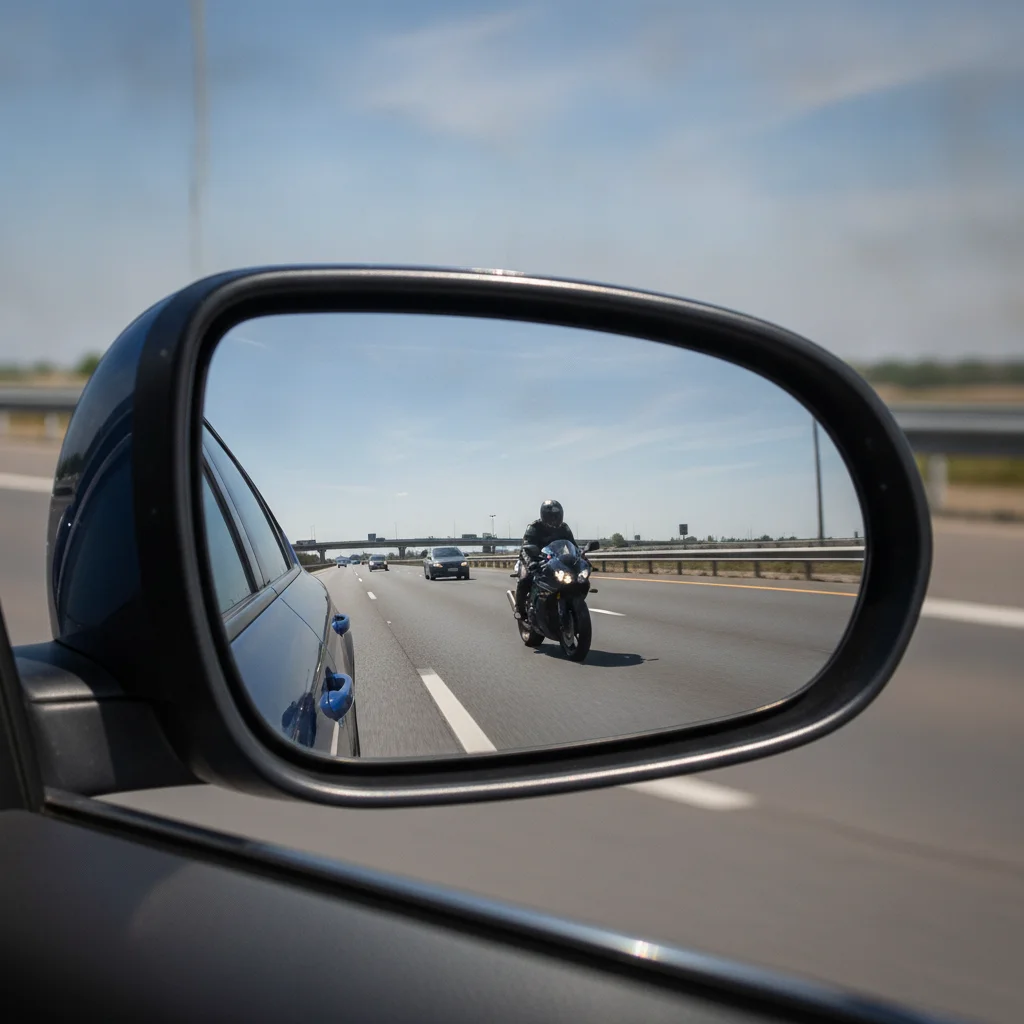
The BGE method dramatically shrinks your blind zones, but it doesn't eliminate every scenario. A fast-approaching motorcycle, a cyclist in an urban bike lane, or a vehicle that has significantly closed the gap during a long signal cycle can still be in transition between zones when your mirror glances happen. The physical head check is the final confirmation step — not optional.
Not readjusting after passengers adjust the mirror
Passengers — especially in the front seat — often nudge side mirrors absentmindedly while settling in. A quick glance to verify mirror position before pulling away takes two seconds and costs nothing.
Relying on BSM as a substitute for checking
As noted above, BSM has documented failure modes. It also has an inherent latency — sensors update in cycles, and a motorcycle closing quickly from behind may not trigger the alert with enough lead time for a safe lane change.
Ignoring how cargo and passengers affect visibility
A loaded SUV or a backseat full of passengers changes your sightlines. Luggage stacked behind the rear seat blocks your rearview mirror's usefulness entirely. When your rearview is compromised, side-mirror coverage and head checks become even more critical. The same principle applies to aftermarket window tints — legal limits vary by state, but heavily tinted rear windows further degrade rearview usefulness in low light. For a related look at how reduced visibility amplifies crash risk, Night Driving Visibility Is Worse Than Most Drivers Realize examines what the research shows about nighttime conditions specifically.
When Blind Spots Lead to Claims — and Why Coverage Matters
Blind-spot-related crashes are a real and quantifiable insurance category. NHTSA data attribute approximately 840,000 crashes per year in the United States to blind-spot failures — not all are serious, but many involve sideswipe damage, which falls squarely under collision coverage.
If you're carrying only liability coverage, a lane-change collision where you're found at fault means you pay for your own vehicle's repairs out of pocket. Given that even minor sideswipe damage — a torn mirror, a crumpled quarter panel — can run $1,500 to $4,000 at modern labor and parts rates, the math on adding collision coverage is worth revisiting.
It's also worth understanding how your policy handles physical damage if you're involved in a crash involving another driver's blind-spot error. In that scenario, the at-fault driver's property damage liability pays for your vehicle — up to their policy limits. If their limits are low and your repair costs exceed them, your own collision coverage (minus your deductible) can bridge the gap. For a detailed look at where drivers most often leave themselves exposed, see Underinsuring Your Car: The Physical Damage Mistakes That Lead to Big Losses.
Blind-Spot Habits and Insurance Are Connected
Blind-spot-related sideswipe crashes are among the most common collision claims. Carrying adequate collision coverage means a lane-change incident won't become a major out-of-pocket expense on top of an already stressful situation. Review your physical damage coverage annually alongside your driving habits — the two go hand in hand.
Mastering your own blind-spot awareness also integrates naturally with broader vehicle condition habits. If you're already doing systematic checks before driving, see How to Inspect Your Own Car for Early Warning Signs for a complementary routine that catches mechanical issues at the same time.

All claims are backed by peer-reviewed research. Sources on request.