Key Takeaways
Summary
28 items · 20–45 minutes
Why a Pre-Trip Check Is Worth Every Minute
Think of your car the way a pilot thinks about an aircraft before takeoff. The stakes aren't identical, but the logic is the same: a problem caught on the ground is always cheaper, safer, and easier to fix than one that surfaces at 75 mph on an unfamiliar highway. A highway breakdown doesn't just cost a tow — it costs you time, stress, and often a markup on parts and labor from whatever shop is nearest.
The good news is that the vast majority of roadside breakdowns trace back to a short list of preventable causes: low or contaminated fluids, tire pressure issues, worn brake pads, and failed lights. None of these are mysterious. They announce themselves with early warning signs that any driver can identify with a few minutes and a little know-how.
This checklist is designed for the 20 to 45 minutes before a long drive — not a full mechanical overhaul. If you want a deeper dive into ongoing maintenance patterns, the guide to inspecting your own car for early warning signs covers additional checks you can build into your regular routine. And if you're preparing for a trip in an electric vehicle, the pre-road-trip EV charging checklist addresses charging-specific preparation that goes beyond what's covered here.
Let's get into what actually matters — and why each item on this list earns its place.
Tools You'll Need
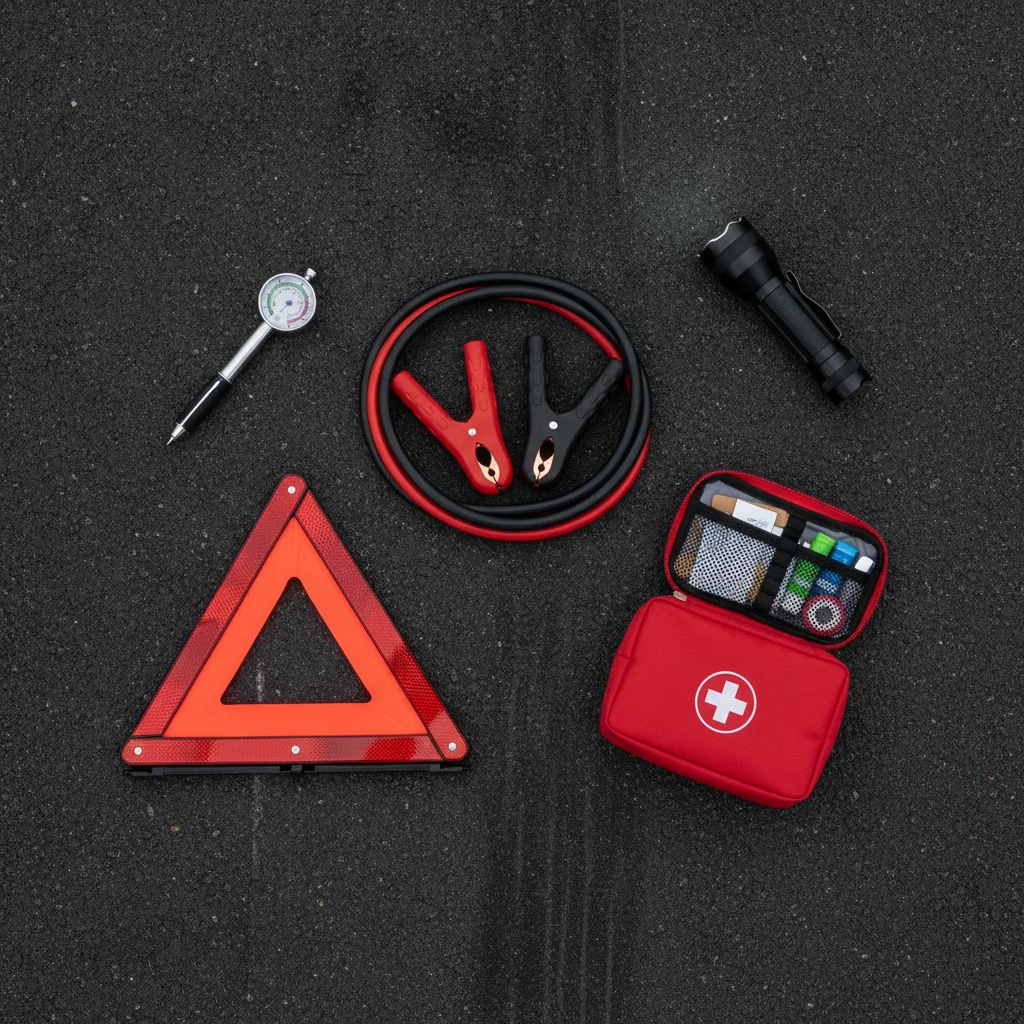
You don't need a full garage to run this check. A small bag of basic supplies kept in your trunk means you're always ready to do this properly, whether you're at home or departing from a hotel parking lot.
Tire pressure gauge
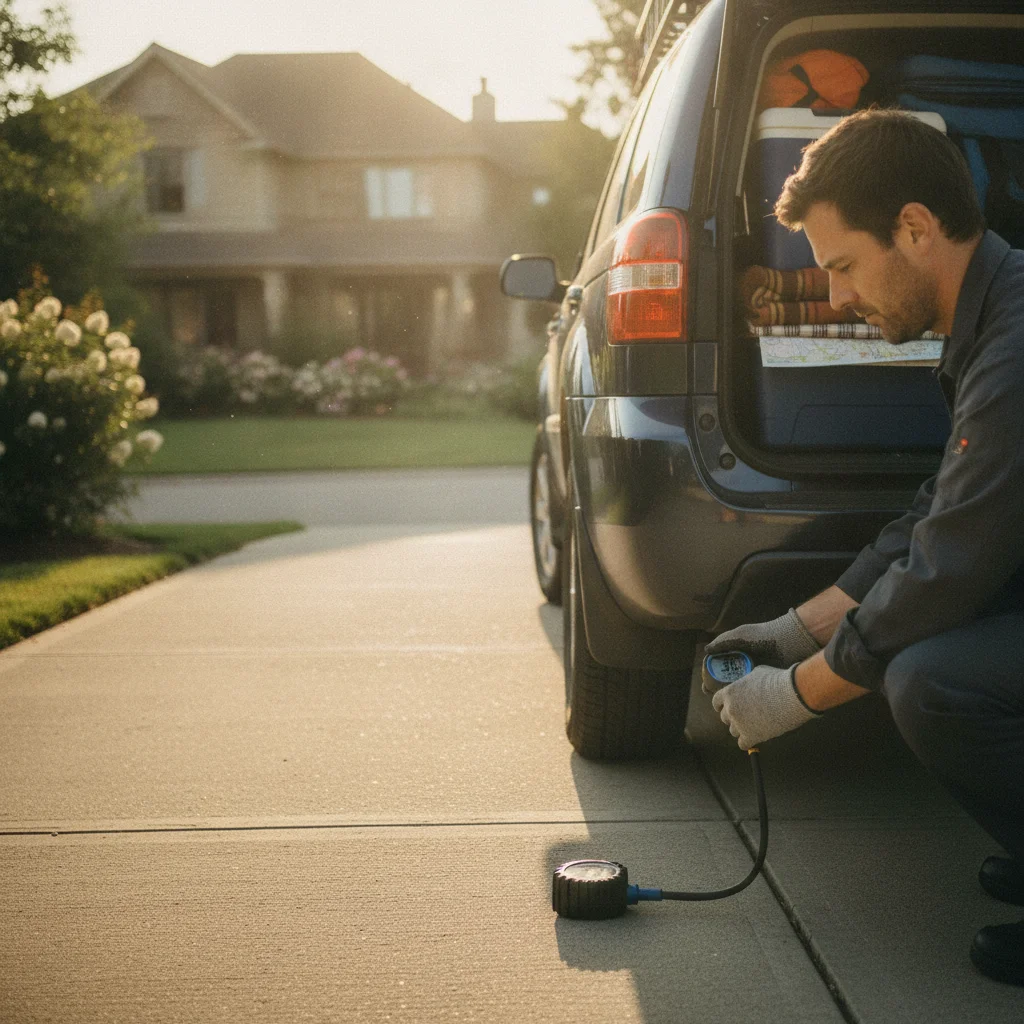
Measures PSI in each tire accurately — digital gauges are more reliable than the dial or pencil-style gauges often found in kits.
Tread depth gauge
Measures exact millimeters of remaining tread — more precise than coin tests and under $5 at any auto parts store.
Flashlight or headlamp
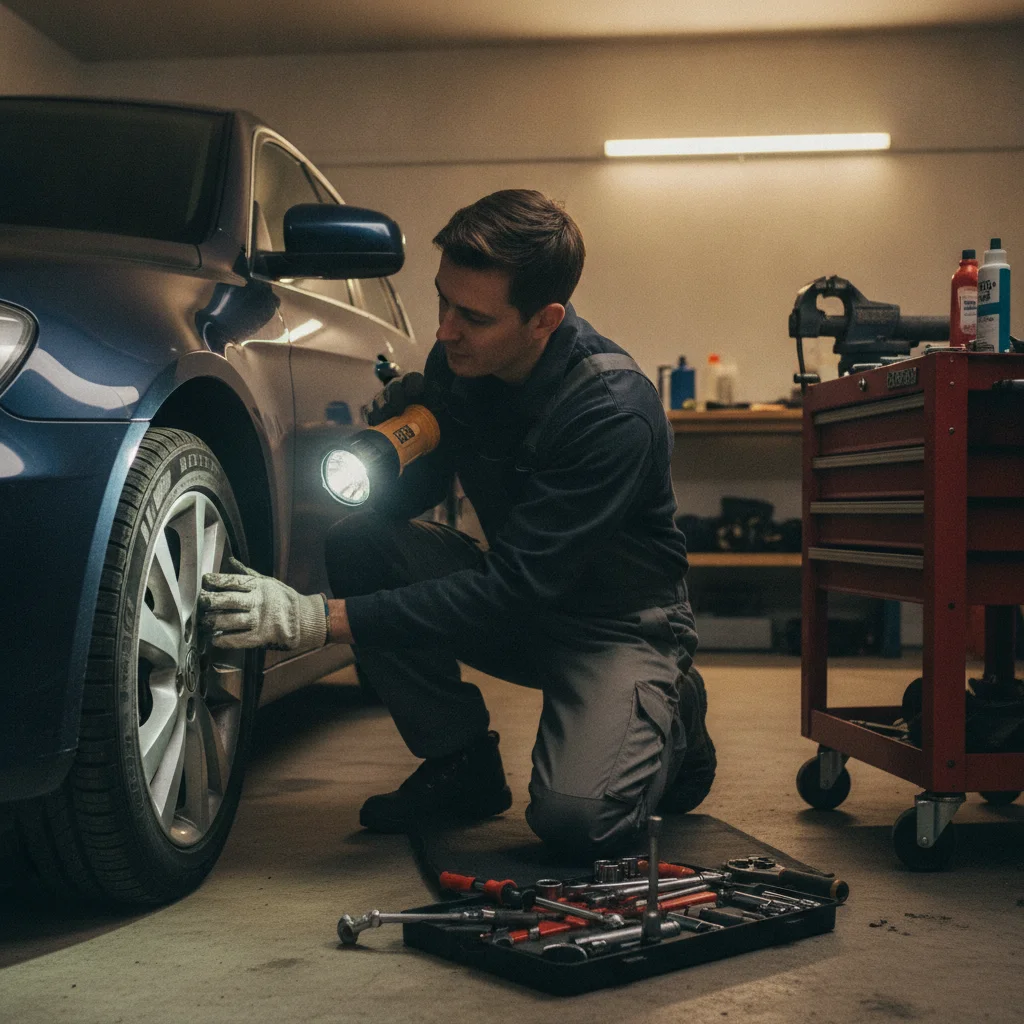
Illuminates dark areas under the hood, under the car, and inside the wheel wells where fluid leaks and worn components hide.
Clean rag or paper towels
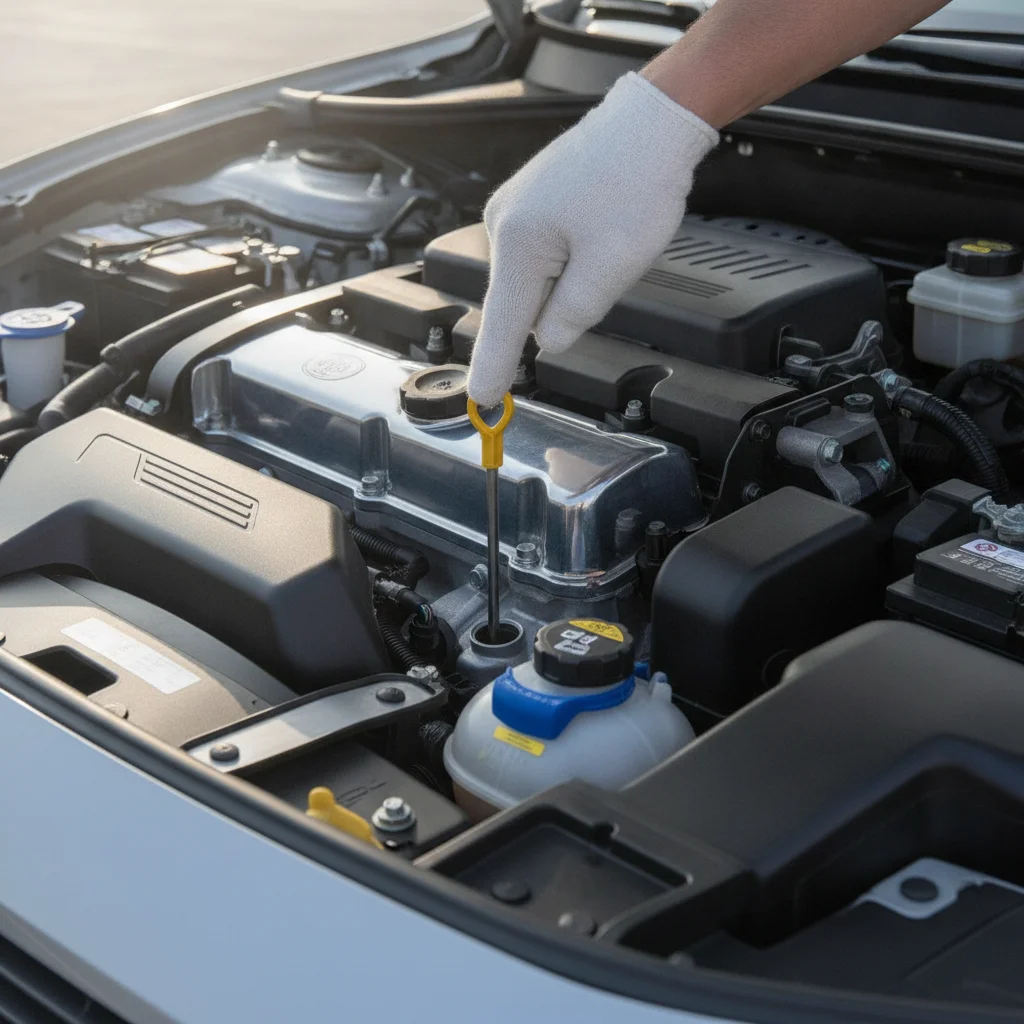
Required for reading the oil dipstick accurately and for wiping fluid reservoirs clean enough to read their levels.
Portable tire inflator
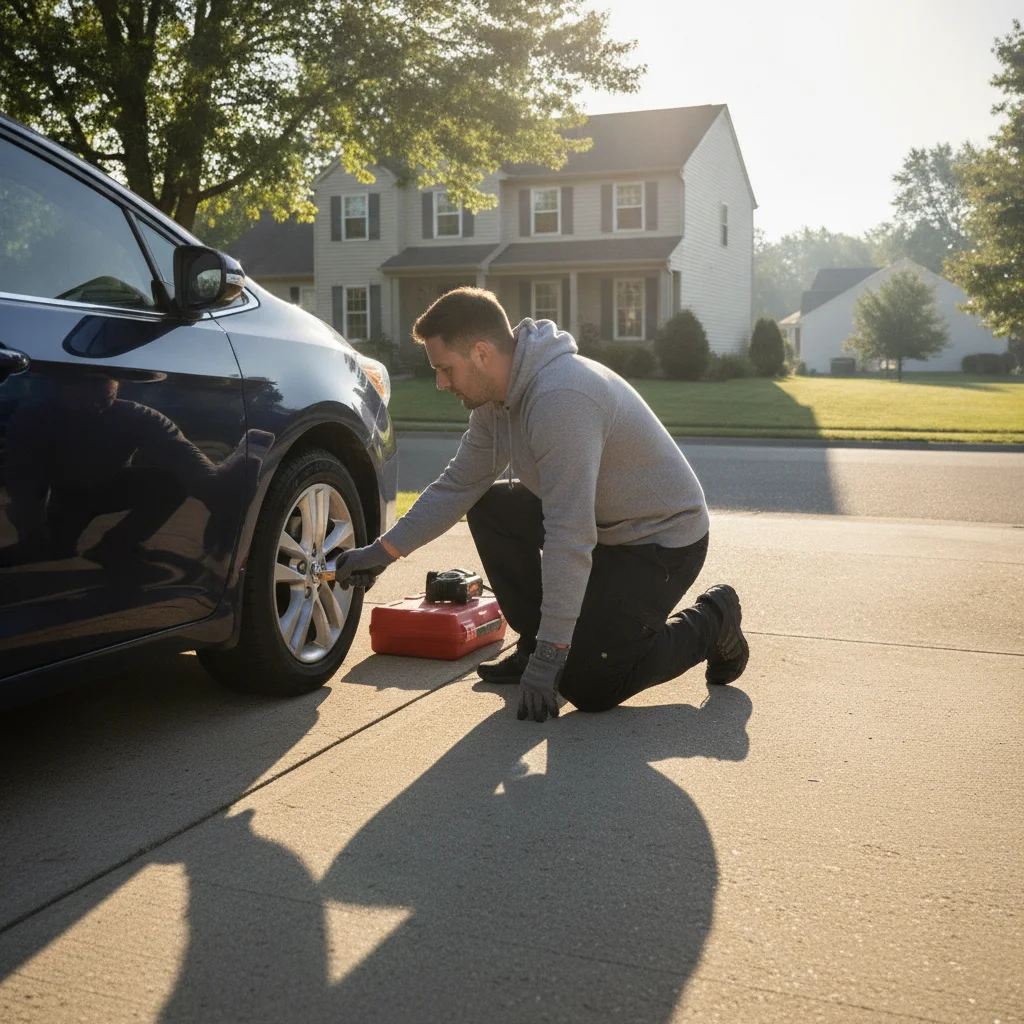
Allows you to add air to underinflated tires at home or on the road without a gas station stop.
Smartphone camera
Prop it behind the car to check brake light function solo — no assistant required.
OBD-II diagnostic scanner
Reads any stored trouble codes that may have triggered a check engine light — helps you assess whether a warning light is minor or serious before departure.
Jumper cables or portable jump starter
Provides backup starting power if a marginal battery fails during the trip — the jump starter pack is the safer solo-traveler option.
The Pre-Trip Safety Checklist
Work through these groups in order. The sequence matters: you want to check fluids first while the engine is cold, then move to tires, exterior systems, and finally the interior and emergency preparedness. Doing it this way keeps you from burning your hand on a hot radiator cap and gives you a logical flow that takes less time than jumping around randomly.
Spongy Brakes Are a No-Go Condition
If your brake pedal feels soft, spongy, or sinks slowly toward the floor under steady pressure, do not proceed with the trip. This symptom indicates air in the brake lines, a failing master cylinder, or an internal fluid leak — all conditions that can lead to complete brake failure under heavy stopping demands. This is not a 'monitor it' situation. Have the brakes inspected by a professional before driving.
Milky Engine Oil Means Stop Now
Engine oil that looks like a chocolate milkshake — tan, foamy, or creamy — has coolant mixed into it, which destroys the oil's lubricating ability within minutes of operation. This almost always indicates a blown head gasket or cracked cylinder head. Driving with contaminated oil causes catastrophic engine damage that can render the engine unrepairable. If you see this on the dipstick, do not start the car until a mechanic has assessed it.
Fluids
Tires
Brakes
Lights and Visibility
Under the Hood
Emergency Preparedness
Never Open a Hot Radiator Cap
Always check coolant when the engine is cold — ideally before your first start of the day. A pressurized cooling system holds coolant at temperatures well above 212°F. Opening the cap releases that pressure violently and can cause severe burns to your face and hands. The overflow reservoir (a translucent plastic tank connected to the radiator by a hose) can be checked safely at any temperature.
Tire Pressure Specs Vary by Vehicle, Not Tire
The correct inflation pressure for your tires is printed on a sticker inside the driver's door jamb — not on the tire sidewall. The number on the sidewall is the maximum pressure the tire can safely hold, which is almost always higher than your vehicle's recommended operating pressure. Inflating to the sidewall maximum can make handling unpredictable and cause premature center tread wear.
A Lit Check Engine Light Deserves Attention
A steady check engine light can mean dozens of things — some minor, some serious. A flashing check engine light, however, almost always indicates an active misfire that can damage the catalytic converter within minutes of driving. If your check engine light flashes at any point, reduce speed immediately and have the vehicle scanned before continuing a long trip.
What the Warning Signs Actually Mean
Knowing what to look for is only half the equation. Understanding what you're seeing — and how urgent it is — keeps you from either ignoring a critical problem or panicking over something minor.
Fluid Color and Condition
Engine oil that looks black isn't necessarily bad — oil darkens normally as it picks up combustion byproducts. What you're watching for is oil that's milky or foamy (a sign of coolant contamination, often from a head gasket leak), gritty, or so low it barely registers on the dipstick. Coolant should be bright green, orange, or pink depending on the formulation — murky brown coolant is overdue for a flush. Brake fluid should be nearly clear to light yellow; dark brown brake fluid has absorbed moisture and will boil under heavy braking at much lower temperatures than fresh fluid.
Tire Sidewall Cracking
Small surface cracks in the sidewall rubber (called crazing) are cosmetic and common on older tires. What's dangerous is deep cracking that runs into the structure of the tire, or any cracking near the bead where the tire seats on the wheel. If you can press your thumbnail into a crack and it feels spongy or separates, that tire needs replacement before you go anywhere.
Brake Feel and Sound
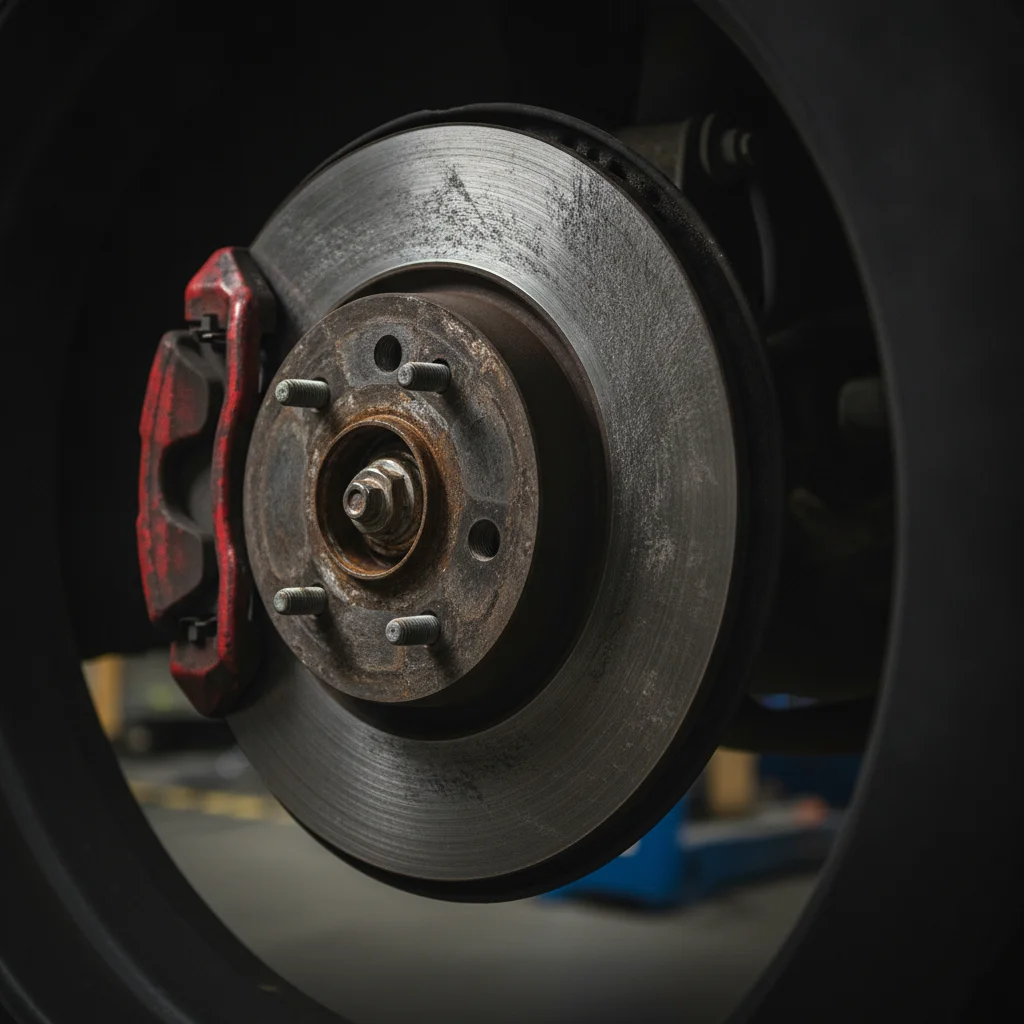
A spongy brake pedal that sinks toward the floor suggests air in the brake lines or a failing master cylinder — stop driving and have it inspected. A hard, high-riding pedal that barely moves can indicate a failing brake booster. Squealing during light stops usually means the wear indicators are contacting the rotor; grinding means metal-on-metal contact and the rotors are likely being scored. Both sounds mean you're due for service. For a broader view of what these and other symptoms could mean, see the pre-road-trip maintenance check every driver should run.
Battery Behavior
A slow, labored crank on startup — especially in cool weather — is your battery telling you it's near the end of its useful life. Most automotive batteries last 3–5 years. If yours is in that range and cranking feels sluggish, a load test at any auto parts store (usually free) will tell you definitively whether it's time to replace it before you're stranded. Corrosion on the terminals (white or bluish powder) increases resistance and can cause intermittent starting issues even if the battery itself still holds a charge.
Lights and Visibility
It's nearly impossible to check all your own lights solo without walking around the car. The trick: park close to a reflective surface like a garage door or a building wall and look for the reflection of each light. For brake lights, a camera or phone propped behind the car works well. Don't skip this — a non-functioning brake light is one of the most common causes of rear-end collisions.
Quick Cost Reference: Catching It Early vs. Late
One of the most motivating reasons to run this checklist is understanding what small problems cost when caught early versus what they cost when they're allowed to fail completely. The table below gives you a realistic sense of what's at stake financially.
| Problem | Caught Early | Ignored Until Failure |
|---|---|---|
| Low coolant / minor leak | $0–$50 (top-off or small hose repair) | $3,000–$8,000 (engine overhaul or replacement) |
| Worn brake pads | $150–$300 per axle (pads only) | $400–$700 per axle (pads + scored rotors) |
| Underinflated tire | $0 (air is free) | $200–$400 (tire replacement after blowout) |
| Weak battery | $100–$200 (replacement) | $75–$200 tow + $100–$200 battery + missed plans |
| Burned-out brake light | $5–$20 (bulb) | $100–$200 traffic citation + collision risk |
| Low / degraded brake fluid | $20–$60 (flush) | Brake fade or failure — incalculable safety risk |
The pattern is clear: almost every item on this checklist costs less than a restaurant dinner to address early, and hundreds to thousands of dollars when deferred to failure. If you're evaluating a used vehicle and wondering how its maintenance history compares, the complete pre-purchase vehicle inspection checklist applies a similar cost-awareness lens to buying decisions. Similarly, if you want a broader breakdown of what a long road trip specifically demands from your vehicle, see the safety checks that matter most before a long road trip.
After the Check: What to Do If You Find a Problem
Finding a problem during a pre-trip check is actually good news — you found it at home, on your schedule, not on the side of an unfamiliar road at night. Here's how to triage what you find:
Go / No-Go Criteria
- No-go immediately: Brake pedal feels spongy or sinks to floor. Any fluid that's milky or smells burnt. Tire with visible cords, bulge, or bead cracking. Engine oil level below the minimum mark on the dipstick. Any dashboard warning light that stays on at idle (especially check engine, oil pressure, or temperature).
- Address before departure: Low but not empty fluids. Tires at 5+ PSI below spec. Worn windshield wipers. Corroded battery terminals. A single non-functional light.
- Monitor and schedule service: Oil that's dark but at proper level and within its change interval. Minor surface cracking on tire sidewalls on tires with good tread. Slightly low washer fluid.
When in doubt, trust your instincts. If something felt or sounded different during the check and you can't explain it, a quick call to your mechanic or a 10-minute stop at an auto parts store for a free battery or codes check costs almost nothing. Driving 300 miles with unresolved doubt costs considerably more — in stress if nothing else.
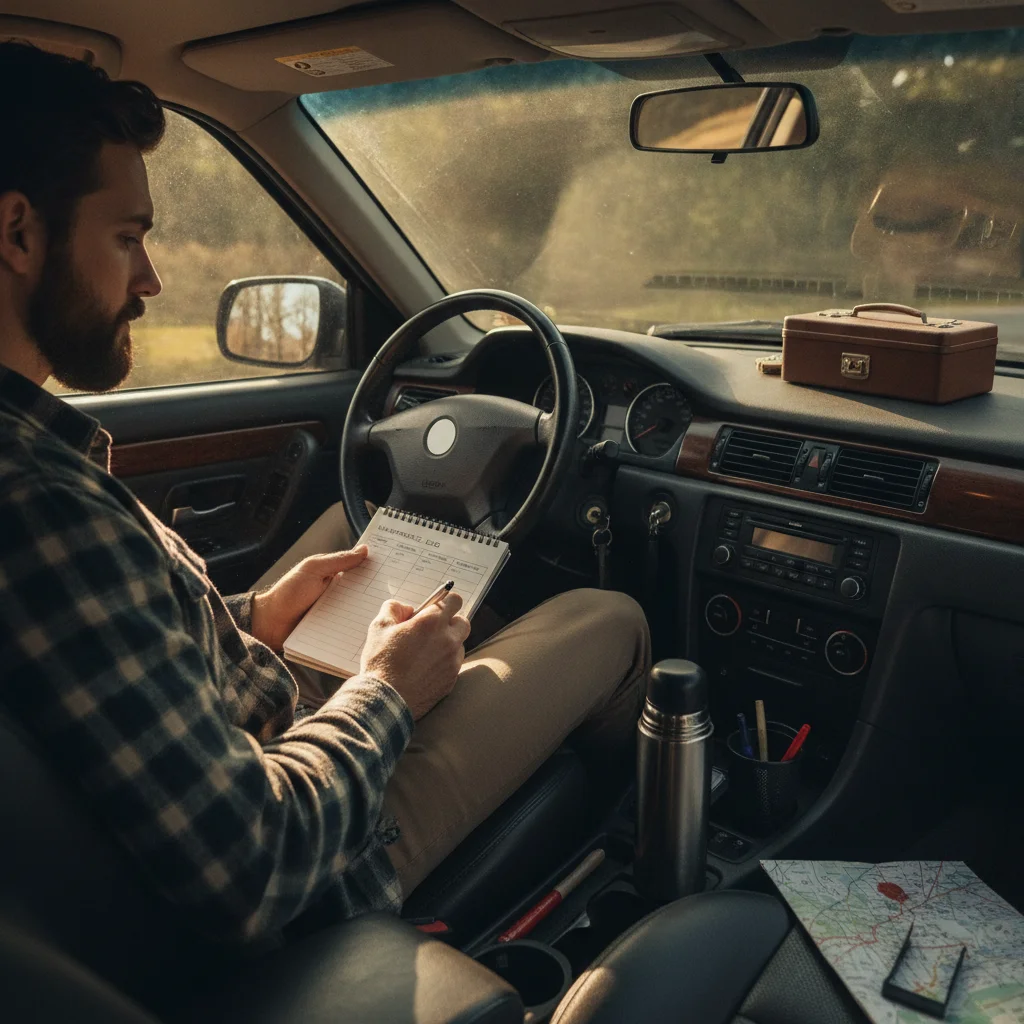
Keep a written or digital log of what you checked and what you found each time you run this checklist. Over time, that log reveals patterns — a tire that keeps losing pressure faster than the others, a coolant level that keeps dropping — that tell you something important about what needs attention before it becomes an emergency.

All claims are backed by peer-reviewed research. Sources on request.