Key Takeaways
Summary
22 items · 15–30 minutes
Why Waiting for Your Next Oil Change Is Too Long
The average American drives roughly 15,000 miles per year. At a standard 5,000- to 7,500-mile oil change interval, that's two or three service visits where a technician peeks under your hood. The problem is everything that happens in between. Brake fluid absorbs moisture month after month. Coolant slowly loses its protective additives. Power steering fluid picks up metal particles from the pump. None of these changes set off a dashboard warning light — at least not until the situation is already advanced.
A routine fluid check takes 15 to 30 minutes and requires nothing more specialized than a flashlight and a rag. The investment is trivially small compared to a blown head gasket or a brake line failure. This checklist walks through every major fluid your car depends on, what to look for, and when an abnormal reading demands more than a top-off.
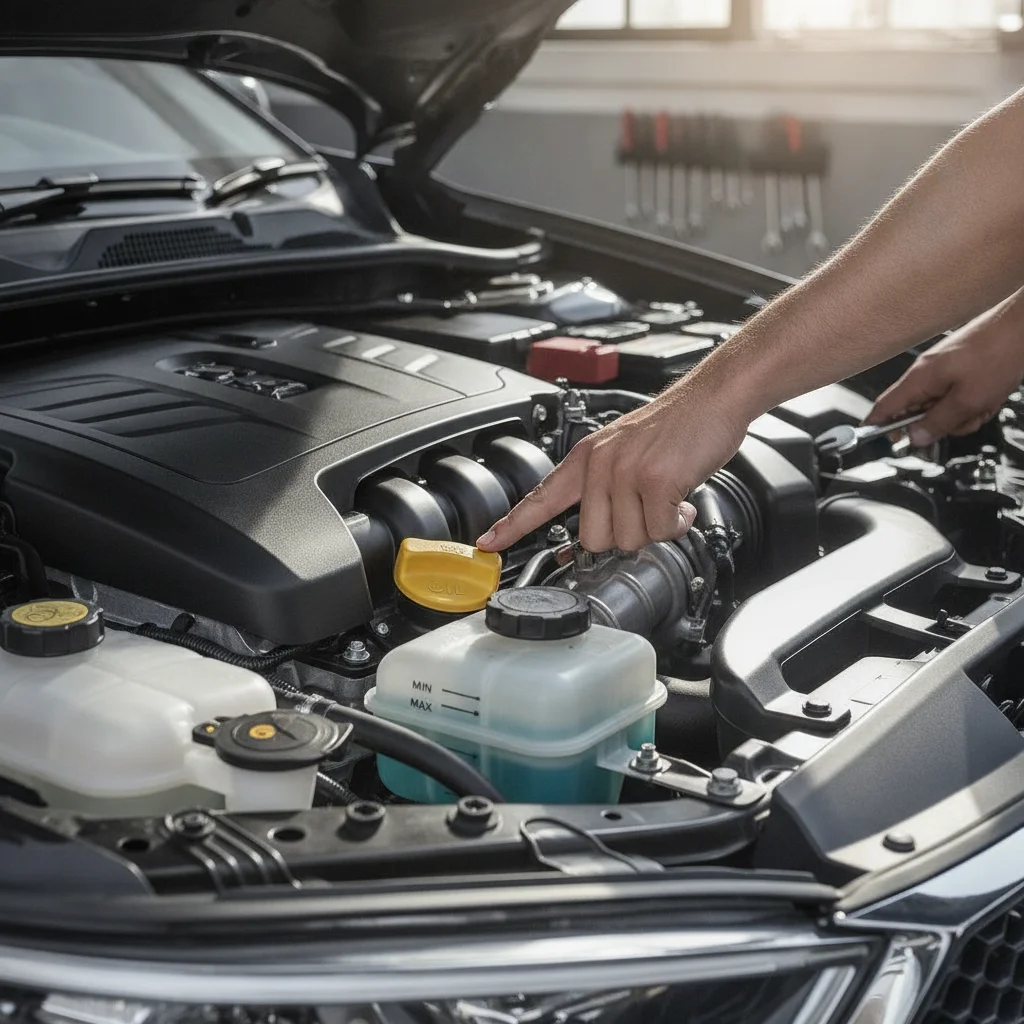
If you're new to opening the hood, our guide to under-the-hood basics covers what you're actually looking at before you start poking around. And if you want to build fluid checks into a broader monthly habit, the monthly inspection routine pairs well with this checklist.
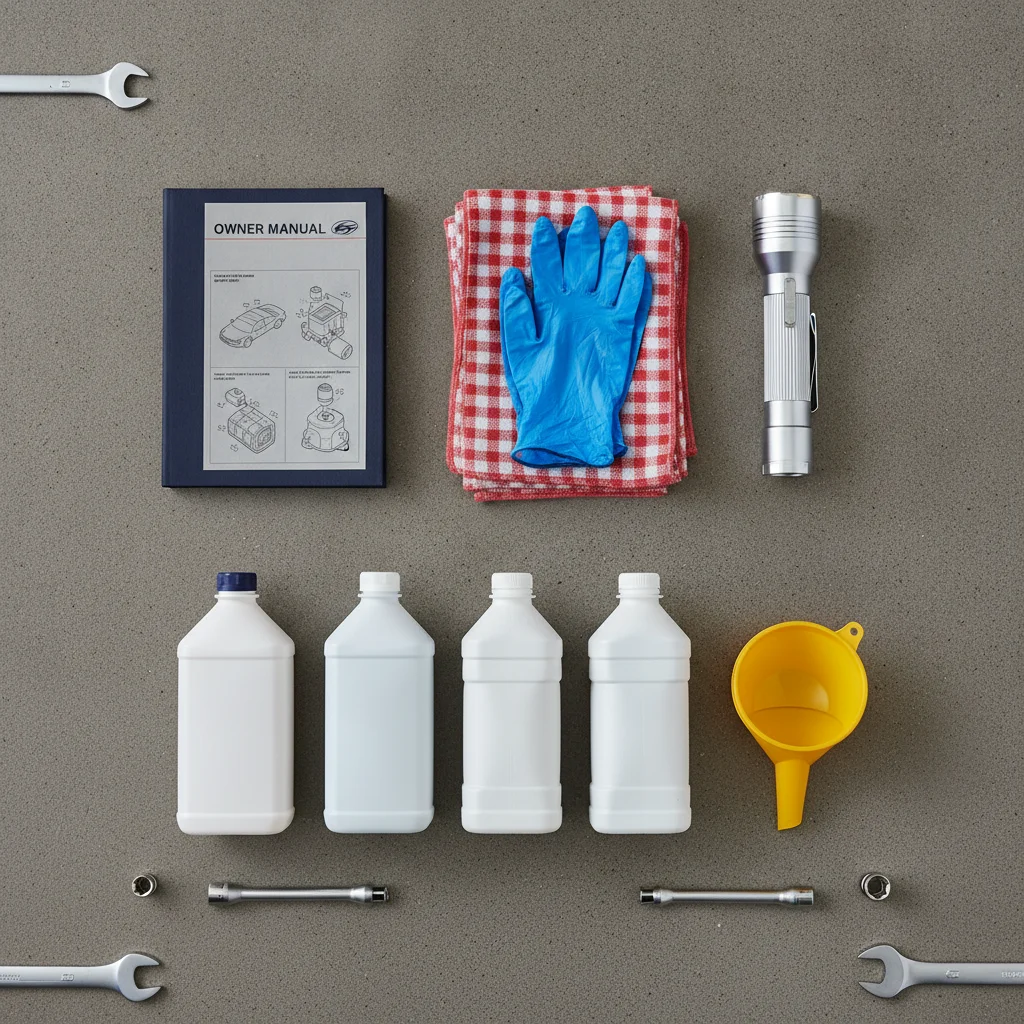
Before you begin, gather your tools and pull out your owner's manual. Fluid reservoir locations vary by manufacturer, and the correct fluid specifications for your vehicle are non-negotiable — using the wrong product can cause damage that's far more expensive than deferred maintenance.
Shop rags or paper towels
Wiping dipsticks clean between readings so you get an accurate fluid level measurement.
Nitrile gloves
Protecting your hands from hot surfaces, chemicals, and contaminants during fluid checks.
Flashlight or headlamp
Illuminating dark engine bay areas to spot fluid residue, leaks, and dipstick markings clearly.
Owner's manual
Confirming the correct fluid types, reservoir locations, and check procedures specific to your vehicle.
Coolant test strips
Testing the freeze and boil-over protection level of coolant without sending it to a shop.
Brake fluid test strips
Measuring moisture content in brake fluid to determine whether a flush is due.
Mechanic's mirror (telescoping)
Viewing fluid residue or leaks in hard-to-see areas of the engine bay.
The Fluid Checks: A Complete Walkthrough
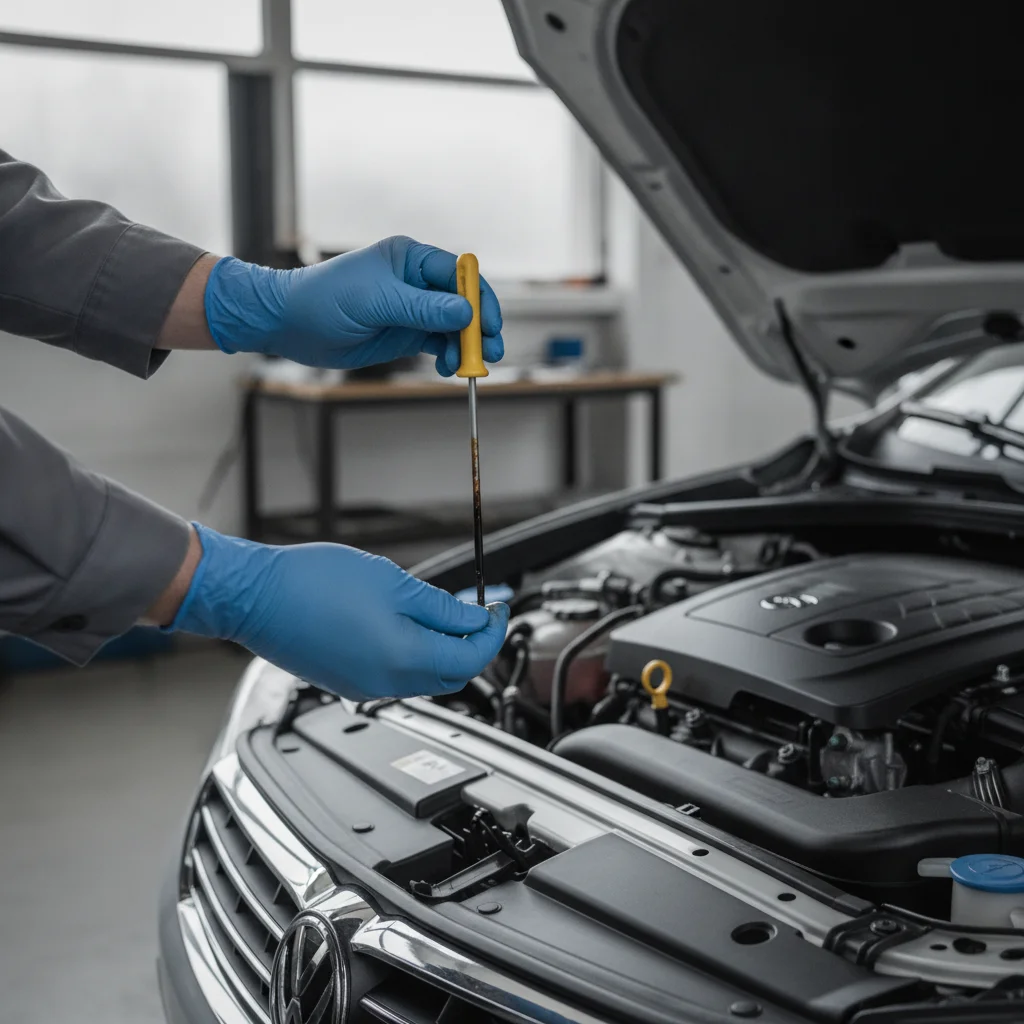
Work through these checks in order with the engine cold or fully cooled unless instructed otherwise. The transmission fluid check is the one exception — it's typically done with the engine at operating temperature. Keep a rag in hand for every dipstick check, and take notes if anything looks abnormal so you can describe it accurately to a technician.
Never Open a Hot Radiator Cap
Opening the radiator or coolant reservoir cap while the engine is warm can result in scalding steam or coolant spray. Always wait at least 30 minutes after shutting off the engine — or simply read the coolant level through the translucent overflow bottle without removing any cap at all.
Low Brake Fluid Is Not Always a Minor Issue
A small drop in brake fluid level as pads wear is normal, but a sudden drop or a consistently low reservoir suggests a leak somewhere in the system. Topping off without finding the source is a temporary fix at best — and a dangerous one. Have the system inspected by a technician before it fails.
Do Not Mix Fluid Types
Using the wrong coolant type, brake fluid specification, or transmission fluid can cause serious and sometimes irreversible damage. Always consult your owner's manual and match the fluid specification exactly — not just the color, which can vary by brand.
Engine Oil
Engine Coolant
Brake Fluid
Transmission Fluid
Power Steering Fluid
Windshield Washer Fluid
General Leak Check
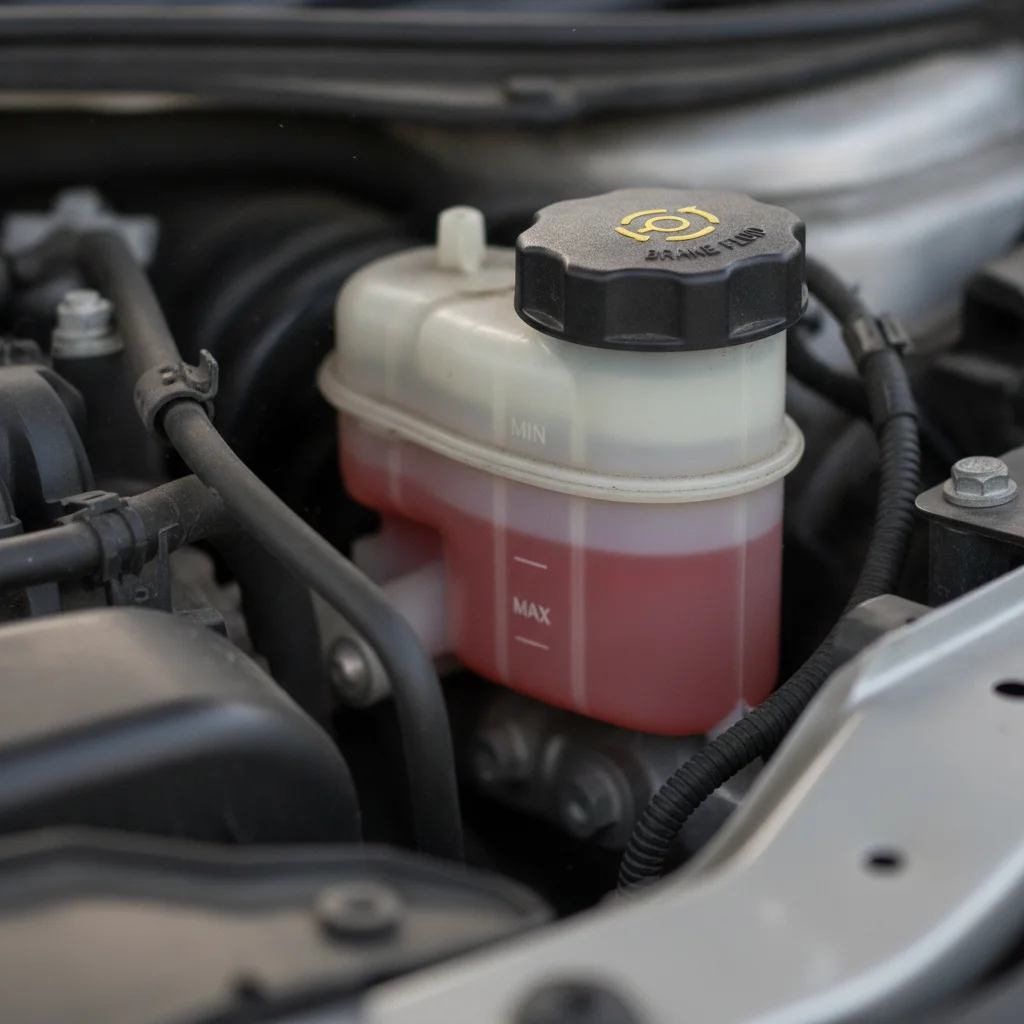
Once you've completed each individual check, do a final pass specifically looking for leak evidence. Leaks are the single most important thing to catch early because they compound — a slow power steering leak becomes a pump failure; a weeping coolant hose becomes an overheating engine. Check both the ground beneath your parking spot and the surfaces inside the engine bay itself.
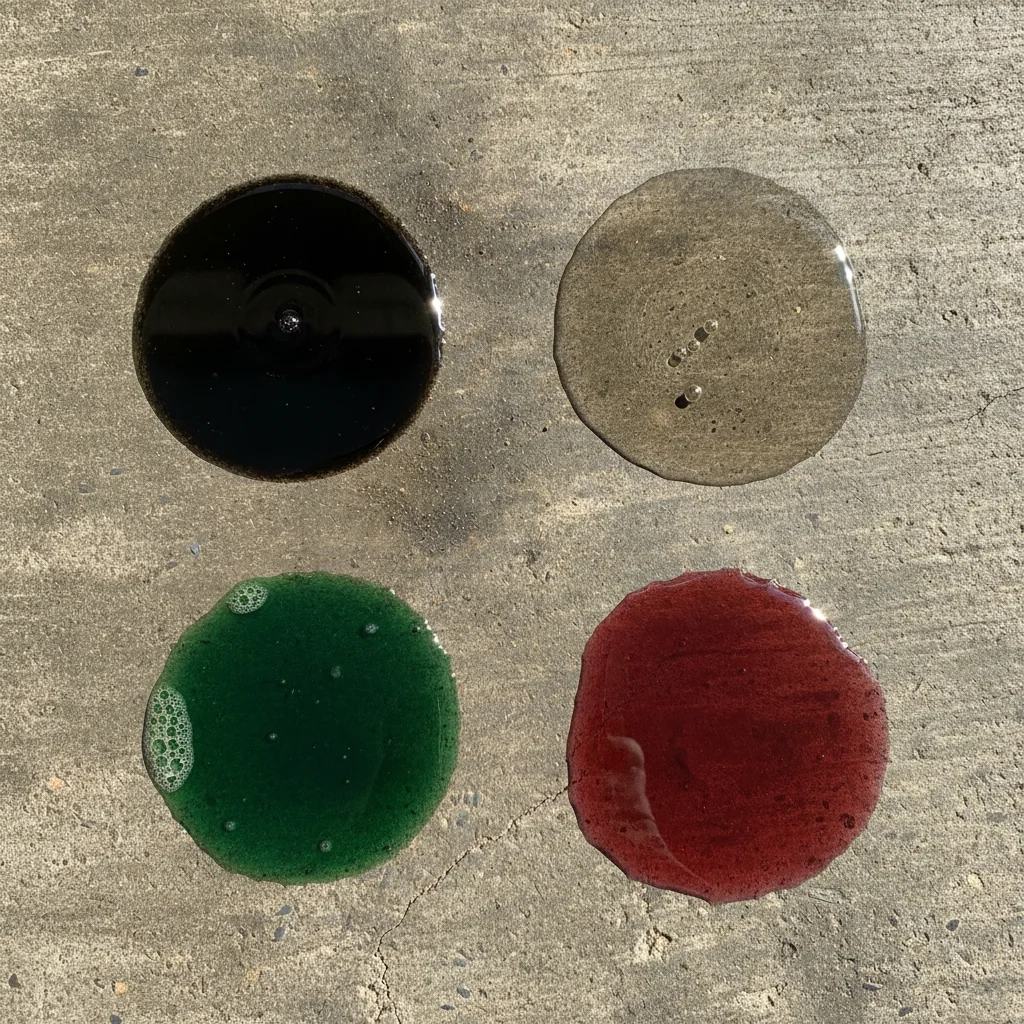
If you find a spot under the car and aren't sure what fluid it is, our fluid color and smell identification guide maps every major automotive fluid to its color, smell, and typical leak location. That single reference can help you decide whether a spot under the car is condensation from the A/C or the start of a real problem.
Reading the Results: What Normal and Abnormal Actually Look Like
Most drivers know to check for oil level but don't know what they're looking at beyond that. Here's a practical reference for what each fluid should look like at its best — and what abnormalities actually mean.
| Fluid | Healthy Appearance | Warning Sign | Action |
|---|---|---|---|
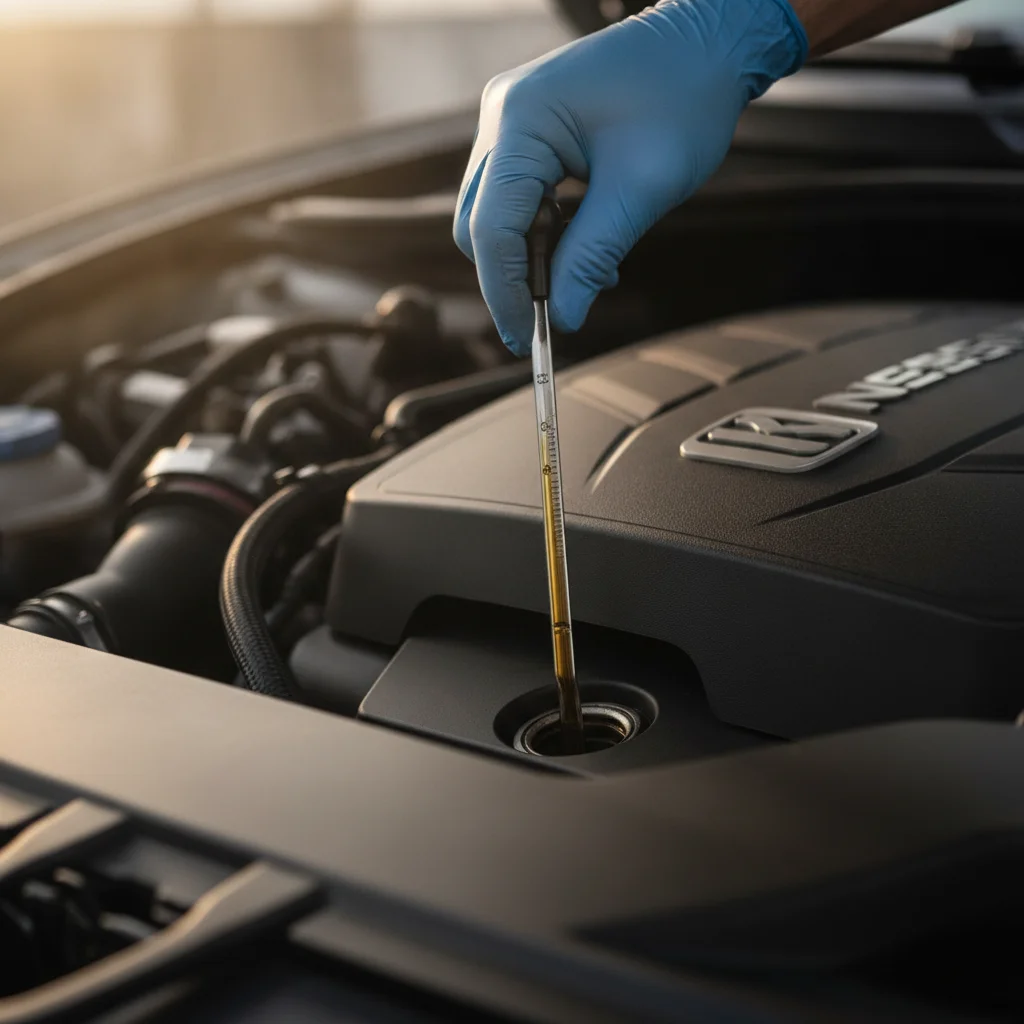
| Engine oil | Amber to light brown, smooth texture | Black, gritty, or milky | Change early; milky = shop visit now |
| Coolant | Bright green, orange, or pink (varies by type), clear | Rusty, oily, or colorless | Test with strips; schedule flush |
| Brake fluid | Pale yellow to nearly clear | Dark brown or murky | Schedule flush; check for leaks if low |
| Transmission fluid | Bright red or pink, thin consistency | Dark brown, burnt smell | Schedule service; avoid towing until checked |
| Power steering fluid | Clear to light amber | Dark, foamy, or metallic smell | Top off; have system inspected |
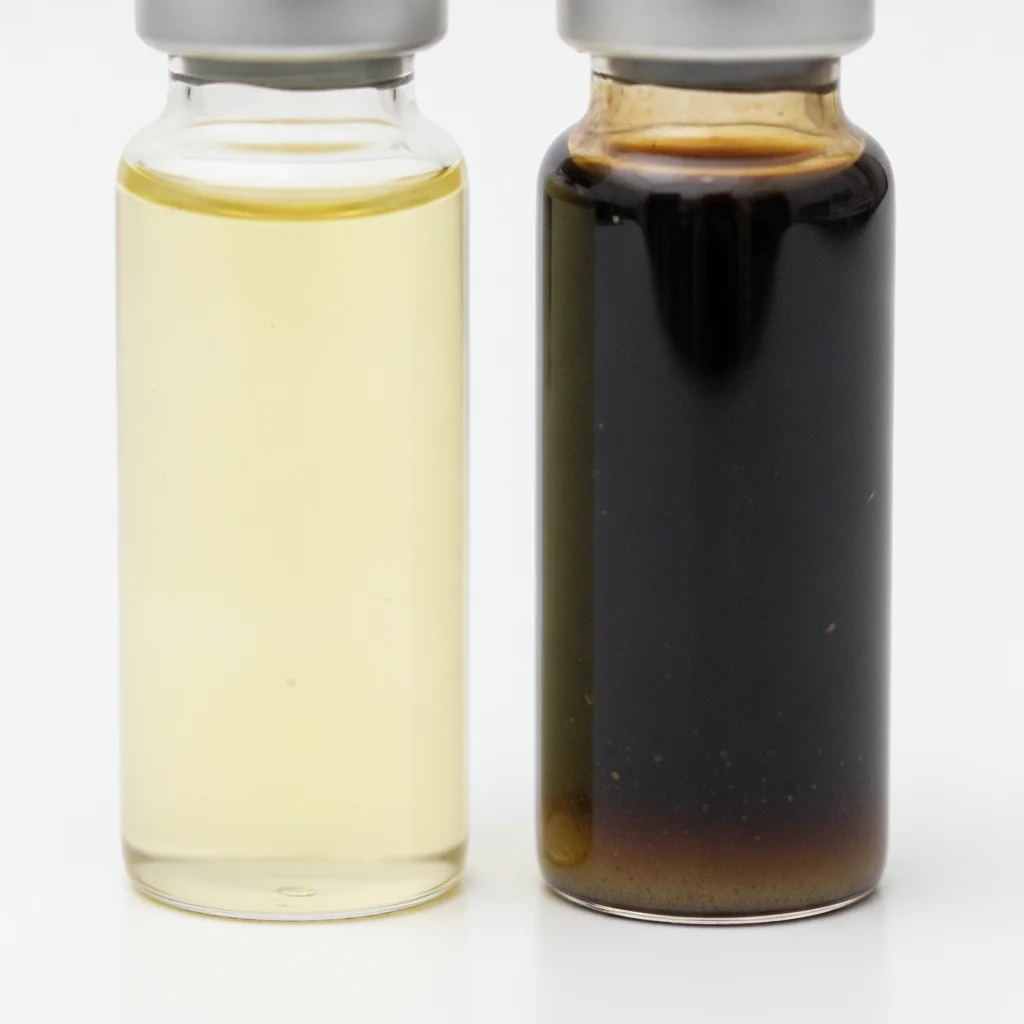
Brake fluid deserves special attention here. Unlike oil or coolant, there's no dipstick and no obvious visual cue visible from a distance — you have to check the reservoir. And unlike most other fluids, brake fluid's primary enemy isn't heat or mileage: it's time.
Brake Fluid Absorbs Moisture Over Time
Unlike most fluids that degrade from heat and contamination, brake fluid is hygroscopic — it absorbs moisture from the air over time regardless of how little you drive. Absorbed water lowers the fluid's boiling point, which can cause brake fade during hard stops. Most manufacturers recommend replacing brake fluid every 2 years or 30,000 miles, but check your owner's manual for your vehicle's specification.
For a deeper dive into brake service intervals — including when pads, rotors, and fluid each typically need attention — see our brake service timeline breakdown. And if your coolant needs more than a top-off, our coolant flush guide explains exactly what a flush accomplishes and when your car is due for one.
When to Stop DIYing and Call a Technician
This checklist is designed for observation, not repair. The goal is early detection — catching something abnormal while it's still inexpensive to fix. There are situations, however, where a fluid check uncovers something that demands professional attention rather than a trip to the auto parts store.
- Milky or foamy oil: This is the signature of coolant leaking into the engine oil — a possible head gasket failure. Don't drive the car until a technician has diagnosed the source.
- Brake fluid that's consistently low: A slowly disappearing brake fluid level without visibly worn pads is a brake system leak. This is a safety-critical issue, not a maintenance item.
- Transmission fluid that smells burnt: Overheated transmission fluid means the transmission has already been stressed. Get it serviced before any towing or highway driving.
- Coolant that looks oily or has a rainbow sheen: Oil in the cooling system points to internal engine damage and should be diagnosed immediately.
- Any fluid that has dropped suddenly between checks: A rapid drop in any reservoir signals an active leak. Finding and fixing a leak is a job for someone with a lift and the right diagnostic tools.
If you want a broader framework for reading early warning signs — not just fluids, but tires, belts, and brakes — our self-inspection guide walks through a comprehensive DIY walkthrough. And once you're comfortable with the basics, our guide to safely topping off your own fluids covers the step-by-step process for adding fluid yourself when levels are low but no leak is present.
Building a Check Schedule That Actually Sticks
The most effective fluid check schedule is the one you'll actually follow. For most drivers, tying checks to an existing monthly habit — the first of the month, a regular gas fill-up, or a monthly car wash — works better than a mileage-based trigger that's easy to forget.
Here's a practical frequency guide based on industry recommendations:
- Monthly
- Engine oil level and condition, coolant level (overflow tank visual), windshield washer fluid
- Every 3 months or 3,000 miles
- Brake fluid level and color, power steering fluid level, transmission fluid level and condition
- Every 6 months
- Full leak check with overnight parking observation, coolant test strips, brake fluid moisture test
- Annually or per manufacturer schedule
- Coolant flush, brake fluid flush, transmission service (consult your owner's manual for your vehicle's specific intervals)
If a long trip is coming up, run through the full checklist before departure — not the morning you leave. Give yourself time to address anything abnormal. Our pre-road-trip maintenance checklist adds tire, belt, and battery checks to the fluid checklist for a comprehensive pre-departure inspection.
None of this requires mechanical training. It requires 20 minutes, a flashlight, and a willingness to look. The drivers who catch problems early aren't necessarily more mechanically inclined — they're just more consistent about opening the hood between oil changes.

All claims are backed by peer-reviewed research. Sources on request.