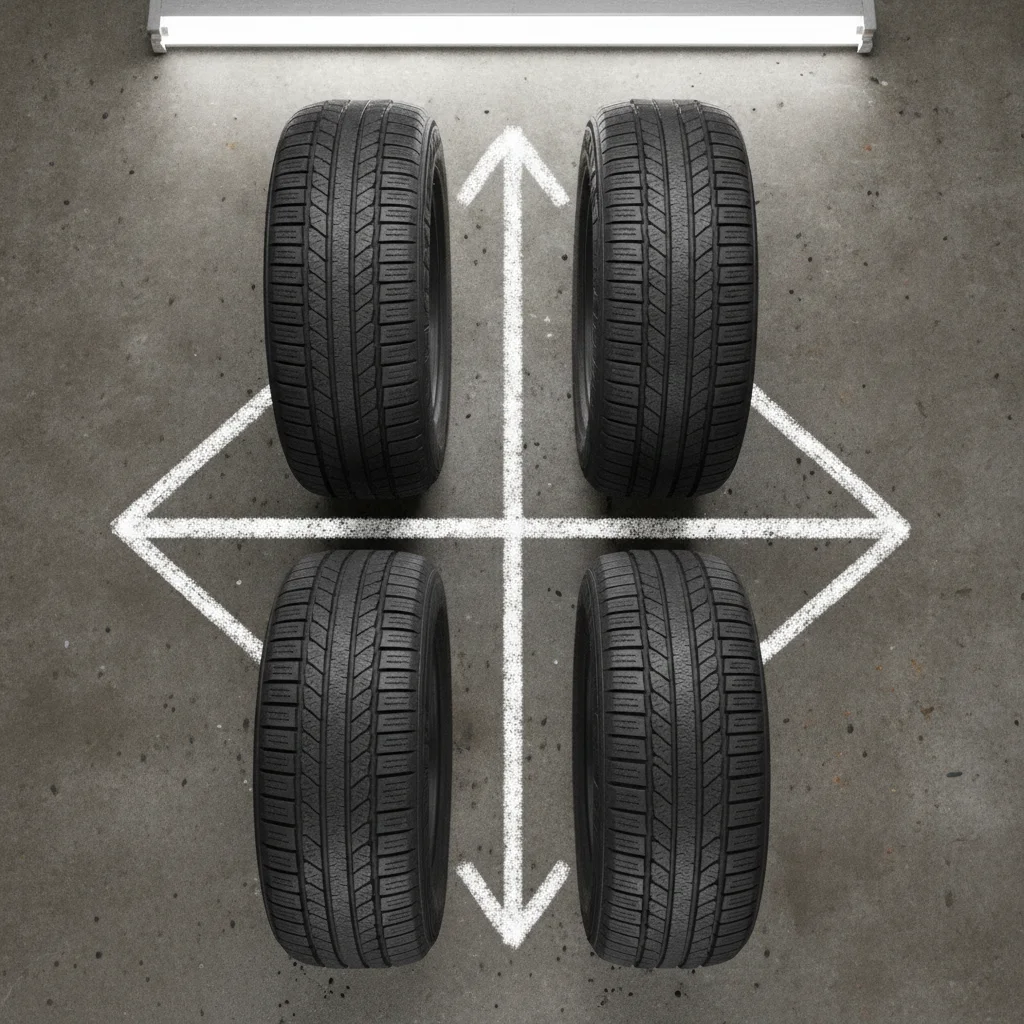
Key Takeaways
Why Tire Rotation Actually Matters
Most people know they're supposed to rotate their tires. Far fewer actually do it consistently. The result is almost always the same: front tires that look bald while the rears still have plenty of meat, or vice versa depending on your drivetrain. Then you're buying two tires instead of one set — or worse, all four because the wear is so uneven that mismatched tires create a handling problem.
Here's the plain math. A set of quality all-season tires might run $600–$900 installed. Skipping rotations can cut their life by 20–30%. That's real money left on the table for a task that takes less than an hour once you've done it a couple of times.
The reason tires wear unevenly has to do with where the load and the power go. On a front-wheel-drive car, the front tires do the steering, the braking, and all the acceleration — they take a beating. On rear-wheel drive, the rears handle propulsion but the fronts still absorb most braking force. All-wheel-drive systems distribute torque, but not always evenly enough to skip rotation. And on electric vehicles, the instant torque delivery makes it even worse — something worth understanding in detail if you drive an EV (why EV tires wear faster).
Rotation doesn't eliminate uneven wear — it manages it by cycling each tire through different positions so the wear evens out over the life of the set. Done on schedule, it's one of the best-value maintenance habits you can build.
Before you touch a lug nut, though, you need to know which pattern to use. Using the wrong one can be harmless, or it can force a directional tire to run backward. Let's sort that out first.
Picking the Right Rotation Pattern
Rotation patterns aren't arbitrary. They're designed around two variables: your drivetrain and your tire type. Get both right and you're good. Mix them up and at minimum you're leaving efficiency on the table, at worst you're mounting a directional tire the wrong way.
Non-Directional Tires (Most Common)
If your tires can be mounted in any direction — no arrows on the sidewall — you have the most flexibility. Here are the standard patterns:
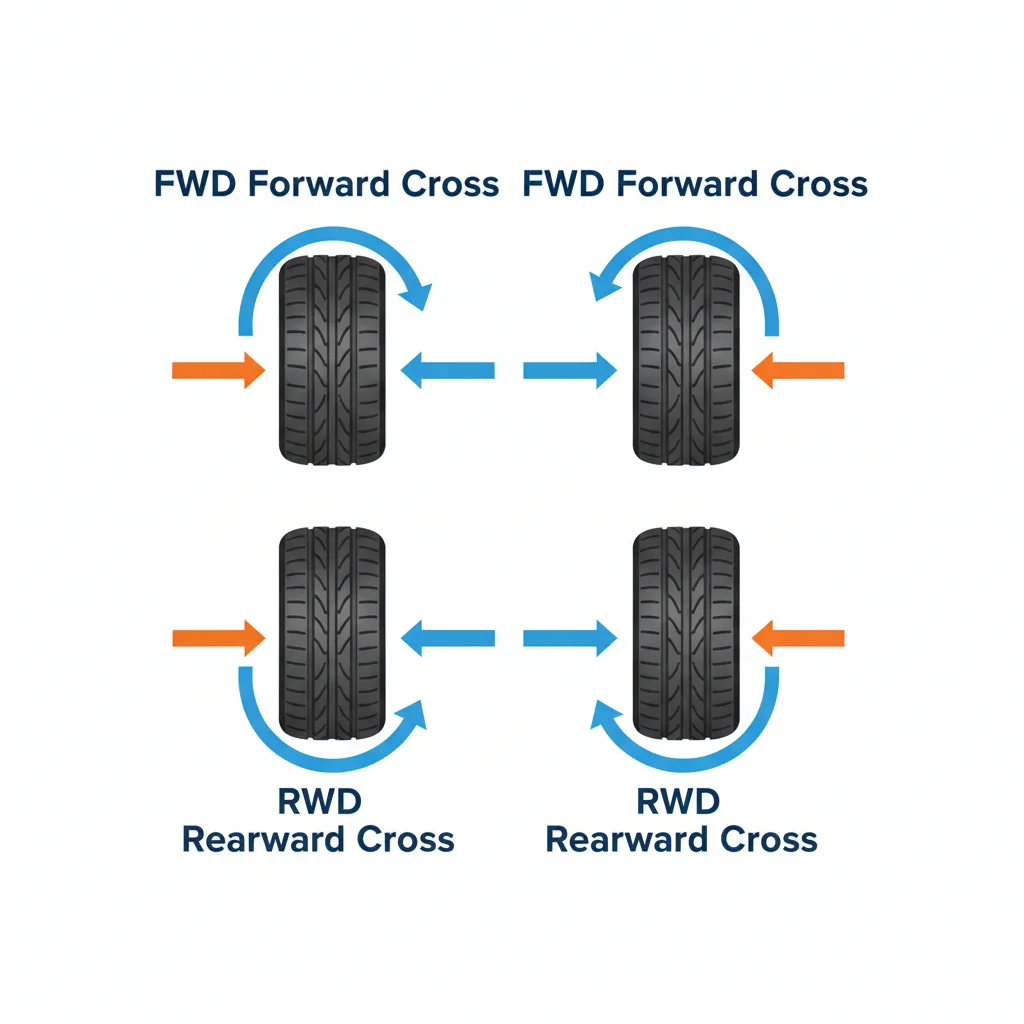
- Forward cross (FWD): Front tires move straight back. Rear tires cross to the opposite front corner. Best for front-wheel-drive vehicles where front tires wear faster.
- Rearward cross (RWD/AWD): Rear tires move straight forward. Front tires cross to the opposite rear corner. Standard for rear-wheel-drive and many AWD setups.
- X-pattern: All four tires cross diagonally. Often recommended for AWD vehicles with relatively even wear across all four positions.
Directional Tires
Look for an arrow or the word "rotation" on the sidewall. These tires are molded to channel water in one specific direction — flip them side to side and they lose that advantage (and potentially hydroplane more easily). With directional tires, you can only swap front-to-rear on the same side. Left front goes to left rear, right front goes to right rear.
Staggered Fitments
Some performance cars run wider tires on the rear axle than the front — called a staggered setup. If the tires are also directional, you literally cannot rotate them without dismounting the rubber from the rim and remounting it. At that point you're looking at a shop visit for tire swaps on the rims. If this is your situation, more frequent alignment checks and pressure monitoring become even more important.
For a deeper look at the reasoning behind each pattern, see tire rotation patterns and why they matter.
Once you know your pattern, pull your owner's manual and confirm your lug nut torque spec before you start. Write it on a sticky note and put it on your toolbox. You'll need it at the end.
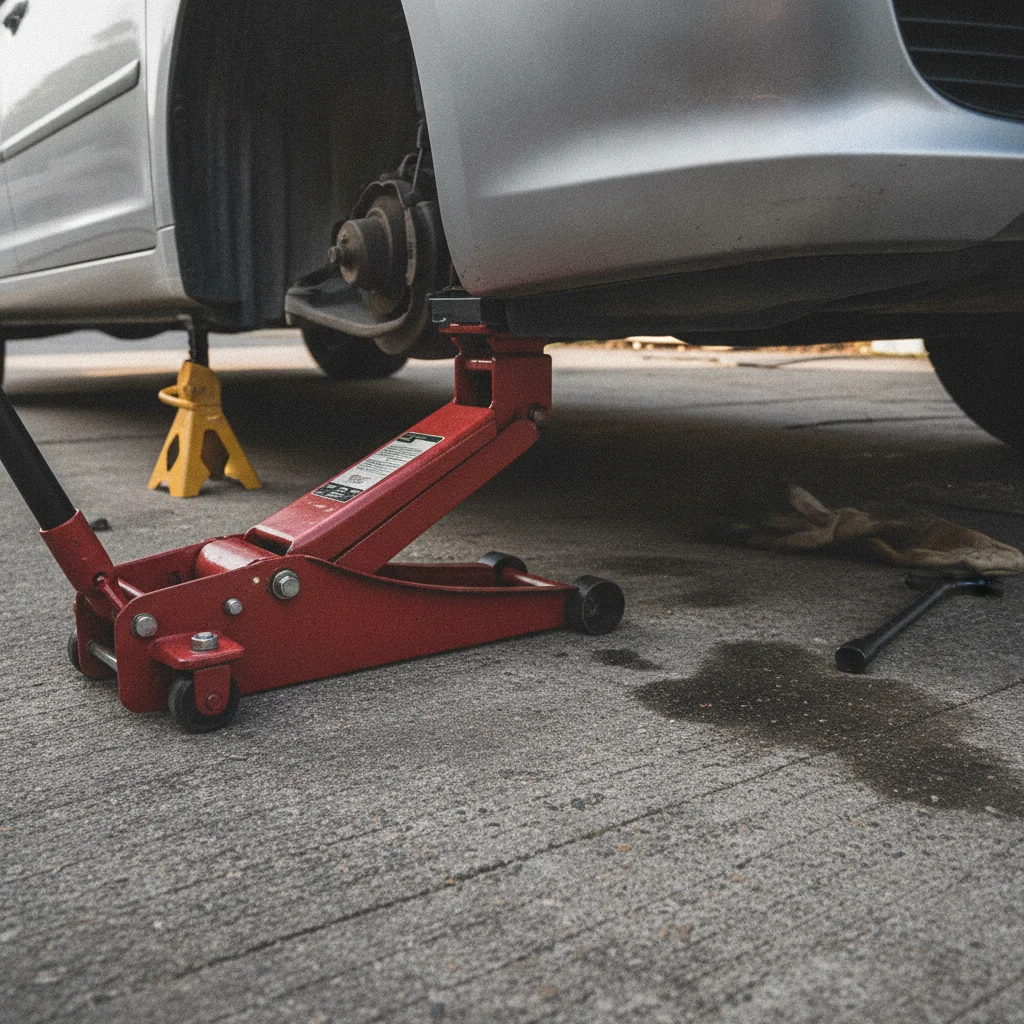
Floor Jack (2–3 ton)
Lifts the vehicle safely to allow wheel removal — a scissor jack is not adequate for this job.
Jack Stands (set of 4)
Supports the vehicle once raised so you can safely remove and reinstall wheels.
Torque Wrench
Tightens lug nuts to the manufacturer's exact specification, preventing loose or over-stressed fasteners.
Breaker Bar or Impact Wrench
Loosens stubborn lug nuts before jacking — necessary when lug nuts are overtightened from previous shop service.
Lug Nut Socket (correct size)
Fits your specific lug nut — common sizes are 17mm, 19mm, and 21mm; check before you start.
Wheel Chocks
Prevents the vehicle from rolling while it's on jack stands.
Wire Brush
Cleans hub contact surfaces of rust or corrosion so wheels seat flush and don't seize over time.
Paint Pen or Marker
Marks lug nuts after torquing so you can visually confirm they haven't backed off on subsequent drives.
How to Rotate Your Tires at Home
Here's the step-by-step process. Read through it completely before you start. The sequence matters — especially when it comes to jacking safely.
What you will need
Gather your tools and choose a safe work area
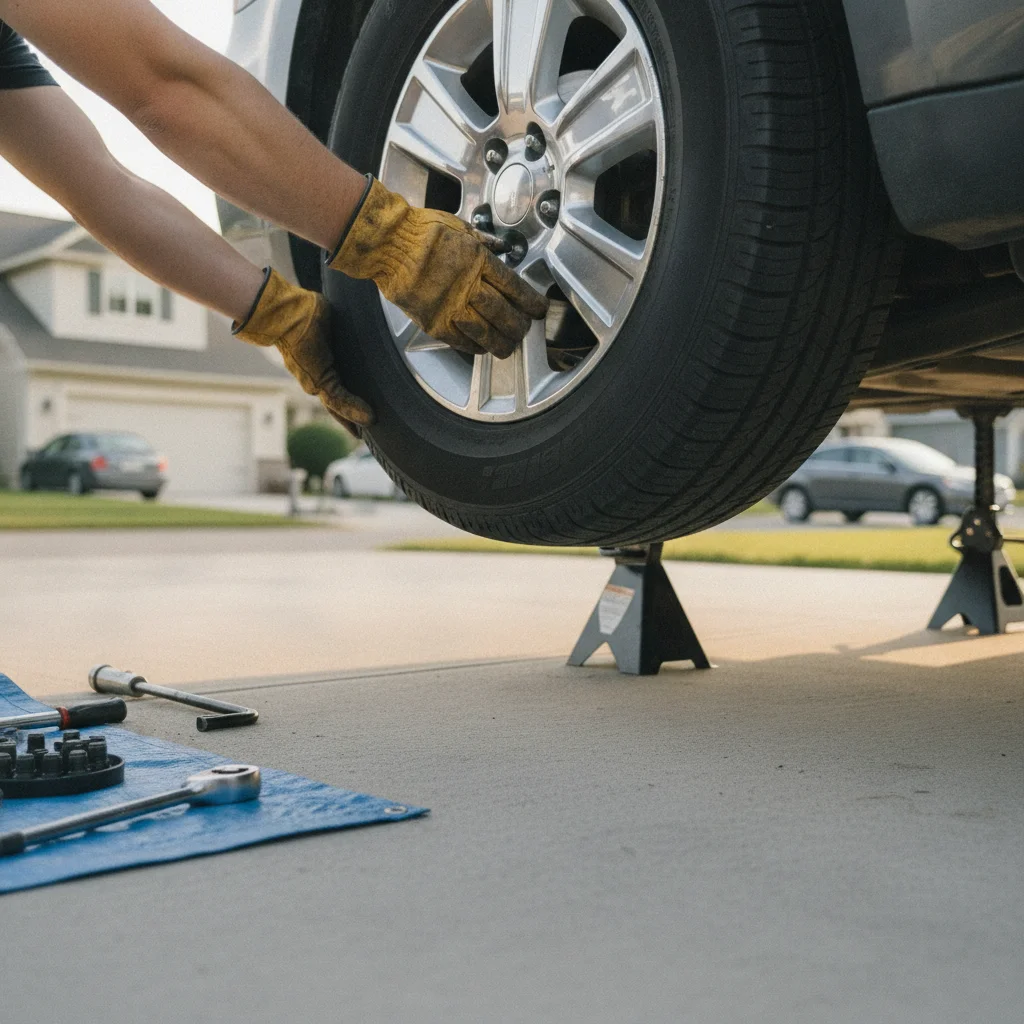
You need a flat, solid surface — concrete driveway or garage floor, not asphalt that softens in heat or gravel that lets jack stands shift. Pull out everything you'll need before the car goes in the air:
- Floor jack (2-ton minimum for most passenger cars; 3-ton for trucks and SUVs)
- Four jack stands rated for your vehicle's weight
- Breaker bar or impact wrench
- Torque wrench
- Lug nut socket (check your size — common ones are 17mm, 19mm, 21mm)
- Owner's manual (for jack points and torque spec)
- Gloves, wheel chocks
Know your lug nut torque spec before you start. Most passenger cars run between 80–100 ft-lbs. Trucks and SUVs often run 100–140 ft-lbs. Your owner's manual has the exact number.
Loosen the lug nuts before jacking
With the vehicle still on the ground, break the lug nuts loose on all four wheels — about a half-turn each. Do not remove them yet. The ground contact keeps the wheel from spinning when you apply torque. Trying to loosen lug nuts after the wheel is in the air just spins the tire.
If your vehicle has a locking lug nut (typically one per wheel), locate the key adapter — usually in the glove box or with the spare tire kit — and keep it handy.
Place wheel chocks and jack up the vehicle
Place wheel chocks behind the tires that will stay on the ground while you're working — front wheels if you're lifting the rear, rear wheels if you're lifting the front. Engage the parking brake.
Consult your owner's manual for the correct jack points. On most unibody cars, there are reinforced pinch welds along the rocker panel indicated by notches or arrows. Some vehicles have a dedicated front and rear jacking pad. Position the floor jack saddle on the correct point, raise the vehicle until the tire clears the ground by a few inches, then place a jack stand under a solid frame point and lower the jack until the vehicle rests on the stand. The floor jack stays in place as a backup.
Remove the wheels and move them to their new positions
Remove all lug nuts completely and pull each wheel off. Set them flat (not leaning against the car where they can tip and roll). Now execute the rotation pattern you selected based on your drivetrain and tire type:
- FWD forward cross: Left rear → left front, right rear → right front, left front → right rear, right front → left rear.
- RWD/AWD rearward cross: Left front → left rear, right front → right rear, left rear → right front, right rear → left front.
- Directional tires: Front-to-rear same side only. No crossing.
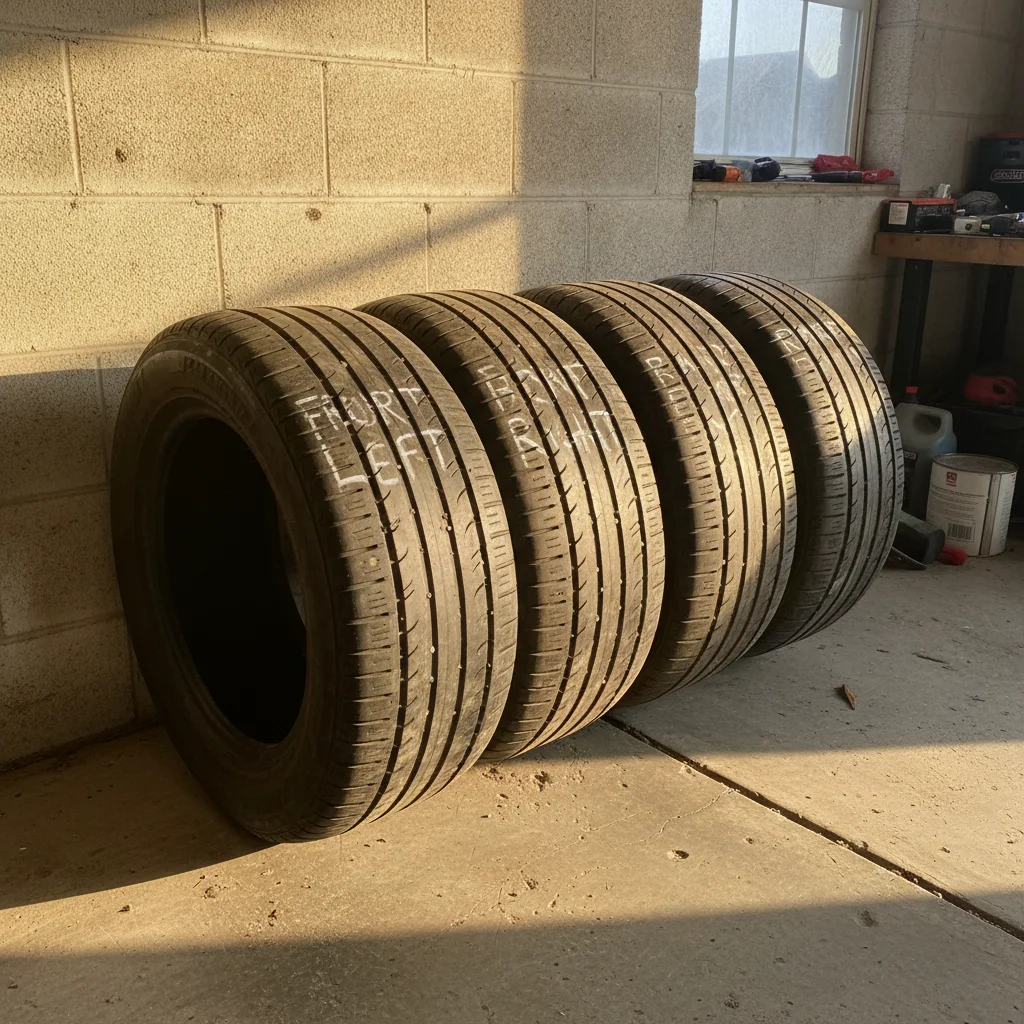
Move them one at a time to avoid confusion. If you're uncertain, refer back to your reference photo from Step 1.
Mount the wheels and hand-tighten the lug nuts
Mount each wheel on its new hub, aligning the holes. Start threading lug nuts by hand in a star pattern (not circular) — this ensures the wheel seats evenly against the hub. Get all lug nuts snug by hand before using any tool.
The star pattern for a 5-lug wheel: tighten the top nut, then go to the bottom-opposite, then up-right, then down-left, then the remaining one. For 4-lug: top, bottom, right, left. The goal is even, gradual seating pressure.
Lower the vehicle and torque the lug nuts to spec
Raise the vehicle slightly off the jack stand, remove the stand, then lower the car fully to the ground so the wheel bears the vehicle's weight. This is important — torquing in the air allows the wheel to rotate slightly under load and gives you inaccurate readings.
Set your torque wrench to the manufacturer's specification. Tighten in the same star pattern, applying smooth steady pressure until the wrench clicks. Do not go past the click. Repeat for all four wheels.
After the Rotation: What to Check
You're not quite done when the last lug nut is torqued. A few finishing checks turn a good rotation into a complete maintenance event.
Tire Pressure
Tires naturally lose about 1 PSI per month. Moving tires around is a good reminder to check and top off. Check when the tires are cold — meaning the car has been sitting at least three hours. Your target pressure is on the sticker inside the driver's door jamb, not on the tire sidewall (the sidewall number is max pressure, not recommended operating pressure). Pressure and alignment are a closely related pair that most drivers underestimate — here's how they work together.
Tread Depth
While you had all four tires off, you had a perfect opportunity to check tread depth on each one. If you didn't, do it now. Stick a quarter into the tread groove with Washington's head pointing down. If you can see the top of his head, you're at about 4/32" — time to start budgeting for new tires. A penny at the same test means 2/32", which is legally worn out in most states and genuinely unsafe in wet conditions.
Visual Inspection
Sidewall cracks, embedded screws or nails, bulges, or patches of abnormal wear all warrant attention. If you spot uneven wear — heavier on one edge, or cupping across the tread — that's a signal worth investigating. Tire wear patterns can reveal alignment and suspension problems that rotation alone won't fix.

Torque Recheck
Drive the car around the block, then pull back in and do a quick re-torque on all the lug nuts. Wheels can settle slightly after the first few miles, and this final check costs 90 seconds and eliminates any residual doubt.
Log the Service
Write it down or enter it in whatever app you use. Date, mileage, which pattern you used. This record matters when you sell the car — documented maintenance history is one of the few things that meaningfully holds resale value. It also means you'll know exactly when the next rotation is due. Aim for every 5,000–7,500 miles, or at every oil change if that interval lines up. EV drivers should lean toward the shorter end of that range — see the hidden cost of ignoring EV tire rotation for specifics.
Everything above is part of a broader routine servicing habit — the full picture of routine servicing covers how these tasks connect and what each interval means for your car's long-term health.
Common Mistakes and How to Avoid Them
Even straightforward jobs have failure points. These are the ones worth knowing before you find them the hard way.
Skipping the Torque Wrench
Tightening by feel is how wheels come loose. Under-torqued lug nuts can allow the wheel to wobble or detach. Over-torqued ones stretch or snap the studs, warp brake rotors, and make future removal miserable. A torque wrench costs $30–$60 and pays for itself the first time you use it correctly.
Wrong Jack Points
Placing a floor jack under a rocker panel, an oil pan, or a subframe crossmember in the wrong spot can crush sheet metal, crack plastic underbody panels, or damage structural components. Your owner's manual has a diagram. Spend 60 seconds finding it.
Using Only a Scissor Jack
The scissor jack in your trunk is a temporary roadside tool. It's not rated for the sustained load of rotating four tires and it doesn't have the stability base of a floor jack. Combine it with a missing jack stand and you have a genuinely dangerous situation. A quality 2-ton floor jack runs about $60–$100 at any auto parts store.
Ignoring Directional Markings
Directional tires mounted backward don't just wear differently — they hydroplane more easily because the tread can't channel water the way it was designed to. The sidewall arrow is there for a reason. Take 10 seconds to check it before every install.
Rotating Too Infrequently
"I'll do it at the next oil change" becomes six oil changes later. Set a calendar reminder at the mileage interval that matters. The longer you wait, the more wear differential accumulates between axles, and the less effective any given rotation becomes at evening things out.
None of this is complicated — it's mostly just attention to detail and the right tools. Get those right and you'll get significantly more life out of every set of tires you buy.
Directional Tires Cannot Be Cross-Rotated
If your tires have a rotation arrow on the sidewall, they can only move front-to-rear on the same side of the vehicle. Mounting them on the opposite side reverses the tread direction, reducing wet-weather grip and accelerating wear in ways the tire wasn't designed to handle. Always check the sidewall before mounting.
Staggered Fitments Require a Shop Visit
If your rear tires are a different width than your fronts, standard rotation isn't possible without dismounting the rubber from the rims. Attempting to force mismatched-width tires onto the wrong axle creates handling problems and can damage the tire bead. Confirm your front and rear tire sizes match before attempting any home rotation.
Sync Rotation with Oil Changes
If your oil change interval is around 5,000–7,500 miles, rotating tires at the same time means you'll never forget and you'll already have the car in the right mindset for maintenance. Many shops include a free rotation with an oil change — worth asking about if you're not doing it yourself yet.
Document Every Rotation for Resale Value
A simple log — date, mileage, and pattern used — costs nothing and signals to future buyers that this vehicle was maintained properly. Documented tire rotation history, especially combined with alignment records, is one of the few maintenance items that genuinely supports your asking price at resale time.
EV Drivers Should Rotate More Often
The instant torque delivery and additional weight of electric vehicles accelerates front and rear tire wear significantly faster than equivalent gas-powered cars. Aim for the 5,000-mile end of the rotation interval rather than 7,500. Staying ahead of the wear curve is much cheaper than replacing a set of EV-rated tires ahead of schedule.
Never Work Under a Car on a Floor Jack Alone
A floor jack is a lifting device, not a support device. Hydraulic seals can fail, release valves can slip, and the vehicle can drop without warning. Always place rated jack stands under a solid structural point before getting near the wheels. This is not a shortcut situation — it is the difference between an inconvenience and a fatal accident.
Always Torque to Spec — No Exceptions
Under-torqued lug nuts can allow a wheel to wobble free at highway speeds. Over-torqued ones can crack or stretch wheel studs, warp brake rotors, and seize the wheel to the hub. Your torque wrench cost less than one hour of shop labor — use it every single time. The spec is in your owner's manual and typically printed on a label inside the driver's door jamb.

All claims are backed by peer-reviewed research. Sources on request.