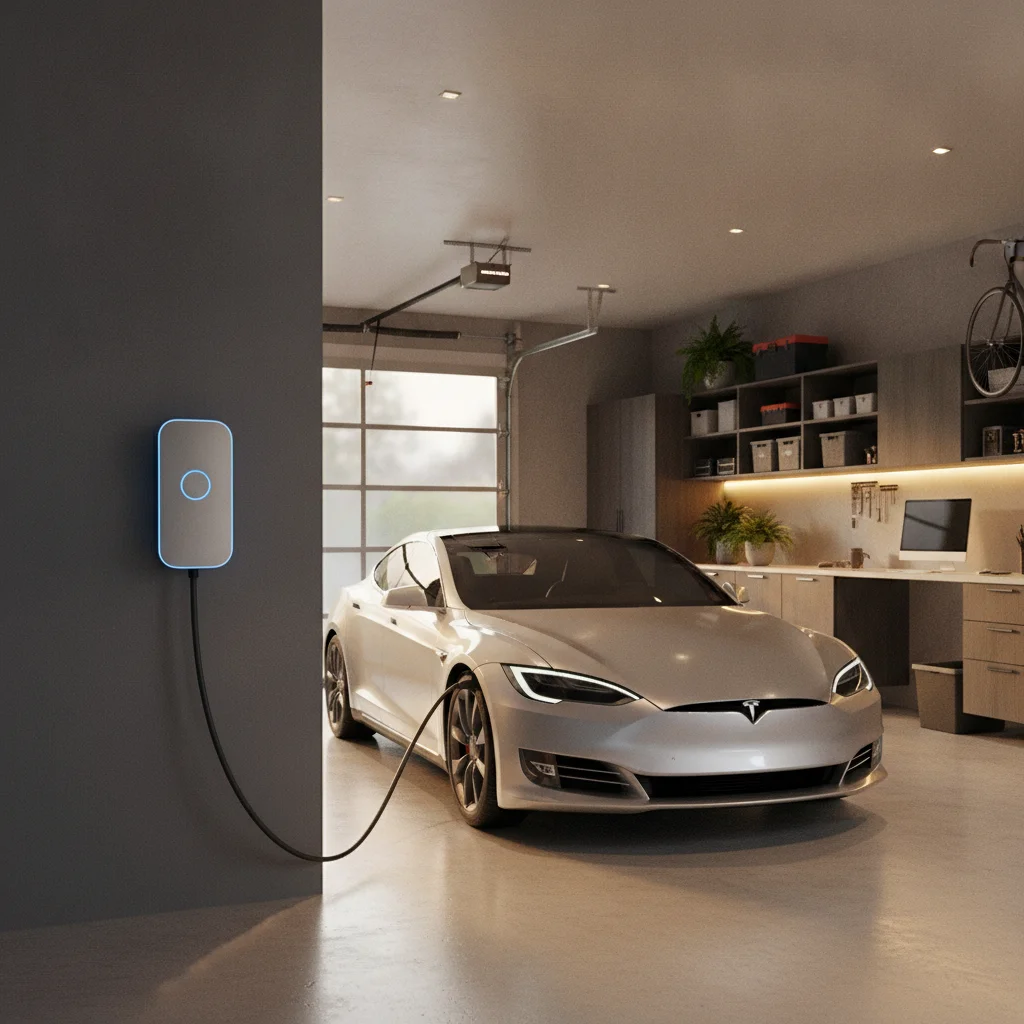
Key Takeaways
Why Understanding the Installation Process Matters
Most EV owners shop carefully for their car and their charger but treat the electrical installation as a black box — something the electrician handles while they stay out of the way. That hands-off approach leads to surprise charges, miscommunications about charger placement, and occasionally unpermitted work that creates real liability down the road.
Knowing what a licensed electrician actually does during a home Level 2 charger installation lets you have an informed conversation before work begins, catch problems early, and make decisions — about circuit sizing, mounting position, and hardwired versus plug-in units — that affect how convenient your charging experience is for the next decade.
This article walks through each phase of the electrician's visit, from the initial panel assessment to the final inspection sign-off. It's focused on Level 2 installations, which is where the real decision-making lives. If you're still weighing whether Level 1 (your standard 120V outlet) might be sufficient for your driving needs, the full breakdown of home EV charging options covers that comparison in detail.
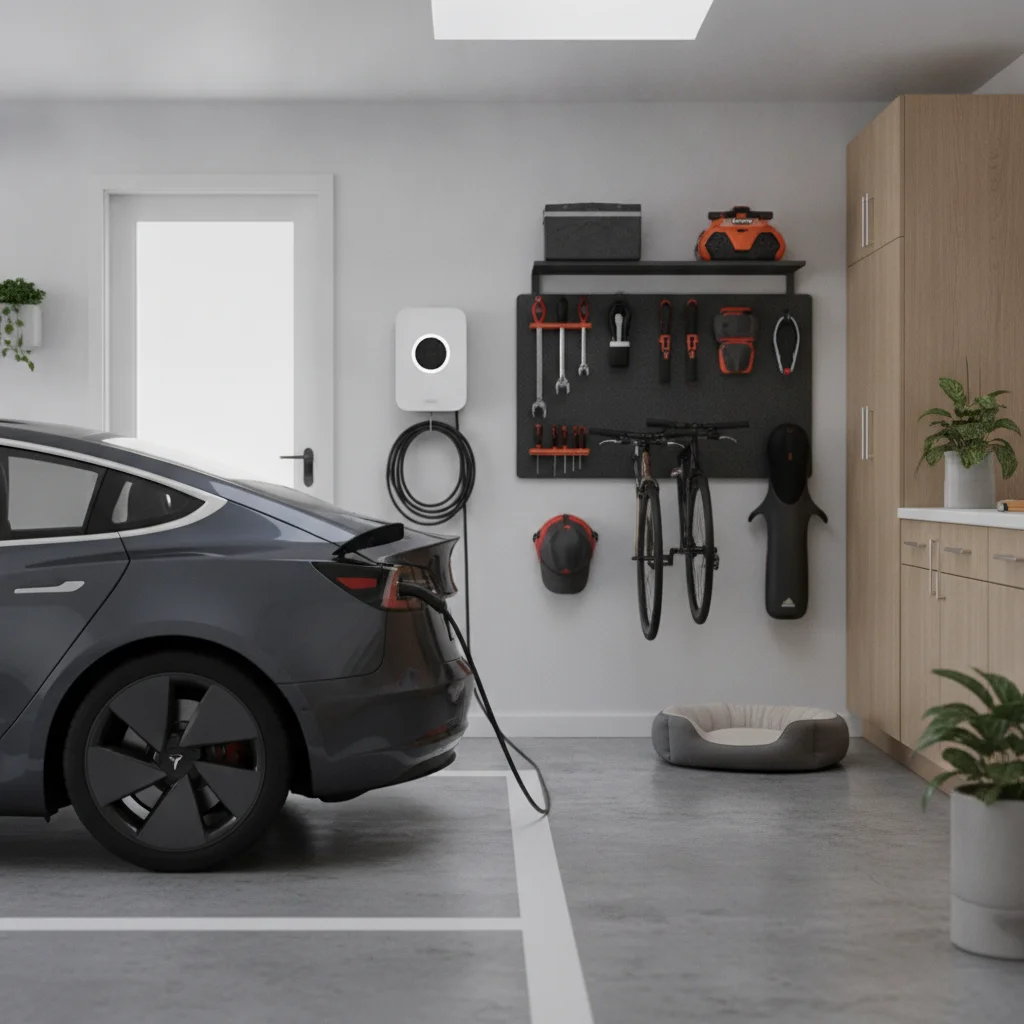
One important framing note: the electrician is not just a laborer executing your instructions. They're a licensed professional applying the National Electrical Code (NEC) and local amendments to your specific home's electrical system. Their expertise — and their license — protects you. Treat the visit as a collaboration, not a transaction.
What you will need
Licensed electrician
Performs all wiring, circuit installation, and charger mounting; required by code in nearly every U.S. jurisdiction.
Level 2 EVSE (charging unit)
The wall-mounted or plug-in device that delivers 240V power to your vehicle — the core hardware being installed.
Electrical permit
Required by most municipalities before work begins; your electrician typically pulls this on your behalf.
Conduit and 6-gauge wire
Carries the 240V dedicated circuit from the panel to the charger location; gauge must match the circuit amperage.
Double-pole breaker (40–60 amp)
Installed in the main panel to supply and protect the new dedicated EV charging circuit.
NEMA 14-50 outlet (for plug-in installs)
A 240V outlet used when installing a plug-in EVSE rather than a hardwired unit, offering easier future removal.
Torque screwdriver and multimeter
Used by the electrician to verify proper terminal torque and confirm correct voltage at the outlet or charger terminals.
What to Expect on Installation Day
A standard Level 2 charger installation in an attached garage with a healthy electrical panel takes between two and four hours from start to finish. The steps below reflect that typical scenario. Complex situations — full panels, long conduit runs, detached garages requiring trenching, or older homes needing panel upgrades — can extend the timeline to a full day and significantly increase cost.
The following steps are what a competent, licensed electrician actually does, in sequence. You don't need to supervise each one, but understanding them lets you ask the right questions at the right moments and make the decisions that are yours to make.
Pre-visit preparation: share your setup details
Before the electrician sets foot in your garage, give them everything they need to plan the job. Send photos of your main electrical panel (door open, breakers visible), the wall where you want the charger mounted, and the path the conduit will likely travel between the two. Also share the spec sheet for your chosen EVSE — specifically its maximum amperage draw and whether it's hardwired or plug-in.
This preparation lets the electrician arrive with the right wire gauge, breaker size, and conduit fittings in the van. It also locks in the quote so you aren't hit with same-day change orders. If you haven't yet committed to a charger model, review the comprehensive home EV charging setup guide to understand the hardware options before calling electricians.
Electrical panel assessment
The first thing your electrician does on-site is open the main electrical panel and assess its condition and remaining capacity. They're looking for three things:
- Available breaker slots: A 240V EV circuit requires a double-pole breaker that takes two adjacent slots. If the panel is full, they'll need to use a tandem breaker, move circuits, or install a sub-panel.
- Total panel amperage vs. current load: Most homes have 100–200 amp service. The electrician calculates whether adding a 40–60 amp EV circuit leaves adequate headroom for the rest of the home's electrical demand.
- Panel age and manufacturer: As noted above, certain older panels may require replacement before any new circuit is added.
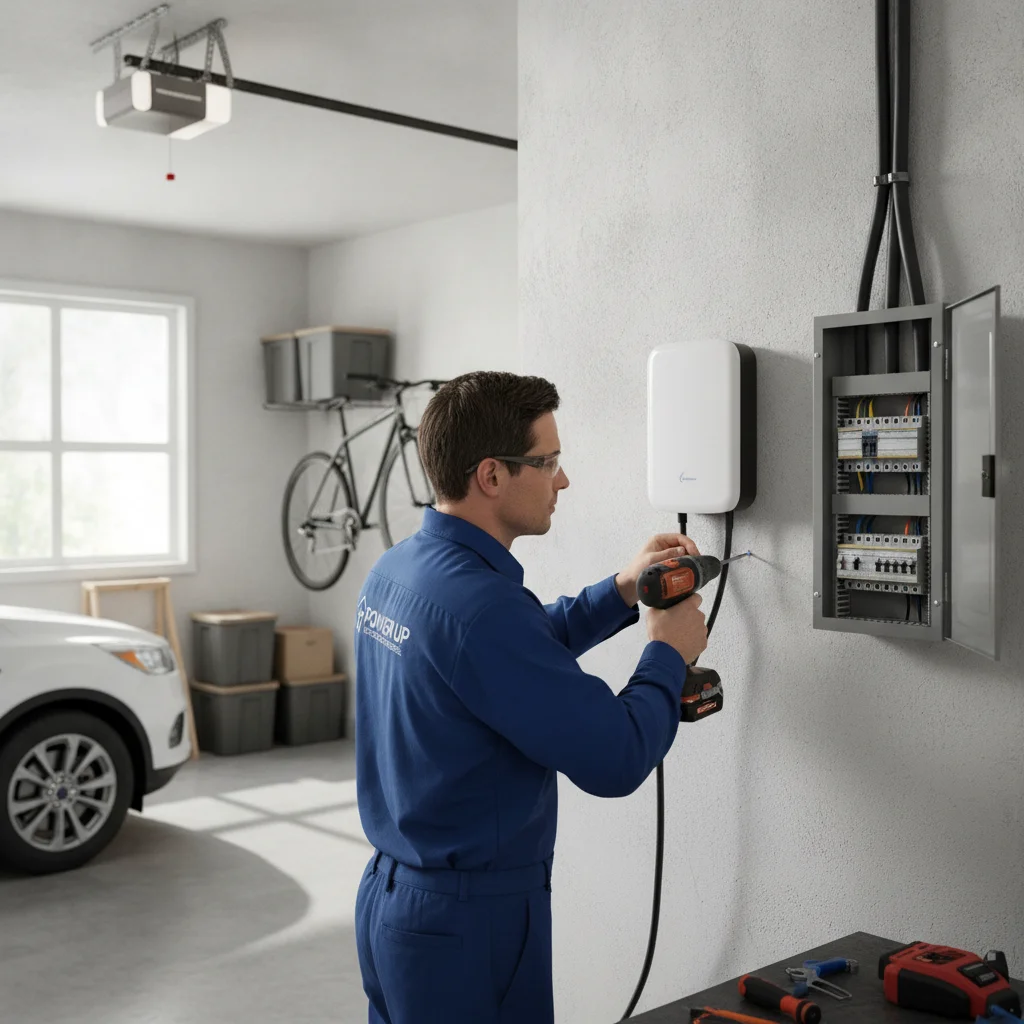
This assessment typically takes 15–30 minutes and determines whether the rest of the job is straightforward or complex. A healthy 200-amp panel with open slots makes everything downstream easier and cheaper.
[in_content_images:0]Permit application (if not already pulled)
If the electrician hasn't already submitted the permit application — which ideally happens before the visit — this is when they complete or confirm it. In many jurisdictions, permits can be pulled online in minutes; in others, they require a same-day or next-day approval window before work can legally begin.
A conscientious electrician will have pulled the permit in advance so work can start immediately on installation day. If they show up and tell you a permit isn't required when your local municipality clearly requires one, that's a red flag. Check your state and local requirements — our article on getting a permit for your EV charger installation walks through what inspectors check and how to stay compliant.
Planning and marking the conduit route
With the panel assessment done, the electrician walks the route from the panel to the charger mounting location. They're planning the most practical and code-compliant path for the conduit — the metal or PVC pipe that protects the wiring. Key considerations include:
- Interior vs. exterior routing: Running conduit inside the wall or ceiling is cleaner but may require drywall work. Surface-mounted conduit along the wall is faster and cheaper but more visible.
- Obstacles: Firebreaks in walls, insulation, and existing ductwork all affect the route.
- Conduit type: Rigid metal conduit (RMC) or electrical metallic tubing (EMT) are common in garages; PVC is used for underground or exterior runs.
- Distance: Longer runs increase wire costs and, beyond certain distances, may require a larger wire gauge to compensate for voltage drop.
The electrician marks anchor points and measures wire lengths during this phase. For a panel on one side of an attached garage with the charger on the same wall, this might be a 10-foot run. For a detached garage, it could involve underground trenching — a significantly larger job.
Installing the dedicated circuit and running wire
This is the bulk of the physical work. The electrician installs the new double-pole breaker in the panel, then runs conduit and wire from the panel to the charger location. Steps within this phase include:
- Cutting and mounting conduit brackets along the planned route
- Assembling conduit sections and fittings
- Pulling 6-gauge (for 50-amp) or 4-gauge (for 60-amp) wire through the conduit — typically two hot wires, one neutral, and one ground
- Making connections at the panel: landing the hot wires on the new breaker, neutral on the neutral bar, and ground on the ground bar
- Securing all connections to manufacturer-specified torque values
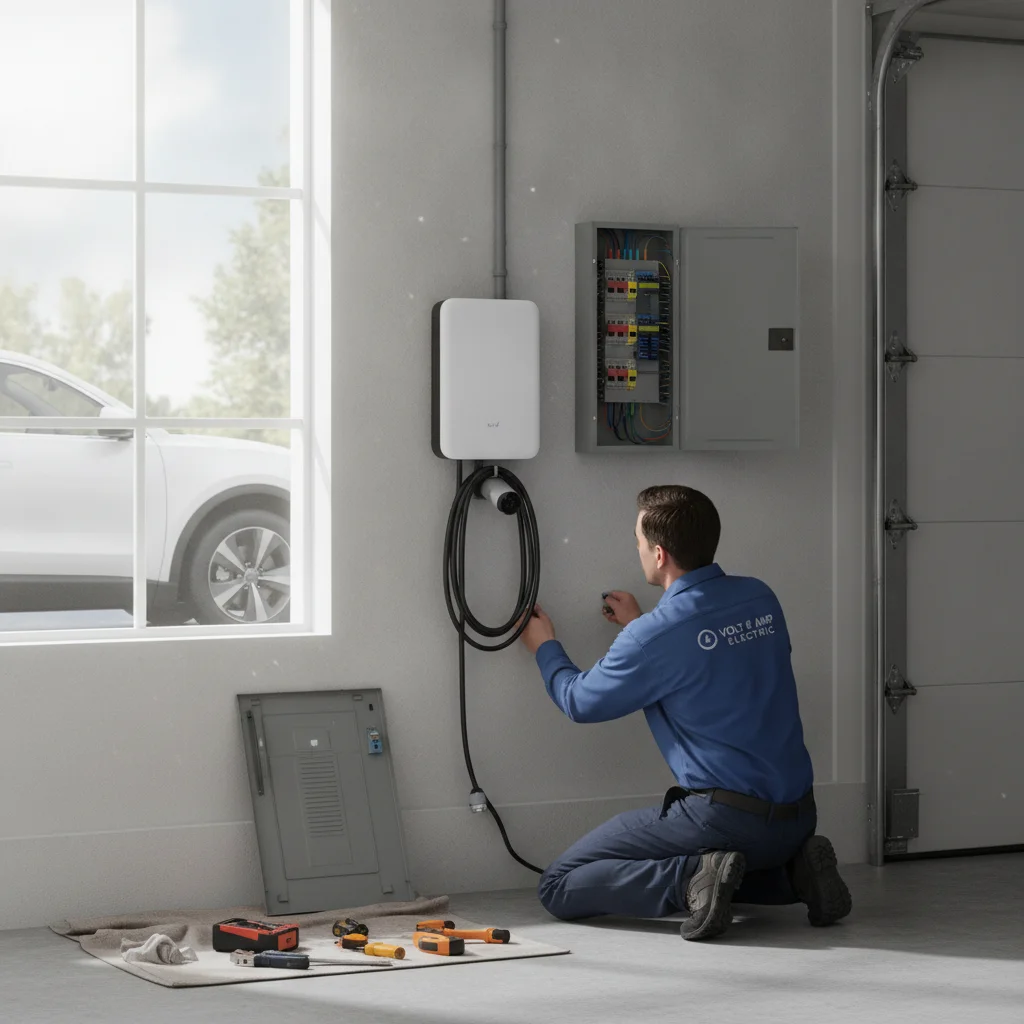
For a straightforward same-wall installation in an attached garage, this phase takes 60–120 minutes. For a run requiring ceiling penetrations, exterior wall exits, or a sub-panel, add time accordingly.
[in_content_images:1]Mounting the EVSE and making final connections
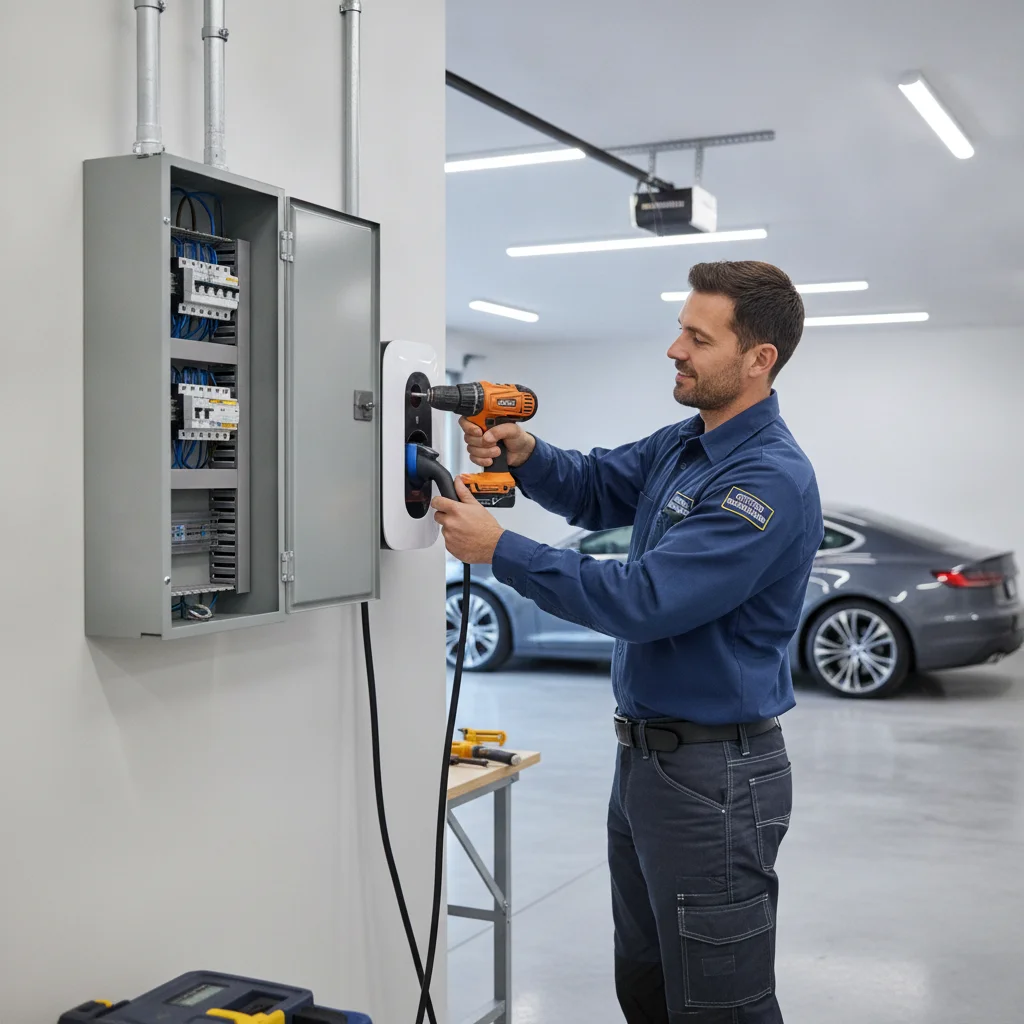
With the circuit in place, the electrician mounts the charger unit on the wall. For a hardwired EVSE, the wire from the conduit connects directly to the charger's terminal block — there's no outlet involved. For a plug-in EVSE, the electrician installs a NEMA 14-50 outlet at the end of the conduit run, and the charger simply plugs in.
The mounting location matters for daily usability. The electrician should confirm with you:
- Height: typically 48 inches off the floor, but adjust for your car's charge port height and cable reach
- Side: consider which direction you pull into the garage and where the charge port is on your specific vehicle
- Clearance: the charger needs room for the cable to hang and not kink
For plug-in units, the outlet must be within cord reach of where the charger naturally hangs — don't assume a standard placement works for every vehicle. This is the moment to double-check cable length against your parking position before the wall anchor is set.
Testing and commissioning
Before the electrician calls the job done, they perform a series of verification steps:
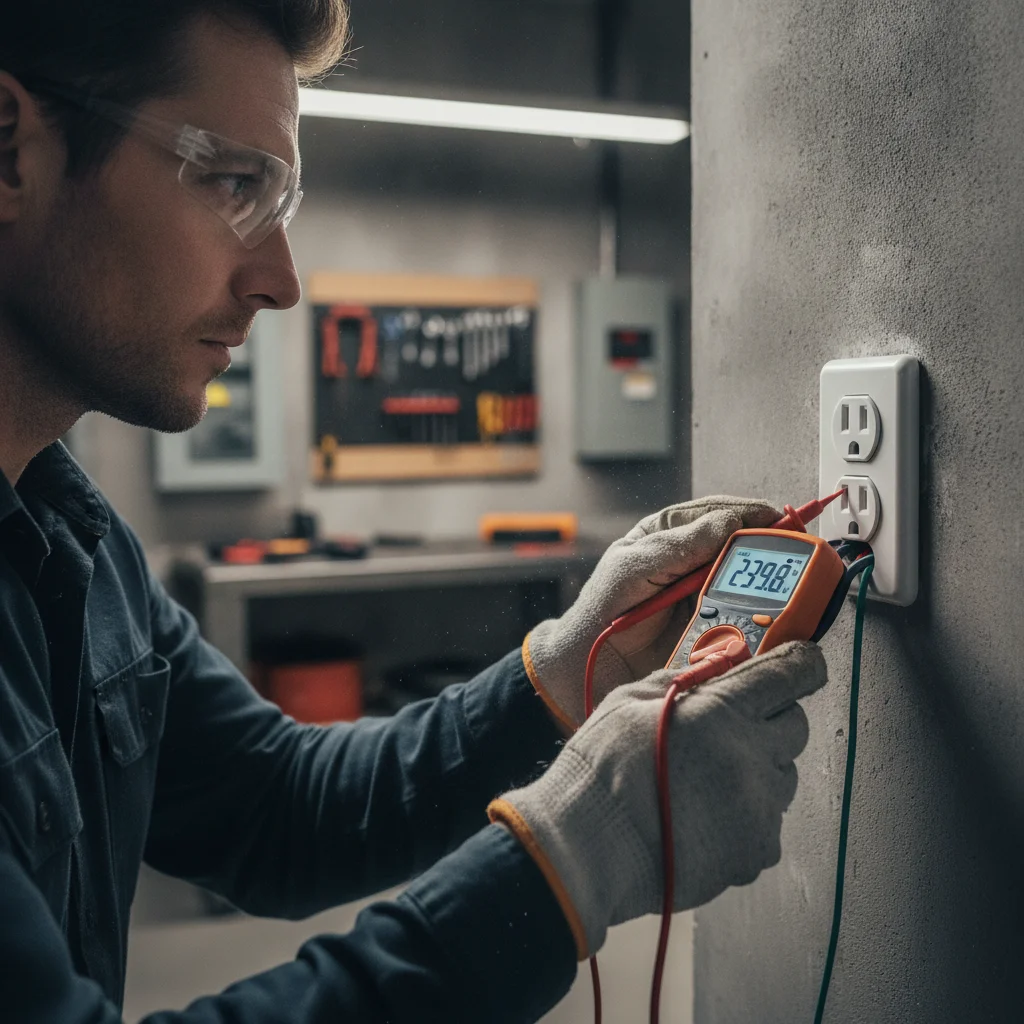
- Voltage check: A multimeter confirms the outlet or charger terminals are receiving the correct voltage — typically 240V ± 5%.
- Ground fault test: Verifies the ground and neutral are properly separated and connected.
- Charger self-test: The EVSE powers on and runs its internal diagnostic, typically signaled by LED status lights on the unit.
- Live charge test: If your vehicle is present, the electrician plugs it in and confirms the charge session initiates correctly and the charger draws within its rated amperage.
This testing phase takes 20–30 minutes and is not optional — it's how the electrician verifies their own work before they leave. If something is wrong (a miswired terminal, a tripped GFCI, a faulty breaker), it surfaces here rather than at 2 a.m. when you're trying to charge for tomorrow's commute.
For context on how this Level 2 setup compares to simply using your car's included Level 1 cord or to public DC fast-charging networks, see our overview of what home EV charging setup actually involves.
Schedule and pass the electrical inspection
The electrician leaves the job with the physical installation complete and tested, but the permit is not yet closed. An electrical inspector from your local building department must visit to verify the work meets code before you can consider the installation fully legal and insurable.
Your electrician typically schedules the inspection or tells you how to request one through the city or county permitting portal. Inspection wait times range from the next business day in smaller municipalities to one to two weeks in busy urban areas. The inspector will check:
- Wire gauge and breaker amperage match the EVSE rating
- Conduit is properly supported and protected
- Panel connections are correctly made and torqued
- The installation meets NEC 625 requirements for EV charging equipment
Once the inspector signs off, the permit is closed and your installation is complete. Keep a copy of the closed permit for your homeowner's insurance records and for eventual resale disclosure. For a deeper look at what inspectors look for by state, see permit requirements for EV charger installation by state.
After installation day, the charger is physically in place and functional, but you should hold off on regular charging use until the permit inspection is complete. The wait is typically short, and the protection it provides — for your insurance, your home's resale value, and basic safety — is worth it. For a broader look at the full cost picture of what you just invested in, our article on the real cost of Level 2 home charger installation breaks down every line item.
Aging Panels and Federal Pacific Breakers
If your home has a Federal Pacific Stab-Lok or Zinsco panel — common in homes built between the 1950s and 1980s — your electrician may refuse to add a new circuit without first replacing the panel. These panels have documented safety issues and may not be able to handle the additional load safely. Budget for a panel replacement if your home is older.
Don't Energize Until Inspection Passes
Even after physical installation is complete, resist the urge to start charging before the inspector has signed off. Using the charger before the permit is closed out puts you in violation of local code and can create insurance liability. The wait is usually a few days to a week — well worth it.
Send Photos Before the Electrician Arrives
Text or email your electrician clear photos of your electrical panel (open door showing breakers and any labeling), the intended charger mounting wall, and the path from the panel to that wall. This single step can cut 30–45 minutes off the site visit and prevent surprise upcharges. Many electricians can give a firm quote based on photos alone.
Choose a Charger with a Long Enough Cord
Most Level 2 EVSEs come with an 18–25 foot charging cable. Before your electrician mounts the unit, walk out where your car parks and confirm the cable reaches both the driver-side and passenger-side charge port configurations you might use. Repositioning the charger two feet to the left costs nothing on installation day but is a nuisance to fix later.
Ask About a 60-Amp Circuit Even If Your Charger Is 48-Amp
Most current Level 2 chargers draw 32–48 amps continuously. Running a 60-amp circuit instead of a 50-amp circuit adds minimal cost to the wire and breaker but gives you headroom to swap in a faster charger later without rewiring. Your electrician can advise whether your panel supports it.
Do Not Skip the Permit
Pulling an electrical permit is not optional in most U.S. jurisdictions — it's a legal requirement that also protects your homeowner's insurance coverage. An unpermitted installation can void your policy if a wiring-related fire occurs. Your electrician should handle the permit application; if they suggest skipping it to save time or money, find a different electrician.
Verify Your Electrician's License
Home EV charger work must be performed by a licensed electrician in virtually every state. Before booking, ask for their state license number and check it against your state's licensing board. Using an unlicensed contractor can invalidate your permit, fail inspection, and void manufacturer warranties on the charger itself.
Troubleshooting Common Post-Installation Issues
Even a well-executed installation can surface small issues in the first few days of use. Here's what to watch for and how to respond:
- Charger won't start a session
- Check that the breaker hasn't tripped. Look at the EVSE's LED status — most units show a fault code. Consult the manual before calling the electrician; many faults are user-resolvable (the cable wasn't fully seated, the car's charge port door wasn't fully open).
- Charging is slower than expected
- Verify the car's onboard charger limit is set to maximum in the vehicle's app or settings. Some EVs default to a reduced charge rate. If the vehicle is accepting maximum amperage but miles-per-hour of charge still seems low, verify the EVSE's amperage setting matches your car's onboard charger capacity.
- Breaker trips during charging
- A single trip could be a nuisance; a repeated trip within the first week means something is wrong — either the breaker is undersized, a connection is loose, or the EVSE is faulty. Call your electrician and stop using the charger until it's checked. Do not simply reset and ignore repeated trips.
- Wi-Fi or app connectivity issues
- Smart chargers with app control require a 2.4 GHz Wi-Fi signal in the garage. If the signal is weak, a Wi-Fi extender typically resolves this. It's a networking issue, not an electrical one — your electrician may not be able to help with this part.
For context on how your home Level 2 setup compares to the broader charging ecosystem — including public DC fast charging options for road trips — the public charging networks hub is a useful reference. Home charging will cover the vast majority of your needs, but understanding the public network fills in the gaps for longer drives and gives you a complete picture of EV ownership. For foundational questions about how your car actually uses that electricity, how EVs work is a plain-language starting point.

All claims are backed by peer-reviewed research. Sources on request.