Key Takeaways
Summary
22 items · 1.5–3 hours (spread across 1–2 days)
Why Dormant Cars Need a Different Kind of Prep
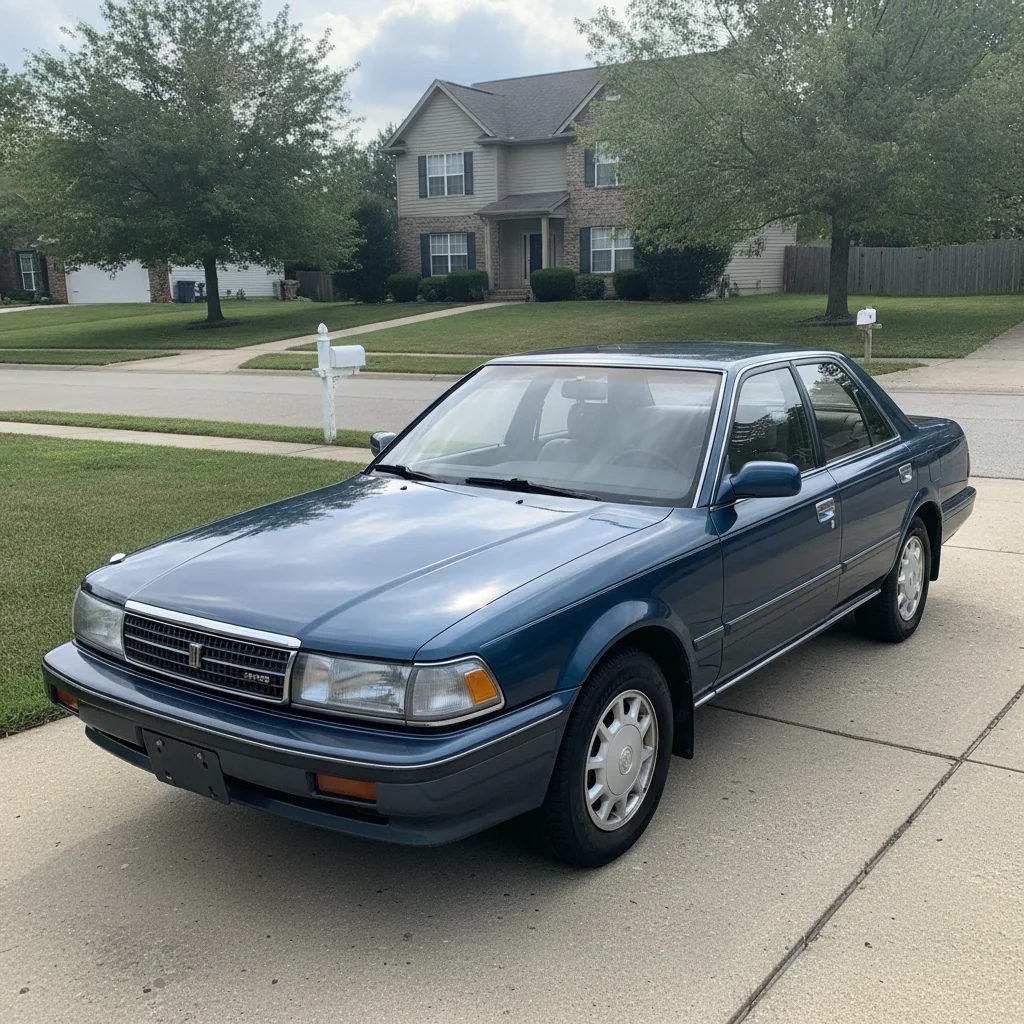
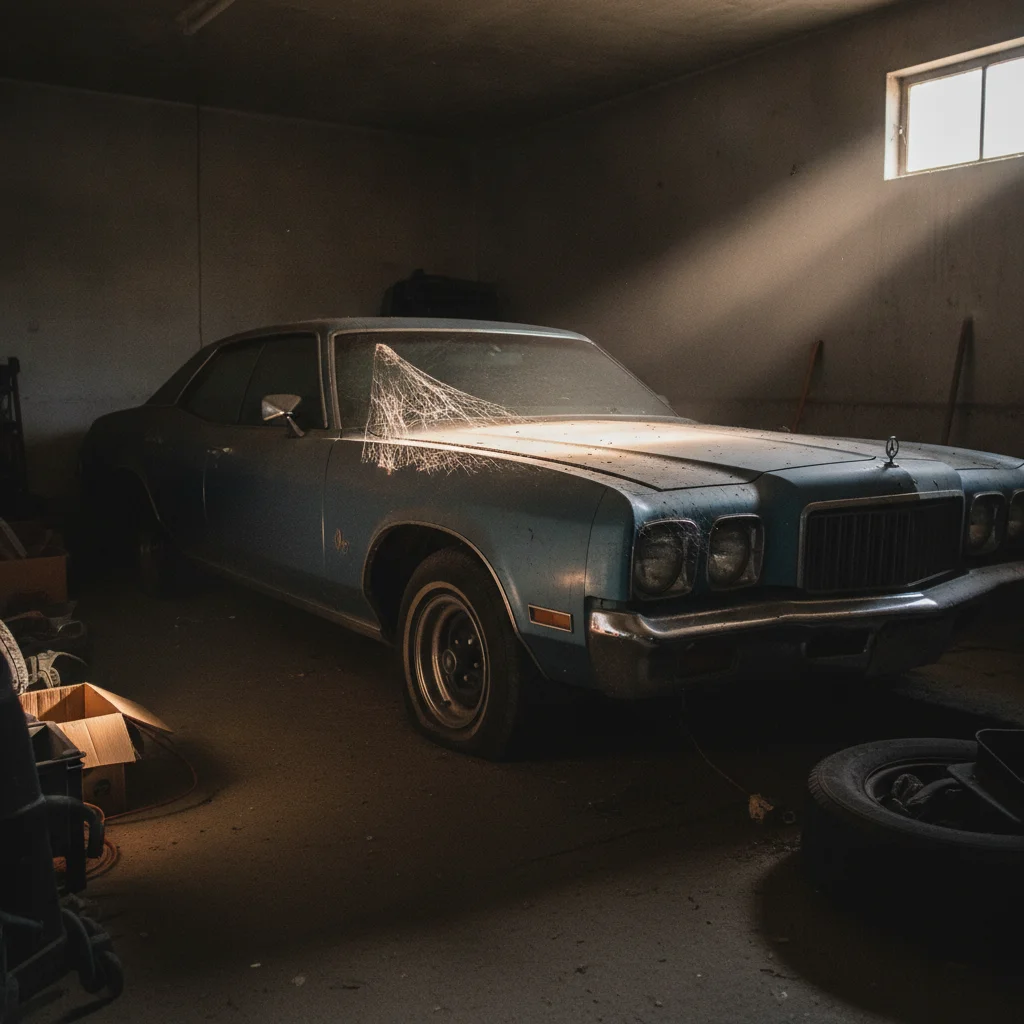
A car that's been sitting in a driveway or garage for three months, six months, or longer doesn't just need a wash and a vacuum. It's developed a specific set of problems that cars in regular use never encounter — and buyers who know what they're looking at will find every one of them.
The good news is that most of these issues are predictable, inexpensive to fix, and genuinely worth fixing before you list. A car that starts cleanly, drives without pulling, and shows evidence of recent service tells a buyer that the seller was responsible. That trust translates directly into fewer low-ball offers and faster sales.
This checklist is designed for sellers who want to spend their prep budget wisely — not on cosmetic upgrades that won't move the needle, but on the mechanical and safety basics that reassure a serious buyer. If you're also dealing with high mileage, the guide on prepping high-mileage cars for sale covers which investments matter most for vehicles that will face extra scrutiny.
Work through this checklist methodically. Some steps you can do yourself in an hour. Others — particularly anything involving the brakes or fuel system — are worth a quick trip to a trusted shop. The goal isn't perfection; it's transparency and safety.
What You'll Need to Get Started
Before you start working through the checklist, gather the basic supplies and tools listed below. Most of these are available at any auto parts store, and several you may already own.
Multimeter or Battery Tester
Test battery voltage to determine whether the battery can hold a charge before a buyer attempts a test drive.
OBD-II Scanner
Read and clear any stored diagnostic trouble codes so you know what the car's computer has flagged during dormancy.
Tire Pressure Gauge
Check and record accurate tire pressure across all four tires, which commonly drop during long periods of inactivity.
Tread Depth Gauge
Measure and document remaining tire tread depth — a specific number is far more reassuring to buyers than a visual estimate.
Fuel Stabilizer
Treat degraded fuel and prevent further varnishing of injectors and fuel lines if the tank has been sitting for more than 60 days.
Jumper Cables or Portable Jump Starter
Restart a deeply discharged battery safely so you can run electrical and mechanical checks.
Cabin Air Filter
Replace a filter that has collected dust, mold, or debris during storage to improve interior air quality for test drives.
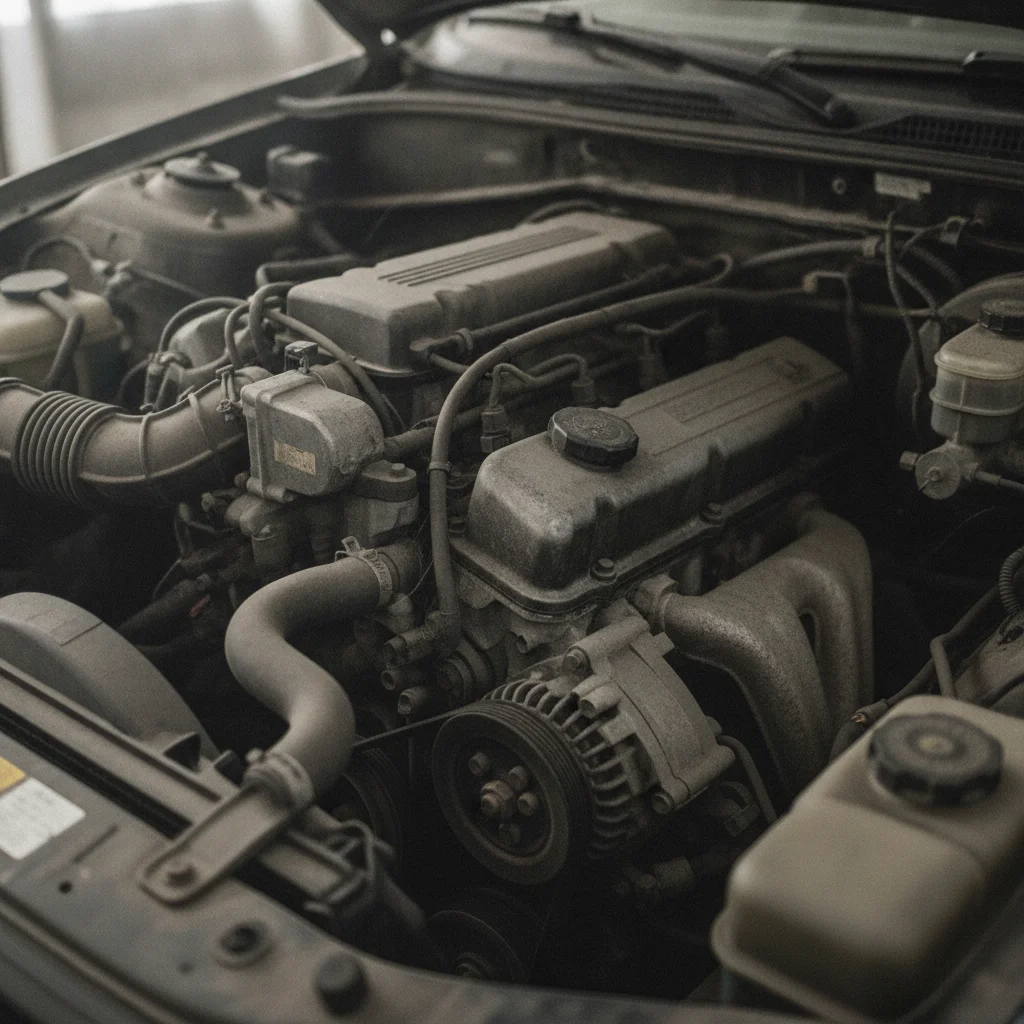
Shop Rags and Engine Degreaser
Clean the engine bay of accumulated grime and dust before buyer inspection — a dirty engine bay signals neglect.
If the car has been sitting long enough that you're unsure whether it's safe to drive at all, have it towed to a shop for a basic inspection before attempting to move it. A seized caliper, a corroded brake line, or a cracked fuel hose can make a short driveway pull dangerous. Better to find out on a lift than on the street.
Don't Skip the Brake Check
Brake calipers can seize during extended inactivity, and brake fluid absorbs moisture over time — both can reduce stopping power significantly. Before you take the car on a public road, pump the brake pedal a few times in a stationary position and confirm it feels firm, not spongy. If anything feels off, have the brakes inspected professionally before the car moves.
Stale Fuel Is More Damaging Than It Looks
Gasoline begins to oxidize and lose combustibility within 30 days without a stabilizer. After several months, it can leave varnish deposits on injectors and intake valves that cause rough running, hard starts, and check-engine lights. If the car hasn't been started in four months or more, don't just top off the tank — use a stabilizer and run the engine long enough to circulate the treated fuel through the system.
Flat-Spotted Tires May Not Recover
Tires that have sat under the weight of a vehicle for months can develop flat spots — sections of the tread that harden and deform permanently. Some flat spots resolve after a few miles of driving; others do not. If the car vibrates noticeably at highway speed after sitting, the tires may need replacement rather than just inflation.
The Full Prep Checklist
Work through these groups in order. The first two — under-hood fluids and tires — are safety-critical and should be completed before you move the car at all. The later groups cover items that influence buyer perception and negotiating position.
Under-Hood Essentials
Battery and Electrical
Tires and Brakes
Fuel System and Startup
Interior and Cabin
Final Presentation
Fuel Smell Means Stop — Don't List Until It's Fixed
If you detect gasoline odor in the cabin or engine bay after startup, do not drive the car and do not allow a buyer to test drive it. A fuel leak can ignite and cause a fire. Fuel hoses become brittle over time and can crack during long periods of disuse. Have the fuel system inspected by a professional before the car goes back on the road — full stop.
Disclose What You Found, Even If You Fixed It
Sellers who disclose issues they discovered and repaired are in a much stronger legal and ethical position than those who stay silent. In most states, knowingly concealing a material defect when selling a private-party vehicle can expose you to legal liability after the sale. A simple note in your listing — 'car had been sitting; fresh oil, new battery, tires inflated and inspected before listing' — builds trust and protects you.
Once you've worked through the mechanical items, the room-by-room pre-sale checklist gives you a structured way to handle the cosmetic side — exterior, interior, engine bay, and trunk — before photos and showings.
What to Document Before You List
One of the most underrated things a seller can do is show their work. Buyers are essentially purchasing a history they can't fully verify, so anything that creates a paper trail reduces friction and builds confidence.
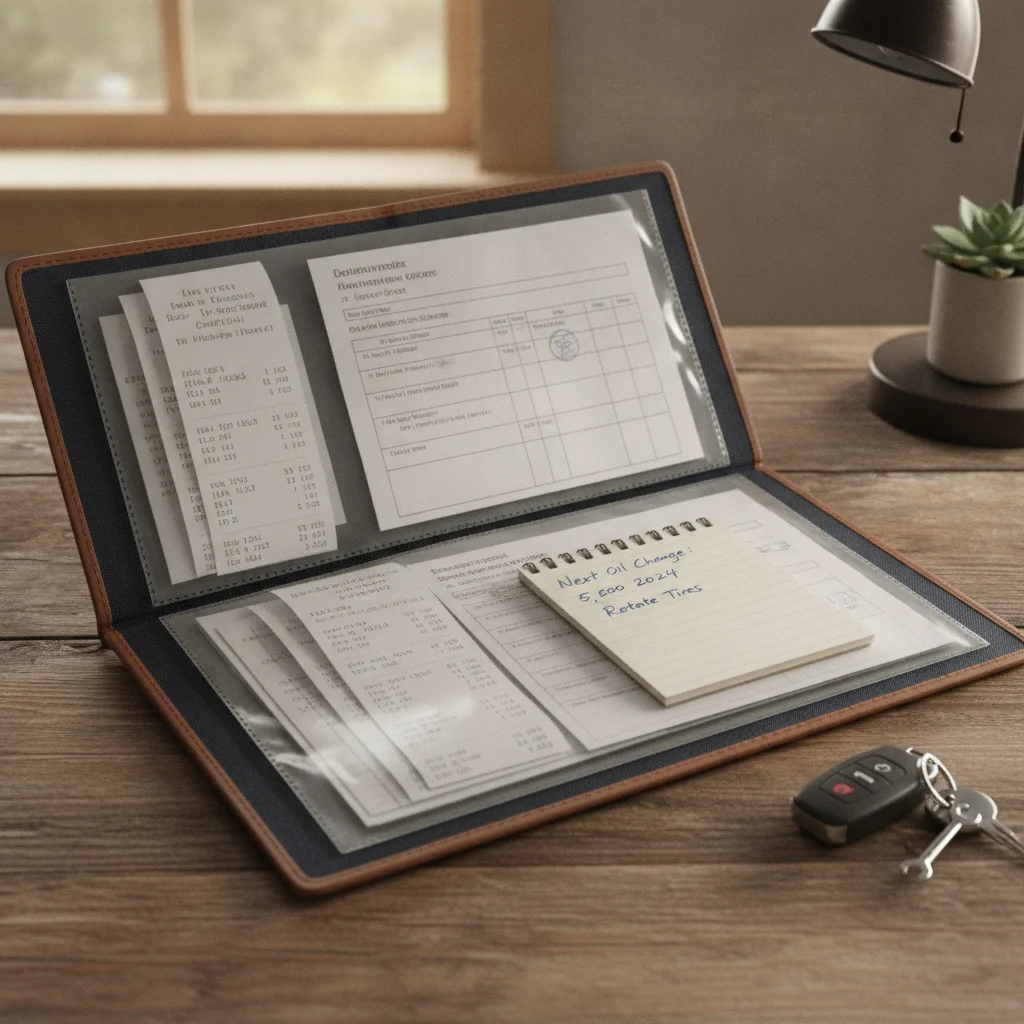
- Receipts from any service performed: Even a $12 oil change receipt tells a buyer the car was cared for recently. Keep everything from this prep process.
- Photos of the engine bay before and after cleaning: A before photo actually helps — it shows the car was dusty from sitting, not from years of neglect, and demonstrates that you cleaned it up honestly.
- Battery purchase date: If you replaced the battery, note the date and brand in your listing. A new battery is a small but real selling point.
- Tire tread depth measurements: Write these down. A buyer who asks and gets a specific number feels more confident than one who gets a shrug.
- Any diagnostic codes that were present and cleared: If your OBD-II scan showed codes that you addressed, document what they were and what you did. Transparency here is disarming — most buyers expect sellers to hide things.
You don't need to present a binder of documents. A simple folder with receipts and a handwritten note summarizing what was done goes a long way. It signals that you took the prep seriously, and it gives a buyer something to reference when deciding whether to negotiate hard or pay close to asking.
For buyers who want to understand what proper pre-sale prep looks like from the other side — including what dealers do to mask problems — the article on how dealers prepare cars for test drives is worth a read before your first showing.
When to Call a Professional Instead
This checklist is designed to be DIY-friendly, but there are a few situations where professional help isn't optional — it's genuinely necessary for safety and for getting the sale done without complications.
Brake system concerns
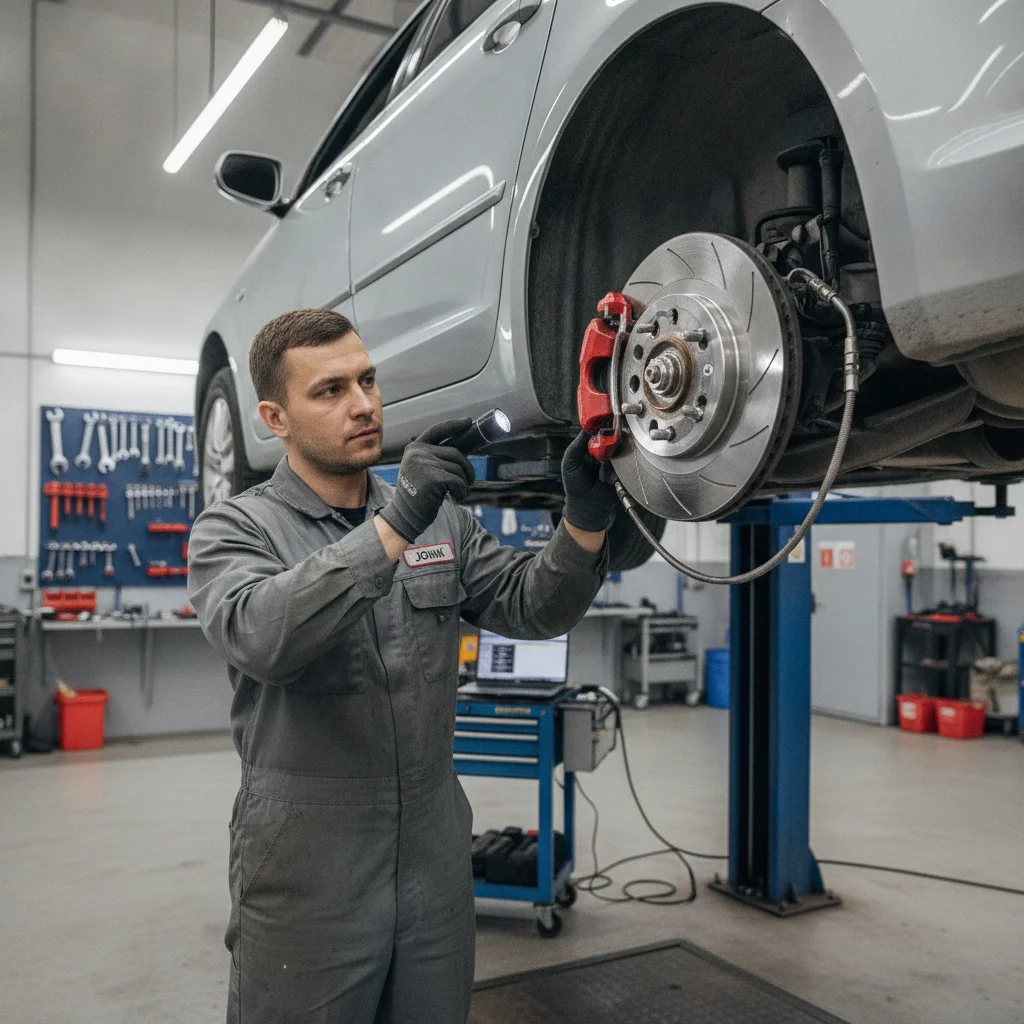
If the brake pedal feels spongy, pulls to one side, or goes further to the floor than you remember, do not drive the car. Brake fluid absorbs moisture over time, and calipers can seize during long periods of inactivity. A brake inspection at a shop typically costs $20–$50 and could save you from a liability nightmare — especially if a buyer test-drives the car before you've addressed it.
Fuel system issues
If the car won't start after a jump or fresh battery, stale fuel may be the culprit. Gasoline degrades in about 30 days without a stabilizer and can varnish injectors and fuel lines over several months. A shop can flush the system; attempting it yourself without the right tools risks introducing contaminants.
Rodent damage
Garage-stored vehicles are particularly vulnerable to rodent nesting in the engine bay, inside the cabin air filter housing, and even inside the dashboard. Chewed wiring can cause intermittent electrical faults that are hard to diagnose and expensive to repair. If you see any evidence of nesting — droppings, shredded material, visible chew marks — get a professional inspection before listing.
The seasonal maintenance prep guide covers many of these same reactivation steps if the car will be kept rather than sold — it's a useful reference for understanding what normal post-storage service looks like and whether what you're seeing is typical or a red flag.
Setting a Realistic Asking Price After Prep
Once the car is mechanically sound and presentable, you're in a much stronger position to price it confidently. Here's a simple framework:
- Start with a reference price from a valuation tool like Kelley Blue Book or Edmunds, using the "private party" category — not trade-in, not dealer retail.
- Add back documented prep costs that directly address safety or mechanical issues. If you spent $180 on new tires, you don't have to absorb that entirely. Buyers understand that a car with new tires is worth more than one with worn ones.
- Be honest about cosmetic condition. Don't price a car with door dings and a faded headliner as if it were in excellent condition. Price it in the "good" tier and let the mechanical quality speak for itself.
- Price with room to negotiate — typically 5–8% above your true floor. Buyers expect to negotiate, and giving them a small win helps them feel good about the deal.
The goal of all this prep isn't to squeeze out top dollar on a car that's been sitting. It's to list at a fair price with confidence, sell faster, and avoid the kind of last-minute renegotiations that happen when a buyer discovers a problem you didn't disclose. Doing the prep right means the car sells on your terms, not theirs.
If you're selling to someone who plans to buy a used car for the first time, keep in mind they may bring a more cautious mindset to the inspection. A well-documented, properly prepped dormant vehicle can actually be a reassuring purchase for a first-time buyer — it removes a lot of the uncertainty they'd otherwise be carrying.

All claims are backed by peer-reviewed research. Sources on request.