Key Takeaways
Saves $40–$80 per oil change versus a shop
At current shop rates of $60–$120 for synthetic, doing it yourself for $25–$50 in materials adds up to meaningful annual savings — especially if you're changing oil every 5,000–7,500 miles.
Full control over oil spec and filter quality
You choose the exact viscosity, brand, and API rating your engine requires. Shops often use bulk oil and house-brand filters; you can use whatever your owner's manual specifies.
You inspect the underside of your car regularly
Getting under the vehicle every few thousand miles means you'll catch leaks, worn boots, and corroded components early — before they become expensive failures.
Builds mechanical confidence for bigger jobs
Oil changes teach you how your drain plug feels when properly torqued, how filters seat correctly, and how to work safely under a lifted vehicle — skills that transfer directly to brake work, suspension, and more.
No upselling or unnecessary add-ons
Quick-lube shops frequently recommend cabin filters, fuel system treatments, and transmission flushes during an oil change visit. Doing it yourself eliminates that pressure entirely.
Mistakes can cause serious engine damage
Running the engine without enough oil, using the wrong viscosity, or failing to tighten the drain plug fully can cause catastrophic damage. Engine replacement costs can exceed $5,000.
Upfront tool investment erases early savings
If you're starting from zero, buying a floor jack, jack stands, drain pan, and filter wrench costs $60–$120 or more — that's one to two oil changes before you break even on tools alone.
Used oil disposal requires planning
You can't dump used motor oil anywhere — it's a regulated hazardous waste. You'll need to store it and transport it to a drop-off location, which most drivers don't account for in advance.
Some vehicles make the job genuinely difficult
Undertrays that require partial disassembly, filters in awkward locations, or cartridge-style housings can turn a 30-minute job into a two-hour frustration for some model years.
DIY records are less convincing than shop receipts at resale
A stack of dated, itemized shop receipts carries more weight with a private buyer or dealer than a handwritten log, even if your service history is actually more thorough.
Our Verdict
A DIY oil change is one of the most financially sensible maintenance tasks you can own yourself — if you're willing to do it carefully and keep good records. The savings are real, the skill ceiling is low, and doing it yourself builds the mechanical confidence to tackle bigger jobs down the road. That said, it's not the right move for every driver in every situation.
Best for drivers who do most of their own maintenance, have a stable workspace, and are comfortable getting under the car safely.
Why an Oil Change Is the Right First DIY Job
If you've never worked on your own car before, an oil change is the logical place to start. The tools are cheap, the process is forgiving, and the consequences of doing it correctly are immediate — a cleaner, healthier engine. If you're brand new to getting under the hood, read our practical primer for DIY car repairs first so you go in with the right foundation.
The basic job hasn't changed in decades: drain the old oil, swap the filter, refill with fresh oil to the correct level. That's it. What has changed is the cost at a shop. A conventional oil change at a quick-lube or dealership now routinely runs $60–$90. Full synthetic? Closer to $90–$120. At those prices, doing it yourself pays back fast.
But "simple" doesn't mean "no risk." There are a handful of ways to mess this up — stripped drain plugs, wrong oil viscosity, filter cross-threading — that can quietly wreck an engine. This guide walks you through both sides so you can decide whether DIY makes sense for you, and if it does, how to do it without the expensive mistakes.
The Honest Pros of Changing Your Own Oil
Let's start with the reasons people do this. They're legitimate.
Saves $40–$80 per oil change versus a shop
At current shop rates of $60–$120 for synthetic, doing it yourself for $25–$50 in materials adds up to meaningful annual savings — especially if you're changing oil every 5,000–7,500 miles.
Full control over oil spec and filter quality
You choose the exact viscosity, brand, and API rating your engine requires. Shops often use bulk oil and house-brand filters; you can use whatever your owner's manual specifies.
You inspect the underside of your car regularly
Getting under the vehicle every few thousand miles means you'll catch leaks, worn boots, and corroded components early — before they become expensive failures.
Builds mechanical confidence for bigger jobs
Oil changes teach you how your drain plug feels when properly torqued, how filters seat correctly, and how to work safely under a lifted vehicle — skills that transfer directly to brake work, suspension, and more.
No upselling or unnecessary add-ons
Quick-lube shops frequently recommend cabin filters, fuel system treatments, and transmission flushes during an oil change visit. Doing it yourself eliminates that pressure entirely.
$40–$80
Typical savings per synthetic oil change
Based on average shop rates of $90–$120 versus DIY materials cost of $30–$50 for 5 quarts of full synthetic and a quality filter.
~$200/yr
Annual savings for a high-mileage driver
A driver changing oil every 5,000 miles on a 25,000-mile-per-year vehicle runs roughly 5 oil changes annually — savings compound quickly at that pace.
30 min
Average time for a DIY oil change
Most drivers with basic experience complete the job in 25–40 minutes once they have tools organized; first-timers should budget closer to an hour.
On top of the direct savings, there's the knowledge factor. When you change your own oil, you're under the car every few thousand miles. You'll notice a cracked CV boot, a leaking gasket, or a brake rotor that's starting to look thin — things a quick-lube tech won't flag because they're in and out in 15 minutes. That kind of early visibility on problems is worth real money over the life of a vehicle.
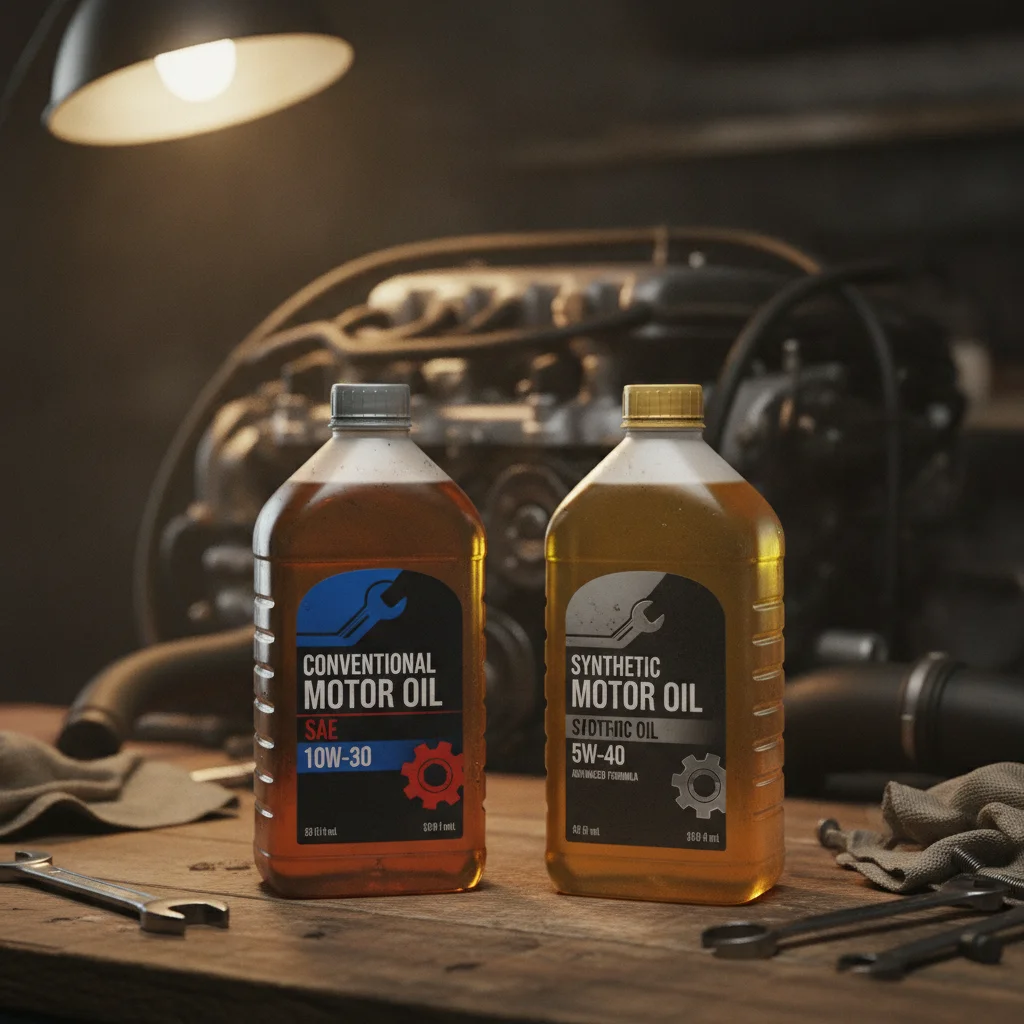
There's also the oil quality angle. Many shops use whatever bulk conventional oil they have on hand unless you specifically request and pay extra for synthetic. When you buy your own, you control the spec. See our breakdown of when synthetic oil is actually worth the upgrade — for some engines it makes a meaningful difference, for others it doesn't justify the cost.
The Real Cons You Need to Know Before You Start
This is the part that doesn't show up in YouTube tutorials. DIY oil changes have genuine risks and inconveniences that the savings don't always offset.
Mistakes can cause serious engine damage
Running the engine without enough oil, using the wrong viscosity, or failing to tighten the drain plug fully can cause catastrophic damage. Engine replacement costs can exceed $5,000.
Upfront tool investment erases early savings
If you're starting from zero, buying a floor jack, jack stands, drain pan, and filter wrench costs $60–$120 or more — that's one to two oil changes before you break even on tools alone.
Used oil disposal requires planning
You can't dump used motor oil anywhere — it's a regulated hazardous waste. You'll need to store it and transport it to a drop-off location, which most drivers don't account for in advance.
Some vehicles make the job genuinely difficult
Undertrays that require partial disassembly, filters in awkward locations, or cartridge-style housings can turn a 30-minute job into a two-hour frustration for some model years.
DIY records are less convincing than shop receipts at resale
A stack of dated, itemized shop receipts carries more weight with a private buyer or dealer than a handwritten log, even if your service history is actually more thorough.
The disposal issue catches a lot of first-timers off guard. Used motor oil is a regulated waste — you can't pour it down a drain or toss it in the trash. Most auto parts stores (AutoZone, O'Reilly, Advance) will take it for free, but you need to store it safely until you can drop it off. Five quarts in an old milk jug in your trunk isn't ideal. Plan this part before you start.
For a full comparison of what you'd actually spend versus save across common DIY jobs, the real cost of DIY vs. shop repairs article breaks it down with parts and labor included.
Used Oil Disposal: Know Before You Drain
Most AutoZone, O'Reilly, and Advance Auto Parts locations accept used motor oil at no charge — call ahead to confirm your local store participates. Store used oil in a sealed, leak-proof container (the original oil jugs work well) and keep it away from heat sources. Never mix used oil with antifreeze or other fluids, as contaminated oil is refused at most collection sites.
Warranty and DIY Oil Changes
Under the Magnuson-Moss Warranty Act, a manufacturer cannot void your powertrain warranty simply because you changed your own oil. However, you must use oil and a filter that meet the manufacturer's specifications (check your owner's manual for the API rating and viscosity), and you should retain your parts-store receipts as documentation. If you have any doubt, confirm in writing with your dealership service department before your first DIY change on a vehicle still under warranty.
What You Need Before You Start
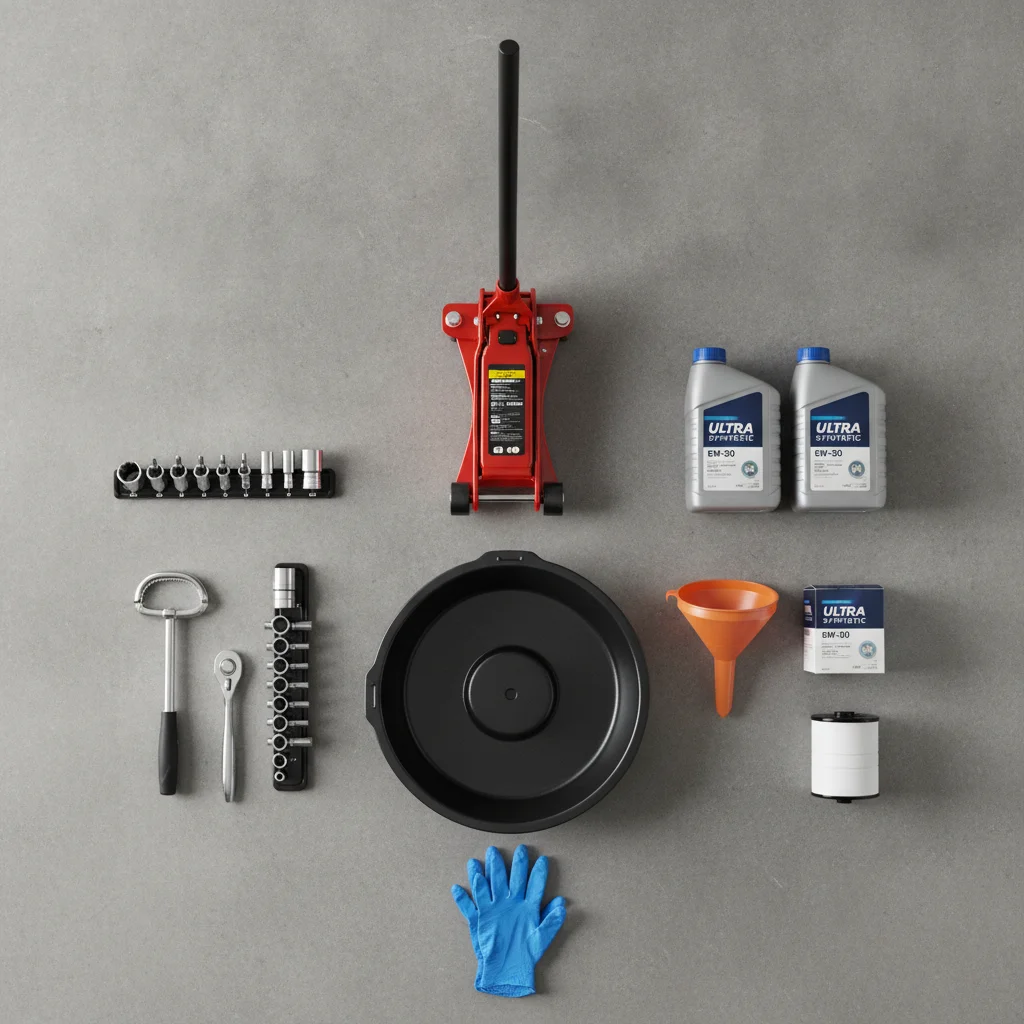
Here's the actual shopping list. Buy these once and you're set for years:
- Floor jack and jack stands — never work under a car supported only by a floor jack. This is non-negotiable safety.
- Drain pan — 7–8 quart capacity minimum for trucks and SUVs
- Oil filter wrench — your filter will often be tighter than hand-tight after heat cycles
- Socket set with a 3/8" drive ratchet — most drain plugs take a 14–17mm socket
- Funnel
- Rags and nitrile gloves
- Correct oil and a new filter — look up your exact spec in the owner's manual, not just on the cap
The one-time tool investment runs $60–$120 if you're starting from scratch, but those tools get used for brake jobs, air filter swaps, and everything else you'll tackle later. Speaking of which — if you want a genuinely easy next job after this one, swapping the engine air filter takes under 10 minutes and doesn't require getting under the car at all.
Before turning a single wrench, run through our pre-repair safety checklist. It covers workspace setup, fire safety, jack stand placement, and a few things most tutorials skip entirely.
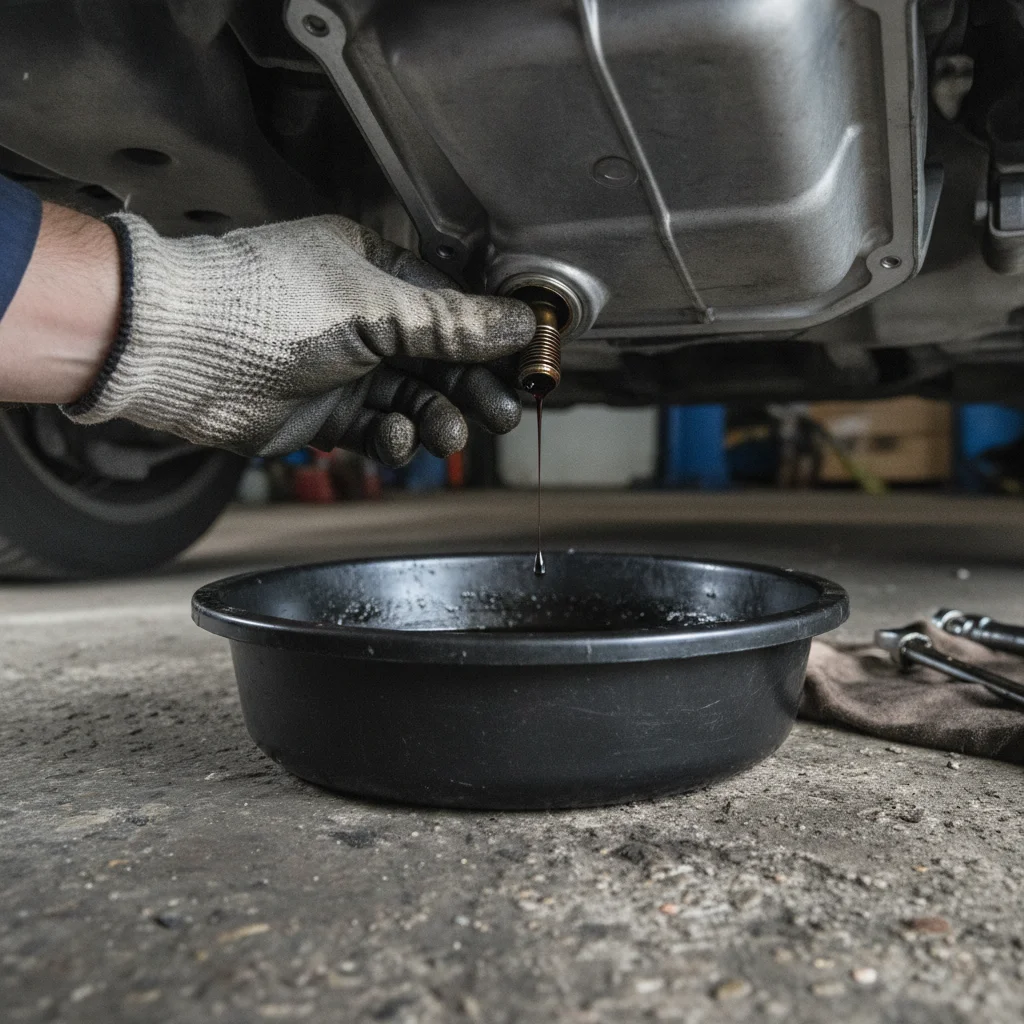
Step-by-Step: How to Do an Oil Change Correctly
Follow this sequence and you'll avoid the most common mistakes.
- Warm the engine for 2–3 minutes, then shut it off. Warm oil drains faster and more completely than cold oil. Do NOT drain a fully hot engine — oil and components can burn you.
- Safely raise the vehicle. Use your floor jack on the manufacturer's designated jack points (shown in your owner's manual), then place jack stands before getting under. Test stability before you commit your body underneath.
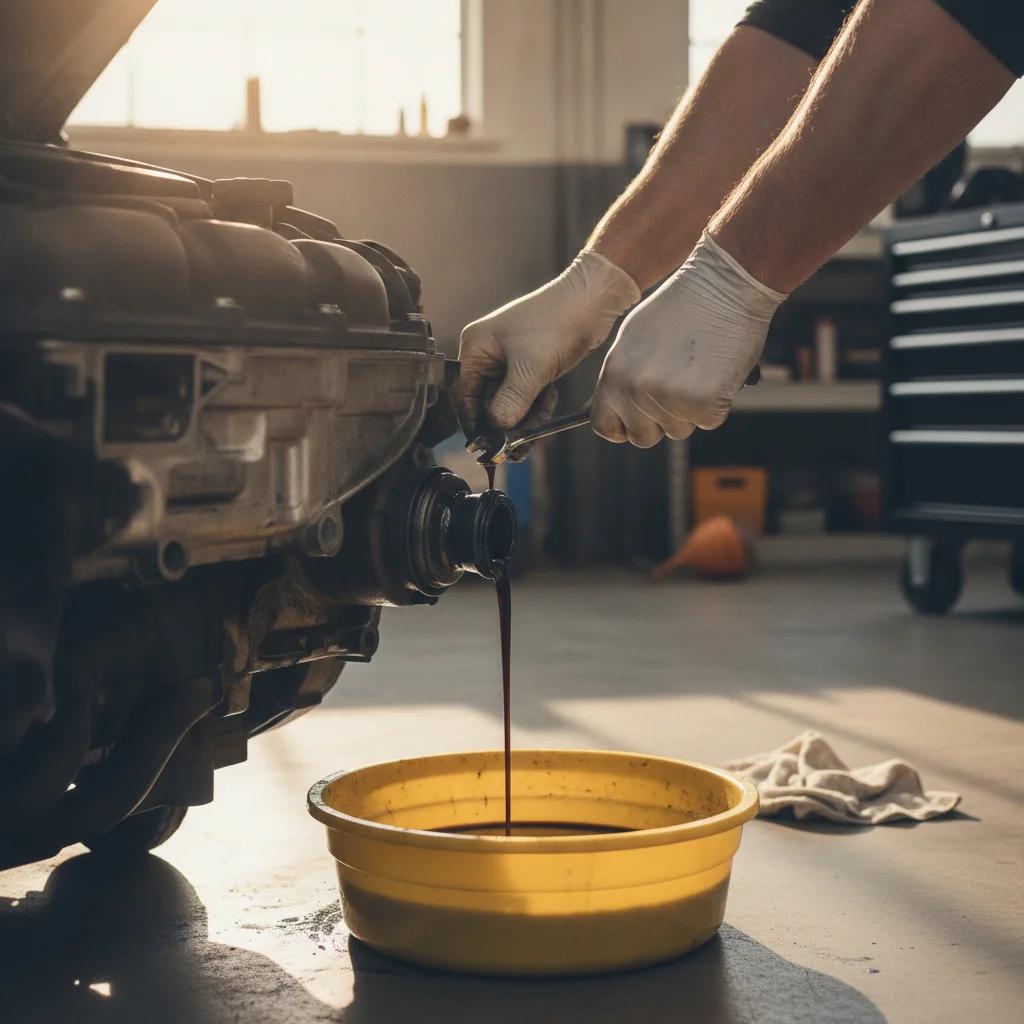
- Locate and remove the drain plug. Place your drain pan under it. Break it loose counterclockwise — if it's extremely tight, use a breaker bar, not an impact gun at full torque. Once loose, finish by hand and be ready for the oil to flow fast when the plug releases.
- Remove the old oil filter. Use your filter wrench if needed. Have a rag ready — there's residual oil in the filter housing. Let everything drain for at least 5 minutes.
- Install the new filter. Apply a thin film of fresh oil to the new filter's rubber gasket with your finger before threading it on. Hand-tight plus a three-quarter turn is correct — do not use a wrench to tighten.
- Reinstall the drain plug. Thread it in by hand first to avoid cross-threading, then snug it with a wrench. Consult a torque spec if you have a torque wrench — most are 25–30 ft-lbs. Don't gorilla it.
- Lower the vehicle and add fresh oil. Pour in the correct amount (check owner's manual — it's often 4.5–6 quarts), start the engine, and watch the oil pressure warning light extinguish within a few seconds. Let it idle for 60 seconds.
- Check for leaks. Shut off the engine, wait 2 minutes, then inspect both the drain plug and filter from underneath. One drip means something needs attention before you drive.
- Check the dipstick. Confirm the oil level sits between the min/max marks. Add a small amount if needed.
- Record the service. Write the date, mileage, oil brand, viscosity, and filter used in a notebook or your phone's notes. This matters for resale — see below.
Documentation and Resale Value: Don't Skip This Part
Here's where a lot of DIY-ers leave money on the table. When you sell or trade in a car, a documented service history is a real asset. Dealers and private buyers both respond to it. The problem is that a notebook full of your own handwriting is less convincing than a stack of shop receipts with matching dates and mileage.
The fix is simple: keep your receipts from the auto parts store (they timestamp and itemize everything), and log each service with mileage in a consistent format. If you want to go further, some mechanics keep the used oil filter in a zip-lock bag labeled with the mileage and date — it's unusual, but it's verifiable proof of service.
If resale is on your radar, check out the detailing and repairs hub — it covers which prep steps deliver the best return before listing a car.
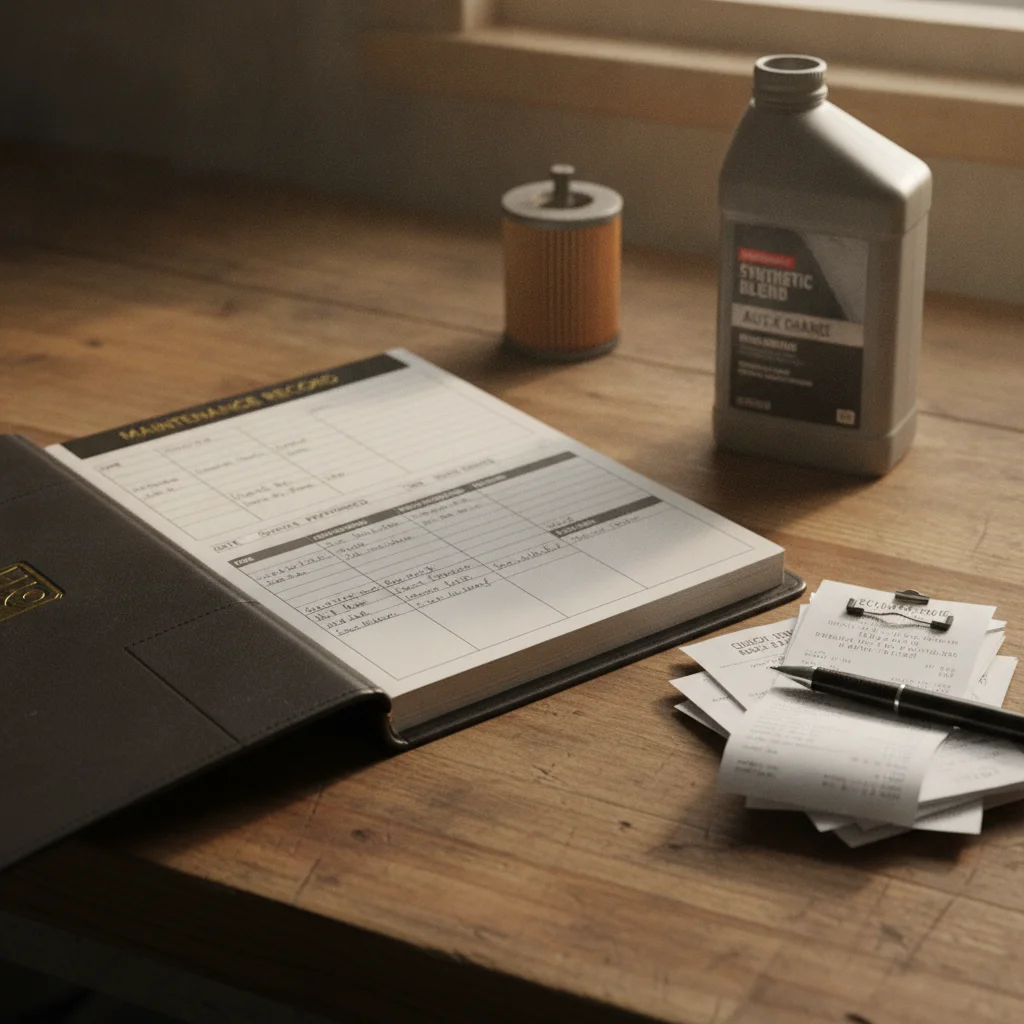
For newer vehicles still under powertrain warranty, it's also worth confirming with your dealer or reviewing your warranty documentation that DIY oil changes are permitted. Under the Magnuson-Moss Warranty Act, manufacturers cannot void a warranty solely because you changed your own oil — but you do need to use oil and a filter that meet the manufacturer's specifications, and you need documentation proving you did.
Used Oil Disposal: Know Before You Drain
Most AutoZone, O'Reilly, and Advance Auto Parts locations accept used motor oil at no charge — call ahead to confirm your local store participates. Store used oil in a sealed, leak-proof container (the original oil jugs work well) and keep it away from heat sources. Never mix used oil with antifreeze or other fluids, as contaminated oil is refused at most collection sites.
Warranty and DIY Oil Changes
Under the Magnuson-Moss Warranty Act, a manufacturer cannot void your powertrain warranty simply because you changed your own oil. However, you must use oil and a filter that meet the manufacturer's specifications (check your owner's manual for the API rating and viscosity), and you should retain your parts-store receipts as documentation. If you have any doubt, confirm in writing with your dealership service department before your first DIY change on a vehicle still under warranty.
When DIY Makes Sense — and When to Let the Shop Handle It
A DIY oil change is a strong choice when:
- You have a stable, flat workspace with room to maneuver safely
- You do other maintenance yourself and already own basic tools
- You drive high mileage and change oil frequently — the savings compound fast
- You care about controlling the exact oil spec going into your engine
It's probably not worth it when:
- You live in an apartment or have no reliable space to safely jack up a car
- Your vehicle has a complex undertray that takes 20+ minutes to remove (some German and Japanese vehicles)
- You're only doing one or two changes a year and the time investment genuinely costs you elsewhere
- Your car uses a cartridge-style filter housed in a plastic cap — these can crack or strip if over-torqued and the replacement cost wipes out the savings
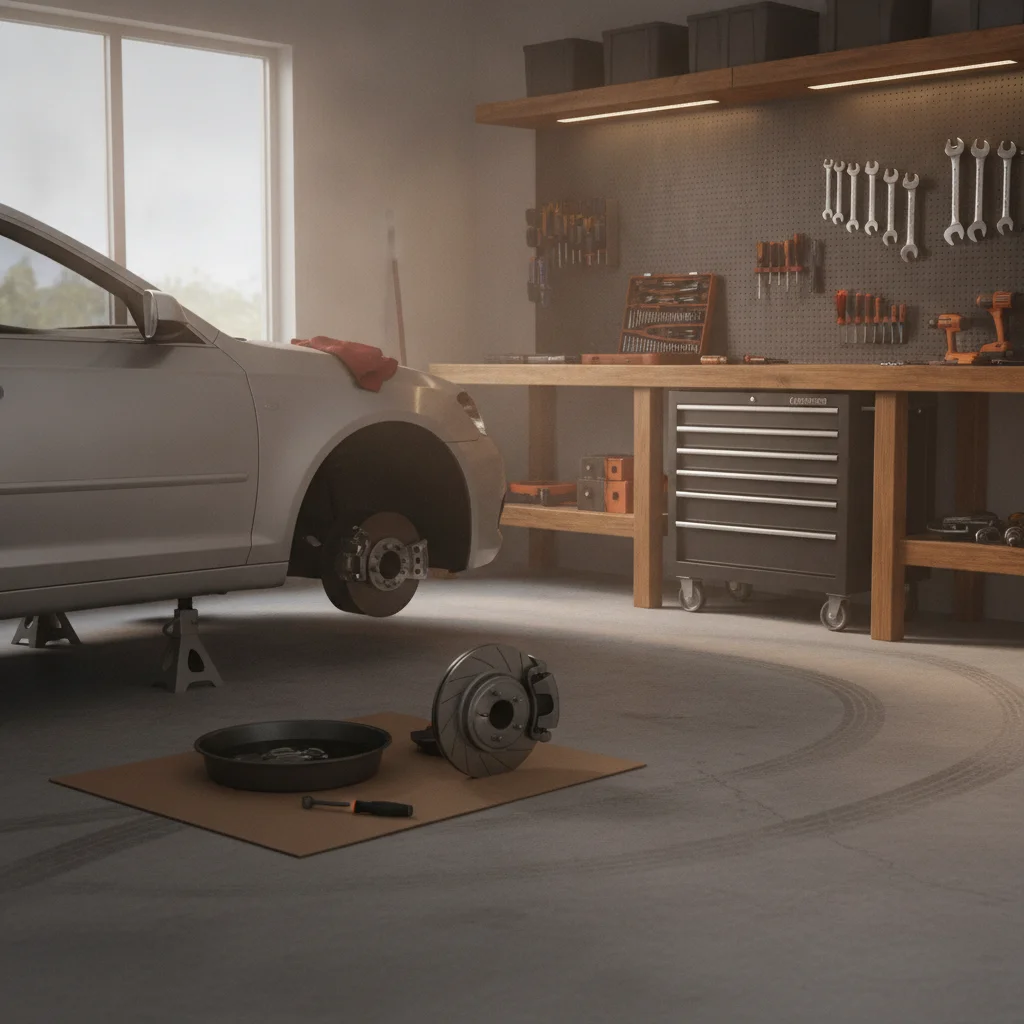
If you're comfortable with oil changes and want the next logical DIY challenge, brake pad replacement saves $150–$300 per axle and follows a similarly learnable process. The stakes are higher, but so is the payoff.
For everything in between — routine intervals, filter schedules, when to switch to synthetic — the routine servicing hub has it organized by service type.

All claims are backed by peer-reviewed research. Sources on request.