Key Takeaways
Why Brake Pads Are the Best DIY Job to Start With
Brake pad replacement has a reputation that's scarier than it deserves. Yes, brakes are safety-critical — but the actual mechanical work involved is straightforward and well within reach of anyone who can change a tire. There are no special certifications required, the parts are affordable and widely available, and the process follows the same basic pattern on nearly every passenger car or light truck built in the last 25 years.
Here's the math that makes it worth learning: a typical shop charges $150–$300 per axle for a brake pad job, and that number climbs if you go to a dealership. Quality brake pads for most vehicles run $30–$80 for a set. Do the job yourself and you're saving the difference — and you'll do it again every 30,000–70,000 miles for the life of the car.
For the full breakdown on how much different DIY jobs save versus shop rates, check out what DIY vs. shop repairs actually cost across 10 common jobs. And if you're building out your at-home maintenance routine, brake pads fit squarely into a complete at-home car maintenance playbook alongside oil changes, filters, and fluids.
Before we get into the steps, let's be honest about one thing: this guide covers disc brakes, which are the standard setup on all four corners of most modern vehicles. Drum brakes — still found on rear axles of some economy cars — are a different job and not covered here.
What You Need Before You Start
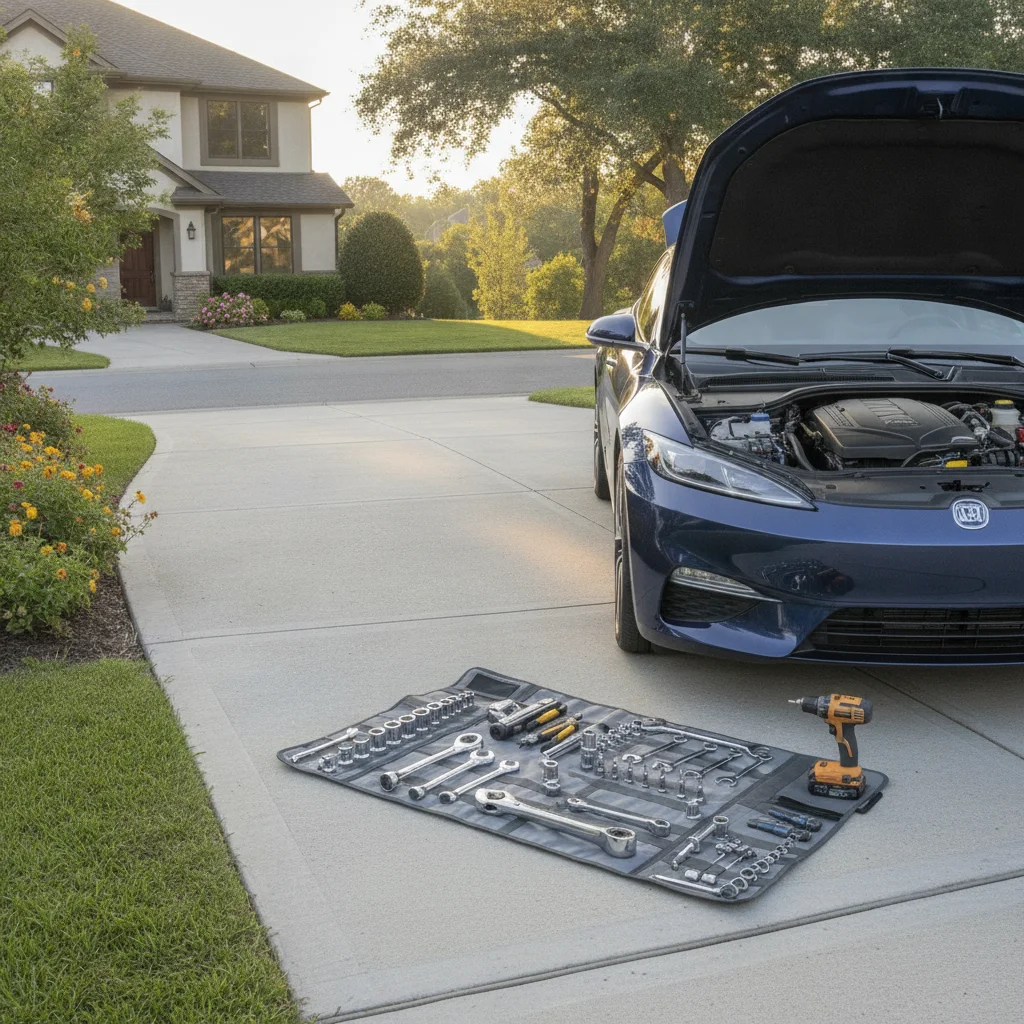
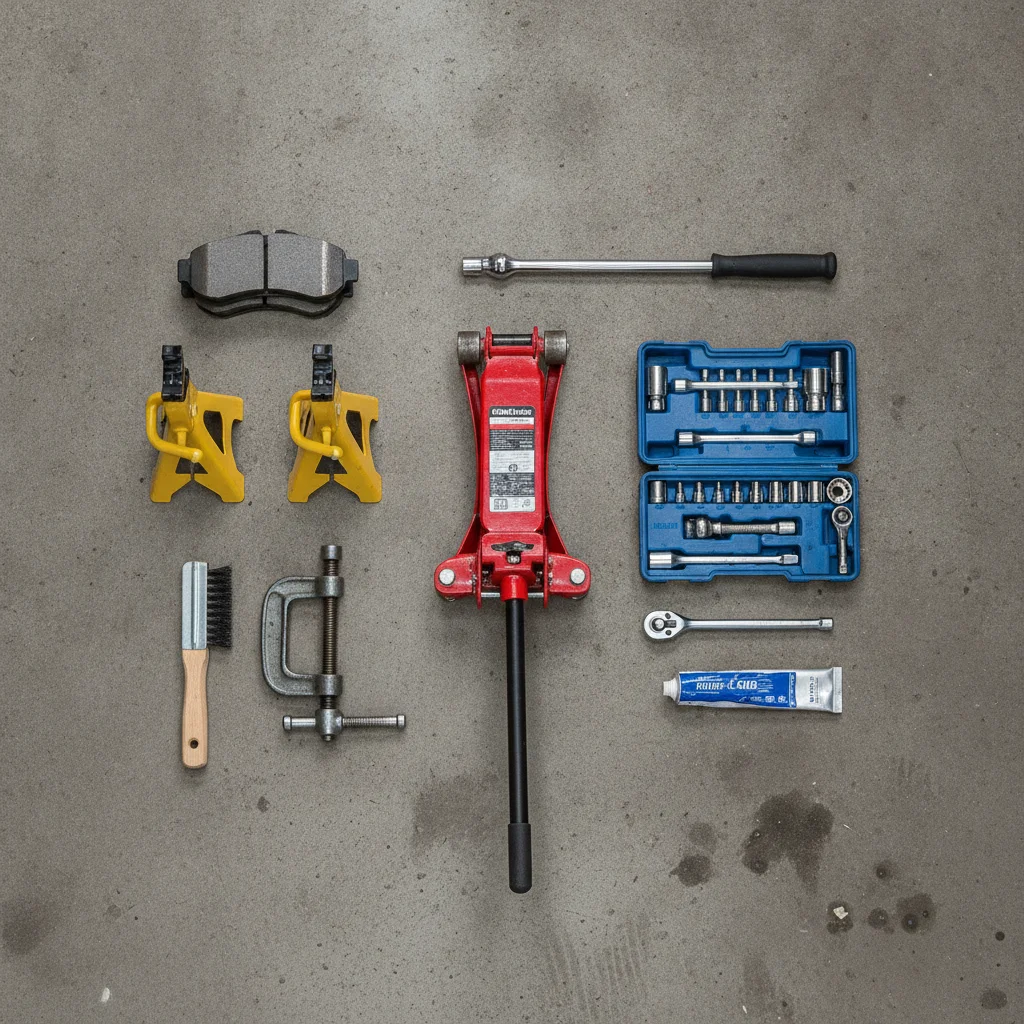
Getting the right parts and tools together before you jack up the car is the difference between a smooth 90-minute job and a frustrating afternoon. Here's everything you'll need:
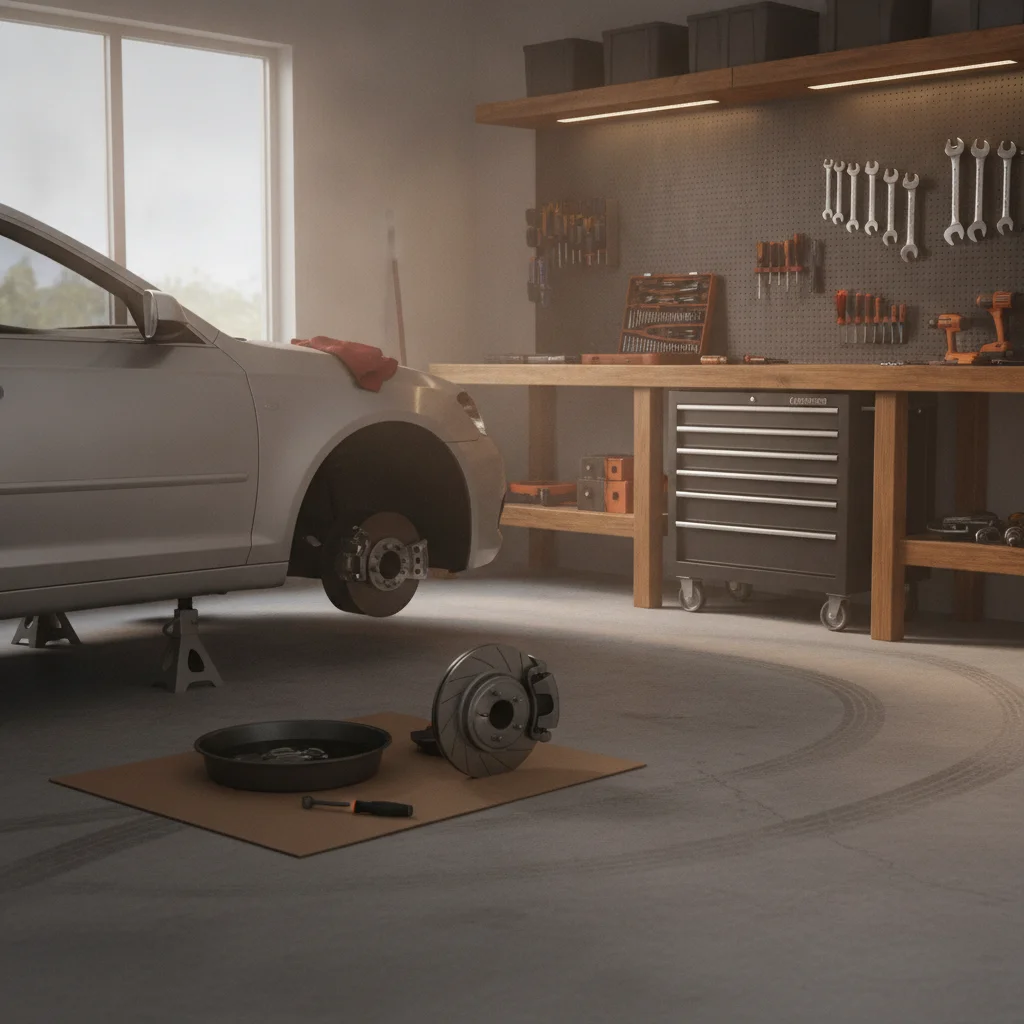
Floor jack and jack stands
Safely lift and support the vehicle while wheels are removed — never rely on a scissor jack alone.
Lug nut wrench or breaker bar
Removes lug nuts to take the wheel off; a breaker bar gives better leverage on stubborn nuts.
C-clamp or caliper piston tool
Compresses the caliper piston back into its bore to make room for the thicker new brake pads.
10mm and 12mm combination wrenches or socket set
Removes caliper slide bolts and caliper bracket bolts — exact sizes vary by vehicle.
Wire brush
Cleans rust and debris off caliper bracket contact surfaces before seating new pads.
Brake caliper grease (ceramic or silicone)
Lubricates caliper slide pins and pad contact points to prevent squealing and uneven wear.
Turkey baster or fluid syringe
Removes excess brake fluid from the reservoir before compressing caliper pistons.
Torque wrench
Ensures caliper bracket bolts are tightened to the manufacturer's specified torque — critical for safety.
What you will need
A word on parts: buy brake pads that match your driving style. Standard organic pads are fine for everyday commuting. If you drive aggressively, tow, or live in hilly terrain, look at ceramic or semi-metallic compounds — they handle heat better and last longer. Always replace pads in axle sets (both left and right wheels at the same time). Never replace just one side.
Always Replace Pads in Axle Sets
Replacing pads on only one wheel of an axle causes uneven braking force, which can pull the car to one side under hard braking — a serious safety hazard. Always do both left and right wheels at the same time, even if one side looks less worn. Brake pads are cheap enough that there's no good reason to cut this corner.
Step-by-Step: Replacing Your Brake Pads
Work on one side of an axle at a time, keeping the other wheel assembled as a reference. These steps apply to the front axle, which is typically the first to wear since it handles the majority of braking force. The rear axle follows the same sequence.
Loosen the lug nuts before lifting the car
With the car still on the ground, use your breaker bar to crack each lug nut loose about a half turn. Trying to loosen them once the wheel is in the air just spins the wheel. Don't fully remove them yet.
Jack up the vehicle and secure it on jack stands
Position your floor jack under the vehicle's designated lift point (check the owner's manual — usually a reinforced frame rail or subframe). Raise the car, then slide jack stands under solid frame contact points before lowering the car onto them. Never work under a car supported only by a floor jack.
Remove the wheel and inspect what you're working with
Finish removing the lug nuts and pull the wheel straight off. Set it aside. Now you can see the rotor and caliper clearly. Before touching anything, take a look at the existing pad thickness. If the friction material is less than about 3mm thick, you're right to be doing this job now.
Remove the caliper slide bolts and hang the caliper
The caliper is held to its bracket by two slide bolts — typically 10mm or 12mm. Remove them and slide the caliper off the rotor. Do not let it hang by the brake line. Use a length of mechanic's wire or a bungee cord to hang the caliper from the coil spring or a nearby frame point. A stretched or kinked brake line is expensive to replace and dangerous.
Remove the old brake pads and clean the bracket
The old pads will slide or clip out of the caliper bracket. Note how they're seated before removing them. Pull out any old hardware clips from the bracket — these are usually replaced with new ones that come in your brake pad kit.
Use your wire brush to thoroughly clean the contact ledges on the caliper bracket where the new pads will sit. Rust and debris here cause uneven pad wear and dragging. Get them clean and smooth.
Install new hardware clips and lubricate contact points
Snap the new hardware clips (included in most pad kits) into the bracket contact ledges. Apply a thin film of brake caliper grease to the metal contact points where the pad ears rest on the bracket — not on the pad friction material or the rotor face. Also apply grease to the caliper slide pin boots if they're dry.
Compress the caliper piston
Before the new, thicker pads will fit over the rotor, you need to push the caliper piston back into its bore. First, use a turkey baster to remove some brake fluid from the reservoir under the hood — compressing the piston forces fluid back up and can overflow the reservoir if it's already full.
Place your old brake pad or a block of wood against the piston face, then use your C-clamp or piston tool to slowly press the piston straight back. It should compress evenly with steady pressure. If it won't move or spins rather than compresses, you may have a rear caliper with a screw-type piston — those require a specific rotation tool.
Install the new brake pads
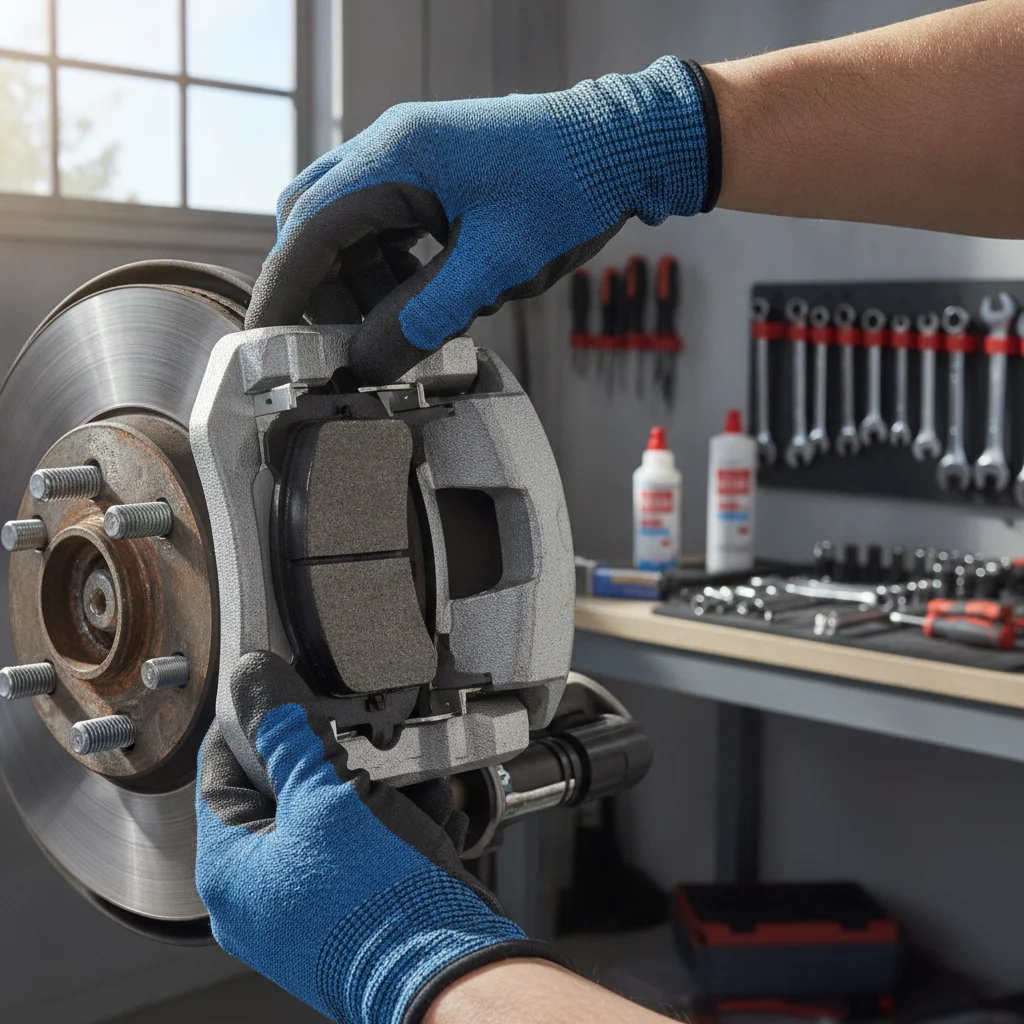
Seat the new pads into the bracket hardware clips. Most pads are directional — there's an inner pad (the side facing the vehicle) and an outer pad. They're usually labeled. Confirm the anti-squeal shims are attached (they typically come pre-attached or need to be transferred from old pads if separate).
Reinstall the caliper and torque to spec
Slide the caliper back over the new pads and rotor. Hand-thread the slide bolts, then torque them to the manufacturer's specification with your torque wrench. This is not a step to guess on — under-torqued caliper bolts can loosen under braking. Over-torqued bolts can seize the slide pins. Look up your vehicle's specs before you start.
Reinstall the wheel and pump the brake pedal before moving
Put the wheel back on, hand-tighten the lug nuts in a star pattern, then lower the car off the jack stands and torque the lug nuts to spec (typically 80–100 ft-lbs for most passenger vehicles — confirm yours).
Before you move the car an inch, pump the brake pedal repeatedly until it feels firm. When you pushed the caliper piston back, the pads are now sitting away from the rotor. Pumping the pedal pushes the pistons back out until the pads contact the rotor and the pedal builds pressure. A spongy pedal that doesn't firm up after 10–15 pumps means something needs attention — don't drive until it's resolved.
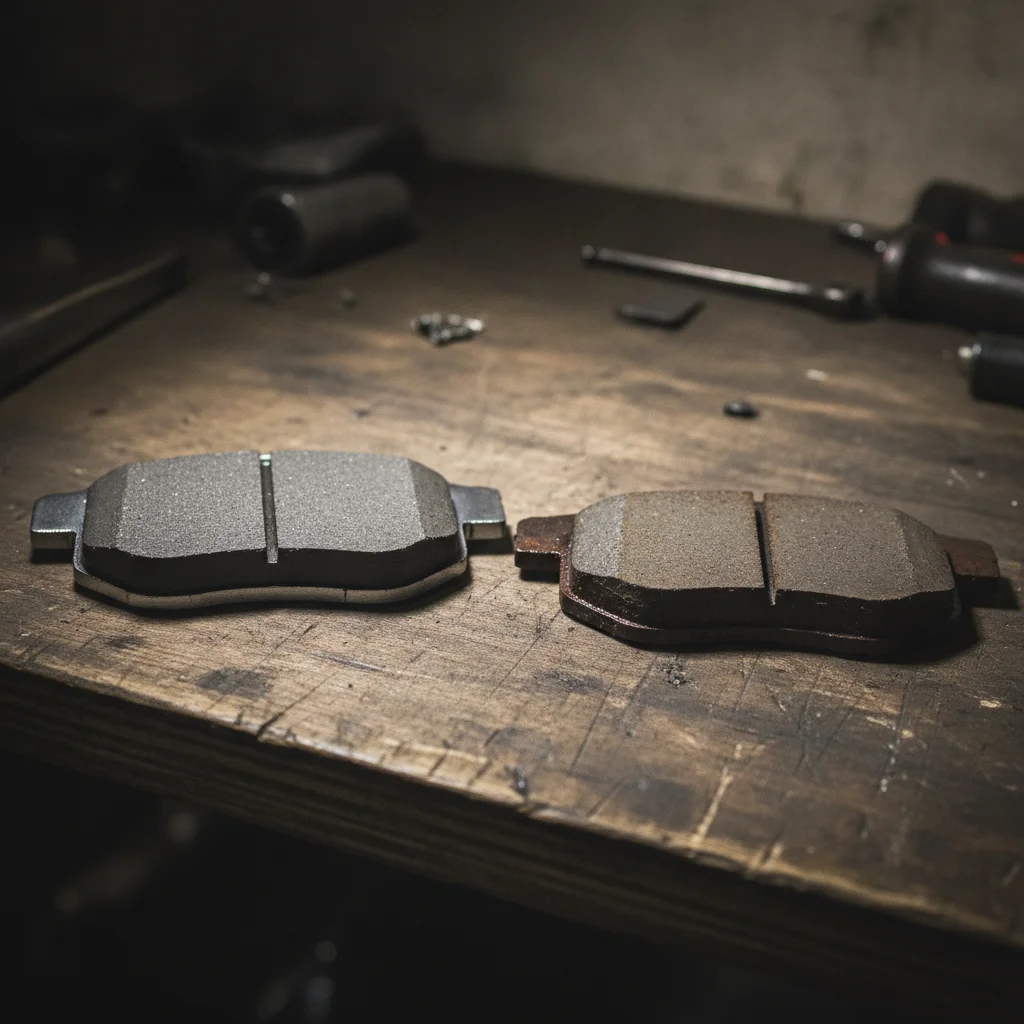
Once both sides are done, there's one more critical step before you drive anywhere: the bed-in process. New pads need to be broken in against the rotor surface. Drive to an open area, get up to about 30 mph, and apply moderate (not panic-stop) brake pressure until nearly stopped — don't come to a complete halt. Let the brakes cool for a minute, then repeat 6–8 times. You'll feel the pedal firm up as the pad material transfers evenly to the rotor.
Bed-In Matters More Than Most Guides Admit
Skipping the bed-in procedure is the number one reason new pads squeal or underperform right away. The process transfers a thin, even layer of pad material onto the rotor surface — that's what gives you full stopping power. Don't skip it, and don't come to a complete stop during the first few cycles or you'll deposit an uneven patch of material that causes pedal pulsation.
Buy Pads With a Lifetime Warranty
Many national auto parts chains sell brake pads with a lifetime warranty — meaning free replacements every time you do the job again. Since you're doing the labor yourself, this makes future brake jobs almost entirely free on parts. Brands like Bosch, Wagner, and ACDelco offer this through major retailers.
Rotor Inspection: Don't Skip This
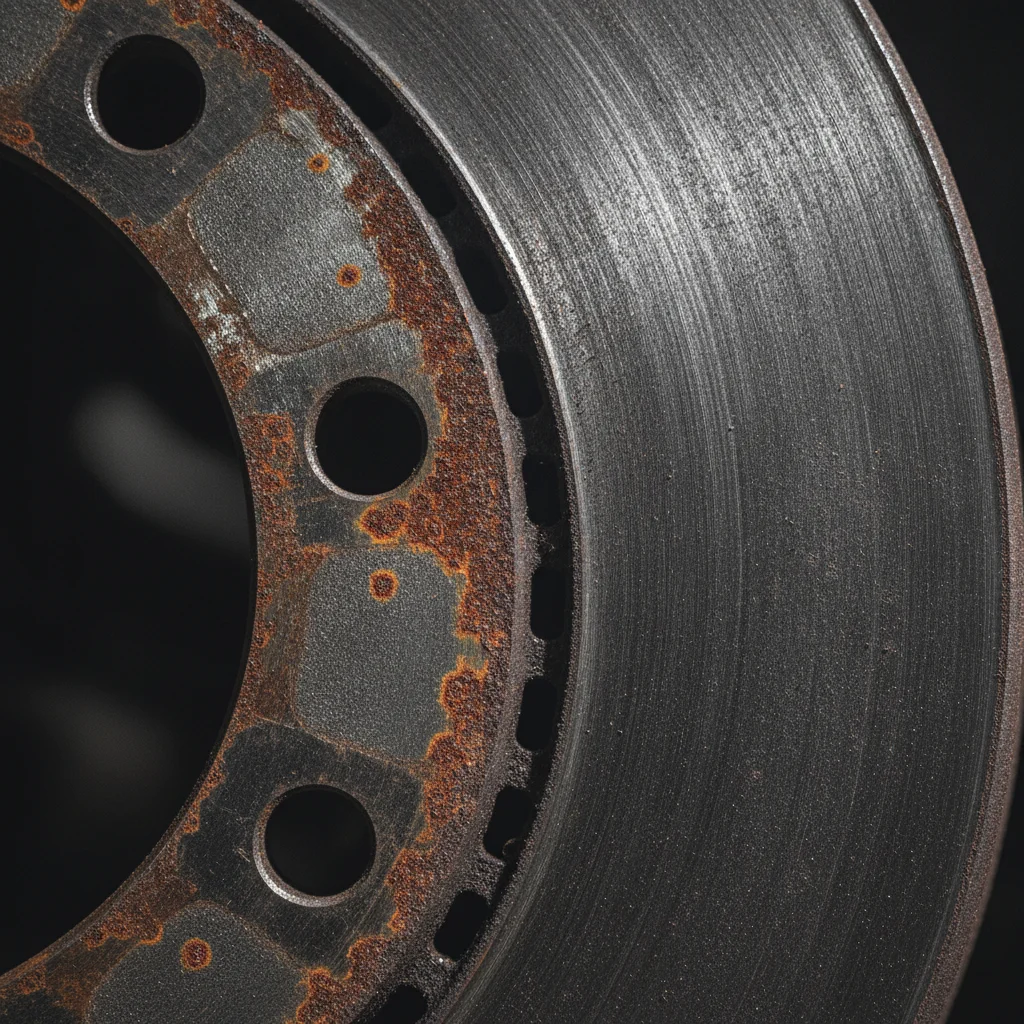
New pads on worn rotors is money wasted. Rotors wear down over time and develop a minimum thickness specification — called the discard thickness — stamped right on the rotor hat. If your rotor is at or below that number, it needs to be replaced. Period.
Beyond thickness, look for:
- Deep grooves or scoring: Light surface rust after sitting is normal. Grooves you can catch a fingernail in are not — they'll chew through new pads quickly.
- Heat cracks: Fine radial cracks on the friction surface are a sign of overheating. Replace immediately.
- Warping: If you felt brake pedal pulsation before starting this job, your rotors are likely warped. A micrometer check will confirm it.
Rotor replacement is straightforward and can be done in the same session as pads. Budget $30–$80 per rotor for most vehicles. Doing rotors and pads together at a shop typically runs $400–$700 per axle — another strong argument for the DIY approach.
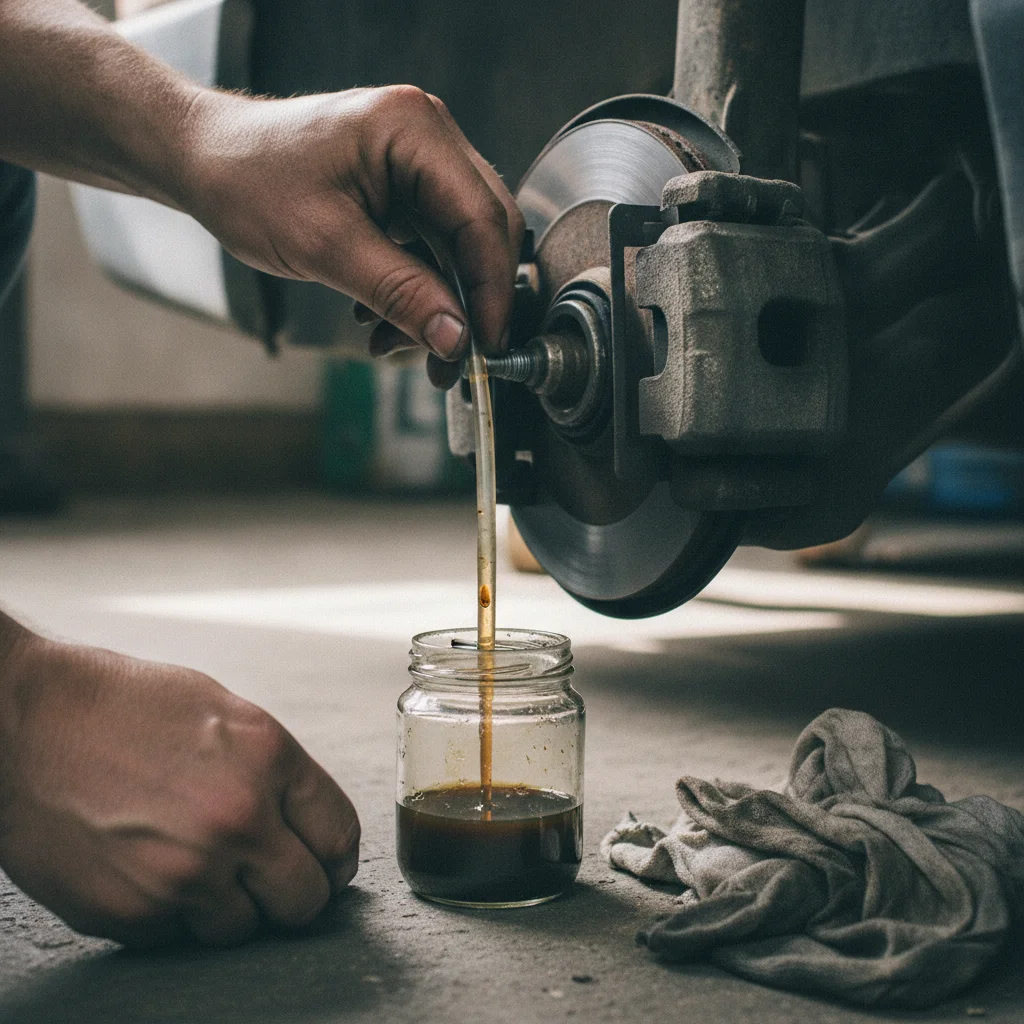
If you notice your brake fluid is dark brown or has visible debris when you open the reservoir, that's a separate maintenance item worth addressing. And if compressing the caliper pistons causes fluid to back up aggressively, your brake lines may have air in them — see whether bleeding your own brakes is a job you can handle before wrapping up.
A Soft Pedal After the Job Means Stop
If your brake pedal feels spongy or travels further than normal after the job is done and you've pumped the pedal, do not drive the vehicle. Air in the brake lines is the most common cause, and it reduces your braking force significantly. The fix is bleeding the brake lines — a job you can evaluate in <a href="/maintenance-and-ownership/vehicle-maintenance/diy-repairs/bleeding-your-own-brakes-what-the-process-involves-and-whether-its-diy-safe">the brake bleeding guide</a> before deciding whether to tackle it yourself or take it to a shop.
Minimum Rotor Thickness Is Not a Suggestion
Every rotor has a minimum discard thickness stamped on its hub. Running a rotor below that spec risks heat cracking and, in extreme cases, rotor failure under hard braking. Measure with a micrometer at multiple points around the rotor. If any single measurement is at or below the discard spec, replace the rotor — it is not safe to resurface or continue using.
Troubleshooting After the Job
Most brake pad jobs go smoothly. Here's what to watch for if something feels off after you're done:
| Symptom | Likely Cause | What to Do |
|---|---|---|
| Spongy or low brake pedal | Air in brake lines from compressing piston | Pump pedal several times with engine off; if it doesn't firm up, bleed the brakes |
| Grinding or metal-on-metal noise | Pad installed incorrectly or missing hardware clip | Pull the wheel and inspect pad seating and hardware |
| Squealing after bed-in | Glazed pads or missing anti-squeal shim | Re-bed pads more aggressively; confirm shims are in place |
| Car pulling to one side under braking | Stuck caliper piston on one side | Inspect caliper for binding; may need caliper replacement |
| Pedal pulsation | Warped rotor not caught during inspection | Measure rotor runout with a dial indicator; replace if beyond spec |
If you're confident doing brake pads, the logical next skill to build is an oil change — which shares the same fundamental discipline of working clean and torquing fasteners properly. See the DIY oil change guide for the full walkthrough.
Brake pad replacement is genuinely one of the highest-return DIY jobs you can do. Learn it once, do it right, and you'll save hundreds of dollars every few years for as long as you own the car — while also knowing exactly what condition your brakes are in.

All claims are backed by peer-reviewed research. Sources on request.