Key Takeaways
What Separates the Mechanics Who Don't Get Stranded Twice
Most people who get stranded once — flat battery, busted belt, brake job gone sideways — chalk it up to bad luck. The ones who get stranded twice usually have a habit problem, not a skill problem. They wing it, skip the spec sheet, buy the cheapest part available, and then wonder why the same issue comes back three months later.
The home mechanics who consistently get it right aren't necessarily more talented. They just operate with a few repeatable habits that compress the margin for error. If you're new to working on your own car, our practical primer for first-time DIYers covers the foundational skills to get you started. But once you've got the basics down, it's the habits outlined here that separate a one-time success from a reliable system.
Here's what experienced home mechanics actually do differently — and why each habit pays off.
Habit #1: Document Everything, Every Time
The single biggest difference between a home mechanic who improves and one who keeps repeating the same mistakes is documentation. Sounds boring. It works.
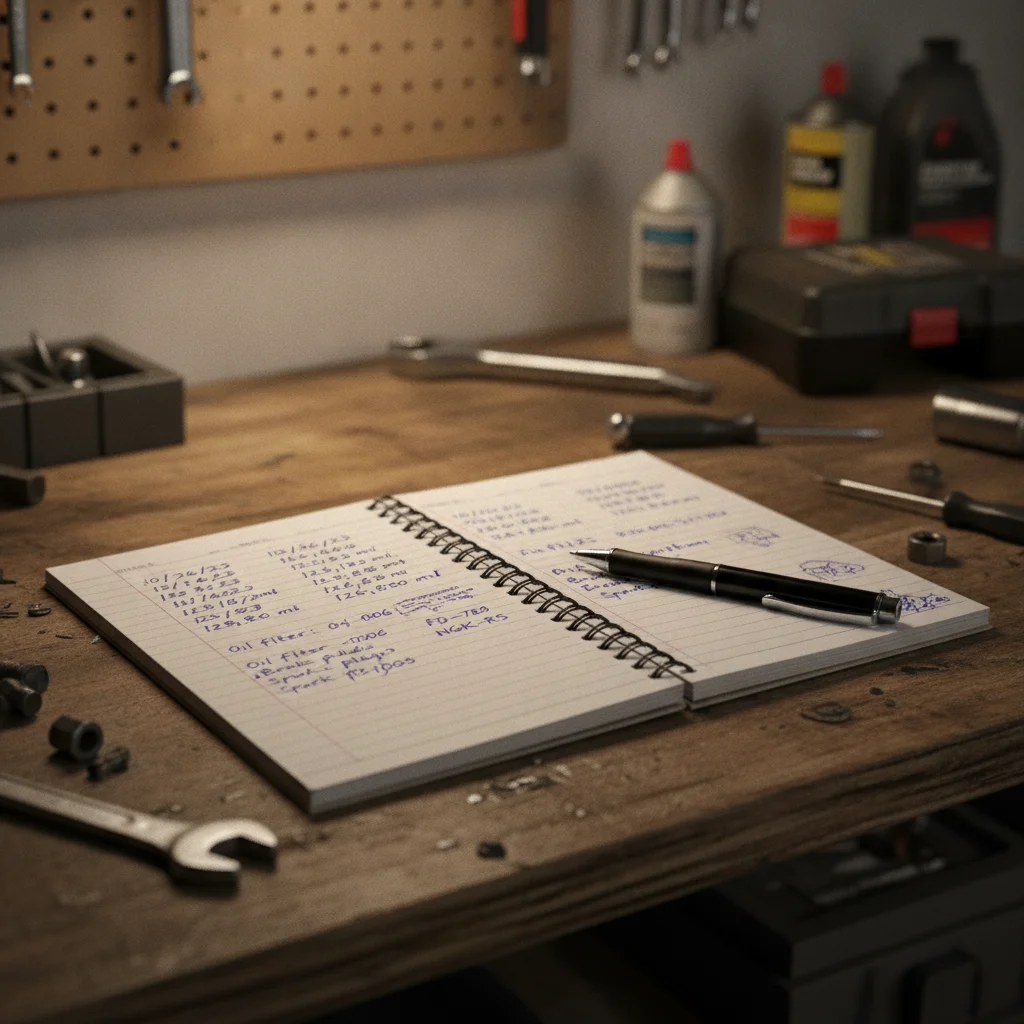
Keep a dedicated repair log for every job you do on the vehicle.
Memory is unreliable across months and jobs. A written record lets you see patterns, track part lifespans, and avoid repeating a misdiagnosis. It also creates documentation that can help justify a higher asking price when you sell.
Always verify torque specifications from a factory or trusted service database before tightening any critical fastener.
Fastener failures — whether from under-torquing or over-torquing — often don't appear immediately. A wheel lug that works loose or a head bolt that strips causes catastrophic failure far from home and may not be traceable to the original repair without documentation.
Tier your parts spending by failure consequence — spend more on safety-critical components, less on consumables.
Not all parts are created equal, and not all parts have equal failure consequences. A cheap cabin air filter that underperforms costs you some cabin air quality. A cheap wheel bearing that fails can cost you control of the vehicle.
Read through the full repair procedure before picking up a single tool.
Halfway-through surprises — a hidden bolt, a press-fit component, a special tool requirement — are what turn two-hour jobs into all-day ordeals. Reading the procedure first surfaces those surprises before they strand you with a disassembled car.
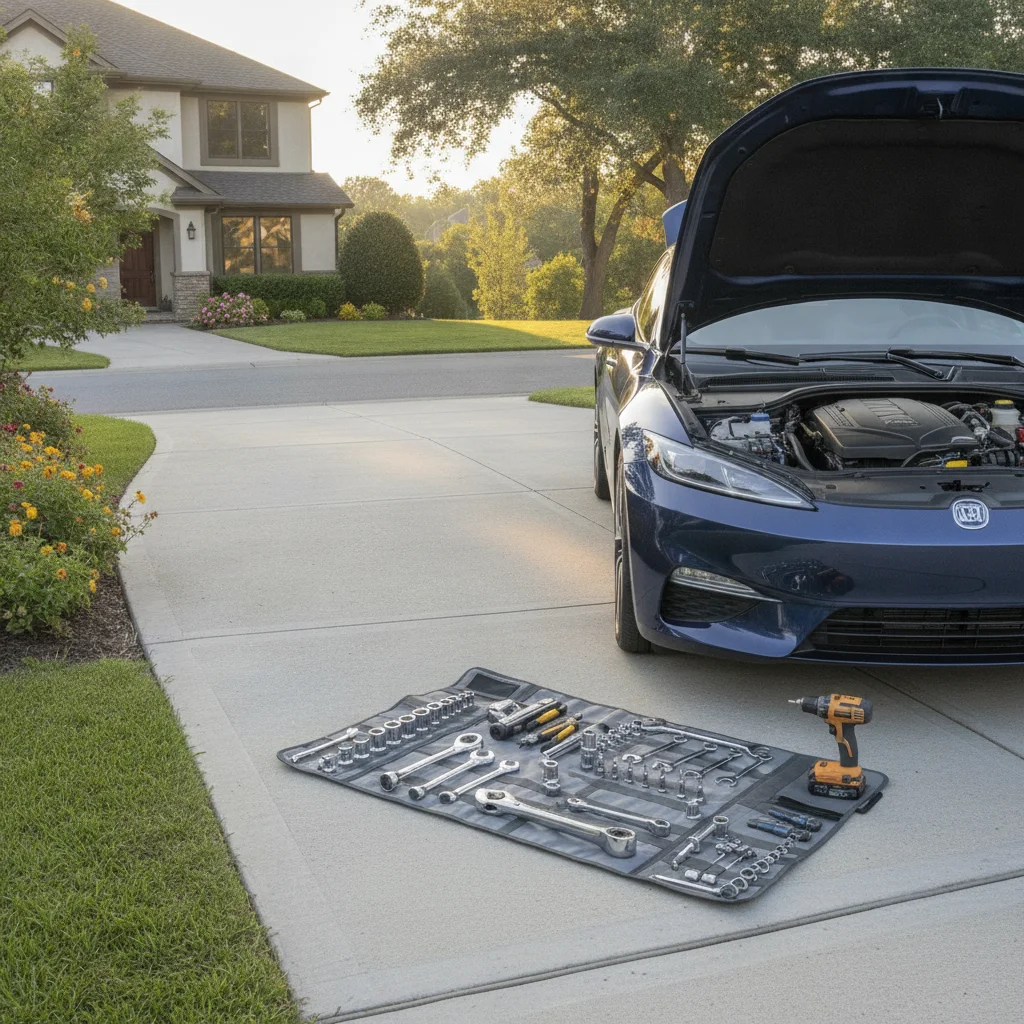
Stage all required tools and parts before starting disassembly.
Starting a job and then discovering you're missing a socket, a crush washer, or a specific fluid forces improvisation or delay — both of which increase error risk. Assembly errors are most common when you're rushing to finish because a part didn't show up.
Define your skill ceiling honestly before accepting a job — and research what's on the other side before crossing it.
The most expensive repairs home mechanics create are the ones where confidence exceeded competence. Partial disassembly of a system you can't reassemble correctly multiplies the shop bill because the professional now has to reverse your work first.
A basic repair log doesn't need to be fancy. A spiral notebook in the glovebox or a notes app on your phone works fine. What matters is writing down the job, the date, the mileage, any part numbers, the torque specs you used, and anything weird you noticed along the way. Six months from now, when you're pulling that wheel again, you'll know exactly what bolts you touched last time and what condition the hardware was in.
There's also a resale angle here that most people overlook. A documented service history — even handwritten — is a legitimate selling point. Buyers and dealers respond to proof of care. A stack of receipts and a repair log signals that the car was taken seriously.
Habit #2: Look Up the Torque Spec Every Single Time
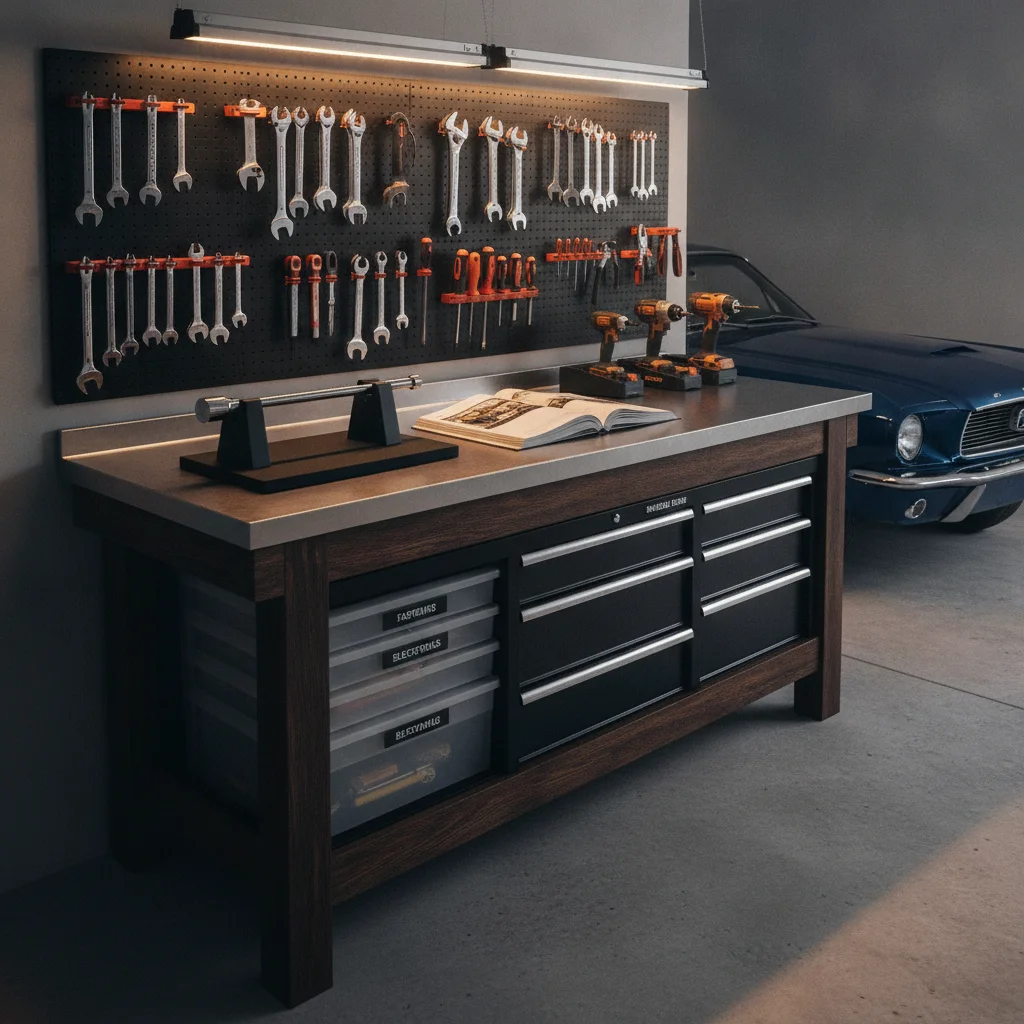
"Good and tight" is how stripped threads and broken wheel studs happen. Torque specs exist because engineers calculated the precise clamping force a fastener needs to do its job safely — accounting for metal type, thread pitch, thermal expansion, and load. Your intuition about "snug" doesn't account for any of that.
The factory service manual for your specific year, make, and model is the gold standard. If you don't have one, a reputable subscription database like AllData or Mitchell1 gets you there. Some manufacturers also publish spec sheets on their owner portals. The cost of a one-month subscription to a service database is far less than the cost of a broken bolt or a wheel that works loose on the highway.
“The manual exists because someone already calculated the right answer. Using it isn't admitting you don't know — it's admitting that engineering matters more than habit.”
— Bob Weber, ASE-certified master technician and longtime automotive advice columnist
This is one of the most common errors covered in our breakdown of DIY mistakes that turn small jobs into big repair bills — over-torquing and under-torquing both cause failures, just on different timelines.
Torque Wrench Calibration Matters
A torque wrench that's been dropped, over-stressed, or just old can read inaccurately — sometimes by 10–15%. Most manufacturers recommend calibration every 5,000 cycles or annually. If you've had yours for years and never checked it, take it to a tool supplier for a quick verification test before your next critical fastener job.
OEM vs. Aftermarket: A Practical Rule
For any component that, if it fails, could cause you to lose control of the vehicle — brakes, wheel bearings, tie rod ends, ball joints — go OEM or choose a Tier 1 supplier with a verifiable warranty. For maintenance items with no acute failure mode, reputable aftermarket brands are perfectly fine and often much better priced.
Habit #3: Source Parts Deliberately, Not Desperately
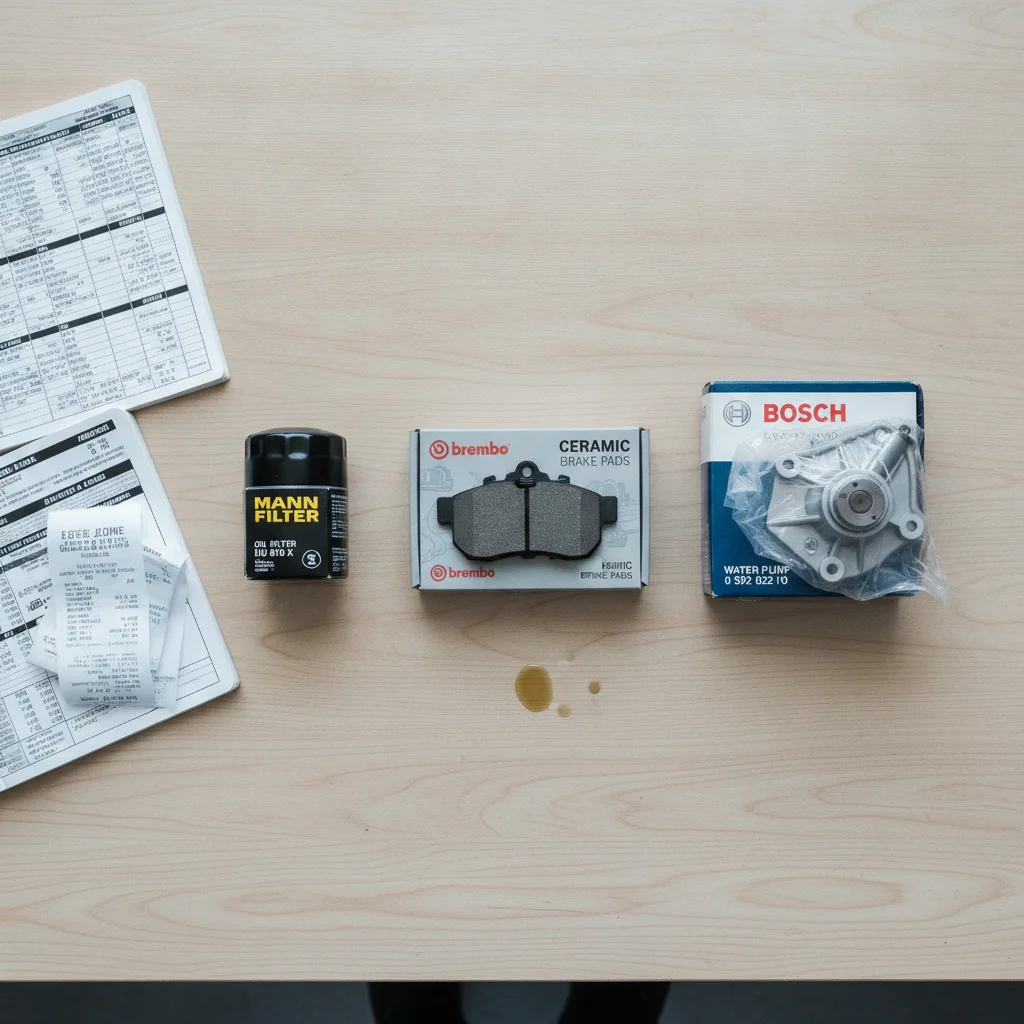
There's a reason experienced mechanics are particular about where they buy parts. The counterfeit and low-grade aftermarket parts problem is real. A brake rotor that warps after 8,000 miles, a water pump that starts weeping at 15,000 — these aren't flukes. They're what happens when the materials don't meet OEM tolerances.
1 in 3
DIY repairs that require a follow-up shop visit
Industry estimates suggest roughly one in three home repair attempts results in a professional correction, often due to incorrect parts or improper torque application.
Up to 30%
Counterfeit or substandard parts in the aftermarket supply chain
The Automotive Anti-Counterfeiting Council has estimated that counterfeit auto parts represent a significant share of the global aftermarket, particularly in brake and electrical components.
$500–$2,000
Typical cost to correct a botched DIY repair at a shop
When a home repair requires professional reversal and correction, the combined labor and parts cost frequently exceeds what a shop-first approach would have cost.
The practical approach: for safety-critical components — brakes, steering, wheel bearings, suspension — either go OEM or choose name-brand aftermarket suppliers with a traceable warranty and a reputation to protect. For less critical parts — filters, wiper blades, bulbs — the value tier is usually fine. Spend the money where the failure mode is dangerous.
Also factor in the return policy before you buy. If you've ever cracked open a box only to find the wrong-year part inside, you know the value of a supplier who makes exchanges easy. Make sure you have the right tools on hand before you order parts — showing up mid-job to a parts store is a way to make impulsive decisions.
Habit #4: Run a Pre-Repair Checklist Before Touching Anything
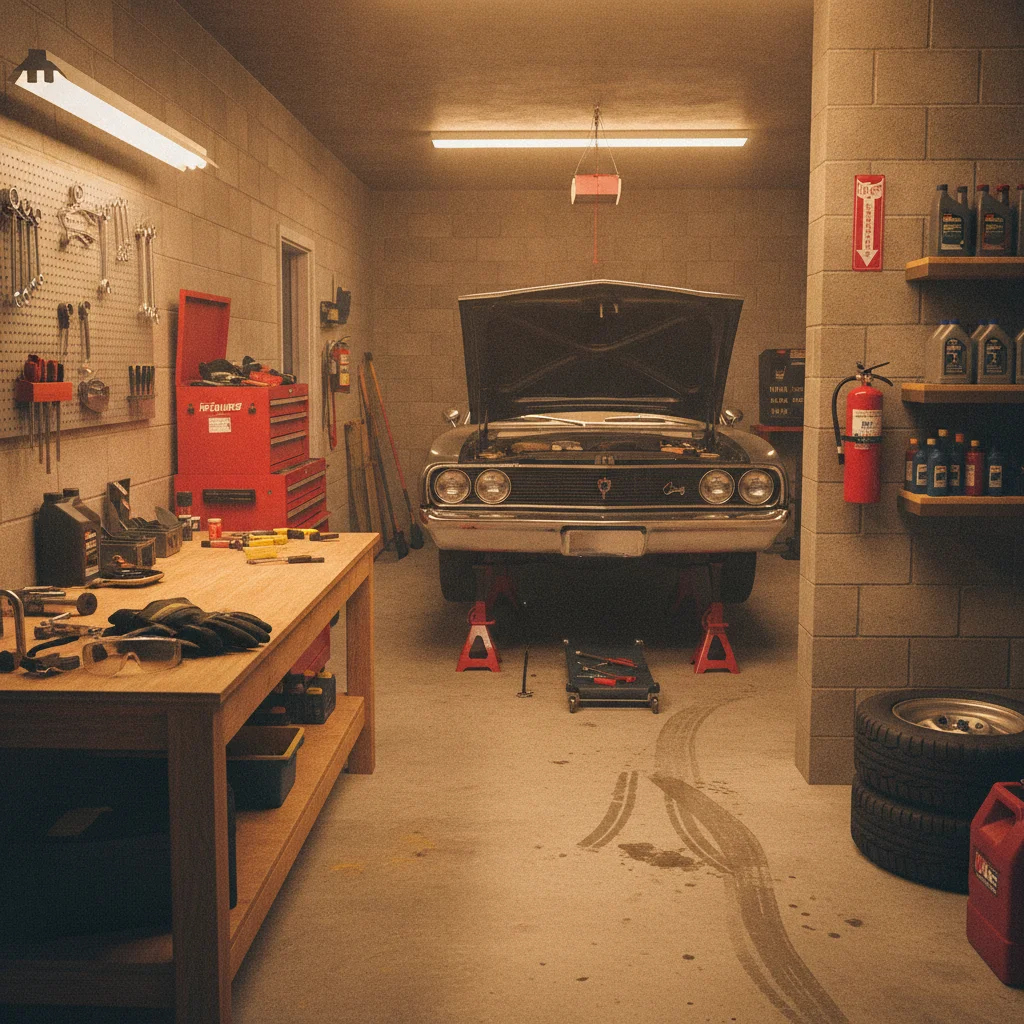
Good mechanics don't just dive in. They take five minutes at the start of every job to make sure the workspace is set, the car is properly supported, the right tools are staged, and they understand the full scope of what they're about to do. This isn't excessive caution — it's the difference between a clean job and a trip to urgent care.
A jack stand failure under a car is not something you walk away from. Neither is accidentally turning the ignition while your hands are near a running belt. Before any job, confirm: the vehicle is on a level surface, the wheels are chocked, the parking brake is set, the engine is cold if heat matters, and you've read through the repair procedure at least once before picking up a tool.
We've put together a detailed pre-repair safety checklist worth bookmarking. Run it every time, not just on big jobs.
On Jack Stands: No Exceptions
A floor jack is a lifting tool, not a support tool. It can — and does — fail. Any time you need to be under or near a vehicle that's elevated, use rated jack stands on solid contact points specified in your service manual. A hydraulic jack losing pressure while you're underneath is not survivable. This is the one area where there is no acceptable shortcut.
When to Stop and Call a Shop
If you encounter unexpected damage, a fastener that won't release without stripping, or a system behavior that doesn't match the service procedure, stopping is the right call. Forcing past an unexpected obstacle is how manageable repairs become serious ones. A shop can often finish a partially disassembled job, but it's always cheaper if you haven't forced anything.
Habit #5: Know Your Ceiling and Work Up to It
Overconfidence causes more expensive repairs than ignorance does. The mechanics who never get stranded twice have a clear mental model of what they can handle, what they can handle with the right preparation, and what genuinely belongs at a shop. That self-awareness isn't weakness — it's smart risk management.
A brake pad swap on a front-wheel-drive compact? Absolutely manageable with the right procedure and a proper torque wrench. A rear differential rebuild on a truck with a complex limited-slip unit? That requires specialized tools, experience reading wear patterns, and a level of tactile feedback that takes time to develop. Botching it will cost more than the shop visit you were trying to avoid.
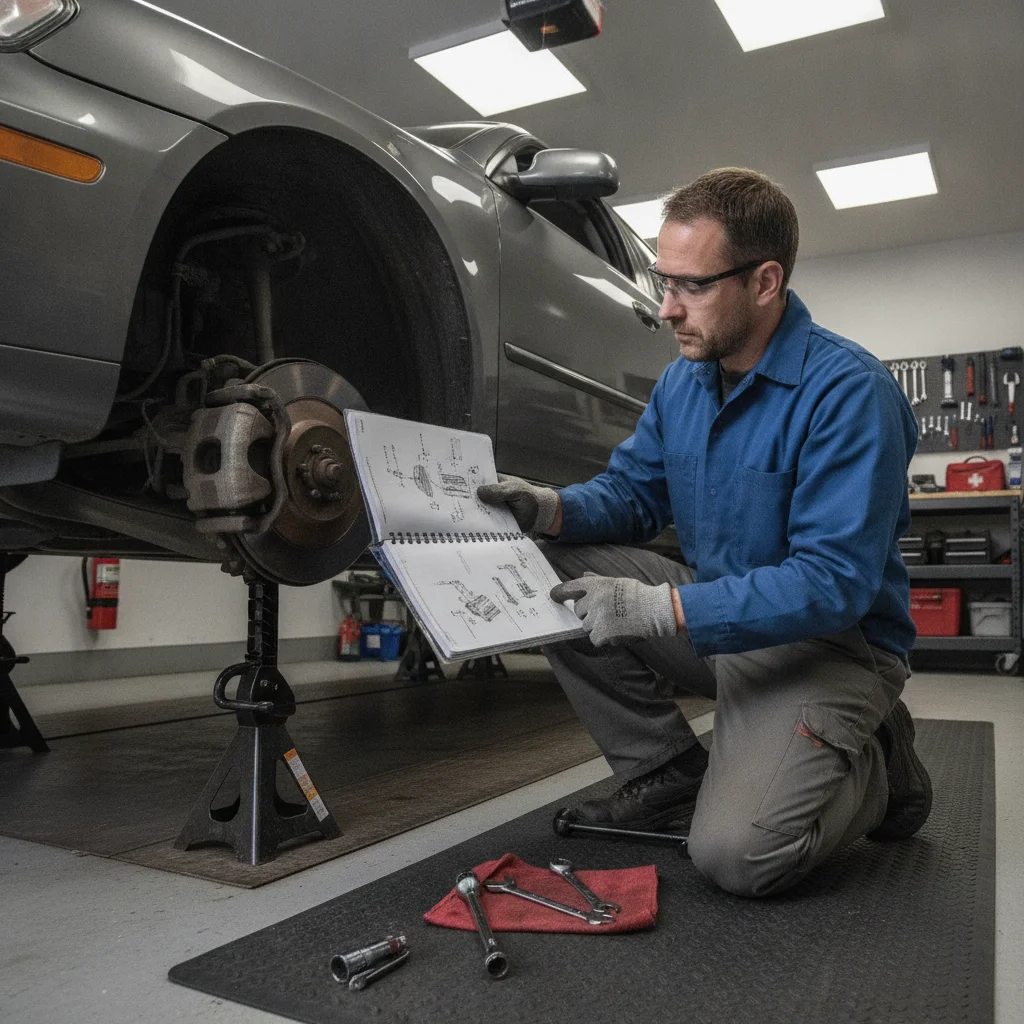
The practical mindset: start with high-frequency, low-complexity jobs — oil changes, air filters, cabin filters, spark plugs on easy-access engines, brake pads. Build your diagnostic instincts. Document what you learn. Then expand your scope with jobs that are one step harder. The complete at-home car maintenance playbook maps out what's appropriate at different skill levels and gives you a clear progression path.
One more thing: being a capable home mechanic also means understanding that a well-maintained car is a safer car on the road. That connects directly to broader road safety habits — mechanical reliability and driver behavior compound each other.
On Jack Stands: No Exceptions
A floor jack is a lifting tool, not a support tool. It can — and does — fail. Any time you need to be under or near a vehicle that's elevated, use rated jack stands on solid contact points specified in your service manual. A hydraulic jack losing pressure while you're underneath is not survivable. This is the one area where there is no acceptable shortcut.
When to Stop and Call a Shop
If you encounter unexpected damage, a fastener that won't release without stripping, or a system behavior that doesn't match the service procedure, stopping is the right call. Forcing past an unexpected obstacle is how manageable repairs become serious ones. A shop can often finish a partially disassembled job, but it's always cheaper if you haven't forced anything.
Putting It All Together: Build the System, Not Just the Skill
Individual repairs are satisfying. A system that makes every repair more reliable is transformative. The mechanics who never seem to get stranded aren't lucky — they've built a repeatable process around documentation, verified specs, quality parts, safety prep, and honest self-assessment.
Each habit on its own reduces risk. All of them together create a compounding effect: you catch problems earlier, you fix them correctly the first time, your parts last longer, and your car is more predictable. That also has downstream value — a well-maintained car burns fuel more efficiently and holds its resale value better than one that's been slapped together with mystery parts and overtightened bolts.
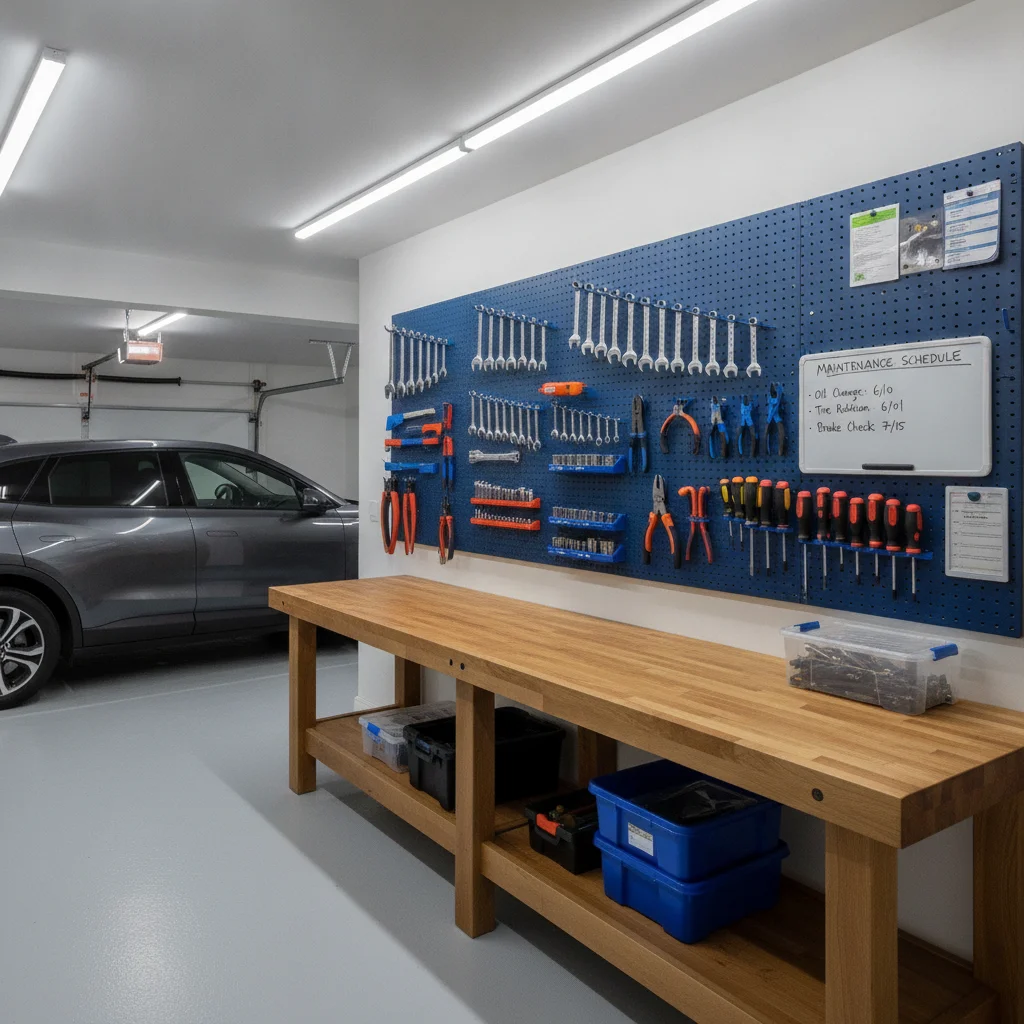
Start with the habit that addresses your weakest point. If you've never kept a repair log, start there tonight — write down the last thing you did to the car, when you did it, and what parts you used. If you've been eyeballing torque, order or borrow a torque wrench before your next job. Small adjustments to process, compounded over time, are what keep you out of the breakdown lane.
The tools are learnable. The habits are what stick.

All claims are backed by peer-reviewed research. Sources on request.