Key Takeaways
Summary
28 items · 10–20 minutes
Why a Pre-Repair Checklist Matters More Than You Think
Most DIY car repairs go wrong at the beginning, not the middle. Someone skips checking the jack points, forgets to disconnect the battery, or assumes their floor jack will hold for two hours while they swap brake calipers. That's when a straightforward Saturday job turns into a trip to the ER or a parts-store nightmare.
This checklist isn't about slowing you down. It's about building the kind of muscle memory that experienced home mechanics develop after years of near-misses. Run through it before every job — oil change, brake job, alternator swap, doesn't matter — and you'll eliminate a huge category of risk before you ever pick up a wrench.
If you're brand new to working on your own vehicle, it's worth reading our foundational guide for first-time DIYers alongside this checklist. And if you're still deciding whether a particular job is even worth attempting yourself, this breakdown of DIY versus professional repair territory will help you draw that line confidently.
Tools and Resources You'll Need
Before you look at the checklist items themselves, make sure you have the right resources at your station. Running back and forth to the hardware store mid-repair is how mistakes happen — and it's how a two-hour job becomes a five-hour one.
Floor Jack (2-ton or 3-ton)
Lifts the vehicle to place jack stands — never used alone as a support while working underneath.
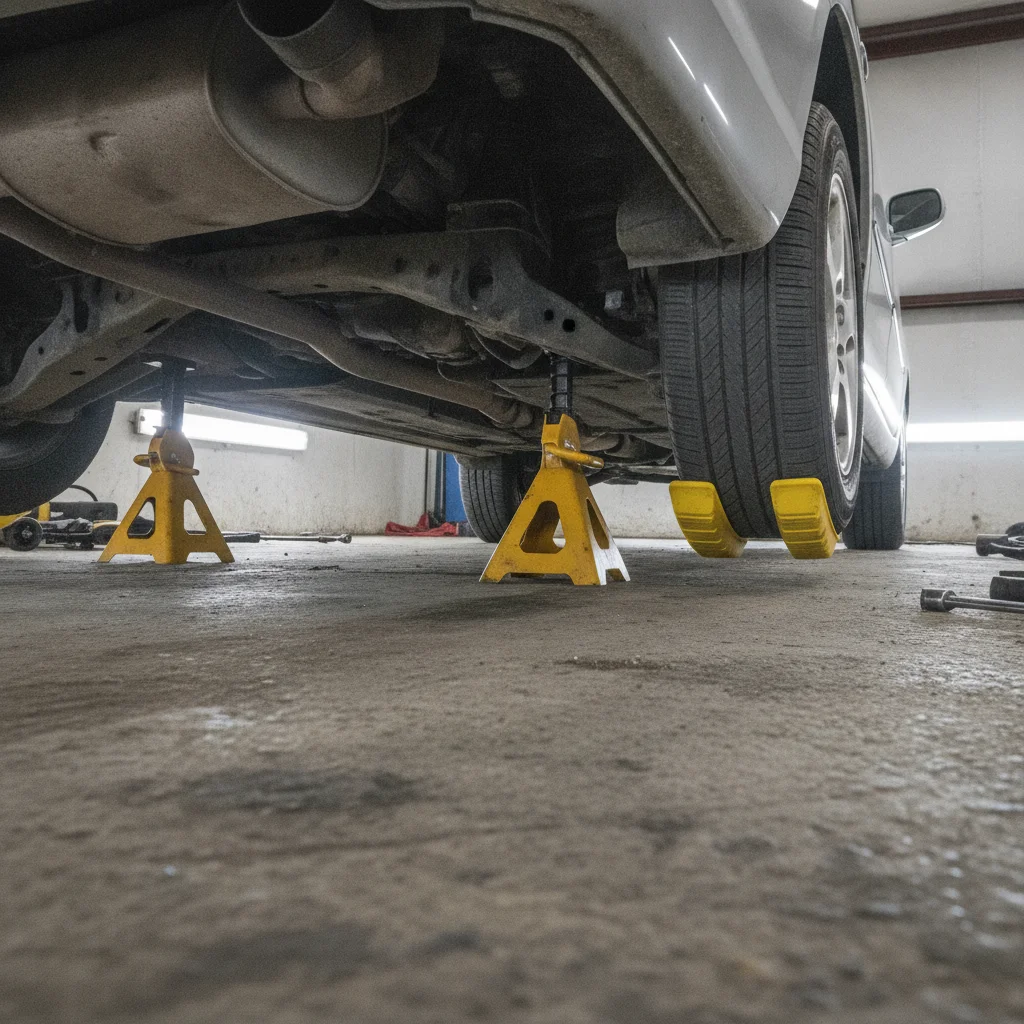
Jack Stands (matched pair, rated for vehicle weight)
Provides stable, reliable support under the vehicle while you work — the most important safety item in your garage.
Wheel Chocks
Prevents the vehicle from rolling when lifted or on a slope.
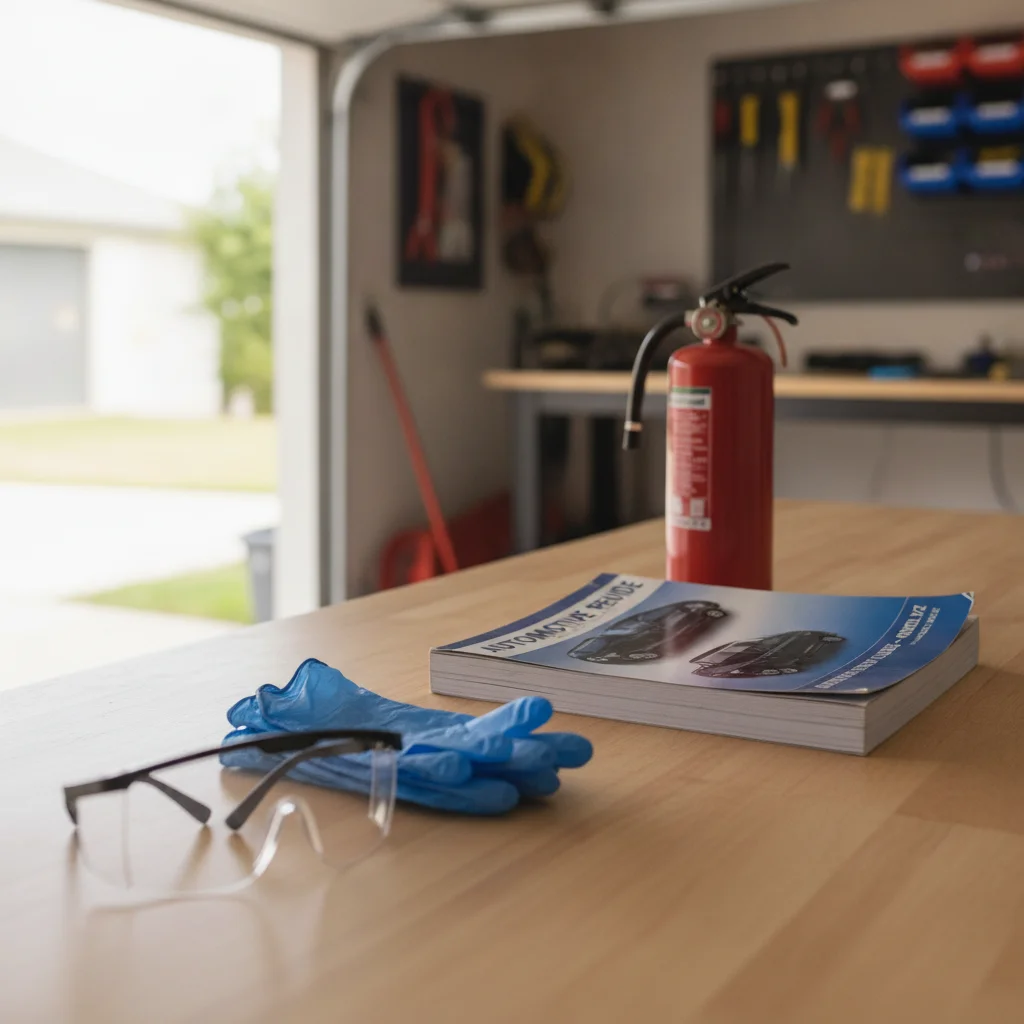
Safety Glasses or Goggles
Protects eyes from brake cleaner spray, debris, and fluid splashes.
Nitrile Gloves (box of disposables)
Shields skin from caustic fluids including brake fluid, coolant, and used oil.
ABC Fire Extinguisher (2.5 lb minimum)
Handles fuel, electrical, and general combustion fires — a non-negotiable garage safety item.
Factory or Aftermarket Service Manual
Provides exact torque specs, fluid capacities, jack point locations, and wiring diagrams for your specific vehicle.
Torque Wrench
Ensures fasteners are tightened to spec — over- and under-torquing are both leading causes of DIY repair failures.
One tool that gets underestimated constantly: the service manual. Not a YouTube video, not a forum post — the actual factory service manual (or a trusted aftermarket equivalent like Haynes or Chilton) for your specific year, make, and model. Torque specs, fluid capacities, jack point locations — all of it lives in there. The most expensive DIY mistakes almost always trace back to someone winging it instead of consulting a spec sheet.
The Full Pre-Repair Safety Checklist
Work through these items in order. The categories build on each other — workspace safety first, then vehicle stability, then personal protection, then job-specific prep. Don't treat this as optional reading. Print it, bookmark it, or screenshot it and keep it in your garage.
Workspace Setup
Vehicle Stability and Lifting
Personal Protective Equipment
Pre-Work Vehicle Checks
Chemical and Fluid Handling
Documentation and Backup Planning
Never Work Under a Car Supported Only by a Floor Jack
A hydraulic floor jack can fail without warning — seals leak, handles slip, and hydraulic pressure drops. If that happens while you're underneath the vehicle, there is no recovery. Jack stands are a few dollars at any auto parts store and are the single most important safety purchase a home mechanic can make. Use them every single time, no exceptions.
Carbon Monoxide Builds Up Fast in Enclosed Spaces
If you need to run the engine during a repair, do it with the garage door fully open and ideally a box fan pushing air out. Carbon monoxide is odorless and colorless — you won't smell it building up. Even a brief warm-up in a closed garage can reach dangerous levels within minutes. Don't take shortcuts on ventilation.
Hot Coolant and Oil Can Cause Serious Burns
After driving, engine coolant can be pressurized to over 15 PSI and reach temperatures above 200°F. Opening a radiator cap on a hot engine releases that pressure instantly. Same goes for oil — it stays hot long after the engine stops. Wait a minimum of 30 minutes after shutdown before draining or opening any fluid system.
If you skip items and something goes wrong — a vehicle rolls, a fuel line leaks, a bolt strips — you're looking at repair bills that will wipe out every dollar you tried to save doing it yourself. See what DIY actually saves you across common jobs so you can make a clear-eyed call on when it's worth the effort.
After the Job: Closing Out Safely
Finishing the repair is only part of the work. A lot of problems — slow fluid leaks, loose hardware, electrical gremlins — show up in the hours or days after a repair, not during it. Build a short closing routine into every job.
Before you lower the vehicle off the jack stands, do a visual sweep of the work area. Look for any tools left on top of the engine, rags stuffed in odd places, or fluid caps you set aside and forgot to reinstall. It happens more than people admit.
Once the car is back on the ground, start the engine and let it idle for a few minutes while you watch for leaks underneath. Check fluid levels again. If you did any brake work, pump the pedal several times in the driveway before you attempt any road test. Make your first drive a slow lap around the block, not a highway run.
Test Your Brakes Before Any Road Drive After Brake Work
If you've serviced any part of the brake system — pads, calipers, rotors, brake lines, or fluid — the system must be bled and the pedal must feel firm before you move the car on a public road. Pump the pedal repeatedly while stationary until it builds firm resistance. A soft or spongy pedal means air is in the lines and the brakes are not safe. Do not drive until this is resolved.
Skipping the Service Manual Is the Fastest Way to a Big Repair Bill
Torque specs, fluid specs, and removal sequences exist for a reason — and they vary significantly between makes, models, and even model years. Guessing at these figures or relying on generic advice from forums frequently results in stripped threads, blown gaskets, or damaged components that cost far more to fix than a professional repair would have. Always look it up for your exact vehicle before starting.
Keep a simple repair log — date, job performed, parts used, mileage. It takes two minutes and pays off enormously at resale time. Documented maintenance history is one of the strongest selling points a used car can have. The habits that separate reliable home mechanics from reactive ones almost always include consistent documentation.
And if the job uncovered something bigger than you bargained for — a cracked CV boot hiding a bad axle, a rotor that needs replacement alongside those pads — know that stopping and reassessing is the right call, not a defeat. That's what separates a careful home mechanic from someone who creates a safety problem for themselves and everyone else on the road.


All claims are backed by peer-reviewed research. Sources on request.