Key Takeaways
Why Electrical Gremlins Feel So Mysterious
One day your passenger-side power window works fine. The next morning it does nothing. You try the switch again. Nothing. You haven't touched any wiring, there's been no crash, and the battery seems strong because everything else still runs. This is exactly how an electrical fault tends to announce itself — quietly and without obvious explanation.
The good news is that most of these mystery failures trace back to one of two parts: a blown fuse or a failed relay. Both are cheap, both are replaceable without special training, and both can be diagnosed in your driveway in under an hour. Understanding what each component actually does makes the whole job a lot less intimidating.
Fuses are sacrificial protective devices. Each one guards a specific circuit — power windows, the radio, the horn — by acting as a weak link. When too much current flows through that circuit (from a short or overload), the fuse's thin metal strip melts and breaks the circuit before the wiring can overheat and catch fire. That's intentional design, not a flaw.
Relays are electromechanical switches that let a small control signal (from your switch or the ECU) activate a high-current circuit — like your fuel pump, cooling fan, or headlights — without routing all that current through fragile dashboard wiring. Inside a relay is a small electromagnet and a set of mechanical contacts. When the electromagnet pulls, the contacts close and current flows. When it releases, they open. They wear out, and when they do, you get intermittent or complete failures that feel completely random.
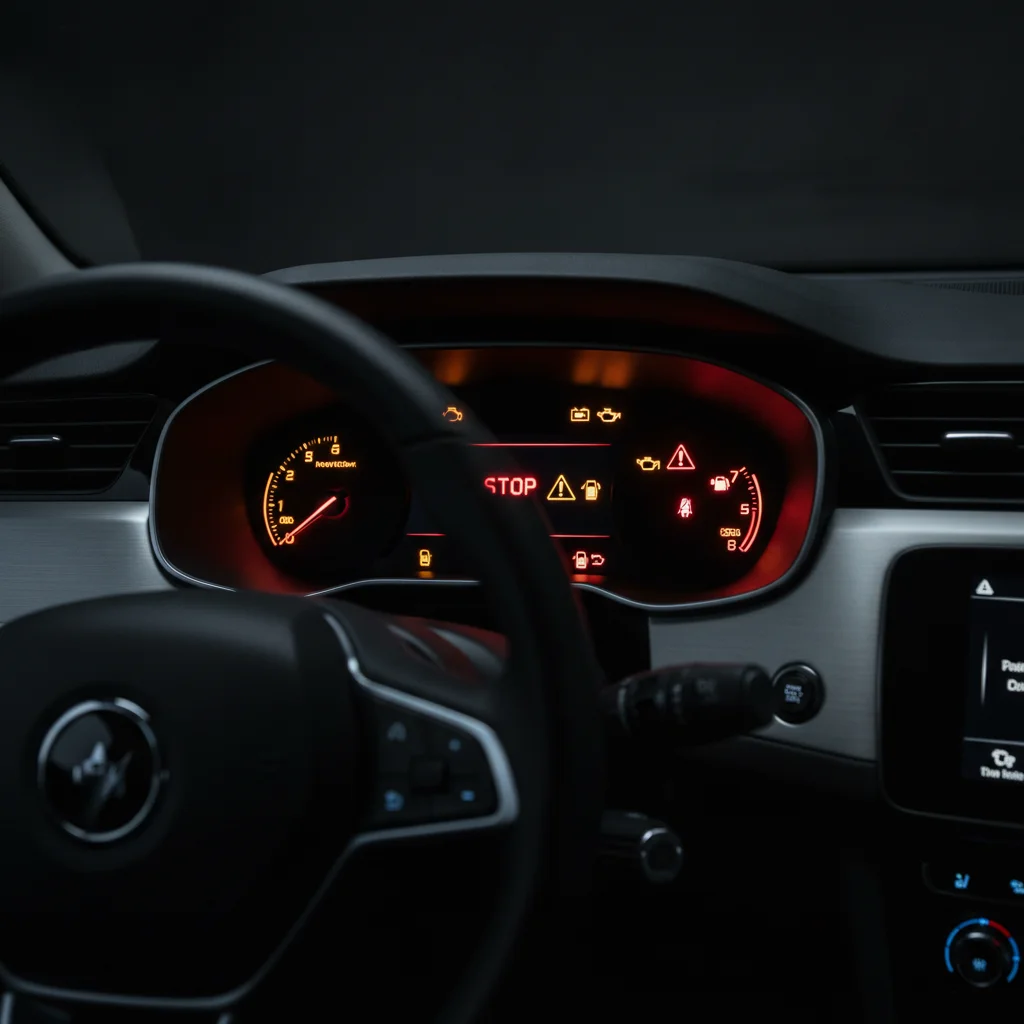
If you've ever read through a dashboard warning lights guide and found nothing that matched your symptom, there's a good chance no warning light will ever fire for a simple fuse failure — the car's computer often doesn't monitor those circuits directly. You have to find it yourself.
What You'll Need Before You Start
None of this requires a professional tool kit. Here's what to round up before you open the fuse box:
Digital multimeter
Tests for voltage on fuse terminals and resistance across relay coils to confirm faults.
Test light (12V)
A faster alternative to a multimeter for basic fuse testing — lights up when it detects voltage.
Fuse puller
Removes blade fuses from tight fuse box slots without breaking them or your fingernails.
Replacement fuse assortment kit
Provides same-amperage replacement fuses without a second trip to the auto parts store.
Flashlight or headlamp
Illuminates the fuse box interior and wiring — essential if the failed circuit includes interior lighting.
Owner's manual or fuse box diagram
Identifies which fuse or relay number controls which circuit so you're not guessing.
Needle-nose pliers
Useful for gripping and pulling glass-tube fuses in older vehicles that don't use blade-type fuses.
What you will need
One note on multimeters: you don't need an expensive unit. A basic digital multimeter from a hardware store for $15–$25 will handle every test in this guide. If you already own a simple test light — a probe with a wire clip and a bulb — that works just as well for fuse testing, though a multimeter gives you more information for relay testing.
While you're gathering tools, take a minute to check your own car for early warning signs more broadly. Electrical faults sometimes travel in pairs with other deferred maintenance issues.
Step-by-Step: Finding and Fixing the Fault
Work through these steps in order. Most DIYers find the problem by step four, but if a fuse keeps blowing or you can't locate the fault, the final steps tell you when to hand it off.
Turn everything off and locate all fuse boxes
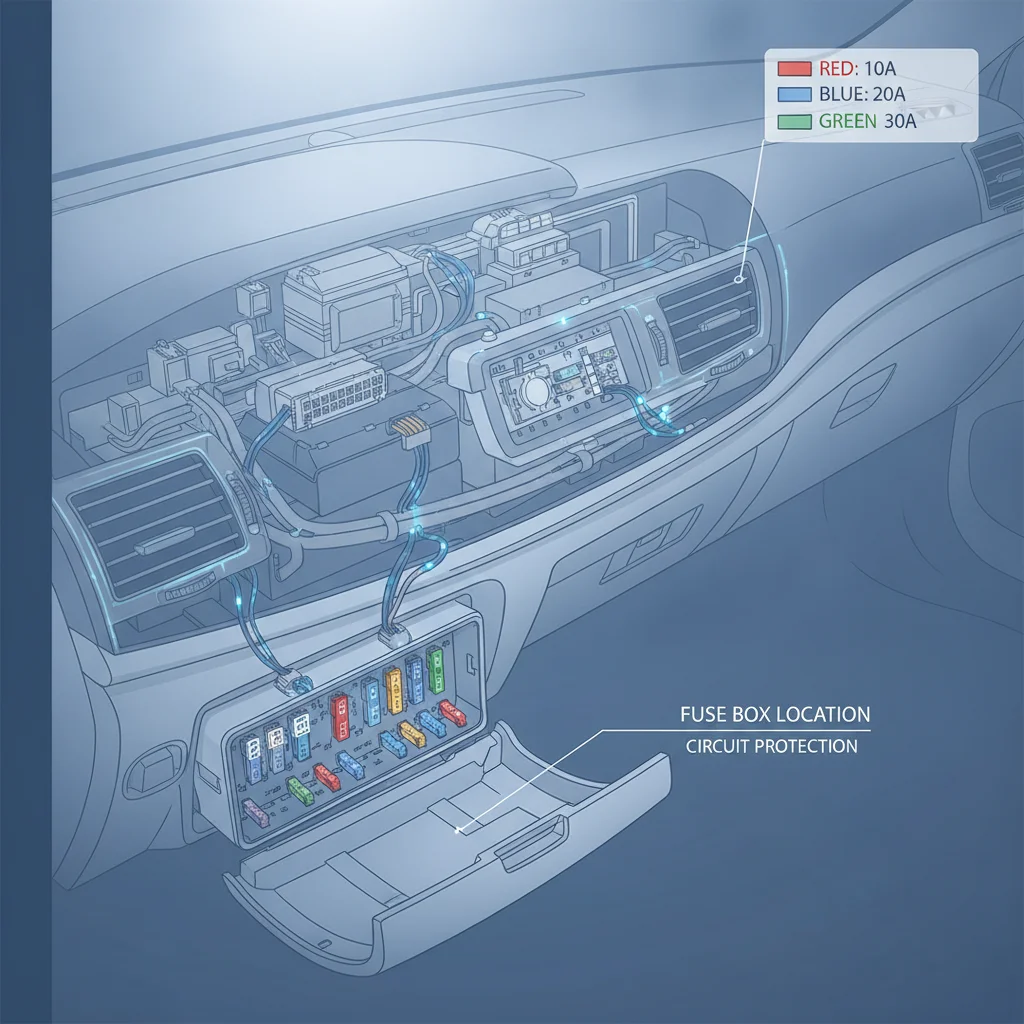
Switch the ignition fully off and remove the key. Modern vehicles often have two fuse boxes — one under the dashboard on the driver's side and a second, larger one in the engine bay (sometimes called the power distribution center or PDC). Check your owner's manual if you're not sure where both are.
Before touching anything, make sure the interior dome lights and all accessories are off. You're about to probe live circuits with ignition in the accessory position later, so start from a known-off state.
Identify the suspect circuit from the diagram
Open the fuse box cover. Inside the lid or in your owner's manual you'll find a diagram — either a numbered grid or a labeled map — telling you exactly which fuse or relay number controls which system. Find the circuit that matches your dead accessory.
Common examples:
- Power windows: often labeled PWR WINDOW or WIN
- Radio/infotainment: RADIO, AUDIO, or ACC
- Horn: HORN
- Interior lighting: INT LT or DOME
- Fuel pump: FUEL PMP or FP
Note the fuse's amperage rating (printed on top of the fuse in bold numbers — e.g., 15A, 20A, 30A). You'll need a replacement of the exact same rating.
Visually inspect the fuse
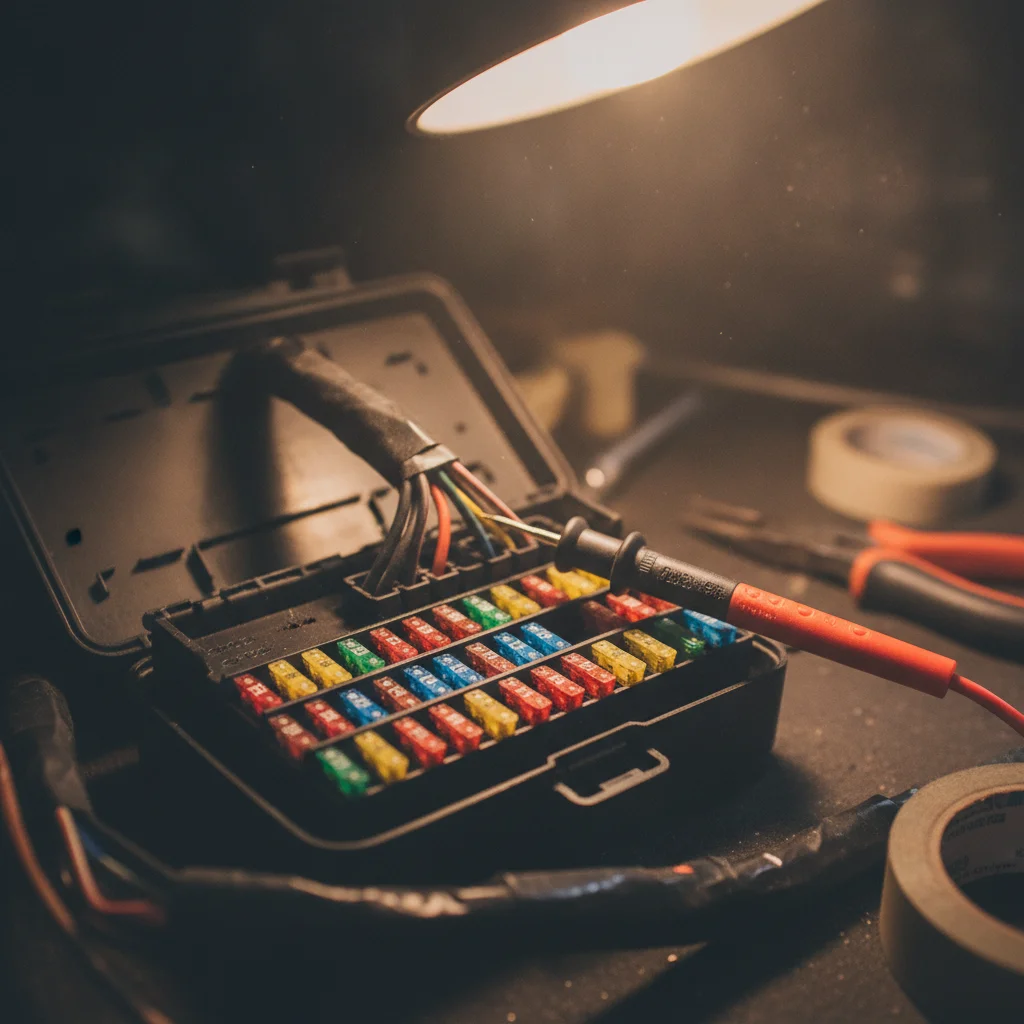
Use your fuse puller (or needle-nose pliers for glass fuses) to pull the suspect fuse. Hold it up to a light source. Inside the fuse body you'll see a small metal strip or wire bridge connecting both terminals.
- Blown fuse: The metal strip has a visible gap, break, or the fuse body is discolored or cloudy from heat.
- Good fuse: The metal strip is continuous with no gap.
Blade fuses (the flat, colored plastic type used in virtually all modern vehicles) are color-coded by amperage: tan = 5A, brown = 7.5A, red = 10A, blue = 15A, yellow = 20A, clear or white = 25A, green = 30A. This color system helps confirm you're pulling the right one.
[in_content_images:2]Confirm with a multimeter or test light
Visual inspection catches most blown fuses, but a quick electrical test removes all doubt and also lets you check fuses that are hard to see through. Here's how to do it with the ignition in the accessory (ACC) position — not fully on, just one click before start:
- Set your multimeter to DC voltage (or grab your test light).
- Clip the ground lead to a bare metal surface or the negative battery terminal.
- With the fuse still installed, touch the probe tip to each of the two small test ports on top of the fuse (most blade fuses have these exposed metal tips).
- A good fuse shows voltage on both sides. A blown fuse shows voltage on only one side — current enters but doesn't exit.
If you're using a test light, it should illuminate on both test ports of a good fuse. If it lights on only one side, the fuse is blown.
Replace a blown fuse with identical amperage
Pull the blown fuse and press the replacement firmly into the same slot. You'll feel a slight snap when it seats. Turn the ignition to ACC or start the vehicle and test the previously dead accessory.
If it works: Job done. Keep the spare fuse assortment in the glovebox for next time.
If the new fuse blows immediately or within a short drive: Stop. Do not keep replacing fuses. A fuse that keeps blowing is telling you there's excess current in the circuit — meaning a short circuit or overloaded component downstream. This needs proper diagnosis, not more fuses.
Test a suspect relay
If all fuses check out but the circuit is still dead — or if the system works sometimes and not others — a relay is the likely culprit. Relays typically live in the engine bay fuse box and are the taller, rectangular components (about the size of a sugar cube) plugged into slots alongside the fuses.
Method 1 — Swap test (easiest): Find a relay with the same part number in a non-critical circuit (check the fuse box diagram for matching relay numbers). Swap the suspect relay with the known-good one and test the circuit. If the dead circuit comes back to life, the original relay is bad.
Method 2 — Multimeter bench test:
- Pull the relay and look at the four or five pins on the bottom. Most relays are labeled: pins 85 and 86 are the coil (control) pins; pins 30, 87, and 87a are the switch (load) pins.
- Set the multimeter to resistance (Ω). Touch the probes to pins 85 and 86. A good relay coil reads roughly 50–120 ohms. An open circuit (OL/∞) means the coil is dead.
- To test the contacts, apply 12V directly to pins 85 and 86 using jumper wires from a 9V battery or the vehicle battery. You should hear a click. Then measure continuity between pins 30 and 87 — you should have continuity with the coil energized and none without it.
Document the repair and check for root causes
Once you've confirmed the fix, write down what you found: the fuse or relay number, its rating, which circuit it controls, and the date. This takes two minutes and saves significant time on every future repair.
Also ask yourself why the fuse blew in the first place. Fuses don't fail spontaneously — they blow because something asked for more current than the circuit was designed for. Common root causes include:
- A failing electric motor (window regulator, blower motor) drawing excess current as it wears out
- A chafed wire making intermittent contact with the chassis (ground fault)
- Water intrusion into a connector causing a partial short
- An aftermarket accessory wired improperly into the circuit
If the replacement holds without blowing again, a one-time spike (like a sudden load surge) was probably the cause and you're fine. If it fails again, stop replacing and start investigating the root cause — or hand it to a shop.
Never Bypass or Bridge a Fuse
Folding a piece of aluminum foil or a wire across a blown fuse slot is one of the most dangerous things you can do to a car's electrical system. The fuse exists to protect the wiring from overheating — bypassing it removes that protection entirely and turns your wiring harness into a potential fire starter. If a fuse keeps blowing, diagnose the cause — don't improvise around it.
When to Stop and Call a Professional
Fuses and relays are genuinely beginner-friendly. But there's a point where continuing on your own becomes counterproductive — or dangerous.
Hand it to a pro if:
- A replacement fuse blows immediately or within a short drive — this confirms a hard short circuit somewhere in the wiring.
- You find burn marks, melted plastic, or a charred smell anywhere near the fuse box or wiring harness.
- Multiple fuses in unrelated circuits are failing.
- The fault disappears and returns on its own with no pattern you can identify (intermittent shorts can be extremely difficult to chase down without a wiring diagram and professional scan tools).
- Your vehicle is a hybrid or EV. The 12V fuse systems work the same way, but the high-voltage traction battery system is a completely different animal. See our comparison of what EV owners can do themselves vs. what requires a technician before touching anything under an EV's hood.
A Recurring Blown Fuse Means Stop Now
If you install a new fuse and it blows again during the same drive — or even immediately — there is an active short circuit in that wiring run. Continuing to replace fuses will not fix it and risks overheating wiring between the fuse box and the short location. Park the vehicle, turn everything off, and have a professional trace the fault with a wiring diagram and a proper short-circuit finder. This is not a situation to troubleshoot by feel.
A diagnostic session at an independent shop for a wiring fault typically runs $75–$150 for the first hour. That's real money, but it's far less than the cost of a wiring fire — or an insurance claim. Before you go in, take notes on exactly when the fault occurs, what was running at the time, and whether the problem is constant or intermittent. That information cuts diagnostic time significantly.
If this situation is happening on a car you're buying rather than one you own, flag any dead accessories during the test drive. Our guide on what to look at under the hood even if you're not a mechanic covers the signs of deferred electrical work that sellers don't always volunteer.
Keep a Mini Fuse Kit in Your Glovebox
A small blade fuse assortment costs about $8 and takes up almost no space. If a fuse fails on the road, you can swap it on the spot without a tow or a parts store run. Include a fuse puller and a basic test light and you have a capable roadside electrical kit for under $20 total.
Swap Test Is Faster Than a Bench Test
If you suspect a relay and you have an identical relay number elsewhere in the fuse box (check the diagram), just swap them. If the dead system comes back to life, you've confirmed the fault in 60 seconds without any tools. Just make sure you're swapping from a non-critical circuit — swap the horn relay before the fuel pump relay.
Protecting Your Repair Work and Your Resale Value
Clean, documented electrical repairs actually matter at resale time. A car with a history of recurring electrical gremlins — even minor ones — can knock hundreds off the trade-in offer because buyers and dealers assume there's more hiding underneath.
Here's how to keep things clean going forward:
- Document the repair. Keep a simple log: date, symptom, fuse or relay replaced, location in the fuse box. A photo of the fuse box layout with a note attached takes two minutes and makes every future repair faster.
- Don't chase fuse faults with electrical tape. If a wire has a chafed spot causing intermittent shorts, the right fix is proper heat-shrink splice connectors — not tape over the damage.
- Check fuse box condition when you buy or sell. Corroded fuse box contacts or evidence of water intrusion are negotiating points. During a pre-purchase inspection, pay close attention during inspections to whether any accessories are non-functional — it costs nothing to test every switch and button before you sign.
- Know the DIY boundary. The most common DIY mistakes that turn small jobs into big repair bills often involve electrical work specifically — things like using the wrong fuse rating, splicing wires incorrectly, or bypassing a blown fuse entirely. Stick to like-for-like replacements and you'll stay on the right side of that line.
The bottom line: fuses and relays are among the cheapest fixes in automotive maintenance. Master this one skill and you'll save money, feel more confident under the hood, and keep your car's electrical system in the kind of shape that holds its value.


All claims are backed by peer-reviewed research. Sources on request.