Key Takeaways
Why This Is the Right Job to Start With
If you've never done any work under your own hood, replacing an engine air filter is the ideal first job. There's no hot fluid, no torque specs to worry about, no risk of damaging anything if you go slowly. And yet it's a legitimate maintenance task that shops charge real money to perform — typically $25 to $60 in labor alone, on top of a marked-up filter.
The filter itself usually costs $15 to $30 depending on the vehicle. So doing this yourself in 10 minutes is a genuinely practical win, not just a hobbyist exercise.
What a clogged air filter actually does to engine efficiency is a topic worth understanding before you decide whether to delay this replacement. The short version: your engine needs a precise ratio of air to fuel to run correctly. When the filter restricts airflow, the engine management system compensates — but that compensation comes at a cost in fuel economy and, over time, in wear. It's not a dramatic failure, but it's a slow drain on performance and mileage that adds up.
If you're not totally sure whether you need the engine filter, the cabin filter, or both, take a minute to read up on the difference between cabin and engine air filters. They're completely separate parts that do different jobs. This guide is focused entirely on the engine air filter — the one that protects your motor, not the one that filters the air inside your car.
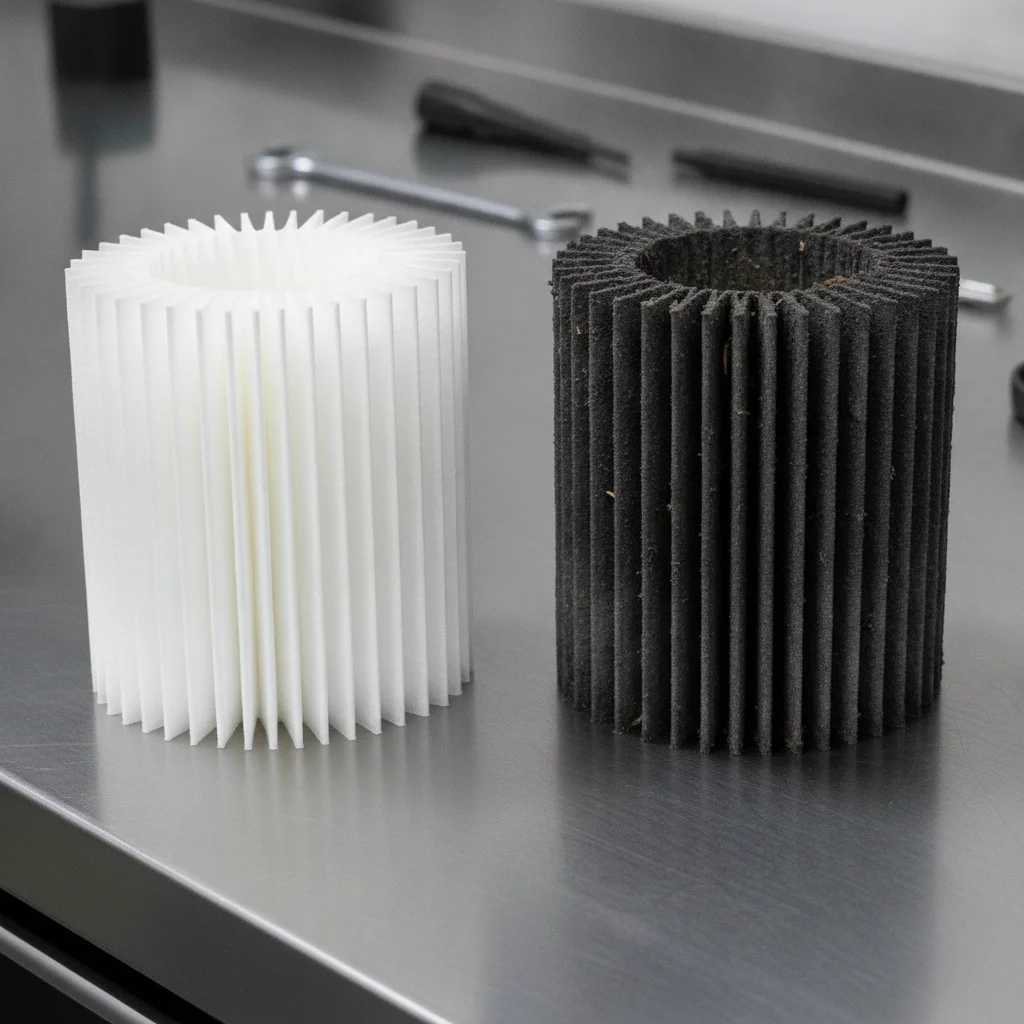
Most manufacturers recommend replacing the engine air filter every 15,000 to 30,000 miles under normal driving conditions. If you drive on unpaved roads, in a dry or dusty region, or spend a lot of time behind other vehicles on construction routes, shorten that interval. When in doubt, look at the filter — it'll tell you what you need to know.
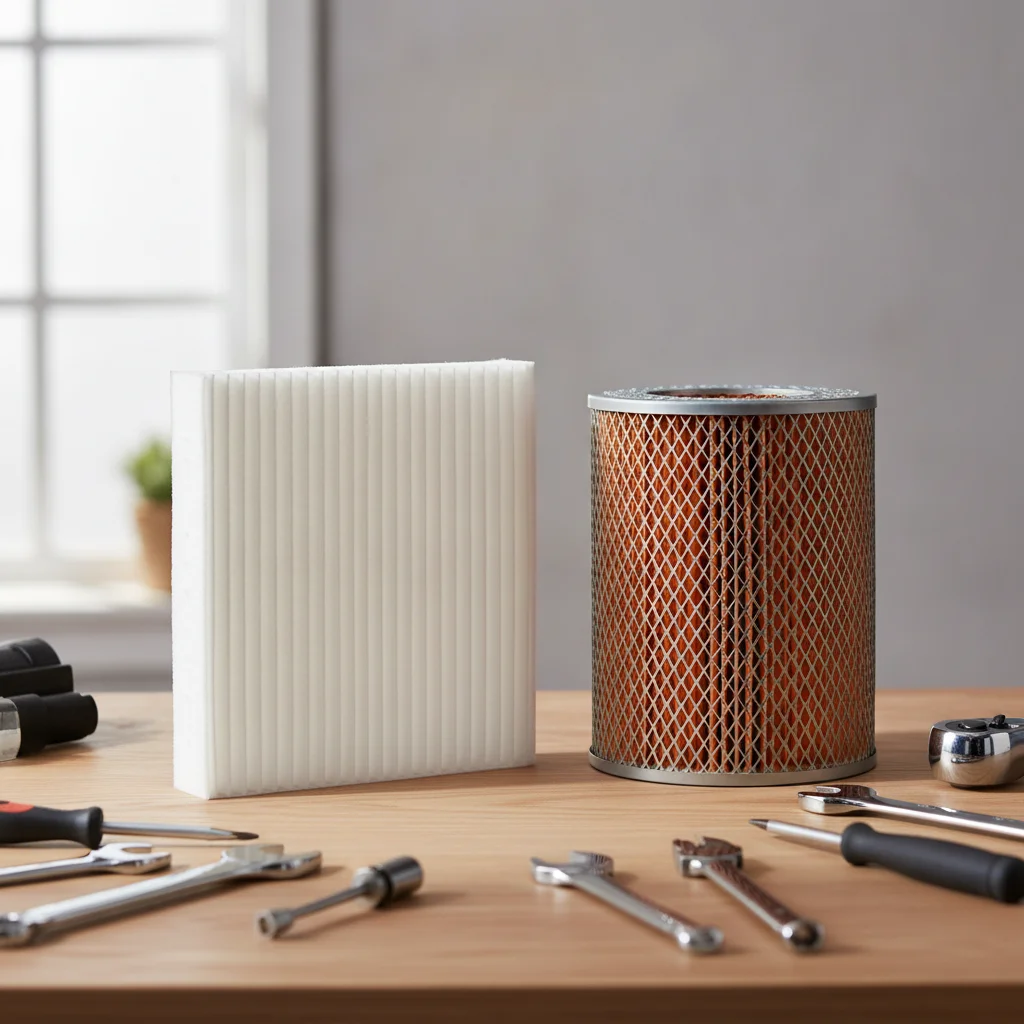
What you will need
What You Need Before You Start
The only thing that can really derail this job is having the wrong filter. Auto parts stores like AutoZone, O'Reilly, or Advance Auto have lookup tools — online and in-store — where you enter your vehicle's year, make, model, and engine displacement and get an exact match. If you're ordering online, the same applies. Do not guess or go by physical size alone; filters that look nearly identical can have different gasket geometries that will leave gaps in your airbox.
Replacement engine air filter
The new filter that will replace the clogged or dirty one in your airbox.
Clean rag or shop towel
Used to wipe out any loose debris or dust inside the airbox before installing the new filter.
Flathead screwdriver
Needed on some vehicles to pry open wire-bail clips or loosen hose clamps on the airbox.
Socket wrench with 8mm or 10mm socket
Required on certain vehicles where the airbox lid is secured with bolts rather than clips.
Flashlight or phone light
Helps you see inside the airbox and spot any debris or damage in low-light engine bays.
You do not need to buy a premium or performance filter for a standard commuter car. The OEM-equivalent filter from a reputable brand (Fram, Purolator, K&N standard, Motorcraft, Wix) will do the job perfectly. Save the high-flow reusable filter for a later project once you know you want to get into that territory.
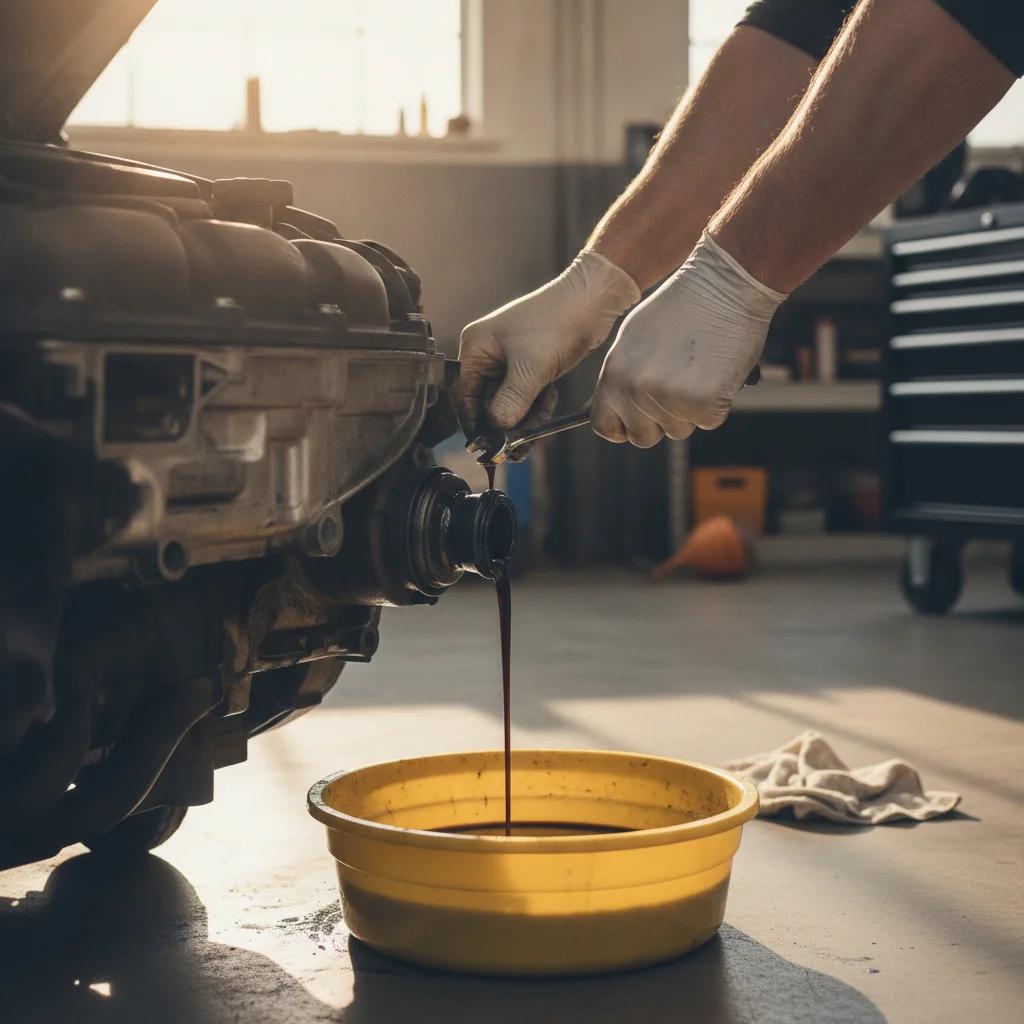
One more thing: if this job gets you interested in doing more of your own maintenance, the next logical step is an oil change. It's slightly more involved but still very approachable — the DIY oil change guide walks through everything you need to know before you start.
How to Change Your Engine Air Filter
Follow the steps below in order. The whole process should take you 5 to 10 minutes on a typical vehicle. A few models with less accessible airboxes or bolt-secured lids might run a couple of minutes longer, but nothing here is complicated.
Turn off the engine and let it cool
Pop the hood and make sure the engine is fully off. If you just drove the car, give it a few minutes. The airbox itself doesn't get dangerously hot, but it's good habit to work on a cool engine whenever you're reaching around under the hood.
Locate the airbox
The engine air filter lives inside a plastic housing called the airbox. On most vehicles it's a black rectangular or round box connected to a large corrugated intake hose. It's usually positioned near the top of the engine bay, often on one side or the other. If you're not sure where it is, your owner's manual will show you, or a quick search for your specific vehicle model will confirm it.
[in_content_images:0]Open the airbox lid
Airbox lids are held on in one of a few ways:
- Wire-bail clips: The most common type. Squeeze or flip them outward by hand — no tools needed.
- Plastic snap clips: Press the tab and lift. These can feel stiff on older vehicles.
- Bolts or screws: Less common but present on some trucks and performance vehicles. Use the appropriate socket or screwdriver.
Most vehicles use two to four clips along the edges of the lid. Unhook all of them and lift the lid up. On some vehicles the lid stays attached via the intake hose — just swing it out of the way rather than removing it completely.
Remove the old filter
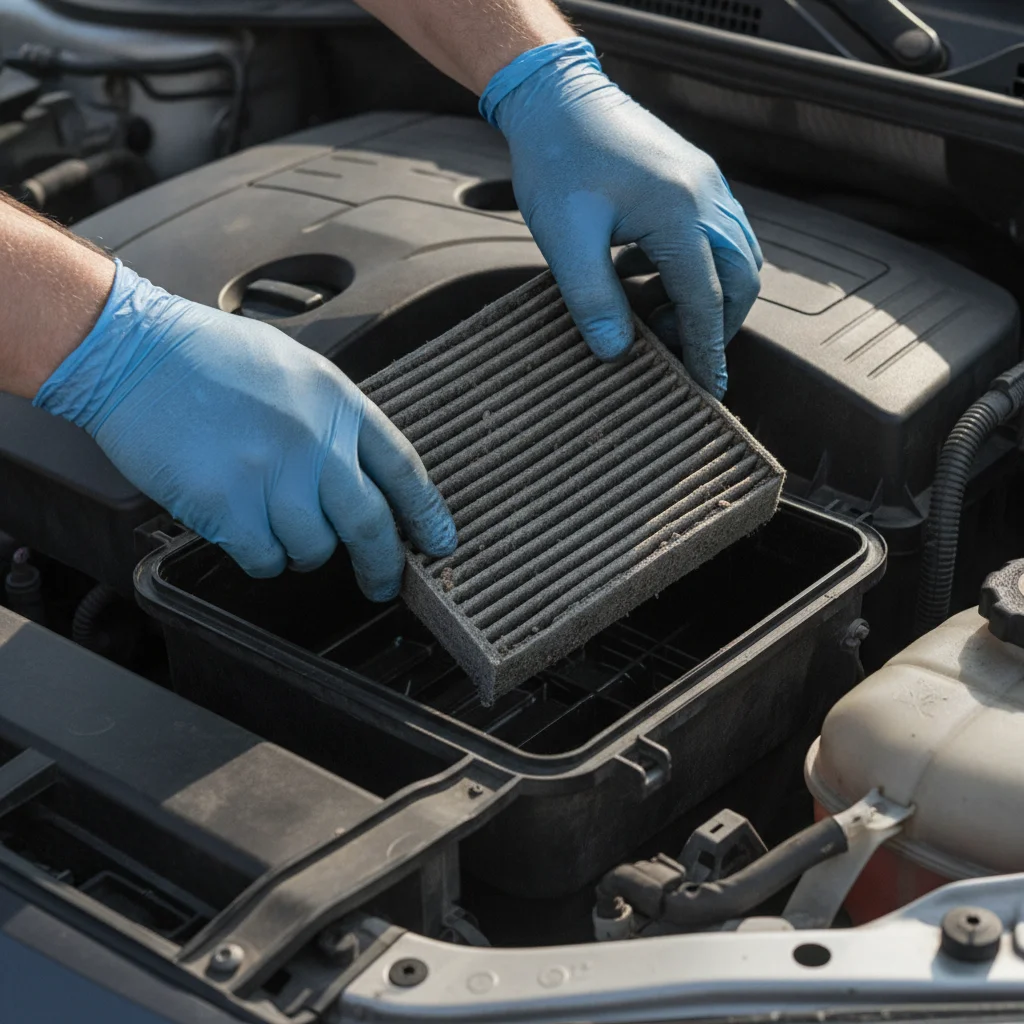
Lift the old filter straight out of the airbox. It should come out easily — no prying required. Hold it over a trash bag or away from the engine bay, because a heavily clogged filter can shed debris when moved. Take a look at it in good light.
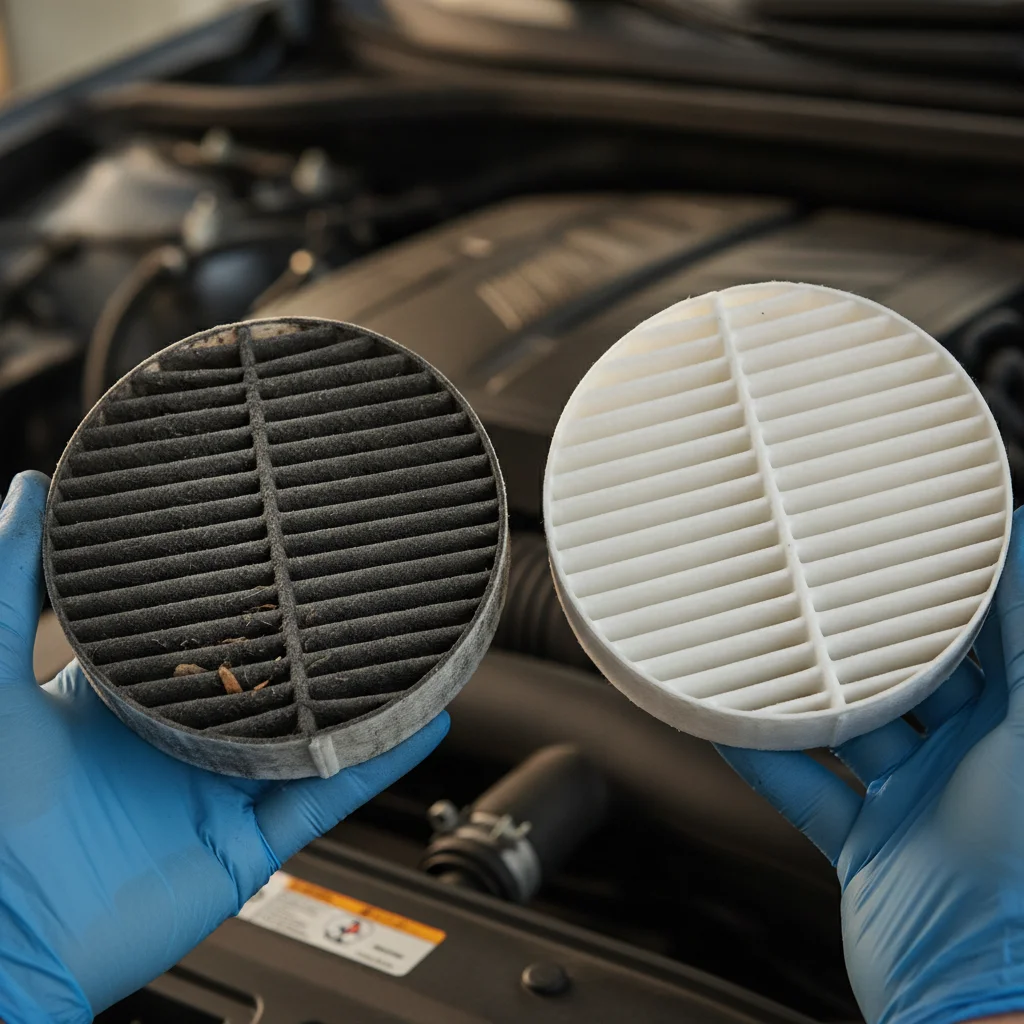
A new filter is typically white, light gray, or light brown. If yours is dark gray, black, or visibly caked with dust and bugs, it's well past due for replacement. If it's only lightly dusty, you can make a judgment call — but since you're already here, swapping it now is almost always the right move.
Wipe out the airbox
Before dropping in the new filter, take your clean rag and wipe out the inside of the airbox. You're looking for loose dirt, dead insects, or any debris that settled at the bottom. Don't blow compressed air into the intake side of the airbox — you don't want to push grit further into the intake tract.
Install the new filter
Orient the new filter the same way the old one sat — rubber gasket side down, filter media facing up. Seat it firmly and evenly in the airbox so the rubber lip seals all the way around the housing. There shouldn't be any gaps between the filter and the airbox walls. If the filter feels like it doesn't quite fit, double-check that you have the correct part number for your vehicle.
[in_content_images:1]Close and secure the airbox lid
Set the lid back into place and re-engage all the clips, snaps, or bolts you removed. Give each one a firm press or click to confirm it's fully locked. Tug lightly on the lid to make sure nothing is loose. If you disconnected any hose clamps, reconnect those now. Then start the engine and listen for a moment — you shouldn't hear any unusual whistling, which would suggest an unsealed connection somewhere.
Troubleshooting and Common Mistakes
Most of the time, this job goes perfectly smoothly. But here are the situations worth knowing about before you start:
Don't Disconnect What You Don't Need To
Some vehicles have a mass airflow (MAF) sensor mounted in or near the airbox, connected by a wiring harness. You typically don't need to disconnect this sensor to change the filter. If the harness gets in your way, carefully move it aside — don't yank or twist the connector. A damaged MAF sensor can trigger a check engine light and costs significantly more to replace than an air filter.
Avoid Blowing Compressed Air Into the Intake Tract
It can seem like a good idea to blast out the airbox with compressed air, but directing airflow into the intake side of the housing can push fine debris particles into the intake tract and toward the engine. Stick to wiping with a clean rag. If you need to clear stubborn debris from the intake tube, use low-pressure air directed outward, away from the engine.
The filter doesn't seem to fit
If you can't get the new filter to sit flush, verify the part number before forcing anything. A slightly off-spec filter is better returned than crammed in. Check your purchase receipt and the lookup tool again with your full VIN if needed — some model years have mid-cycle changes that affect part fitment.
Clips are broken or corroded
On older vehicles, wire-bail clips can snap or corrode. Replacements are cheap (often under $5 at any parts store) and clip on easily. Don't close the airbox with a missing clip and call it done — an unsecured lid can vibrate loose at highway speeds.
You find debris or a small animal nest inside
It happens, especially on vehicles that sit unused for months. Mice and squirrels love the warmth of engine bays and the shelter of an airbox. If you find nesting material, clear it out carefully, check the intake tube for obstructions, and replace the filter. Consider a rodent deterrent if this has happened before.
Never Drive With an Unsealed Airbox
If the airbox lid isn't fully clipped or secured, unfiltered air bypasses the filter element entirely and goes straight into your engine intake. Over time, dirt and debris entering the engine causes accelerated wear on piston rings, cylinder walls, and mass airflow sensors. Always confirm the lid is fully closed and all clips are engaged before starting the engine.
A note on reusable performance filters
If your vehicle already has a reusable performance filter installed (K&N, AEM, etc.), you don't replace it — you clean and re-oil it. The cleaning process is different from what's described here and requires a specific cleaning kit. Check the filter for branding before you buy a replacement.
If your check engine light is on
A clogged air filter alone doesn't typically trigger a check engine light on modern vehicles — the fuel system compensates. If your CEL is on, replacing the air filter may help but probably isn't the root cause. Read the fault code first with a scanner before assuming the filter is to blame.
Set a Filter Replacement Reminder Now
Before you close the hood, write the current mileage on the top of the new filter with a marker, or set a reminder in your phone for 20,000 miles from now. The biggest reason filters go unreplaced too long is simply forgetting — a 10-second reminder solves that permanently.
Check the Filter When You Check the Oil
If you check your engine oil every month or at every other fill-up, make it a habit to pop the airbox lid at the same time and take a visual look at the filter. It adds 30 seconds and gives you an accurate, real-world read on filter condition rather than relying entirely on mileage intervals.
What This Saves You — and What It Says About Your Car
Beyond the immediate labor savings, staying on top of air filter replacements is one of those small habits that compound over time. A well-maintained car commands better resale value, and service records — even for small items — signal to buyers that you took the vehicle seriously. Dealers and private buyers notice the difference between a car that's been cared for and one that's been neglected.
More practically: a car that breathes properly runs more efficiently. You may not notice a dramatic MPG improvement after a single filter change, but cumulatively, keeping clean filters over 100,000 miles of ownership makes a measurable difference in fuel costs and engine longevity.
If you drive an electric vehicle, you don't have an engine air filter — but you likely still have a cabin air filter that needs attention. Cabin air filter replacement in EVs is one of the most overlooked maintenance items for EV owners, and it's just as easy a DIY job.
For gas and hybrid vehicle owners, the engine air filter is as simple as routine maintenance gets. Do it once and you'll wonder why you ever paid someone else to do it.

All claims are backed by peer-reviewed research. Sources on request.