Key Takeaways
Why Body Panels Tell the Real Story
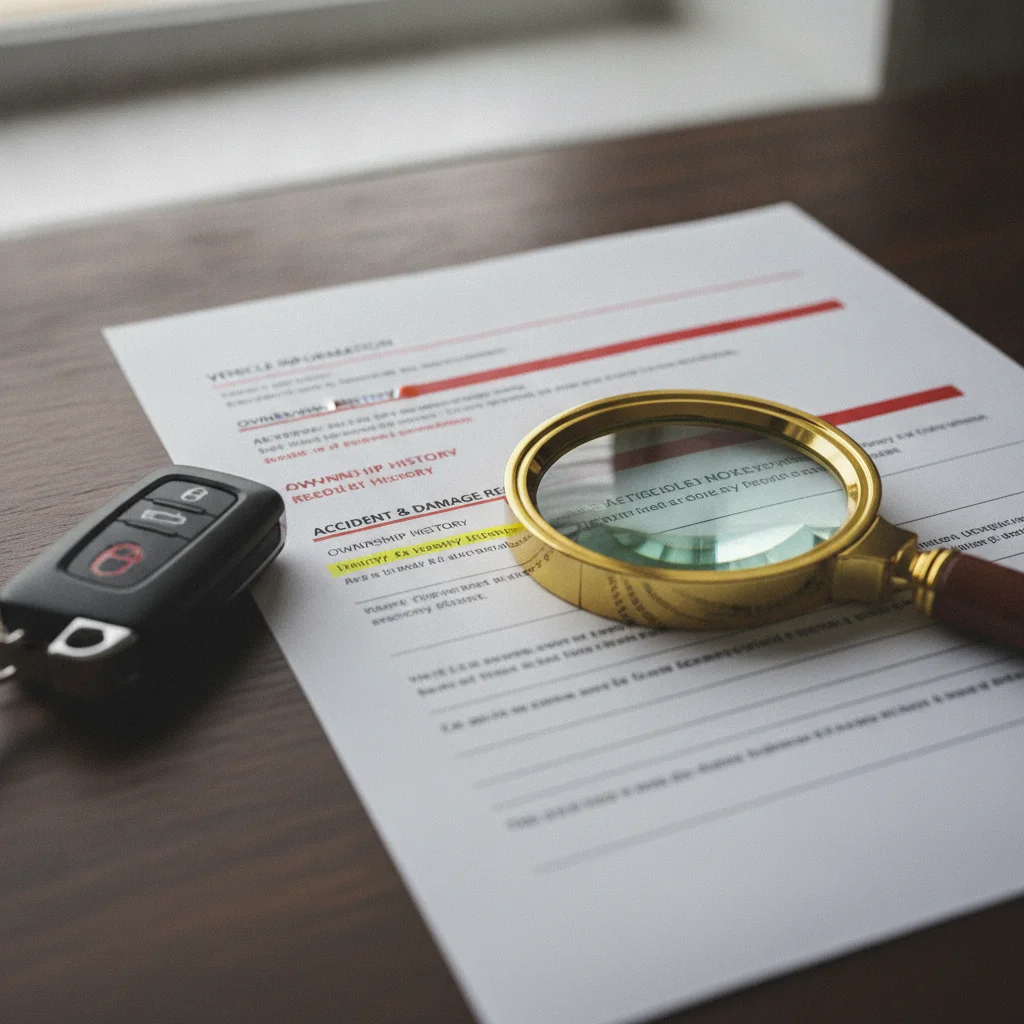
Every used car has a history. Some of that history shows up on a Carfax — accidents reported to insurance, title brands, odometer rollbacks. But a significant portion never gets recorded anywhere. A seller can fix a crushed quarter panel out of pocket, skip the insurance claim entirely, and hand you a clean vehicle history report along with a car that was in a serious collision. That's why reading the body is a non-negotiable part of any used car inspection.
Body panels are remarkably consistent from the factory. Gaps are measured in millimeters and controlled by robotic assembly lines. Paint is sprayed in environmental chambers at precise temperatures and thickness. When something disrupts that consistency — a collision, a rust repair, a respray — the evidence almost always remains if you know what to look for.
This guide walks you through a systematic physical inspection you can do yourself in a parking lot with no special equipment. It takes 20–45 minutes and can save you from buying a car with a hidden salvage history, hidden structural damage, or concealed corrosion. Once you finish here, cross-reference your findings with a vehicle history report — see how to read a vehicle history report without getting misled for a full breakdown of how to interpret every section accurately.
What You Need and How to Set Up
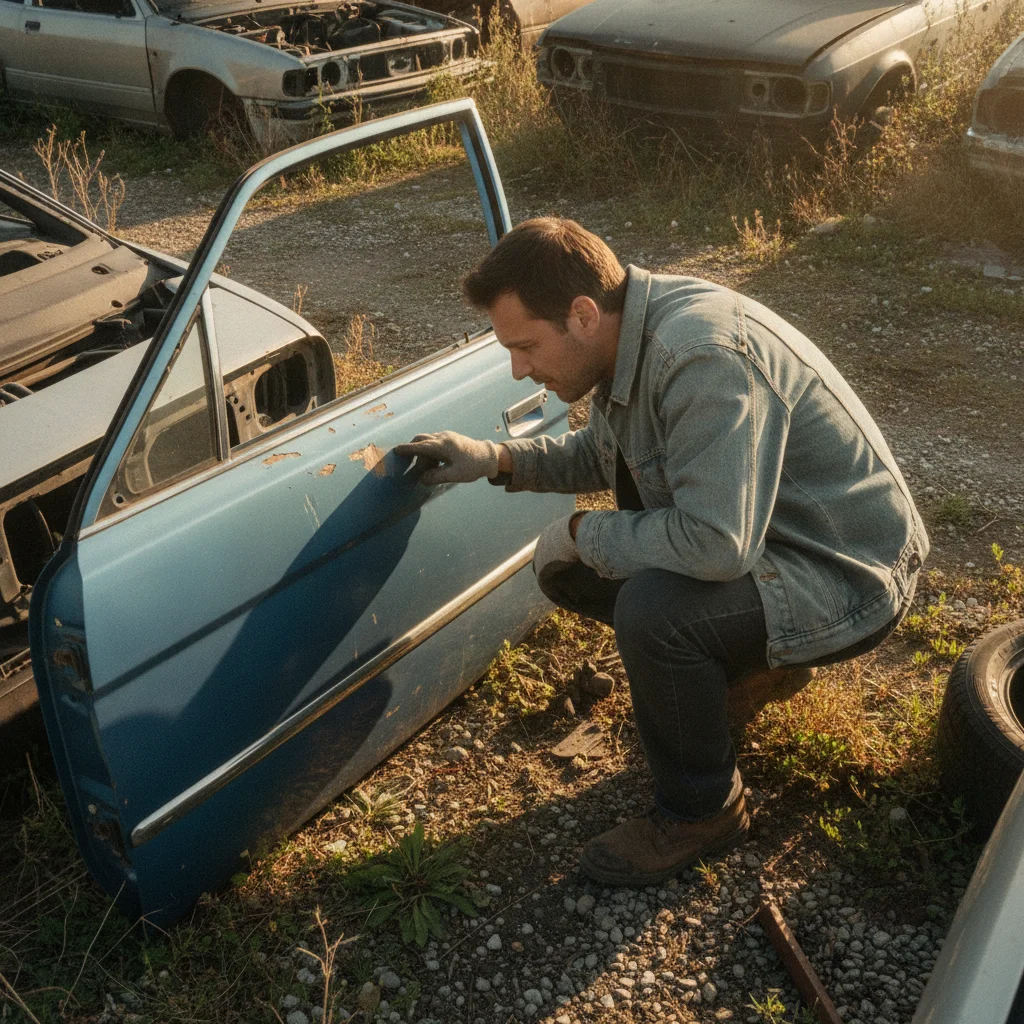
You don't need specialized tools, but a few items will sharpen your inspection significantly. Position the car in direct sunlight whenever possible — overcast days and garage lighting flatten surface texture and hide paint inconsistencies. If you can't inspect in sunlight, bring a powerful flashlight and use it at a low, raking angle across each panel.
What you will need
Flashlight or phone torch
Illuminates undercarriage, door jambs, trunk seams, and wheel wells at a low raking angle to reveal texture differences.
Small neodymium magnet
Detects body filler (Bondo) under paint — a magnet won't stick to thick filler even through a car's paint layer.
Gap gauge or ruler
Measures panel gaps in millimeters to identify panels that are out of spec or mismatched side-to-side.
Inspection mirror
Lets you see behind bumper covers, under wheel arches, and into seams without fully crawling under the car.
Knee pad or folded cloth
Allows you to crouch comfortably while inspecting lower rocker panels, sills, and undercarriage.
Before you start walking around the car, take 30 seconds to look at it from a distance — about 20 feet back from each corner. Your eye is surprisingly good at catching gross asymmetry, color variation between panels, and panel alignment issues when you're not too close. Only then begin the close inspection zone by zone.
Step-by-Step Body Panel Inspection
Follow these steps in sequence. Don't jump around — systematic inspection prevents you from missing a zone because you got distracted by something interesting on the other side of the car.
Read the paint in direct sunlight from a low angle
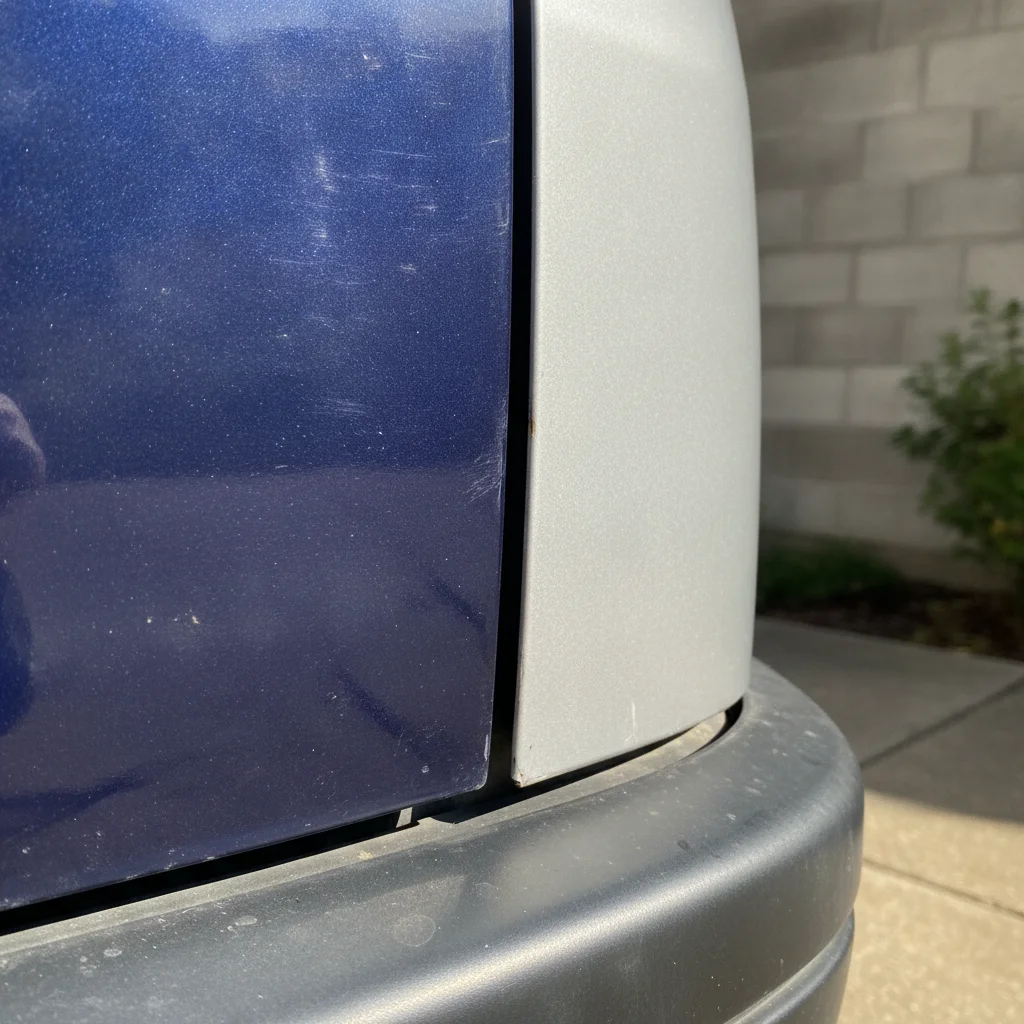
Position yourself at the front corner of the car and crouch until your eye line is near door-handle height. Look down the length of the vehicle with the sun to your back. Factory paint has a consistent texture — slight orange peel uniformly distributed across the panel. A resprayed panel will show different orange peel texture, a slightly different gloss level, or a visible boundary line where one finish meets another.
Rotate around all four corners of the car repeating this step. Pay particular attention to transitions between panels: where the hood meets the fender, where the fender meets the door, where the door meets the rear quarter panel. These transitions are where color drift and sheen differences show up most clearly.
Check panel gaps — all of them, both sides
Walk around the entire car and examine every gap between adjacent panels: hood-to-fender, fender-to-door, door-to-door, door-to-quarter panel, trunk-to-quarter panel. Factory gaps on a well-assembled car are typically 3–5mm and remarkably consistent. More importantly, the gap on the driver's side should mirror the gap on the passenger side.
If one side is tight and the other is wide — say 3mm on the left and 7mm on the right — that asymmetry almost always means the car has been in a collision and the panels were not reinstalled correctly. A gap that tapers (wider at top, tighter at bottom or vice versa) is another sign of misalignment.
Also check whether adjacent panels are flush — run your fingertip across each panel joint. Factory panels sit at the same height. A panel that steps up or down at the joint often indicates it was replaced or improperly reinstalled after a collision.
Use a magnet to probe for body filler
A small magnet is one of the most reliable low-tech tools for finding repaired collision damage. Wrap it in a thin cloth to protect the paint and slowly slide it across each body panel. On bare steel panels, the magnet will stick firmly. Where thick body filler (polyester filler or "Bondo") has been applied — typically to smooth out a dented or crumpled panel — the magnet will lose grip noticeably.
Focus your magnet check on: front fenders, hood, lower door skins, rear quarter panels, and trunk lid. A little filler in a small area isn't unusual — most cars have minor touch-ups from parking lot incidents. A large area with weak or no magnetic pull means significant bodywork has been done, likely to repair a collision-damaged panel rather than replacing it.
Note: This test doesn't work on aluminum-bodied vehicles (many newer trucks, Audi A8s, some Jaguars, Fords with aluminum hoods/doors). On aluminum panels the magnet won't stick regardless, so skip this step on those vehicles.
Inspect wheel arches, rocker panels, and door sills for rust
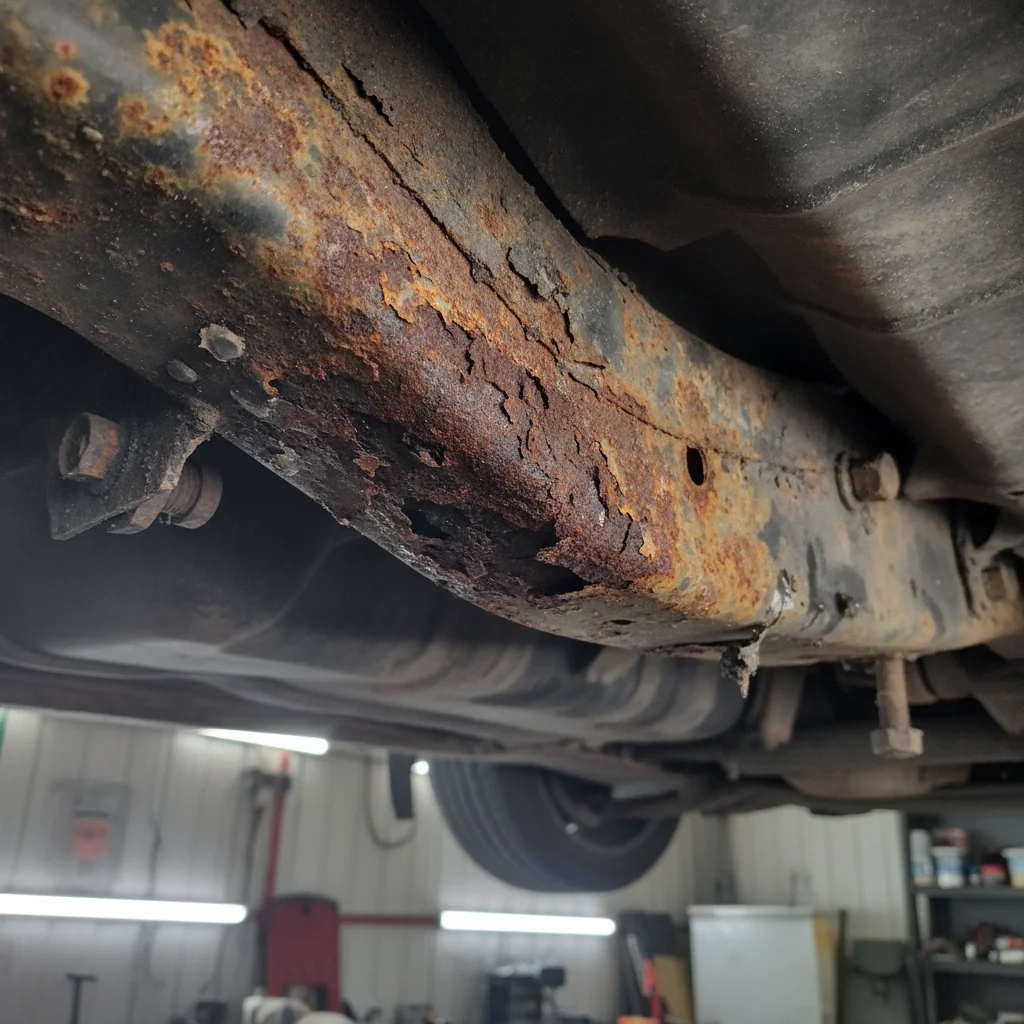
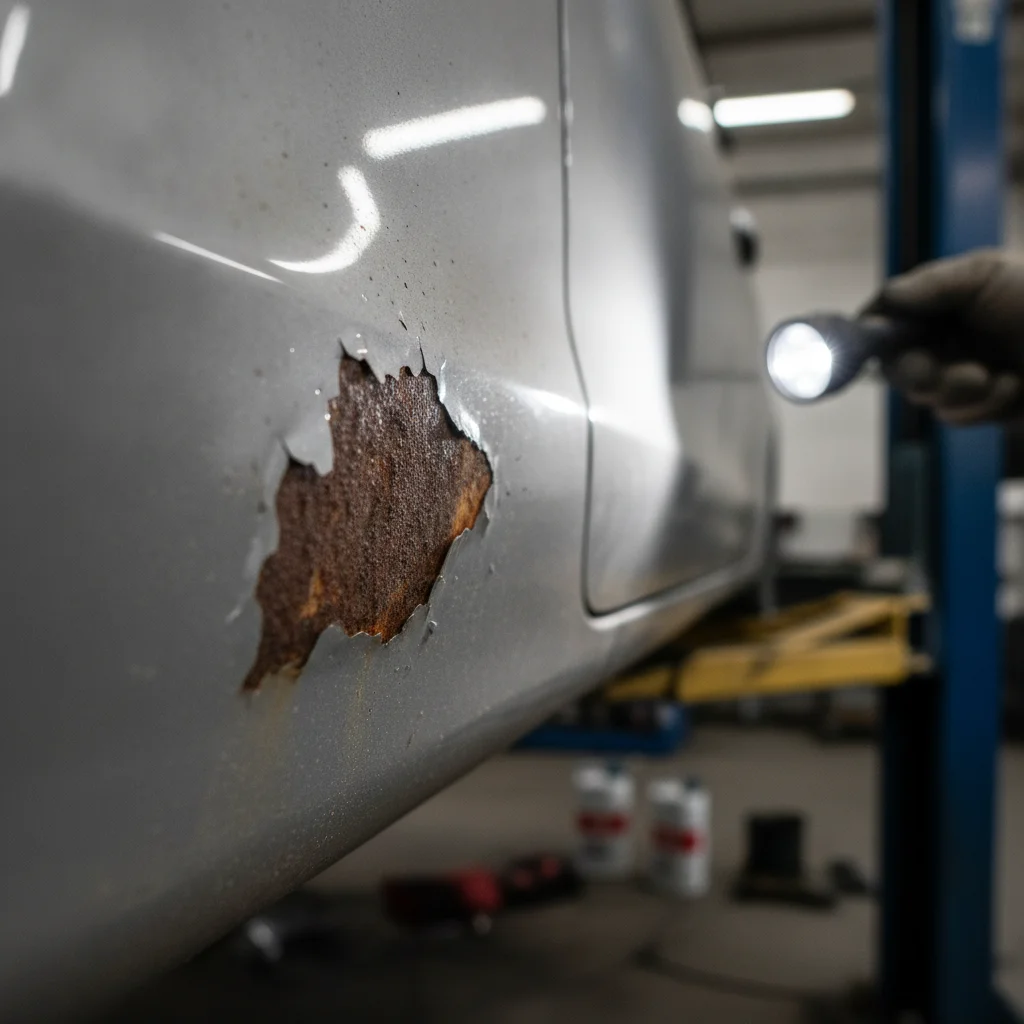
Rust starts where moisture collects and paint chips occur — wheel arches, the lower edges of doors, rocker panels (the strip of body between front and rear wheels under the doors), and seams. Get down and look directly at each of these zones.
Surface rust looks reddish-brown but the underlying metal is still solid. Probe it with your fingernail — if the metal is firm, this is cosmetic and manageable. Bubbling paint over a rocker panel is a red flag — it means rust is actively pushing up from underneath and the corrosion has spread laterally under the paint. Press gently with a thumb on bubbled areas; if the metal flexes or feels soft, that's structural rot, not surface rust.
Also check inside the wheel wells. Look for fresh undercoating or chassis paint applied in patches — sellers sometimes spray over rust to hide it before a sale. Fresh-smelling rubberized coating in one arch but not others is suspicious.
Open the hood and examine the engine bay perimeter
The engine bay perimeter — the inner fender panels, the firewall, the radiator support, and the front frame rails (also called the front horns or crash rails) — tells you whether the car has been in a significant front-end collision. These components are welded at the factory with uniform seam sealer applied in a consistent pattern.
Look for: kinks or ripples in the front frame rails, fresh or mismatched seam sealer, overspray on rubber hoses or wiring harnesses, and misaligned hood hinges. Twist welds — factory spot welds that have been ground down and re-welded — indicate structural repair. They look like small circular welds or grinding marks adjacent to original spot welds.
Also check that both front strut towers (the reinforced mounts where the front suspension connects to the body) show the same factory weld pattern and have no cracks or repair welds. A struck strut tower is a serious structural issue.
Check the trunk and cargo area for rear-end collision evidence
Open the trunk and pull back any cargo liner or trunk mat. Look at the spare tire well, the rear floor pan, and the inner trunk lid. Factory trunk floors have consistent seam sealer and no obvious repairs. A rear-end collision — even a moderate one — often leaves evidence in the form of repaired or replaced trunk floor panels, new seam sealer, or overspray on rubber seals and weatherstripping.
Check the trunk lid hinges for paint buildup (multiple layers visible at the hinge pivot) or mismatched paint between the lid and the body. Check both rear quarter panels where they meet the trunk opening — a misaligned trunk gap on one side but not the other usually means the quarter panel was repaired or replaced.
Also look at the rear bumper cover from below. Scrapes, gouges, or fresh paint on the underside of the rear bumper indicate rear impacts, even if the top surface looks clean.
When you finish the exterior, check the door jambs on every door. Factory paint in door jambs is continuous and smooth. A resprayed car often shows masking edges, overspray on rubber seals, or a visible boundary where the new paint stops. This is one of the easiest places to catch a full or partial respray that the seller hasn't mentioned.
If rust is your primary concern, the surface corrosion vs. structural rot guide breaks down exactly how to distinguish cosmetic oxidation from frame-level rot that makes a car unsafe.
Interpreting What You Find
Not everything you discover is a dealbreaker. The goal is accurate risk assessment, not zero tolerance for any imperfection. Here's a practical framework:
| Finding | Severity | What It Suggests |
|---|---|---|
| Minor surface rust on underside seams | Low | Normal for high-mileage cars in salt-belt states — cosmetic only if confined to surface |
| Single resprayed panel with good color match | Low–Medium | Likely a minor collision or door ding repair; ask for details and check for underlying filler |
| Mismatched panel gaps on one corner | Medium | Suggests corner impact — could be cosmetic or structural; warrants professional inspection |
| Multiple resprayed panels or full respray | Medium–High | Major collision or flood damage concealment; dig deeper before proceeding |
| Bubbling paint over metal, frame rust, or spongy floor | High | Structural corrosion — walk away or get an invasive inspection with a lift |
| Rippled inner wheel wells or kinked frame rails | Very High | Unrepaired or poorly repaired structural damage — serious safety issue |
Use your findings as negotiating leverage, not just a pass/fail test. A single resprayed panel with good color match is worth maybe $300–$500 off the asking price. A mismatched gap on a front corner with fresh undercoating on the subframe is worth either a serious discount or walking away until you can get a professional pre-purchase inspection done.
Fresh Detailing Can Mask Red Flags
A car that's just been waxed and detailed looks great, but fresh wax fills minor paint texture differences and can temporarily obscure overspray lines. If the car smells strongly of detailing products and looks unusually glossy, run your inspection more carefully — and ask when and why it was detailed so recently.
Don't Confuse Aftermarket Parts With Collision Repairs
Some sellers install aftermarket body kits, custom hoods, or color-matched accessories that can create panel gap and color inconsistencies that look like collision repairs. If you spot something unusual, ask directly before assuming the worst — an honest seller can explain aftermarket parts without hesitation.
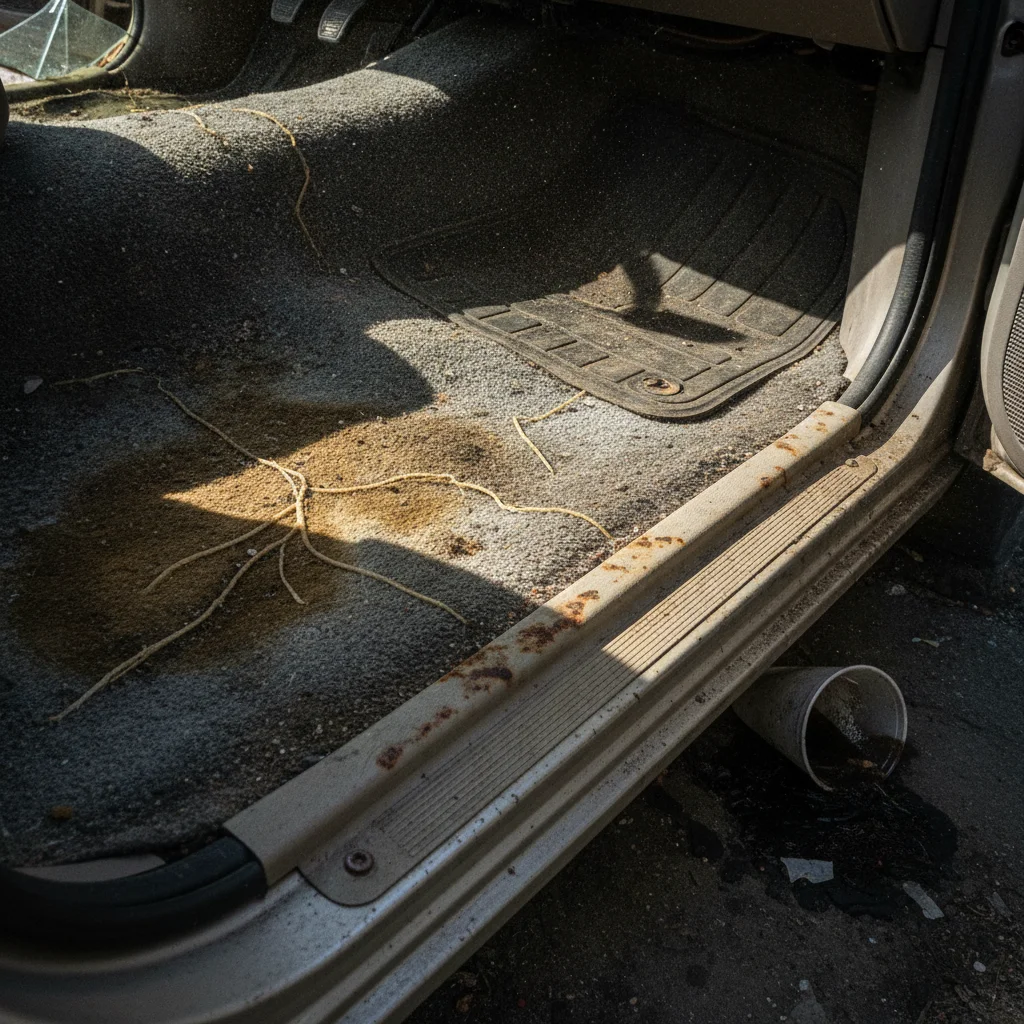
Sellers who have flood-damaged vehicles often use respray and detailed cleaning to hide evidence. If the body looks suspiciously pristine but the car has high mileage and low asking price, treat it like any other red flag. The flood damage inspection guide covers additional checks specific to water intrusion.
Bring a Reference Photo on Your Phone
Before inspecting, find a photo of the same make, model, and trim on a dealer or manufacturer site. Factory panel gaps and body lines serve as your calibration reference. When you're unsure whether a gap looks "right," comparing it to a factory example takes the guesswork out.
Inspect at the Same Time as a Test Drive
Don't do your body inspection on a separate visit from your test drive — you want both data points together before making any offer. A car that drives slightly to one side under hard braking, combined with a kinked front frame rail you spotted in the engine bay, adds up to a clearer picture than either clue alone.
Airbag Deployment Is a Major Red Flag
If a car was in a collision serious enough to deploy airbags, it almost certainly sustained significant structural and electrical damage. Airbag module replacement alone runs $1,000–$3,000, and proper post-deployment structural inspection and repair is extensive. Look for replaced headliners, aftermarket steering wheels, or mismatched A-pillar trim — all signs that interior components were replaced post-collision. This is a situation where a professional pre-purchase inspection is mandatory, not optional.
After the Inspection: Next Steps
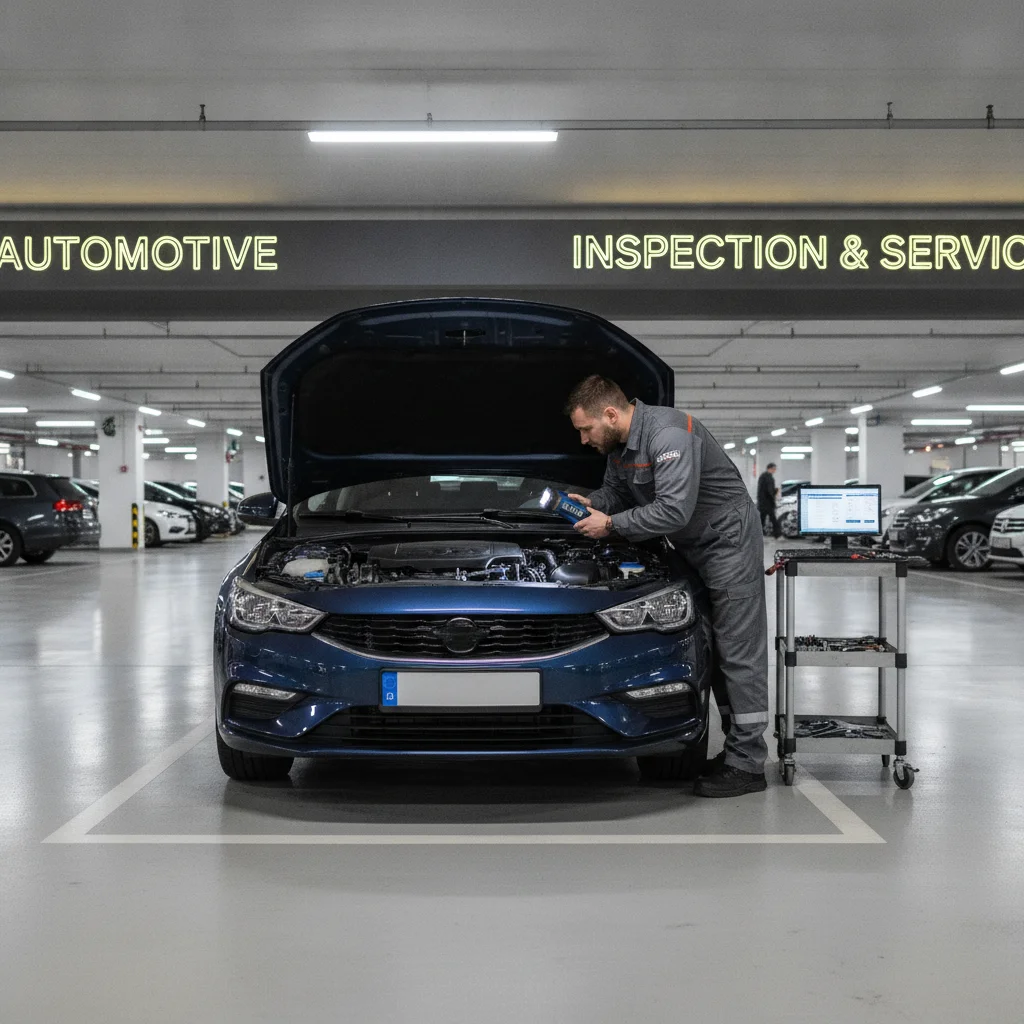
If the car passes your visual inspection or shows only minor issues you're comfortable with, the logical next step is a pre-purchase inspection (PPI) from an independent mechanic. Budget $100–$200 for a shop inspection on a lift. A PPI catches mechanical problems your body inspection won't reveal — worn suspension components, oil leaks, coolant issues — and it gives you a second set of eyes on the undercarriage where structural rust hides best.
If you're the one selling and you've just discovered your car has cosmetic issues you weren't aware of, it's worth thinking through which fixes actually improve your sale price. Paint correction before selling is one option to consider. For minor dents and dings specifically, fixing versus disclosing dents walks through when transparency is the smarter financial play.
The broader used car buying process involves more than body panels — financing, title checks, test drives — but nothing else matters much if the car has hidden structural damage. Get the body right first.

All claims are backed by peer-reviewed research. Sources on request.