Key Takeaways
Why DIY Repairs Go Wrong More Often Than They Should
Most DIY repair disasters don't start with ignorance — they start with overconfidence. A driver changes their own oil successfully a dozen times and starts to feel bulletproof. Then they tackle brake pads, then a coolant flush, then maybe a timing belt. Each job builds confidence, which is a good thing. But confidence without discipline is where the bills start stacking up.
The mistakes covered here aren't rare edge cases. They're the ones I see in professional shops every single week — jobs that came back after a DIY attempt made the original problem worse or created an entirely new one. Some of them add $200 to the bill. A few add $2,000.
The good news: every one of them is preventable. You don't need to be an ASE-certified mechanic to avoid them. You just need the right habits. If you want to understand which jobs are genuinely approachable for a non-expert versus which ones carry real risk, our guide on where DIY ends and risk begins is a good starting point before you grab a wrench.
Let's go through the most common mistakes, why they happen, and exactly what to do instead.
The Mistakes That Cost Home Mechanics the Most Money
The errors below aren't arranged by frequency — they're arranged by consequence. The ones at the top tend to generate the largest follow-up repair bills and, in some cases, create safety risks that go beyond money.
Over-torquing fasteners, especially on aluminum components like oil pans, valve covers, and caliper brackets.
Why it happens: Without a torque wrench, people guess — and the instinct is always to go tighter. Aluminum threads strip or crack long before the mechanic feels resistance that seems "too much."
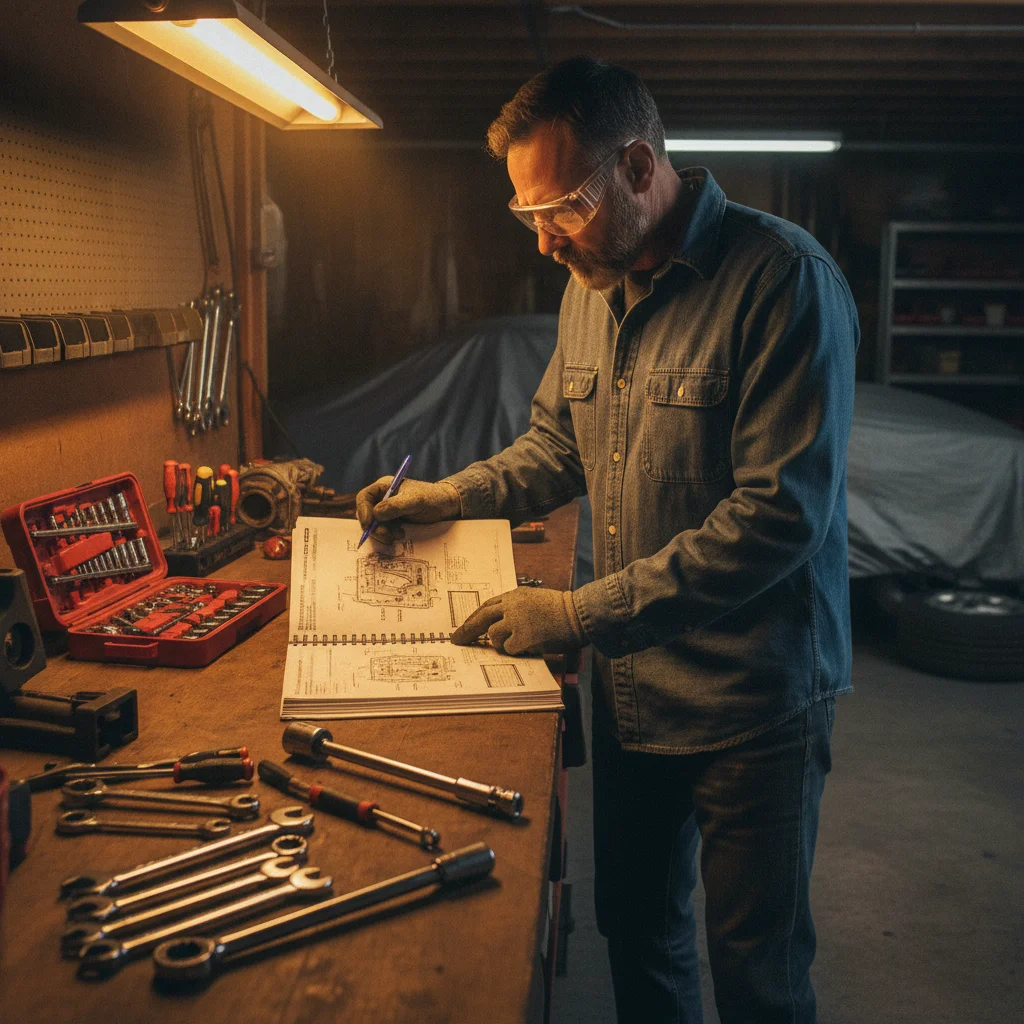
Skipping the vehicle-specific service manual and using generic YouTube tutorials as the primary guide.
Why it happens: Online videos are convenient and often well-produced, but they're made for a general audience, not your specific year, trim level, and engine configuration. Critical differences in torque specs, fluid types, and removal sequences get glossed over.
Forgetting to document wire harness routing, sensor positions, and bracket orientations before disassembly.
Why it happens: Everything looks obvious going apart and impossibly confusing going back together. People underestimate how quickly they forget which connector went where once components are spread across the garage floor.
Using the wrong fluid specification — particularly substituting a universal ATF, using DOT 5 brake fluid in a DOT 3/4 system, or mixing coolant types.
Why it happens: Bottle labels at auto parts stores can be misleading, and the term "universal" creates false confidence. Many drivers don't know their vehicle has a brand-specific fluid requirement.
Reusing single-use fasteners, gaskets, or crush washers that are designed to be replaced every time.
Why it happens: The old part looks fine, and buying a replacement feels unnecessary. Drain plug crush washers and stretch bolts (common on head bolts and rod bolts) are the most frequently reused parts that should never be.
Disturbing adjacent components during a repair — loosening a line, bumping a sensor, or cracking a brittle plastic clip — and not addressing it before buttoning everything up.
Why it happens: When you're focused on the main repair, collateral damage from a slipped wrench or an over-stretched hose is easy to overlook. The real problem is that "it'll probably be fine" is usually wrong.
Buying the cheapest available parts — particularly brakes, wheel bearings, and oxygen sensors — from no-name manufacturers.
Why it happens: Price comparison at checkout makes the $18 brake pad set look like a deal next to the $55 set. The long-term math rarely favors the cheap option, but it's not obvious at the moment of purchase.
Continuing a job past the point where something is clearly wrong — forcing a fitment that doesn't fit, or pushing through unexpected resistance.
Why it happens: Stopping feels like failure, and "it just needs a little persuasion" is one of the most expensive phrases in DIY mechanics. Unexpected resistance almost always signals a problem, not an obstacle to power through.
63%
DIY repairs that required professional follow-up
A 2023 survey by AAA found that roughly 63% of drivers who attempted a DIY repair in the past year needed a shop visit to correct or complete the job.
$1,200+
Average cost of a botched timing job
Industry labor guides estimate that repairing a timing chain or belt job that was incorrectly performed typically costs $1,200 to $3,000 in labor alone, depending on the engine.
3×
Longer lifespan: quality vs. cheap brake pads
Independent brake component tests consistently show that mid-tier or OEM-equivalent brake pads last two to three times longer than the lowest-priced alternatives in the same category.
$30–$60
Cost of a click-type torque wrench
A quality click-type torque wrench in the common 10–150 ft-lb range costs between $30 and $60 — less than the cost of re-tapping a single stripped aluminum thread.
One pattern you'll notice: most of these mistakes share a common root cause. The mechanic skipped a step — either in preparation, in documentation, or in parts selection — to save time or money. That shortcut almost always costs more than the step they skipped.
The best home mechanics I've seen work are not necessarily the most technically gifted. They're the most methodical. They write things down, they look up specs, and they know when to stop. What separates them from everyone else comes down to a handful of consistent habits.
Fluid Mix-Ups: Cheap Mistakes With Expensive Consequences
Fluid errors deserve their own section because they're uniquely dangerous — damage happens silently, inside sealed systems, and often isn't apparent until something fails. By the time you notice a symptom, contamination may already require a complete system flush or component replacement.
Never Mix Brake Fluid Types
DOT 5 silicone fluid is not compatible with DOT 3 or DOT 4 glycol-based fluid. Mixing them can cause brake system contamination, soft pedal feel, or seal degradation. If you're unsure what's already in the system, test with a fluid test strip or have it professionally assessed before adding anything.
Wrong ATF Can Destroy a Transmission Quietly
Modern automatic transmissions are engineered around specific friction modifier packages in OEM-spec fluids. A generic "multi-vehicle" ATF may feel like a safe substitute, but it can cause shudder, slipping, and accelerated clutch pack wear within as little as 10,000 miles. Transmission rebuilds start at $2,500 — the cost of correct fluid is rarely more than $40.
The most common fluid mistake is using the wrong transmission fluid specification. Automatic transmissions are engineered around very specific fluid viscosities and friction modifier packages. Using a generic "universal" ATF in a modern vehicle that calls for a branded OEM spec can cause shifting problems and premature clutch pack wear within a few thousand miles.
Brake fluid is a close second. DOT 3, DOT 4, and DOT 5 are not interchangeable — DOT 5 is silicone-based and will not mix with DOT 3/4 without causing brake system issues. Pouring the wrong type into a master cylinder can compromise braking performance, which isn't a scenario anyone wants to discover at highway speeds.
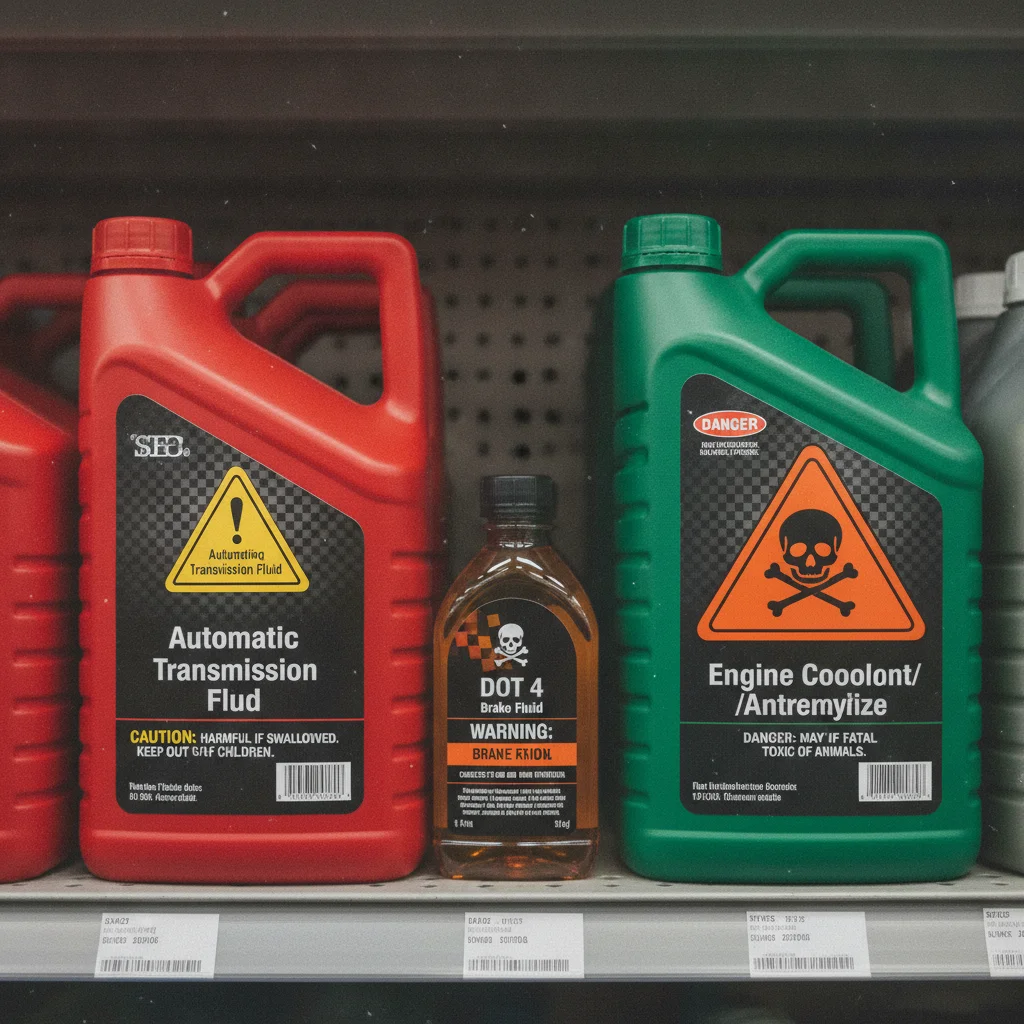
Power steering fluid, coolant mixture ratios, differential fluid viscosity grades — all of these matter, and all of them vary by vehicle. The fix is simple: before you open a cap, look up the exact specification in your service manual or owner's manual, not just the label on a bottle at the parts store. Fuel efficiency is also quietly affected when fluid conditions degrade; proper fluid maintenance connects directly to fuel economy in ways most owners underestimate.
When to Recognize a Job Is Above Your Level
There's no shame in stopping. The most expensive DIY bill I ever saw came from someone who kept going when they should have stopped — they got three steps into a timing chain job, realized they were in over their head, but didn't want to admit it and "waste" the afternoon. By the time a shop saw it, they'd rotated the engine with the chain loose. That's a full engine teardown.
Stopping Mid-Job Is Always the Right Call
If you've opened a system and the job is more complex than expected, stopping and reassembling what you can is almost always cheaper than continuing incorrectly. A shop can work with a partially disassembled vehicle. They cannot undo mechanical damage caused by forcing a job to completion without the right knowledge or tools. Don't let sunk-cost thinking turn a $150 repair into a $1,500 one.
Documentation Is Not Optional
Before loosening any fastener on a repair involving multiple components, take photos, label connectors with numbered tape, and note the orientation of any part that is not obviously symmetrical. The five minutes this takes before disassembly is worth more than any single tool you own. Reassembly confusion is the leading cause of follow-up visits after a DIY attempt.
The jobs that most commonly exceed DIY skill levels include: anything involving the timing system (chain or belt), ABS module replacement and bleeding, airbag system work, any repair requiring specialized calibration tools (like ADAS sensors after a suspension repair), and structural or frame repairs. This isn't a comprehensive list — it's a starting point for what to research carefully before you commit.
If you've opened something up and it looks nothing like any diagram you can find, stop. Reassemble what you can, label what you can't, take photos, and get a professional assessment. The labor to reassemble a halfway-disassembled component is almost always less than the labor to repair a component that was put back together wrong.
Not every repair you could theoretically do yourself is worth doing yourself, either. Some fixes genuinely don't pay off in terms of resale value or cost-effectiveness. Understanding which repairs actually pay off can help you decide where your time and money are best spent.

Building Habits That Prevent Mistakes Before They Start
The mechanics who rarely make costly mistakes aren't just more skilled — they're more systematic. Before any job, they do three things: they pull the service manual specific to their year, make, and model; they lay out and photograph the work area before disassembly; and they verify every torque spec before tightening a single fastener.
Stopping Mid-Job Is Always the Right Call
If you've opened a system and the job is more complex than expected, stopping and reassembling what you can is almost always cheaper than continuing incorrectly. A shop can work with a partially disassembled vehicle. They cannot undo mechanical damage caused by forcing a job to completion without the right knowledge or tools. Don't let sunk-cost thinking turn a $150 repair into a $1,500 one.
Documentation Is Not Optional
Before loosening any fastener on a repair involving multiple components, take photos, label connectors with numbered tape, and note the orientation of any part that is not obviously symmetrical. The five minutes this takes before disassembly is worth more than any single tool you own. Reassembly confusion is the leading cause of follow-up visits after a DIY attempt.
Documentation is probably the single biggest differentiator. Take photos of wire routing before you unplug connectors. Note how far a fastener was threaded in. Mark components with tape and a marker so you know which side they came from and which way they were facing. This takes maybe five extra minutes per job and has saved more DIY repairs from disaster than any other single habit.
Torque wrenches are not optional for any fastener that matters. Wheel lug nuts, caliper bracket bolts, spark plugs, oil drain plugs — every one of these has a spec for a reason. A click-type torque wrench costs $30 to $60 and will pay for itself on the first job where it prevents you from cracking a caliper bracket or rounding an aluminum drain plug thread. Spark plug jobs are a perfect example of where over-torquing or under-torquing turns a $20 maintenance task into a $300 thread repair.
Parts quality matters too. The cheapest option at the parts counter is often a false economy. For brake components, suspension parts, and sensors, mid-tier or OEM-equivalent parts typically last two to three times longer than the lowest-cost alternatives. Running the numbers on total cost over 50,000 miles usually makes the better part the obvious choice. The full guide to detailing and repairs also covers which fixes deliver the best return when it's time to sell.
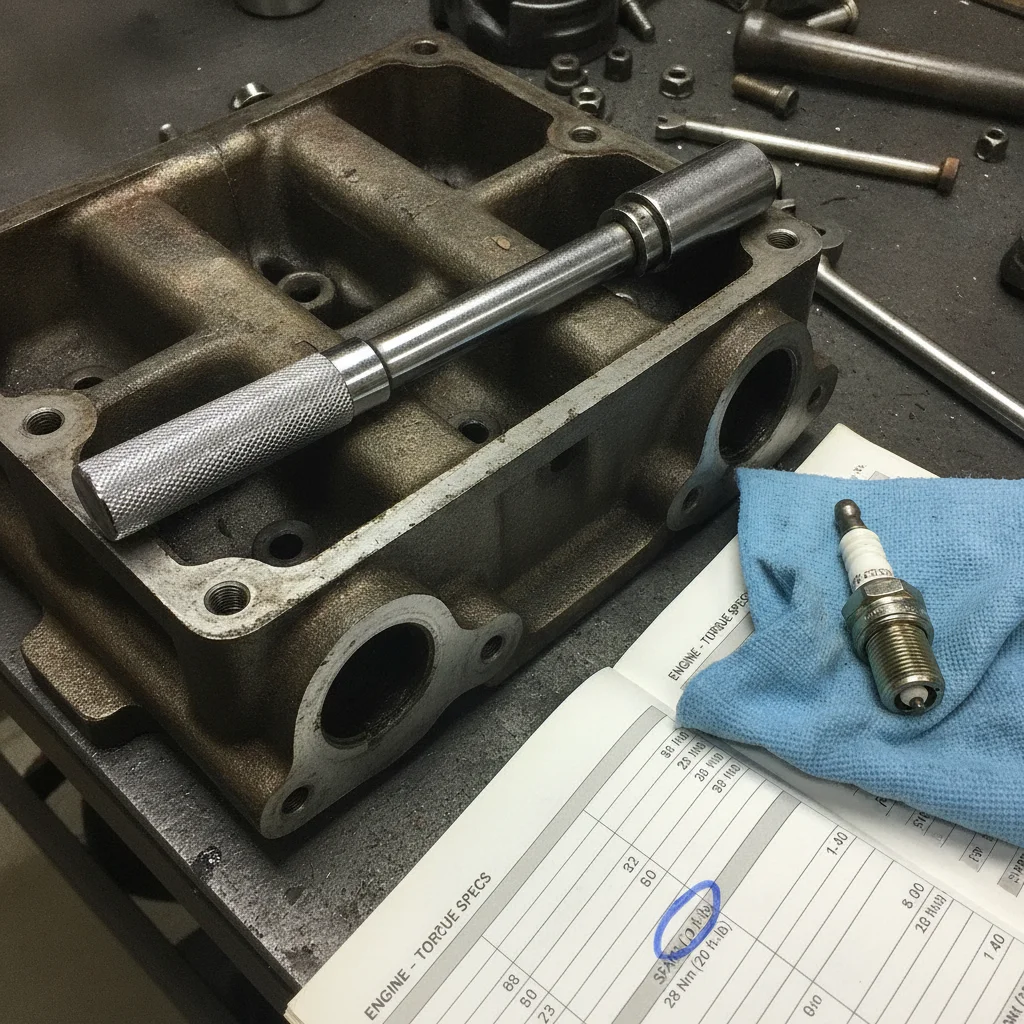
The bottom line: DIY repair is a legitimate way to save money and understand your vehicle better. But the savings only materialize when you do the job correctly the first time. Skipping preparation, ignoring specifications, or pushing past your skill level doesn't save money — it transfers it from your pocket to a shop's invoice.

All claims are backed by peer-reviewed research. Sources on request.