Key Takeaways
Why the Serpentine Belt Deserves More Attention Than It Gets
Most drivers know their car has a serpentine belt somewhere under the hood. Fewer know that a single belt is responsible for keeping the alternator charging the battery, the power steering pump pressurized, the AC compressor spinning, and — on many engines — the water pump circulating coolant. One belt, four or five critical systems.
When that belt snaps, everything stops at once. No power steering assist. No charging. Potentially no cooling. The car may still move for a few minutes on residual battery power, but the engine will overheat quickly without a functioning water pump, and you'll be stranded with a repair bill that goes well beyond the cost of a belt.
The frustrating part is that serpentine belt failure is almost always preventable. Belts wear gradually and telegraph their condition clearly — if you know what to look for. A 10-minute inspection every 15,000 miles or so is genuinely all it takes to stay ahead of this failure mode.
This guide gives you the visual vocabulary to assess your belt honestly, not just check a box. For a broader look at all the under-hood checks you can do yourself, this inspection walkthrough pairs well with what you'll learn here.
Never Inspect With the Engine Running
A spinning serpentine belt can grab loose clothing, a flashlight cord, or fingers in a fraction of a second. Always inspect with the engine fully off and the key out of the ignition. On vehicles with push-button start, confirm the engine is off and, ideally, disconnect the negative battery terminal if you need to reach deep into the belt path.
A Snapped Belt Is a Road Emergency
When a serpentine belt breaks, you lose power steering assist, battery charging, and often the water pump simultaneously. The car may still drive for a short distance on battery power alone, but the engine will overheat quickly. Pull over immediately, do not try to limp home, and arrange a tow. Driving even a few miles without a functioning water pump can cause serious engine damage costing thousands to repair.
What Wear Actually Looks Like — the Visual Guide
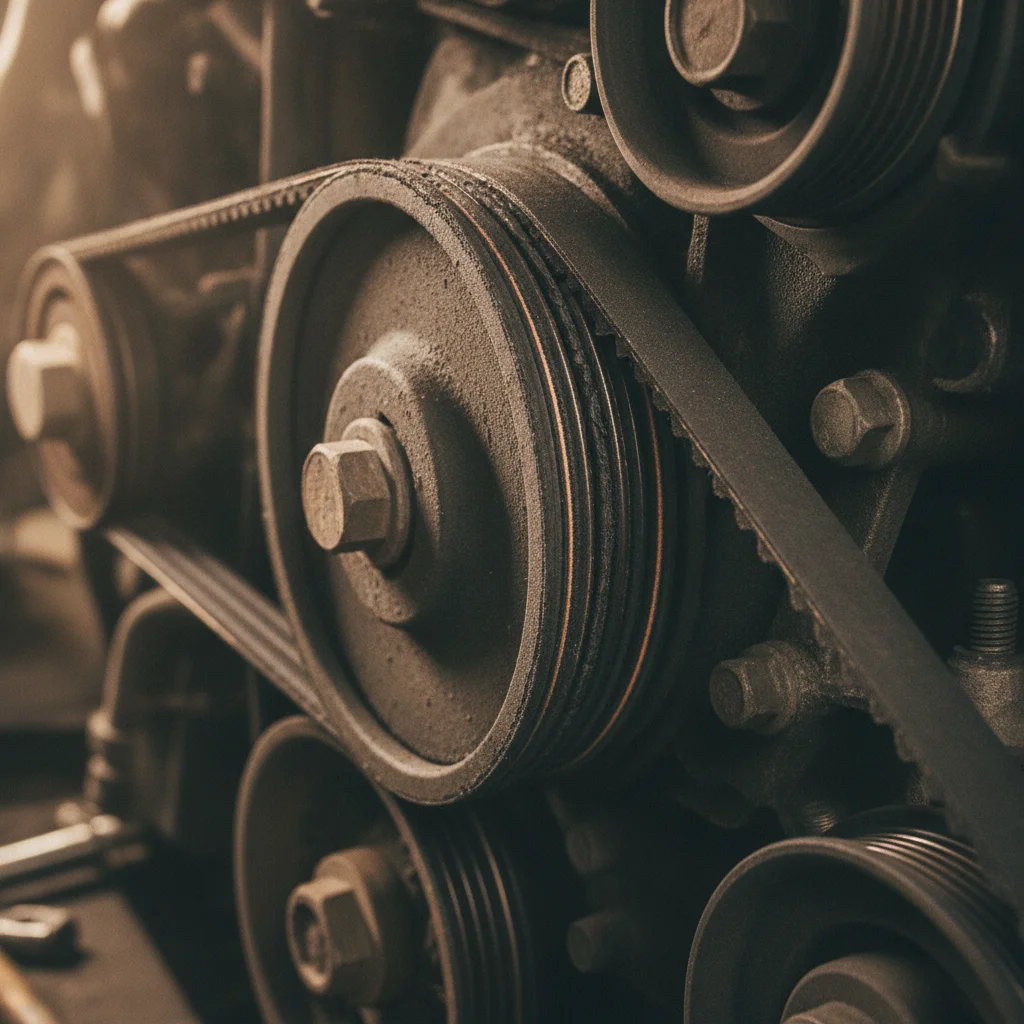
Serpentine belt wear is not subtle once you know what to look for. There are four distinct failure modes, and a belt in the late stages of its life often shows more than one simultaneously.
Ribbed-Side Cracking
Look at the underside of the belt — the side with the V-shaped ridges that interlock with the grooved pulleys. Cracks develop perpendicular to these ribs as the rubber ages and dries out. A few shallow cracks per inch is a yellow flag; dense cracking with cracks running deep or all the way across a rib means the belt is near the end. This is the most common wear pattern and the easiest to evaluate.
Glazing
The smooth backside of the belt should look matte. If it looks polished or reflective, the rubber has hardened from heat cycling or slippage. A glazed belt squeals — especially at cold startup or when electrical load spikes — because it's slipping against the pulleys rather than gripping cleanly. Glazing also means the belt has already lost some of its grip strength.
Fraying and Chunking
More advanced deterioration shows up as frayed edges on the belt — thin strands of fiber peeling away from the sides — or missing chunks of rubber on the ribbed face. Either of these means the structural cords underneath are being exposed or stressed. A belt showing fraying or chunking is past due for replacement.
Cord Exposure
If you can see the reinforcing cords (thin threads running lengthwise through the belt), the outer rubber has worn or cracked through entirely. This belt is a snapping risk. Replace immediately.
Oil or Coolant on the Belt Is a Red Flag
Belt contamination from an oil leak or a weeping coolant hose accelerates deterioration dramatically — a belt that looks only lightly used can be structurally compromised if it has been soaked. If you spot contamination, fix the leak source first, then replace the belt regardless of mileage. Running a contaminated belt invites sudden failure.
Don't Rely on Mileage Alone
Replacement intervals in owner's manuals are guidelines, not guarantees. Belts in hot climates, in vehicles that tow frequently, or in engine bays with oil leaks can deteriorate well before 60,000 miles. Inspect the belt visually every time you change your oil — that's the only reliable way to know its true condition.
It's also worth understanding that most of these symptoms are temperature-sensitive. A belt may look stiffer and crackier on a cold morning than it does when warm. Inspect when the belt is cool, since that's when stress fractures and deep cracks are most visible.
What You'll Need Before You Start
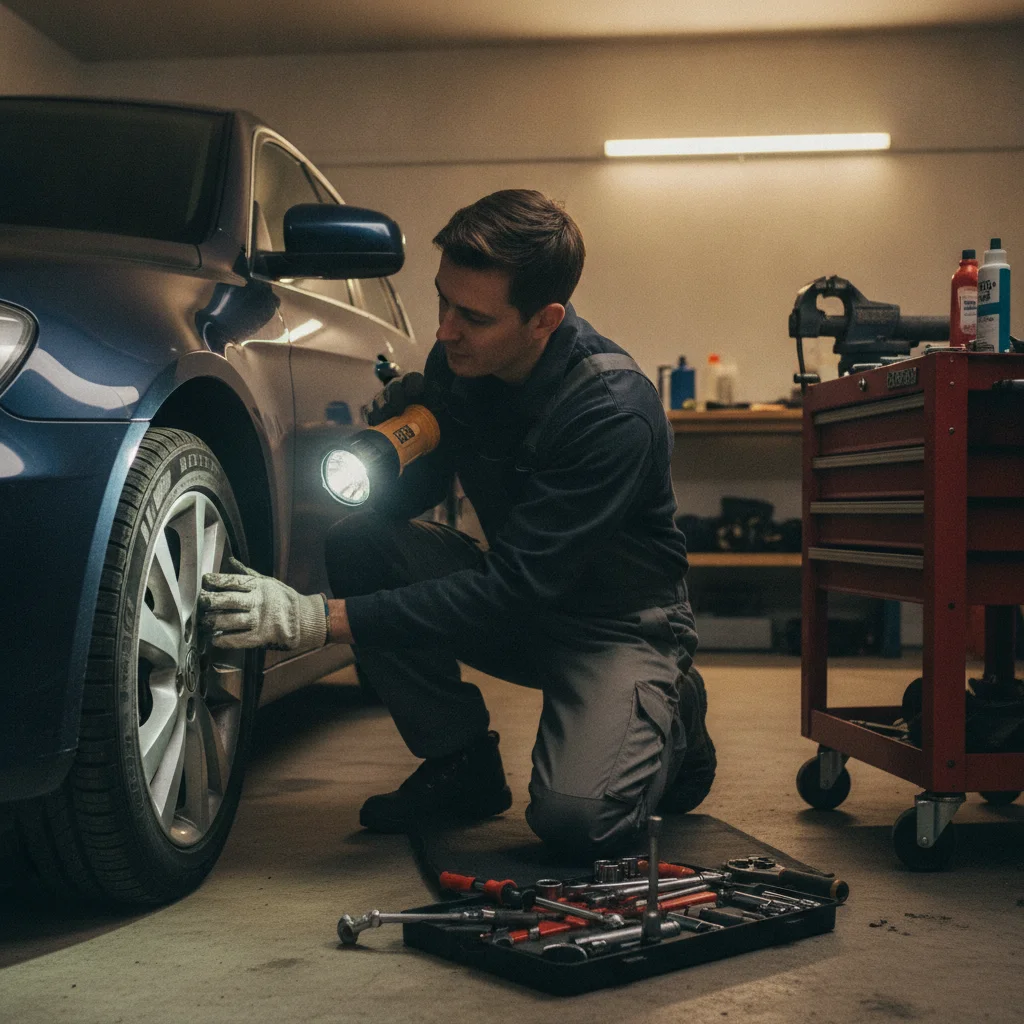
This inspection doesn't require a lift, special tools, or mechanical experience. What it does require is patience and decent lighting — the biggest diagnostic mistakes happen when someone rushes the inspection in a dim garage.
What you will need
Flashlight or LED work light
Illuminate the belt and pulley areas clearly — engine bays are dark and shadows hide cracks.
Mechanic's mirror (telescoping)
Let you see the backside of the belt and hard-to-reach pulley grooves without removing components.
Belt wear gauge / belt checker card
A plastic gauge that slides into the belt ribs to measure groove depth and detect worn-down ribs objectively.
Clean shop rag
Wipe down any oil or surface grime from the belt before inspecting so cracks and glazing are visible.
Nitrile gloves
Protect your hands from oil, grime, and sharp belt edges during the inspection.
Photograph the Belt Routing Before You Touch Anything
If you plan to replace the belt yourself after inspection, take a quick photo of how it routes around each pulley before you loosen anything. Routing diagrams can be confusing, and a photo takes two seconds. Most auto parts stores also have free lookup tools for belt routing by year, make, and model.
Check Tensioner and Idler Pulleys at the Same Time
While you have a flashlight out, spin each smooth idler pulley by hand (engine off, belt slack). They should spin freely without grinding, wobbling, or squealing. A failing tensioner or idler pulley puts abnormal stress on a new belt and can wear it out prematurely, so it makes sense to inspect them in the same visit.
Buy a Replacement Belt Before You Start
If you spot serious wear during inspection, having a replacement belt in hand before you begin saves a second trip. Belts are inexpensive and most auto parts stores will accept returns on unopened parts. Look up your belt by VIN to ensure you get the correct length and rib count.
Step-by-Step Inspection
Follow these steps in order. The whole process takes 10–20 minutes for most vehicles.
Park safely and let the engine cool completely
Pull into a flat, well-lit area — a driveway, garage, or parking lot. Turn the engine off and give it at least 30 minutes to cool before touching anything under the hood. Engine components, especially those near the exhaust manifold, stay dangerously hot long after the vehicle is shut off.
Once you pop the hood, prop it securely and visually confirm where the serpentine belt sits before reaching in. On most vehicles, it's the single wide, ribbed belt running across the front of the engine, weaving between multiple pulleys.
Locate the full belt path and photograph it
Before touching the belt, trace its entire path with your flashlight. Identify every pulley it contacts: the crankshaft pulley at the bottom, the alternator, the power steering pump, the AC compressor, the water pump (on many vehicles), and the tensioner and idler pulleys that guide and tighten the belt.
Take a clear phone photo of the routing from above. This is your reference if you end up replacing the belt later. A lost or forgotten routing is the number-one DIY headache on serpentine belt jobs.
[in_content_images:2]Inspect the ribbed (inner) face of the belt
The ribbed underside of the belt is where failure originates most often. Shine your flashlight directly at it and look for the following:
- Cracks running across the ribs: Fine lateral cracks between ribs are normal once a belt ages. Two or three per inch is borderline; more than that means replacement is due soon.
- Missing or chunked ribs: If chunks of rubber are gone, the belt is losing structural integrity. Replace it immediately.
- Fraying or cord exposure: If you can see the embedded cords underneath the rubber, the belt has already failed its protective layer. Replace now.
Slowly rotate the engine by hand (with the vehicle in park and engine off) if you need to bring a hard-to-see section of belt into view — or use a telescoping mirror to check behind the belt on the backside of pulleys.
Check the flat (outer) face for glazing and cracking
Flip your attention to the smooth, flat back of the belt — the side that contacts the idler pulleys. This surface should have a matte, slightly textured appearance. If it looks shiny or glassy, that's called glazing, and it means the rubber has hardened and is slipping against pulleys rather than gripping them cleanly.
Glazing is often the cause of that high-pitched squeal you hear at startup or when you switch on the AC. A glazed belt loses efficiency before it snaps, so it's a warning you can act on before you're stranded.
Also look for any lateral cracks on this side. Deep cracks that run toward the belt's edge are a sign the belt is drying out and ready to split.
Look for contamination — oil, coolant, or debris
Run your flashlight along the belt looking for any wet spots, oily sheen, or discoloration. A healthy belt should be uniformly dark gray or black with no sticky residue.
Oil contamination from a valve cover gasket leak or power steering line drip is extremely common and extremely damaging to rubber. Even modest contamination swells and degrades the belt's rubber compound from the inside out. If you see oil on the belt, check the source — likely a valve cover gasket, front crankshaft seal, or power steering hose — and plan to address both the leak and the belt at the same time.
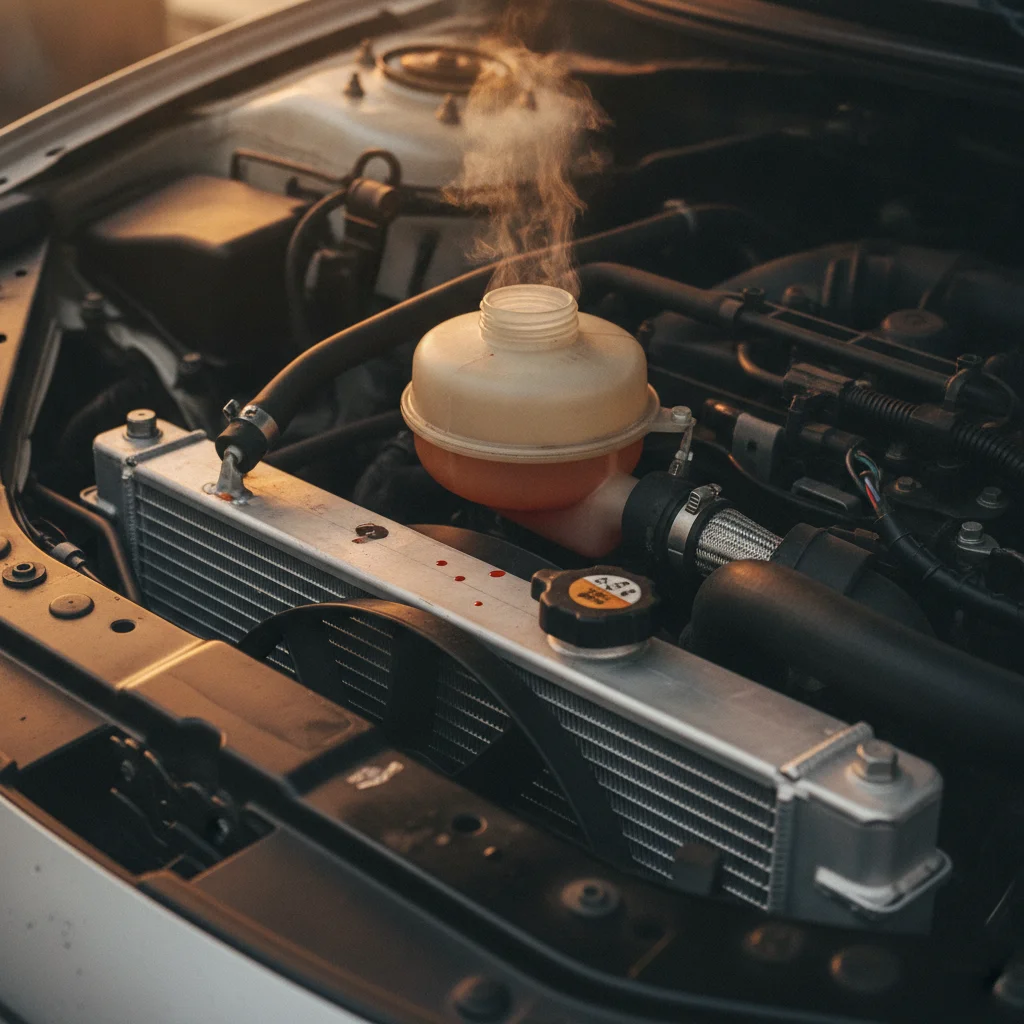
Coolant contamination is less common but equally serious. If your serpentine belt also drives the water pump and you see coolant residue, that's a double problem. Learn to recognize early coolant issues before they compound — coolant warning signs often appear well before any belt involvement.
Inspect the tensioner and idler pulleys
The belt is only part of the system. With the engine off, press against the tensioner arm lightly — it should resist with firm, even spring pressure. If it moves too freely, feels stiff, or shows rust and corrosion around the pivot, the tensioner is worn and should be replaced alongside any new belt.
Next, spin each smooth idler pulley by hand. A healthy pulley spins freely and quietly. Listen and feel for:
- Grinding or roughness — worn bearing
- Wobble or side-to-side play — bearing or bracket failure
- Squealing when spun — dry or seized bearing
A bad tensioner or idler pulley will chew through a brand-new belt in a fraction of its normal lifespan. If you're already replacing the belt, most mechanics recommend replacing the tensioner at the same visit — the labor is already done.
Make your call: monitor, replace soon, or replace now
After your inspection, you should be in one of three camps:
- Monitor (check again in 5,000 miles):
- Belt looks clean, ribs are sharp and intact, no glazing, no contamination, tensioner feels solid. You're in good shape — just keep this on your radar.
- Replace soon (within the next 1,000–3,000 miles):
- Light cracking on the ribs, slight glazing, minor surface wear. The belt has life left but is entering its final stage. Budget for replacement and don't put it off past your next oil change.
- Replace now:
- Heavy cracking, chunked ribs, fraying, glazing combined with cracking, any contamination, or a bad tensioner. Don't drive on a belt in this condition any longer than it takes to get to a shop or get parts in hand.
If you want a broader framework for reading your car's signals before things get serious, reading your car before it breaks down covers the full range of warning signs across the vehicle.
How Belt Condition Connects to Resale Value and Cost of Ownership
Here's a detail most car owners don't think about: deferred belt maintenance is a hidden depreciation driver. When a used car buyer — or a dealership appraiser — pops the hood and sees a glazed, cracked serpentine belt, it signals one of two things: either the vehicle was driven hard in hot conditions, or the owner skipped routine maintenance. Neither interpretation helps your trade-in value.
A fresh belt, by contrast, costs roughly $30–$80 in parts if you install it yourself, or $100–$200 at an independent shop including labor. Either way, it's one of the highest-return maintenance items relative to its cost because it shows up immediately to any competent inspection and it prevents the kind of dramatic roadside failure that scares off private buyers and drags down dealer offers.
If you're preparing to sell or trade in a vehicle, take care of the serpentine belt at the same time you address tires, fluids, and brakes. Small, visible maintenance items tell the story of how a car was cared for across its entire life.
On the flip side, if you're buying a used car and the seller doesn't know when the belt was last changed — and the belt shows any of the wear patterns described in this guide — factor a replacement into your offer price. It's not a dealbreaker, but it's a legitimate negotiating point.
Troubleshooting: When the Belt Looks Okay But Still Makes Noise
Sometimes a belt squeals or chirps even when the rubber itself looks acceptable. Before you replace a belt that visually passes inspection, work through these possibilities:
Misalignment
If a pulley is cocked slightly off-axis — from a worn bearing or improper installation — the belt will track at an angle and squeal against the pulley flange. You can sometimes see this by watching the belt path carefully (with someone else briefly starting the car while you observe safely from the side). Misaligned pulleys need to be addressed at a shop — it's not a DIY fix without a pulley alignment tool.
Tensioner Failure
A tensioner that's lost its spring tension will allow the belt to slacken intermittently, especially under high electrical loads (AC, headlights, defroster all on simultaneously). The belt slips and squeals, then quiets when load drops. If the noise correlates with electrical accessory use, suspect the tensioner before the belt itself.
Wet Belt
A wet serpentine belt squeals loudly — it's a common sound right after driving through standing water or a hard rain. If the noise disappears within a minute or two of startup, wet slippage is the likely cause. If it persists, it's a real wear issue.
Idler Pulley Bearing
A grinding or rattling noise that doesn't change when you switch the AC off (which would unload the compressor) often points to a failing idler pulley bearing rather than the belt. Spin the idle pulleys by hand as described in Step 6 to narrow it down.
Noise diagnosis is one of the skills covered in detail in reading your car before it breaks down — it's a useful companion read if you're chasing an intermittent squeal and can't pin down the source.

All claims are backed by peer-reviewed research. Sources on request.