Key Takeaways
Why Your Photos Are the Foundation of Your Claim
Insurance claims, at their core, are about reconstruction. By the time an adjuster reviews your file, the accident is hours or days in the past. The road has been cleaned. Vehicles have been towed. Witnesses have gone home. What remains is whatever you documented in those first few minutes.
That's a lot of pressure, but here's the reassuring part: a smartphone camera in steady hands is genuinely sufficient. You don't need special equipment or photography skills. You need to know what to photograph, in what order, and why each shot matters. The process below will walk you through exactly that.
This guide is specifically focused on the photography step of accident documentation. If you're looking for the full picture — from calling 911 through reaching a settlement — The First 10 Minutes After a Car Accident is a good companion read. For filing steps once the documentation is done, see our walkthroughs on filing a liability claim and filing a collision claim.
Safety Comes Before Documentation
Do not begin photographing until you are safely out of traffic. If the road is active and moving to the shoulder isn't possible, stay in your vehicle with your hazard lights on and call 911 first. No insurance photo is worth putting yourself or others in danger. Only start documenting once you're in a safe position.
Don't Move Vehicles Until You've Photographed Positions
Vehicle position at the moment of impact is one of the most important things an adjuster reconstructs. If you move cars before photographing them — even to clear traffic — that spatial evidence is gone permanently. Take your wide shots first, then move vehicles if needed and if it's safe to do so.
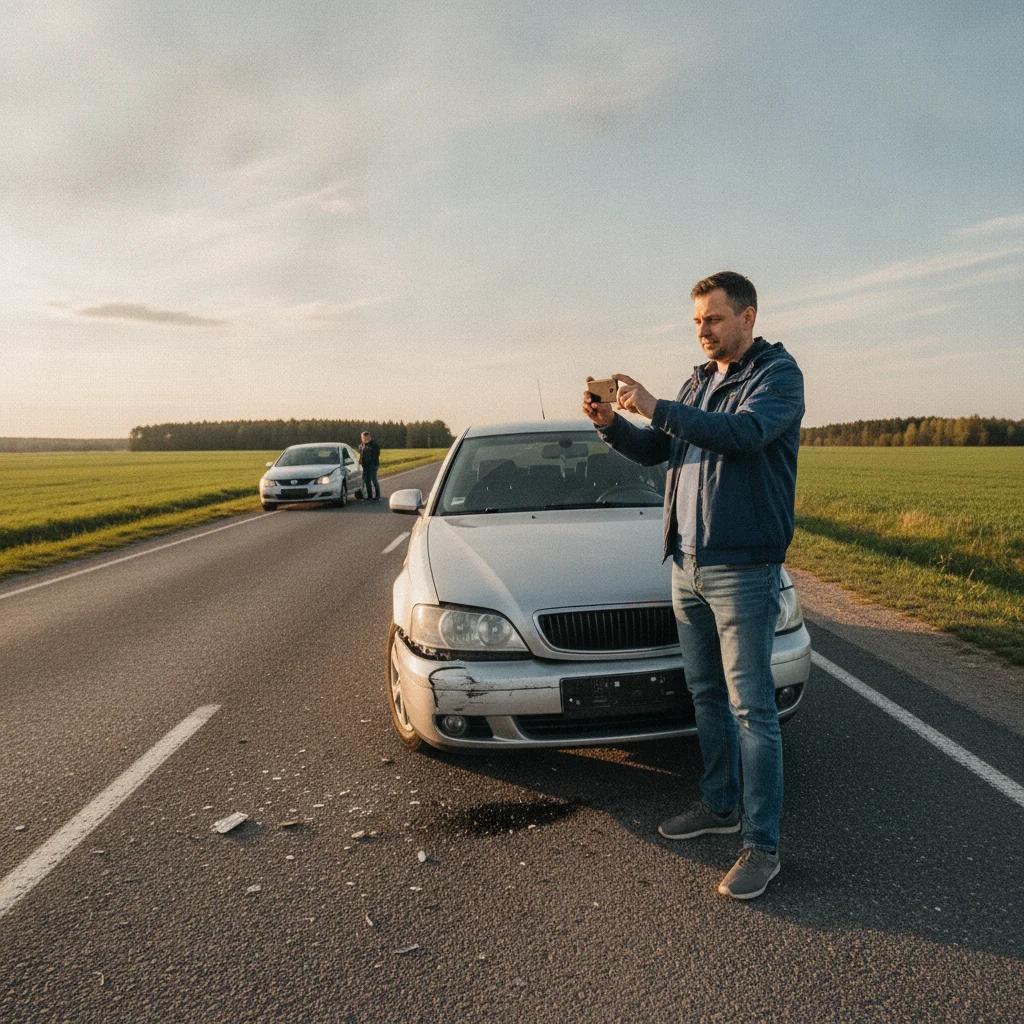
Smartphone with Camera
Primary tool for capturing photos and video of the accident scene, damage, and documentation.
Portable Phone Charger / Power Bank
Ensures your phone stays charged if the accident occurs with a low battery.
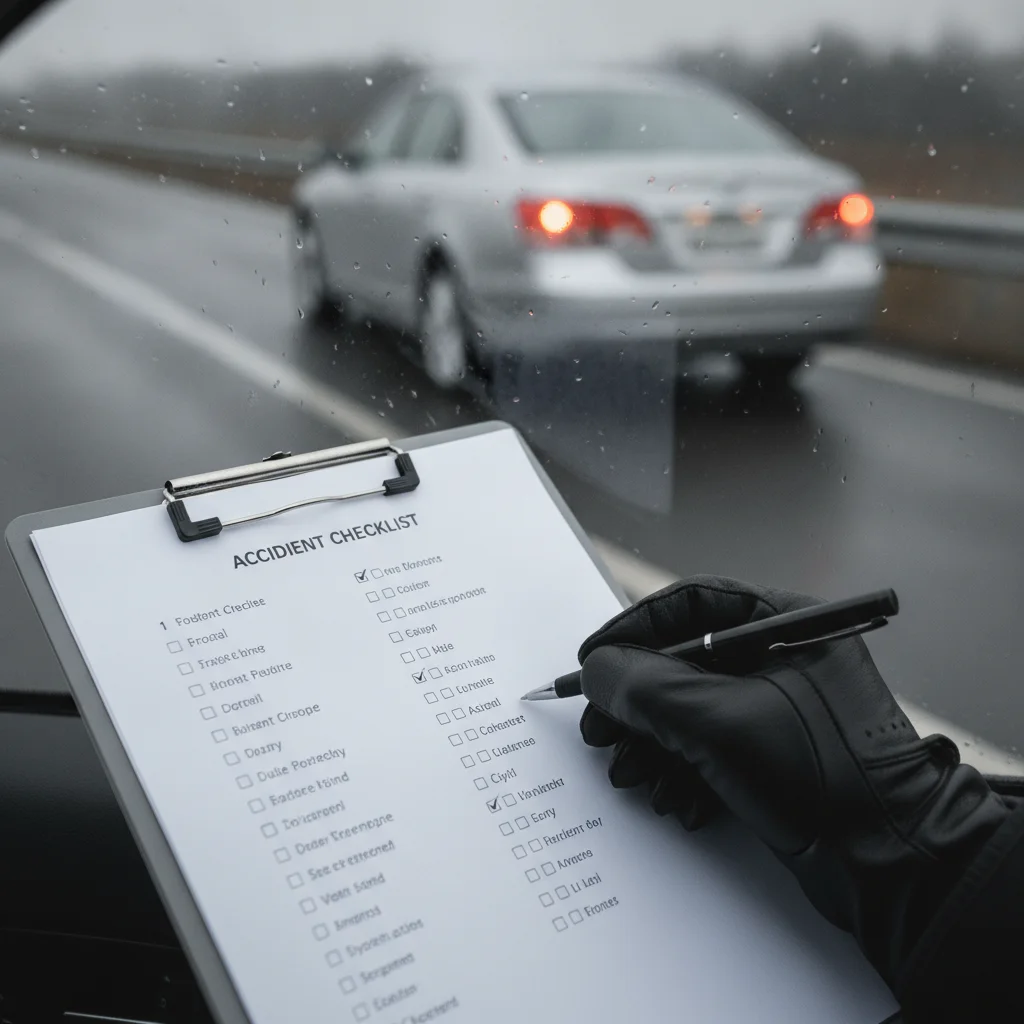
Printed Accident Checklist
A physical reference to follow when stress makes it hard to think clearly at the scene.
Dashcam
Automatically records continuous footage that can corroborate or supplement your photo documentation.
What Adjusters Are Actually Looking For
Understanding what an insurance adjuster needs helps you prioritize in a stressful moment. Adjusters are essentially trying to answer three questions from your photos:
- How did this happen? — Vehicle positions, skid marks, traffic controls, and road conditions all contribute to the narrative of how the crash occurred.
- What is the extent of the damage? — Both wide-angle and close-up damage photos establish what was harmed and help estimate repair costs.
- Is this account consistent? — Strong documentation that tells a coherent, detailed story makes disputes much harder for the other side to sustain.
When your photos answer all three questions clearly, your claim moves faster and with less friction. When photos are missing or ambiguous, adjusters fill in gaps with estimates — and those estimates don't always favor the claimant.
It's also worth knowing that adjusters are experienced at distinguishing pre-existing damage from accident damage. Photographing undamaged areas of your car is a simple step that prevents later disputes about what was new versus old damage.
If you have a dashcam, that footage plays a complementary role to your photos — but it requires its own careful handling. Using a Dashcam as Evidence After an Accident covers how to preserve and share that recording correctly.
Avoid Photographing Injuries Without Consent
While documenting your own injuries is appropriate and often helpful for your claim, photographing other people's injuries — especially close-up — can raise privacy concerns and may complicate the legal process. Stick to property damage and scene conditions when photographing other parties.
Cloud Backup Is Not Instant — Act Before You Leave
Don't assume your photos are safely backed up the moment you take them. If you lose your phone or it's damaged before the photos sync, that documentation is gone. Email a selection of key photos to yourself before you leave the scene, or confirm they've uploaded to cloud storage while you still have signal.
Step-by-Step: What to Photograph and How
Follow these steps in order if you can. The first two — your own safety and vehicle positions — are the most time-sensitive. After those, the remaining steps can flex based on your specific situation.
What you will need
Get to a Safe Position First
Before you take a single photo, confirm you are not standing in an active lane of traffic. Turn on your hazard lights, and if it's safe to move your vehicle to the shoulder or a nearby parking lot, do so — but not before you've read Step 2. If you can't move safely, stay inside your vehicle and call for help.
Once you're clear of traffic, take a breath. The scene will feel overwhelming, but your phone camera is doing most of the work. Your job is simply to point it at the right things in roughly the right order.
Photograph Vehicle Positions Before Anything Moves
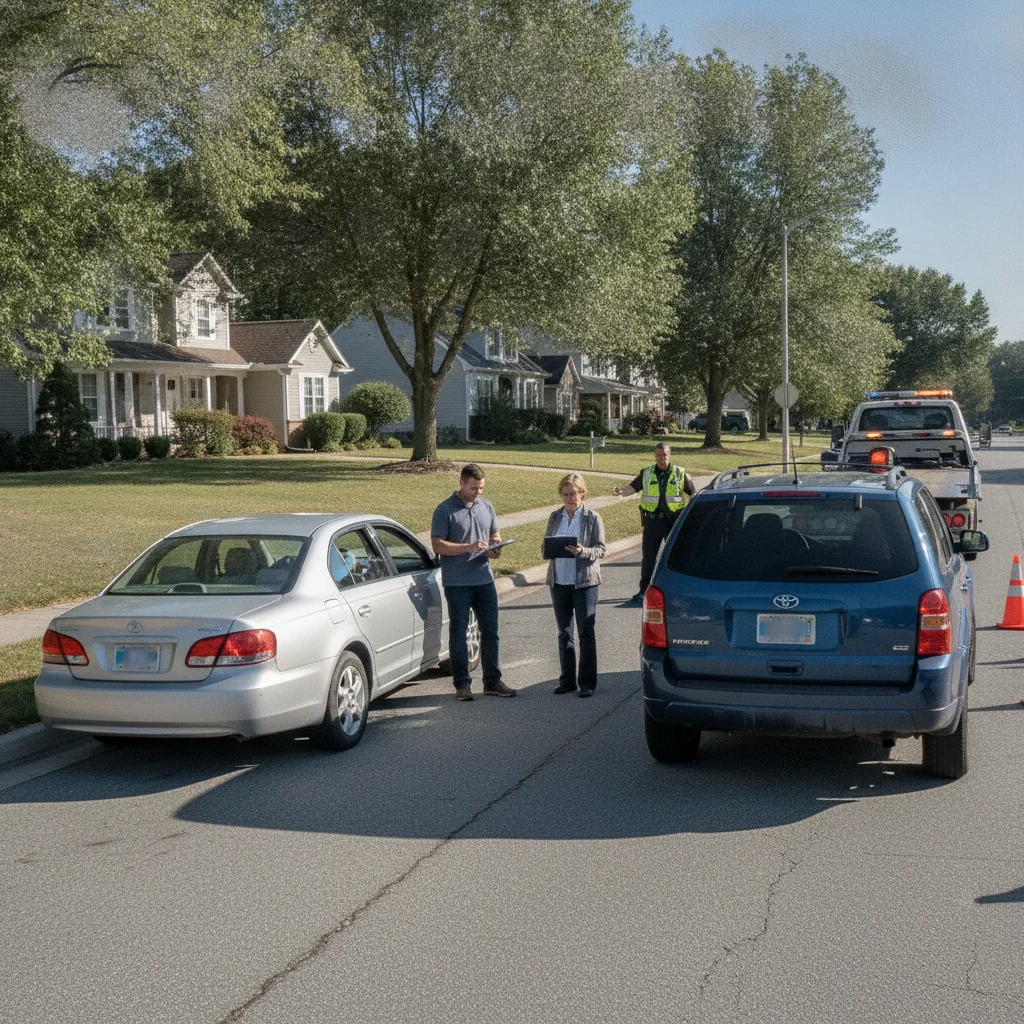
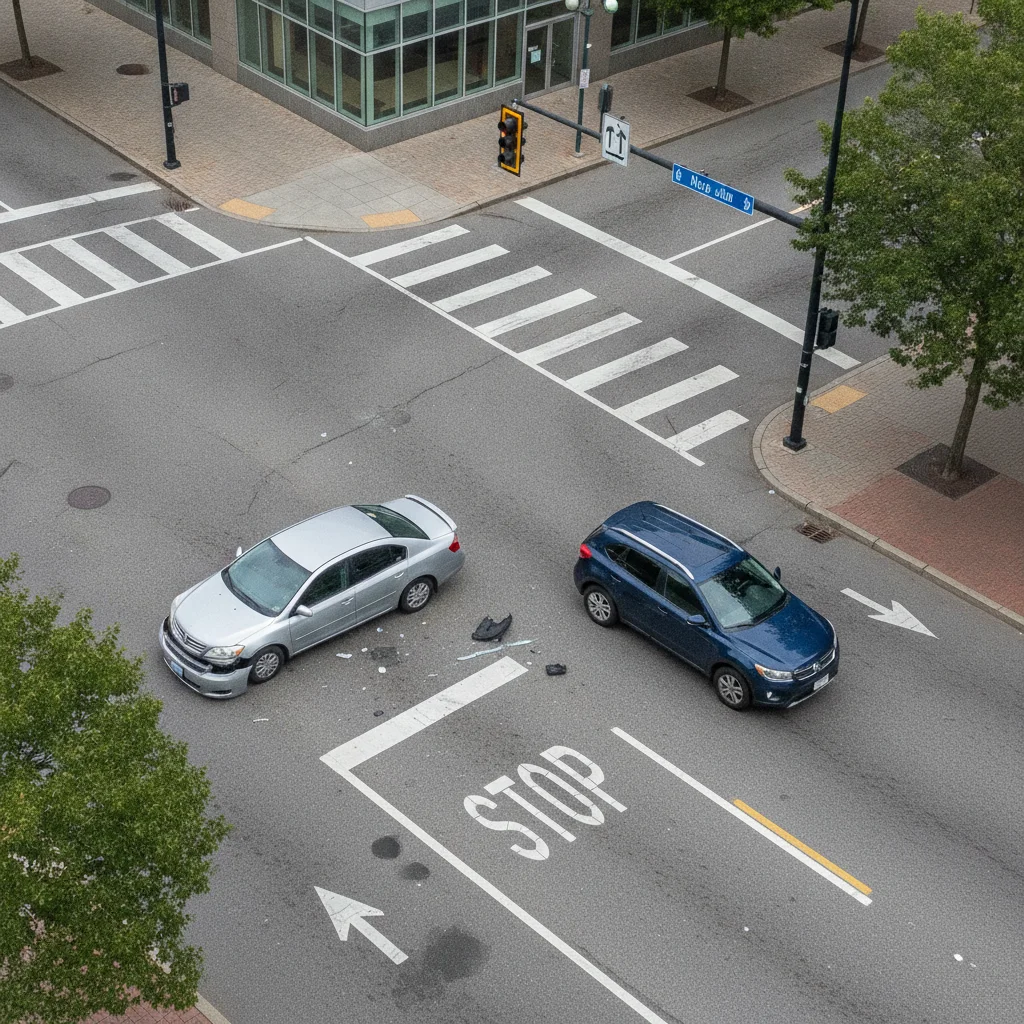
This is the single most time-sensitive shot. Vehicle positions tell the story of how the collision happened — the angle of impact, which lane each car was in, how far one vehicle pushed the other. Once cars move, that story becomes your word against theirs.
Take wide-angle shots from multiple directions — from each end of the scene, from across the street if it's safe, and from slightly elevated if you can manage it (standing on a curb works). Capture both vehicles in the same frame whenever possible.
[in_content_images:0]Document the Surrounding Environment
Context matters enormously in disputed claims. Photograph road signs, traffic signals, lane markings, crosswalks, and anything that shows the rules of the road at that specific location. If there's a stop sign the other driver may have run, get a clear photo of it from the driver's perspective — show what they would have seen.
Also capture road conditions: wet pavement, ice patches, gravel, potholes, poor lighting, or construction zones. These details can be relevant both to how the accident happened and to any comparative fault assessment.
Skid marks are particularly valuable. They indicate where braking began and at what angle, which helps reconstruct speed and reaction time. Photograph them as soon as possible — they fade quickly and can be obscured by rain or passing traffic.
Capture All Vehicle Damage — Wide and Close
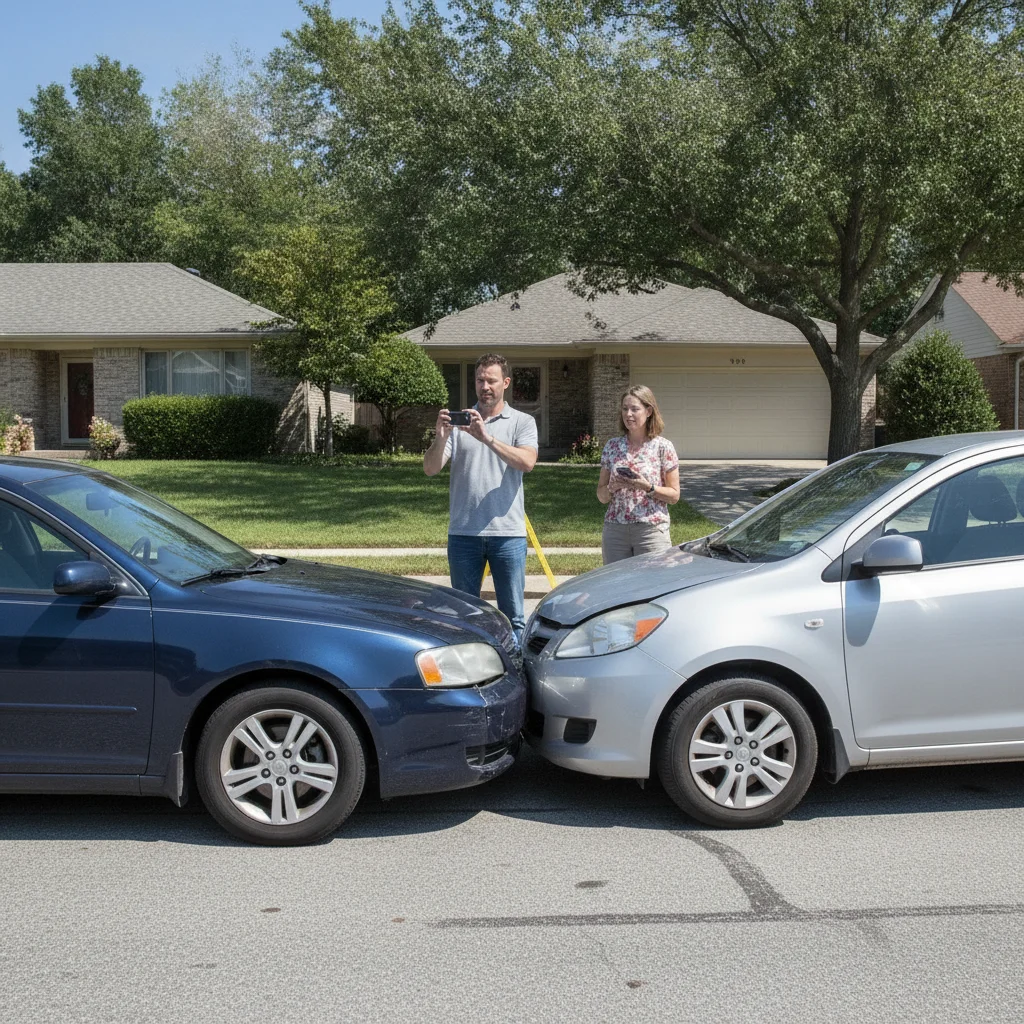
Work through each vehicle systematically. Start with a full-vehicle shot from each side (front, rear, driver side, passenger side) so adjusters can see the overall condition of the car. Then move in for close-up shots of every specific damage point — dents, scrapes, broken glass, deployed airbags, fluid leaks, bent frame components.
Don't skip undamaged areas. Photographing the parts of your car that weren't damaged creates a baseline that protects you from any later dispute about pre-existing damage.
[in_content_images:1]Include the other vehicle in your damage documentation as well. Even if you believe you're not at fault, documenting their damage helps establish the force and direction of impact, which supports the overall account of events.
Photograph the Other Driver's Information
You'll need to exchange information with the other driver regardless of fault. Once you have their documents in hand, photograph each one directly:
- License plate — shoot it straight-on so every character is legible
- Driver's license — capture the full front of the card clearly
- Insurance card — get both sides if there's relevant information on the back
- Vehicle registration — particularly useful if the car is registered to someone other than the driver
These photos mean you don't have to rely on handwritten notes that can become illegible, and they give your insurer the exact policy and contact details they need to initiate a claim quickly.
Document Any Injuries and Personal Property Damage
If you or your passengers have visible injuries, photograph them — visible bruising, cuts, or abrasions that appear at the scene are worth documenting. These initial photos create a record of injury at the time of the accident, which can be important if symptoms develop or worsen in the days following the crash.
Also document any personal property that was damaged inside the vehicle: a cracked laptop, a broken phone, damaged child safety seats. Personal property claims are often overlooked but are frequently covered under your policy.
Record a Scene Walkthrough Video
Once you've captured your still photos, do a slow walk around the full scene while recording video. Narrate what you're seeing as you go — the position of vehicles, visible damage, road conditions, any witnesses nearby. Speak clearly and calmly, as if you're describing the scene to someone who wasn't there.
This video serves two purposes: it captures spatial relationships between objects that individual photos sometimes don't convey, and your spoken narration creates a contemporaneous verbal record of your observations while they're freshest.
Back Up Your Photos Before Leaving the Scene
Before you drive away, confirm your photos and video are secure. If you have cellular service, email a selection of the most critical shots to yourself and to a trusted contact. Check that your cloud backup service has synced — or manually trigger a sync if your settings allow it.
If your phone is damaged in the accident or lost before syncing, those photos may be unrecoverable. A 60-second email to yourself is cheap insurance against that outcome.
Use Video to Complement Still Photos
A slow 360-degree walk-around video of the entire scene takes about 60 seconds and can capture spatial relationships and context that individual stills sometimes miss. Record it early — before any vehicles move — and let the narration track your observations out loud. Adjusters and attorneys find walkthrough footage genuinely useful.
Let Your Phone's Metadata Work for You
Most smartphones automatically embed GPS coordinates and a timestamp into every photo you take. This metadata serves as quiet but powerful corroboration for your account of where and when the accident occurred. To preserve it, share photos as original files rather than compressed copies through messaging apps, which often strip metadata.
Print a Scene Checklist for Your Glove Box
Accidents are disorienting, and it's easy to forget key shots when your adrenaline is running. The <a href="/maintenance-and-ownership/safety-legal/accident-procedures/post-accident-scene-checklist-every-driver-should-keep-in-their-glove-box">post-accident scene checklist</a> is designed to live in your glove box for exactly this reason. Print it out and keep it with your insurance card so you have a physical reference when your brain needs it most.
After the Scene: Organizing Your Documentation
Once you've left the scene, your photos need to be organized before you submit them. Create a simple folder on your phone or computer and name it with the date and location of the accident. Label broad categories if that helps you — scene overview, my vehicle damage, other vehicle damage, other driver's documents, injuries.
When you call your insurer to open a claim, ask them directly how they prefer to receive photos. Many insurers have mobile apps or online portals that accept uploads. Some will send an adjuster who will conduct their own inspection — but your photos remain important as your independent record, separate from anything the insurer's own adjuster documents.
Keep your original files. Don't delete any photos even if they seem redundant or poorly composed. An adjuster or attorney may find value in an image that looks unimportant to you.
For a broader look at how written notes and other documentation work alongside your photos, Documenting an Accident Scene: Photos, Notes, and What Courts Actually Care About goes deeper into what holds up in legal and insurance contexts. And if you want a single physical reference to keep in your car, the post-accident scene checklist covers all the key tasks in a printable format.
The goal of all this documentation isn't just to win a dispute — it's to make a stressful, disorienting situation as manageable as possible. When you know you've captured what matters, you can hand the evidence over to your insurer and let them do their job, rather than spending weeks worrying about what you might have missed. That peace of mind is worth the extra five minutes at the scene.
This article is part of our broader Accident Procedures guidance — covering everything from the immediate aftermath of a crash through the claims process.

All claims are backed by peer-reviewed research. Sources on request.