Key Takeaways
The Problem With the Standard Dealer Loop
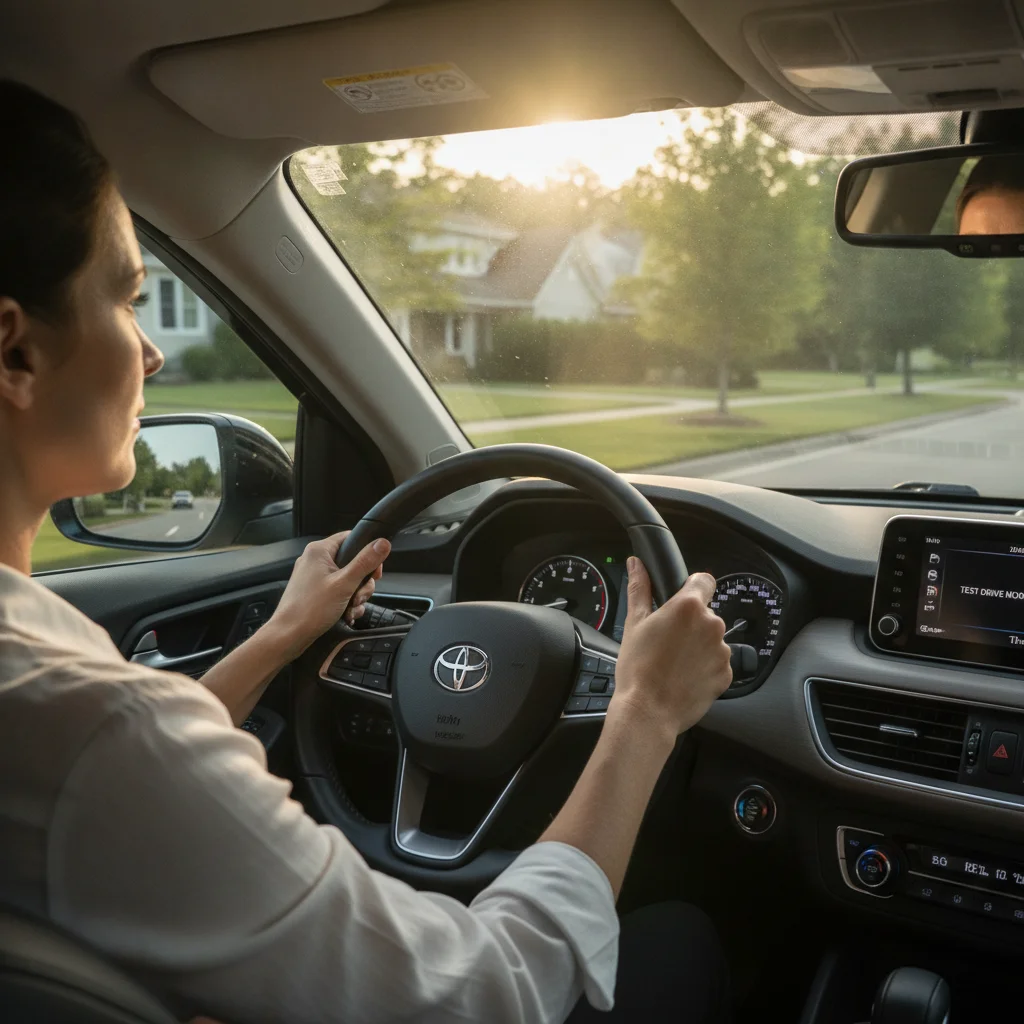
Most dealership test drives follow the same playbook: pull out of the lot, circle a few surface streets at 35 mph, maybe catch one traffic light, then return. The whole thing takes 10 minutes. Salespeople prefer it that way — short drives mean less time for problems to surface and more control over where you go.
That approach is fine for figuring out whether you like the seat position or if the Bluetooth pairs easily. It tells you almost nothing about how the car behaves under real driving stress. Highway merges, rough pavement, tight parking maneuvers, and sharp low-speed cornering each load the drivetrain, suspension, and steering in completely different ways. Skip any one of them and you could buy a car that hides a significant flaw.
The fix is simple: build your own route before you show up, and tell the salesperson upfront that you'll need 30–45 minutes. Most will agree without pushback. If they won't, that tells you something useful too.
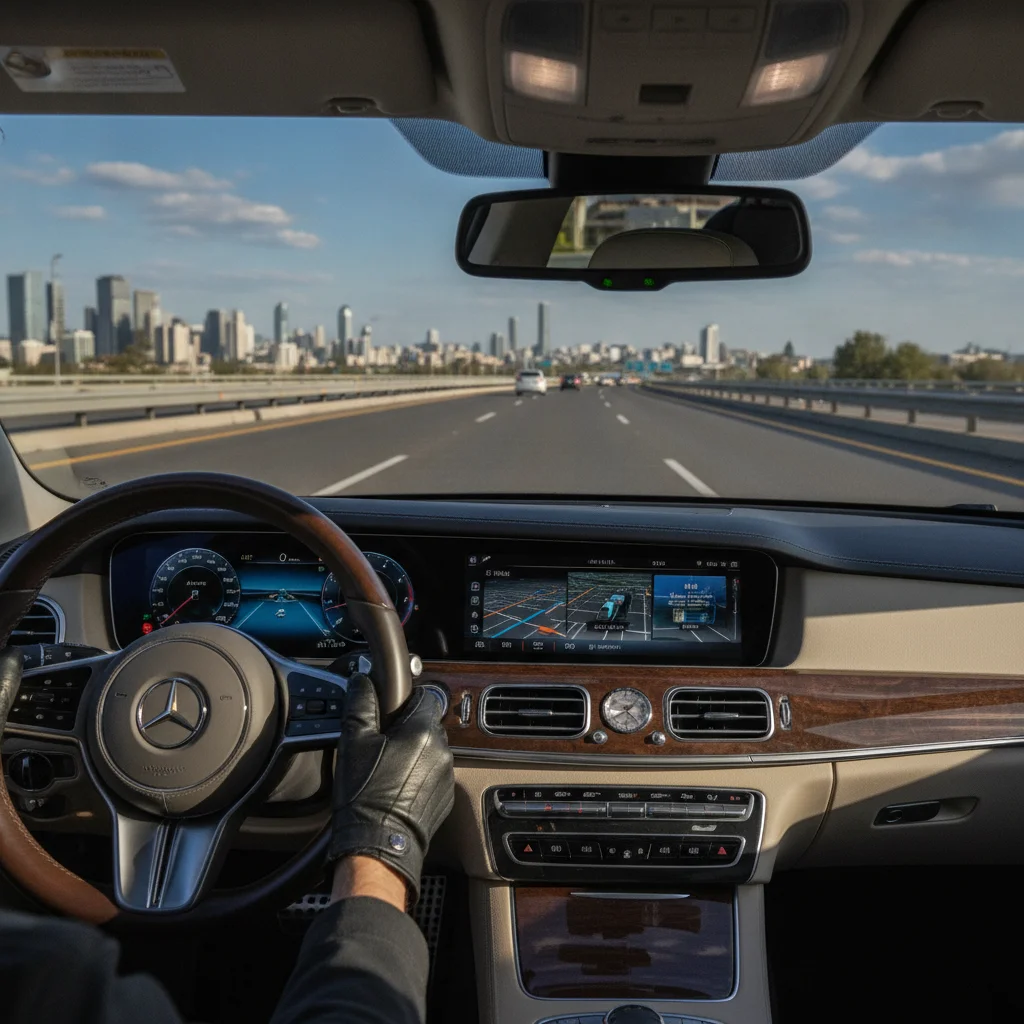
This article lays out exactly what that route should include, why each segment matters, and what you should be paying attention to as you drive. For the sensory side of the evaluation — sounds, vibrations, smells — see our test drive tactics guide, which pairs directly with this one.
Why Conditions Matter More Than Distance
Ten miles on a smooth suburban boulevard is essentially one condition repeated. What you want isn't mileage — it's variety. Each driving environment loads the car differently and forces different systems to reveal themselves.
10 min
Typical dealer-guided test drive duration
Industry observations from automotive consumer research consistently show the average dealership test drive lasts under 15 minutes, far too short to evaluate varied driving conditions.
30–45 min
Recommended minimum test drive time
Consumer advocates and automotive journalists recommend at least 30 minutes to cover multiple road types and driving scenarios adequately.
$300–$800
Typical CV axle replacement cost per side
A worn CV joint caught during a test drive is a negotiating point worth $300–$800 per axle in parts and labor at most independent shops.
Think of it this way: a transmission that shifts perfectly at 35 mph may hunt and hesitate at 65 mph under load. Brakes that feel fine on flat pavement may pull left on a decline. A rattle you'd never hear on smooth asphalt becomes obvious the moment you cross a railroad track or hit a frost heave.
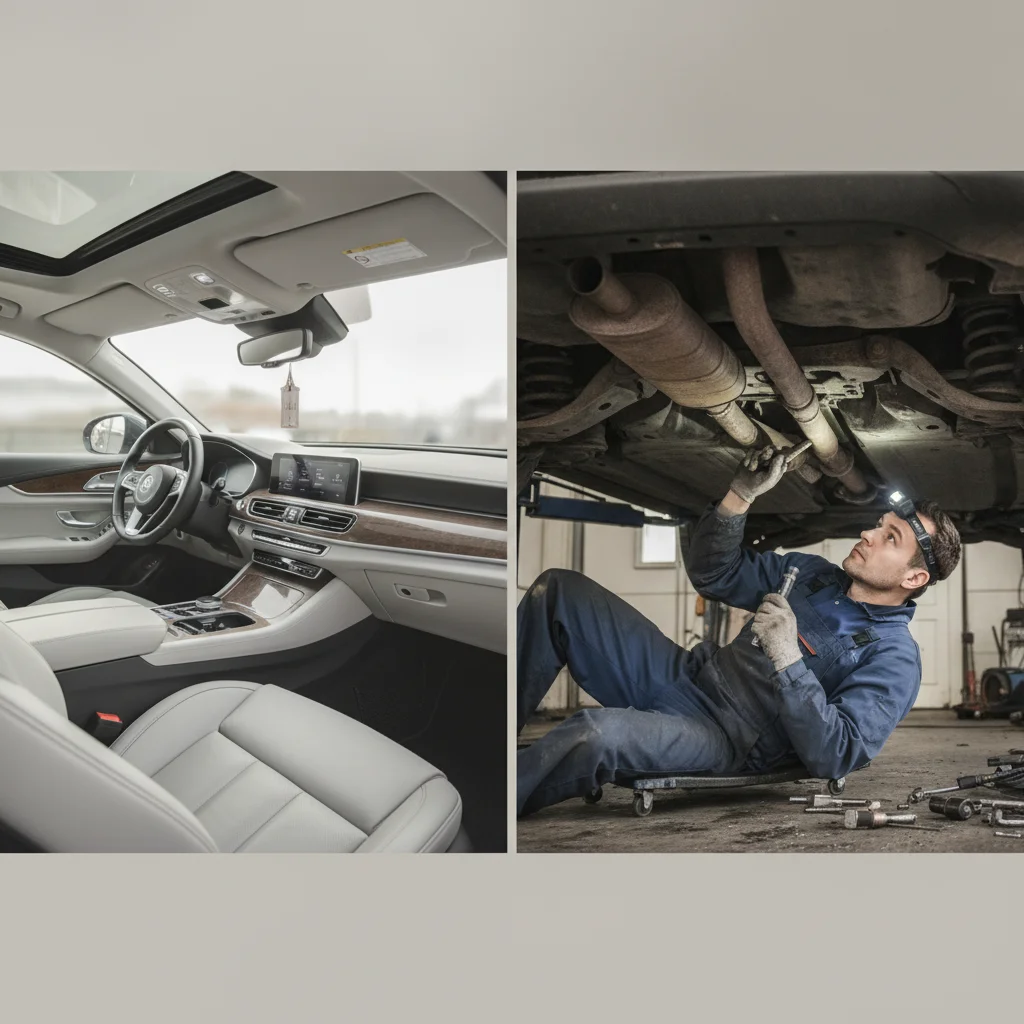
Used cars especially benefit from stress-varied testing. Worn bushings, aging shocks, loose heat shields, and tired CV joints all behave differently depending on speed, road surface, and steering angle. If you're shopping pre-owned, check out our overview of buying used cars for the full framework, and read the new vs. used inspection priorities piece to understand why your checklist looks different depending on what you're buying.
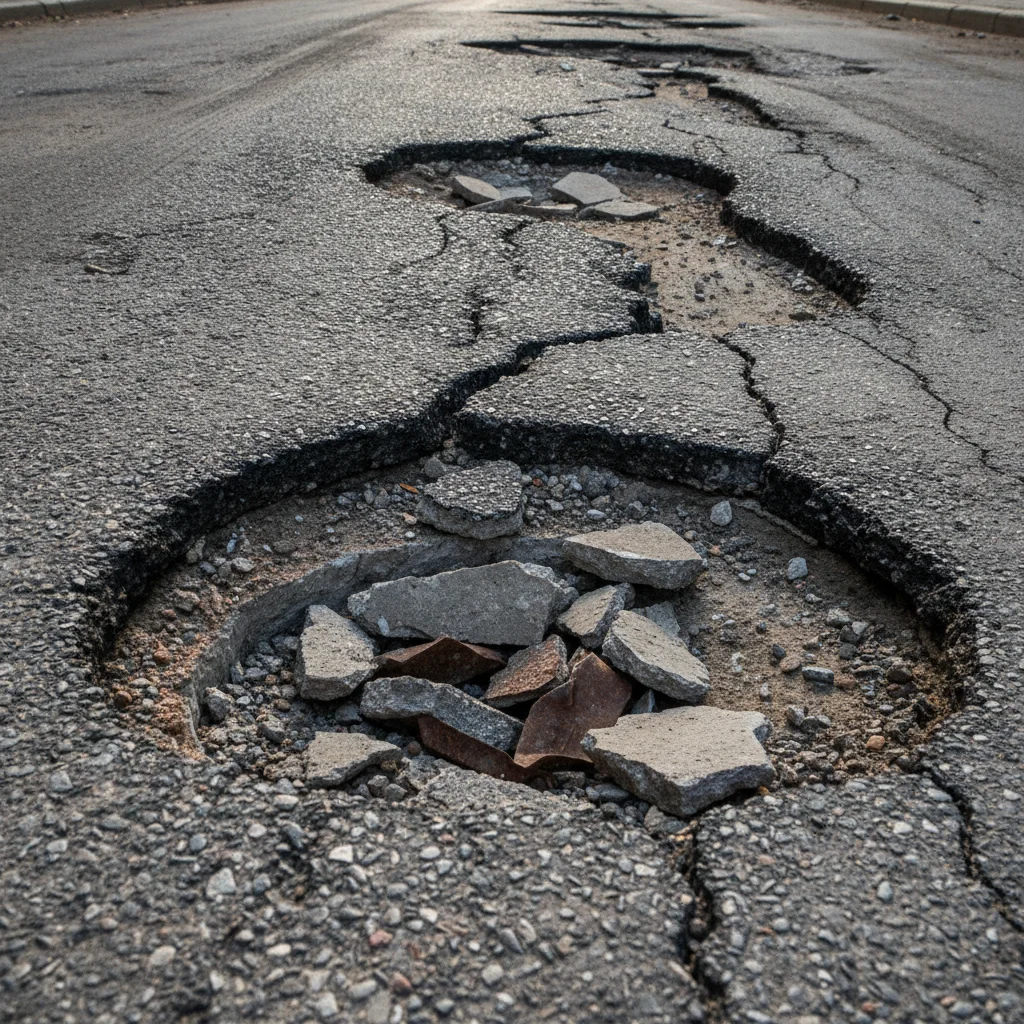
Conditions also reveal safety system behavior. Stability control interventions, ABS pulsing under hard braking, and lane-keep assist corrections all feel different at different speeds. You want to know how those systems behave before you're on a rain-slicked interstate depending on them.
Build a Route That Covers These Five Segments
Before you arrive at the dealership, pull up your maps app and identify a loop that hits each of the following segments in roughly this order. Aim for a total distance of 8–12 miles.
Start with 5–10 minutes of surface street driving to warm up the drivetrain before any highway exposure.
Cold transmission fluid shifts differently than warm fluid, and you want a baseline sense of the car's normal behavior before you stress it. Surface streets also let you evaluate low-speed steering weight, braking feel, and cabin noise without the complexity of highway traffic.
Include a highway on-ramp that requires you to accelerate from a full stop or near-stop to at least 65 mph.
Full-throttle merging is the most demanding test you can give an automatic transmission in normal driving. Shift timing, torque converter behavior, and engine breathing under load all reveal themselves here. A transmission that hesitates or shudders during this maneuver may need service.
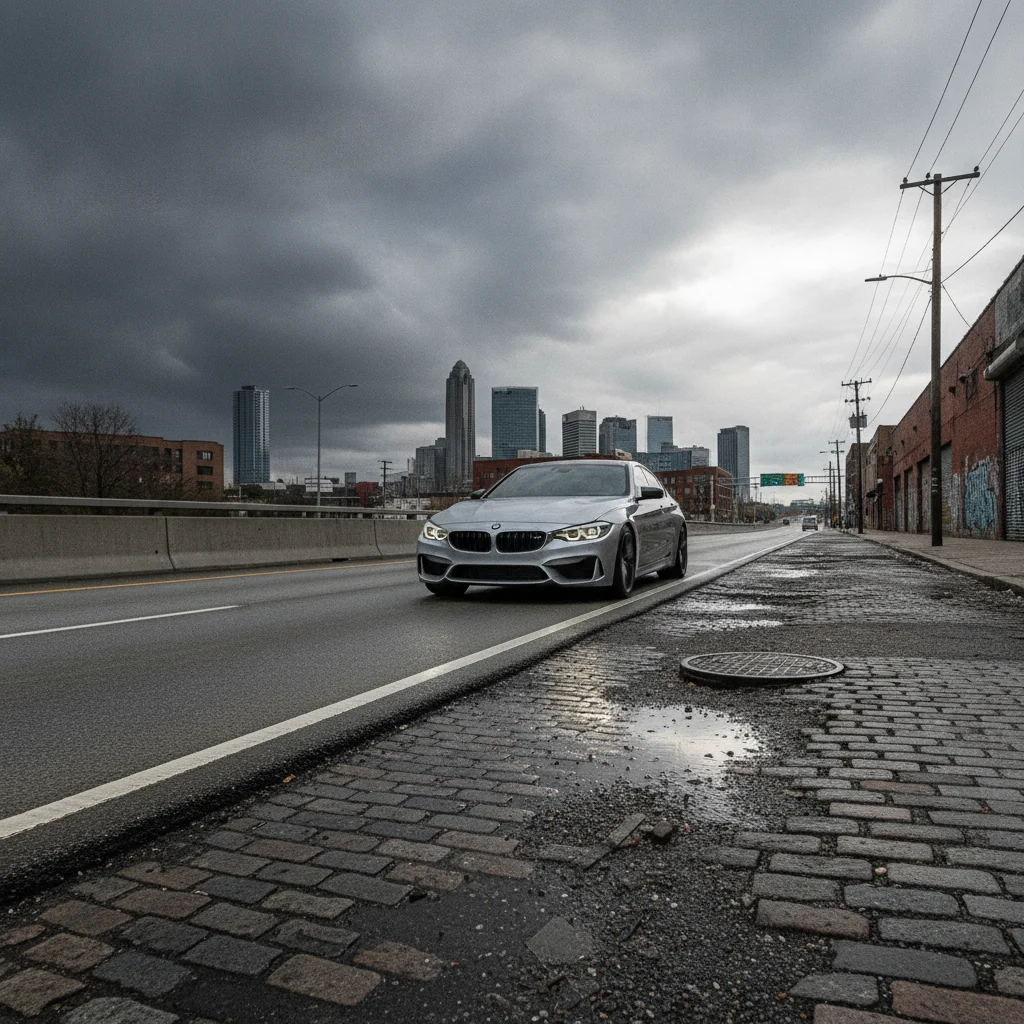
Route through at least one stretch of rough pavement, railroad crossing, or expansion joint at 25–40 mph.
Suspension components speak loudly on rough surfaces and quietly on smooth ones. Worn strut mounts, failing ball joints, loose heat shields, and aging sway bar end links all produce sounds and sensations that disappear the moment you return to smooth asphalt.
Execute a full-lock slow-speed turn in both directions in a parking lot.
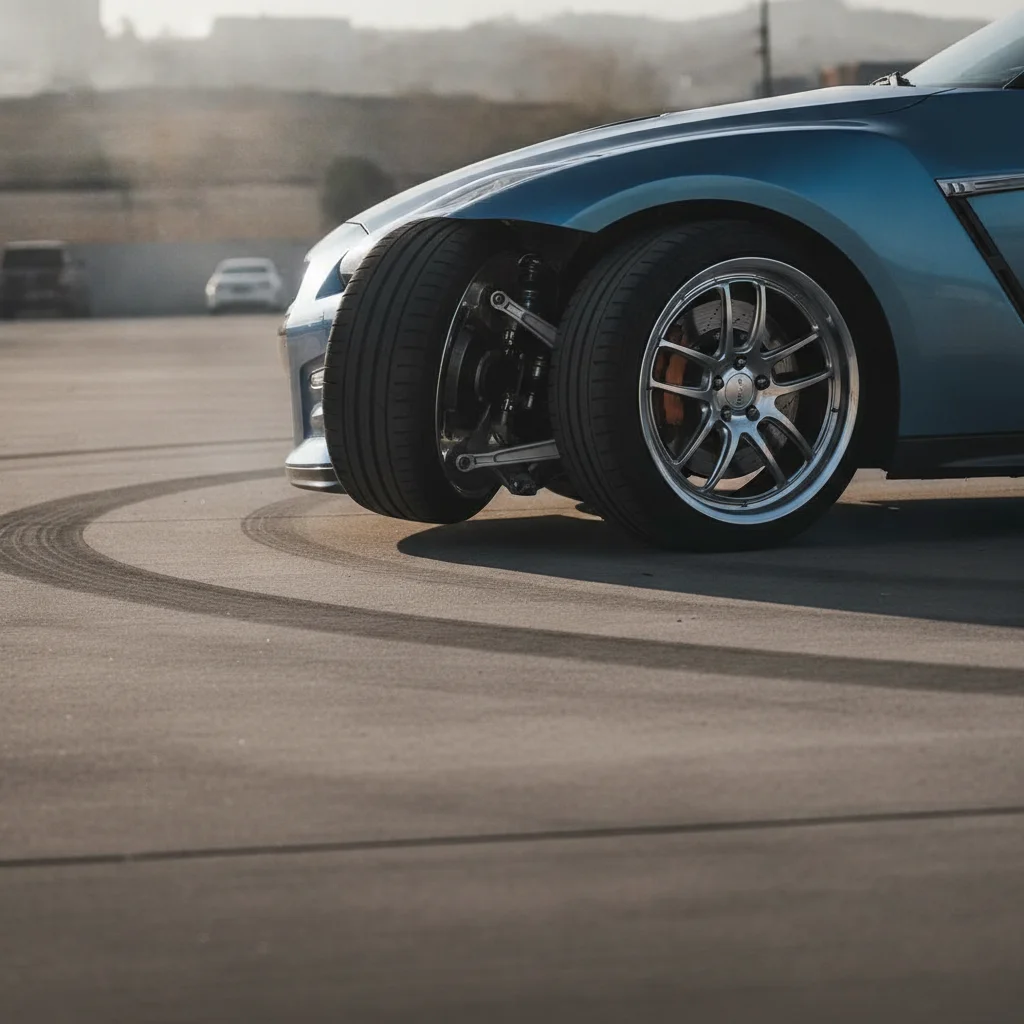
CV axles on front-wheel-drive and all-wheel-drive vehicles load most severely at or near full steering lock. A worn outer CV joint produces a rhythmic clicking or popping that is unmistakable and absent at straight-ahead driving. Catching this before purchase gives you repair cost leverage.
Perform at least one firm, deliberate brake application from 45–50 mph to a near-stop.
Brake feel — firmness, modulation, and pull — tells you about pad thickness, caliper condition, and rotor warp. A spongy pedal suggests air in the lines or worn pads. Steering pull under hard braking almost always indicates a seized caliper or a collapsed brake hose, both of which require immediate repair.
End the route with a reverse parking maneuver into a standard-sized space.
Parking tests backup cameras, proximity sensors, and steering feel at very low speed — three things that affect daily usability significantly. Camera image quality and sensor accuracy are expensive to fix if they're faulty, and this is the only way to check them during a test drive.
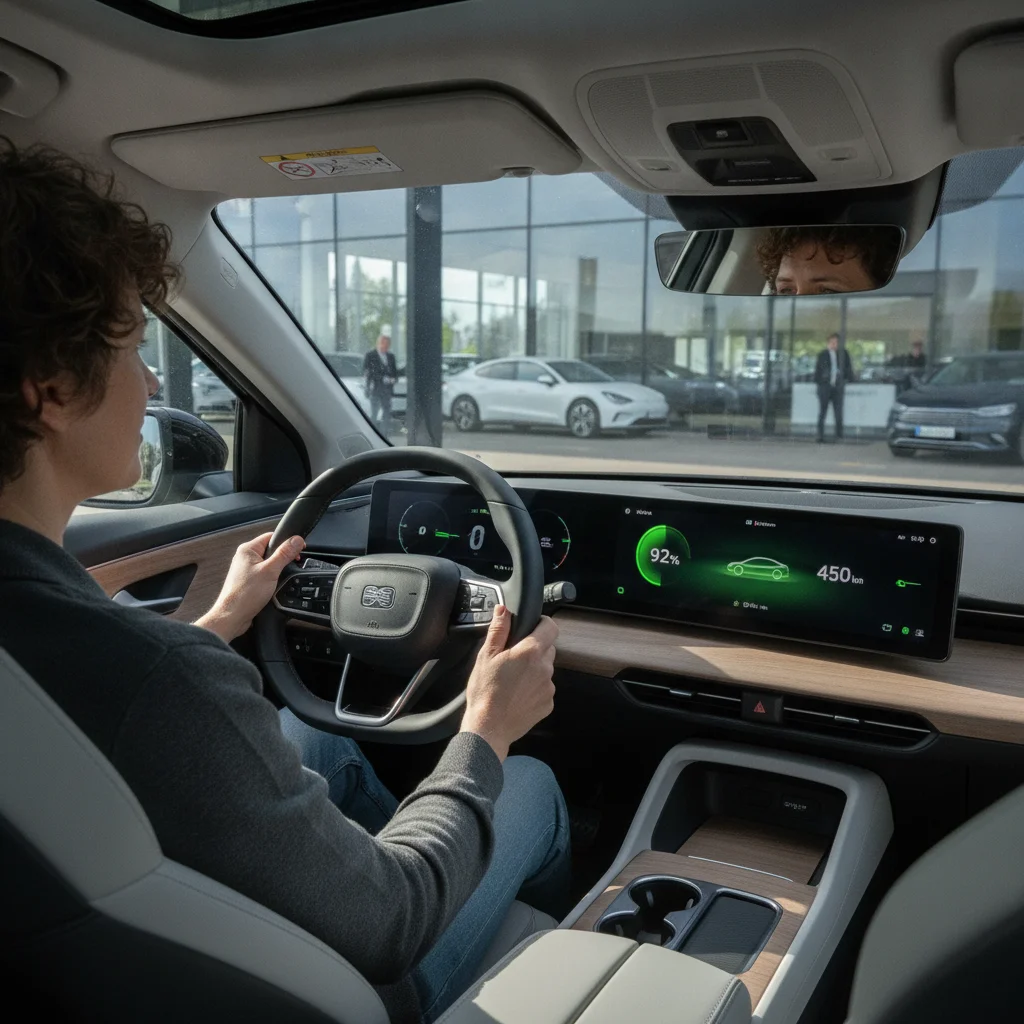
If you're testing an electric vehicle or plug-in hybrid, add a segment of stop-and-go city driving specifically to evaluate regenerative braking feel and one-pedal driving behavior. Our guide to evaluating an EV or hybrid on a test drive covers those details thoroughly.
Scout Your Route Before the Appointment
Drive or walk your planned test route before you arrive at the dealership. This lets you confirm there's a usable on-ramp, rough road section, and parking lot on the loop — and that you're not going to hit a construction detour mid-drive. It takes 10 minutes and eliminates navigating while you should be evaluating.
What to Listen and Feel for in Each Segment
Knowing where to drive only helps if you know what you're evaluating. Here's a condition-by-condition breakdown of the signals that matter most.
Highway On-Ramp and Merge
Acceleration from 40 to 70 mph under full throttle is the most honest transmission test you can do. Listen for shift hesitation, feel for torque converter shudder, and note whether the engine sounds strained or composed at highway speed. After merging, hold 70 mph and take your hands lightly off the wheel — the car should track straight with minimal correction.
Rough Pavement and Railroad Crossings
This is where old shocks and worn bushings announce themselves. At 25–35 mph over a rough patch, listen for clunks, rattles, and metallic ticking. A single clunk from the front on a bump often indicates a worn strut mount or ball joint — both non-trivial repairs. Persistent rattling from under the car can mean a loose exhaust heat shield, which is usually cheap, or a broken exhaust mount, which is not.
Tight Low-Speed Corners
Turn the wheel to full lock in a parking lot and drive in a slow circle both directions. A clicking or popping sound from the front of a front-wheel-drive car in this maneuver is a classic CV axle symptom. Replacement typically runs $200–$500 per axle. That's useful negotiating information, or a reason to walk away from an overpriced car.
Hard Braking
Find a safe empty stretch and brake firmly from 45 mph. The pedal should feel firm, not spongy. The car should stop straight without pulling. ABS should only engage if you push through the threshold — feel for that characteristic rapid pulsing. A car that pulls hard to one side under braking has a caliper or brake hose problem.
“The test drive is the only diagnostic tool most buyers will ever use. Use it like one — put the car under real stress, in real conditions, not a choreographed loop designed to make everything feel smooth.”
— Lemon-Aid Guide Editorial Team, Authors of the long-running Lemon-Aid Used Cars & Trucks consumer reference series
Parking Maneuver
End your route in a parking lot. Back the car into a space using only the mirrors (and camera if equipped), then pull forward and execute a 90-degree turn in a tight aisle. This tests backup camera lag, parking sensor calibration, and steering feel at very low speed. If the camera image is grainy, delayed, or has dead pixels, factor that into your offer — factory camera replacements are expensive.
For a deeper dive into what you should notice throughout all of this, our first test drive guide covers the sensory details first-time buyers most often overlook.
Weather and Road Conditions: Testing Outside the Ideal
Dealers will push for ideal conditions — a dry, calm day makes their cars look best. Push back when you can. Testing a car in rain, on cold pavement, or in wind reveals things a perfect day hides.
Wet-Weather Testing: Ask, Don't Wait
You don't need to reschedule for rain — you can ask the dealer to lightly wet the surface of a flat section of their lot to simulate braking on a moist road. This is a reasonable request most service departments can accommodate. Alternatively, schedule your appointment the day after a rain so road surfaces are still damp.
One Test Drive May Not Be Enough
If you're seriously considering a used car above $15,000, a second test drive is worth scheduling — ideally at a different time of day and in different weather. Some problems only appear when an engine is fully cold, and a morning test drive on a car that sat outside overnight will reveal things an afternoon drive on a warmed-up car won't. Before making a final offer, consider pairing your route evaluation with a professional pre-purchase inspection from an independent mechanic.
In wet conditions, brake gently from low speed and notice whether the car squirms or tracks straight. If the tires are marginal, the ABS may engage on a wet surface during braking you'd easily handle in dry conditions — a sign you'll need new rubber before winter. Even modest wind at highway speed reveals how much crosswind correction the car demands. High-profile SUVs and trucks vary significantly in this regard.
Cold engines are especially informative on used cars. Oil pressure stabilization, idle quality, transmission shift quality when fluid is cold — these all tell you something about the engine's internal condition. If a dealer insists the car needs to warm up before your drive, that's a red flag: a healthy engine should start and drive without an extended warm-up period.
For a look at how vehicle behavior changes on slippery surfaces specifically, see how traction changes on rain, ice, and slush.
Quick Wins Before You Turn the Key
Some of the most useful evaluation happens before you even put the car in drive. Use these quick steps to set yourself up for a more informative test.
Putting It All Together
A complete test drive isn't complicated — it's just intentional. You're not trying to break the car; you're trying to put it through the same situations it will face every week once it's yours. A highway on-ramp, a rough side street, a tight parking lot, and one hard stop will reveal more in 35 minutes than three short dealership loops ever could.
Print or screenshot your route before you arrive. Tell the salesperson you'll need the full loop. Turn off the radio for the rough-road and highway segments. Take notes on your phone immediately after — memory degrades fast when you're also negotiating.
If the car passes every segment without drama, you've got solid evidence it's mechanically sound. If something comes up, you've got leverage or a reason to walk. Either way, you're making a decision based on real information rather than a 10-minute parking-lot impression.
Wet-Weather Testing: Ask, Don't Wait
You don't need to reschedule for rain — you can ask the dealer to lightly wet the surface of a flat section of their lot to simulate braking on a moist road. This is a reasonable request most service departments can accommodate. Alternatively, schedule your appointment the day after a rain so road surfaces are still damp.
One Test Drive May Not Be Enough
If you're seriously considering a used car above $15,000, a second test drive is worth scheduling — ideally at a different time of day and in different weather. Some problems only appear when an engine is fully cold, and a morning test drive on a car that sat outside overnight will reveal things an afternoon drive on a warmed-up car won't. Before making a final offer, consider pairing your route evaluation with a professional pre-purchase inspection from an independent mechanic.

All claims are backed by peer-reviewed research. Sources on request.