Key Takeaways
Why Headlights Turn Yellow and Why It Actually Matters
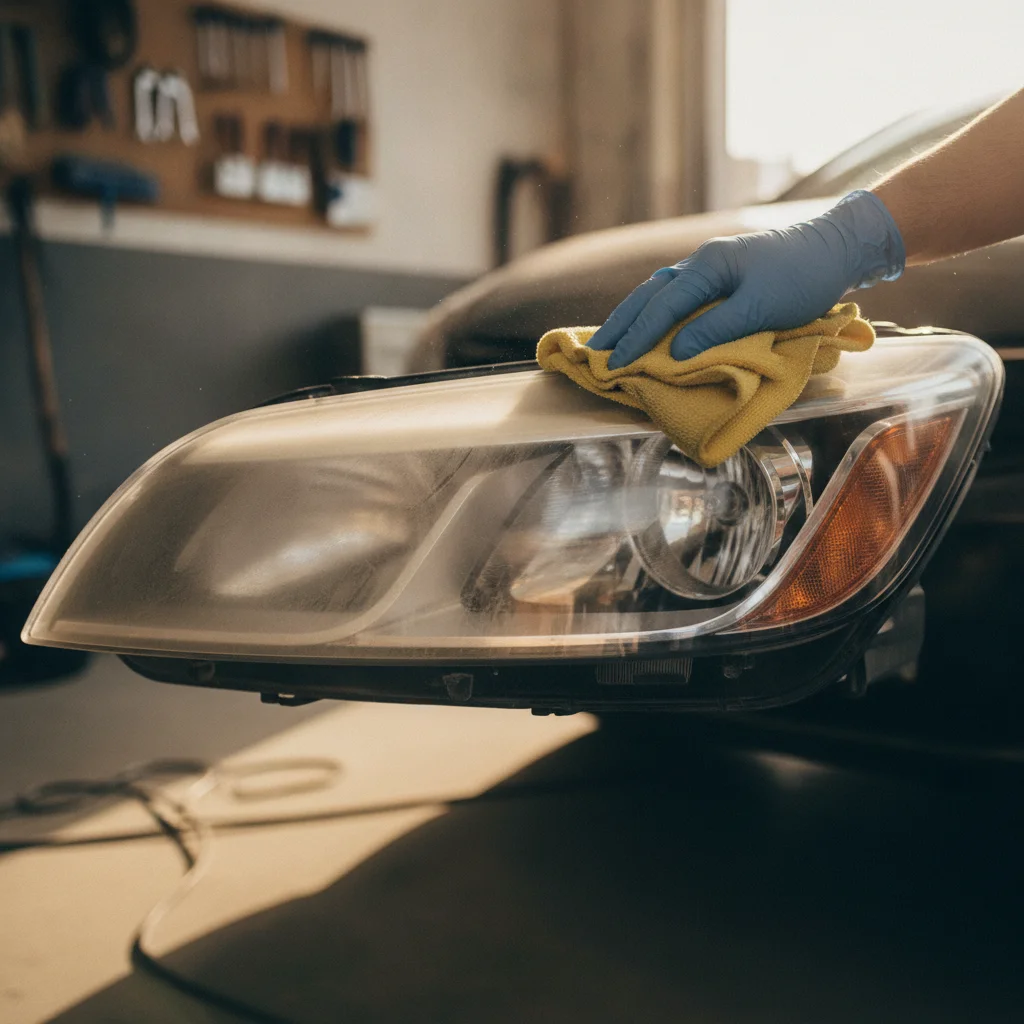
Headlight lenses on cars made after the early 1990s are polycarbonate plastic, not glass. Polycarbonate is lighter, shatter-resistant, and easier to mold into complex aerodynamic shapes — but it has one serious weakness: ultraviolet light breaks it down over time. Manufacturers apply a thin UV-protective coating at the factory, but that coating wears away from sun exposure, road grit, and harsh weather. Once it's gone, the bare plastic oxidizes and turns cloudy, hazy, or yellow.
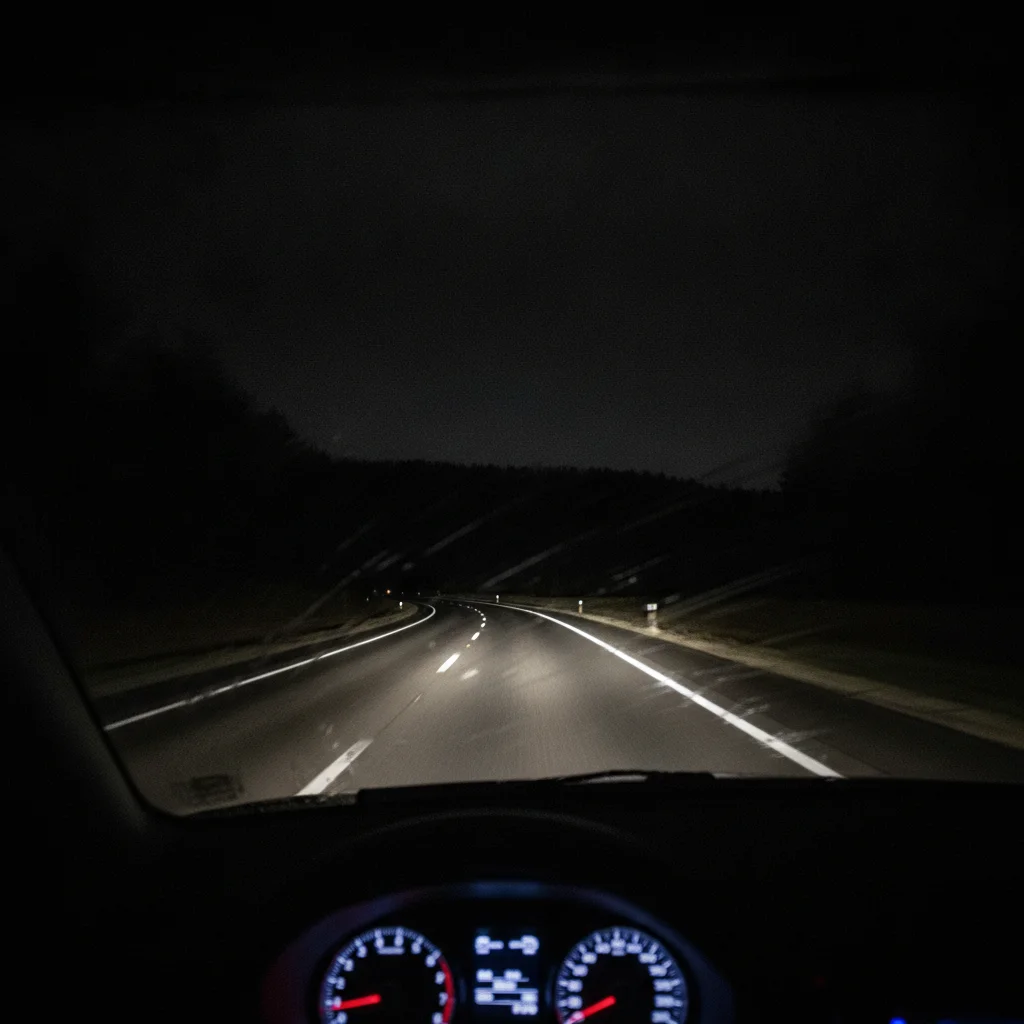
This isn't just ugly. Night driving visibility is already compromised more than most drivers realize — and degraded headlights make it significantly worse. Studies and real-world tests have shown oxidized lenses can block anywhere from 40% to 80% of a headlight's output. At highway speeds, that translates to dramatically less time to react to a pedestrian, animal, or road debris.
The good news: this is one of the most satisfying and cost-effective DIY repairs on any car. You're not fighting rust or electrical gremlins — you're just removing a thin layer of oxidized plastic and protecting what's underneath. With the right materials and a little patience, most lenses can be taken from foggy yellow back to near-factory clarity in under two hours.
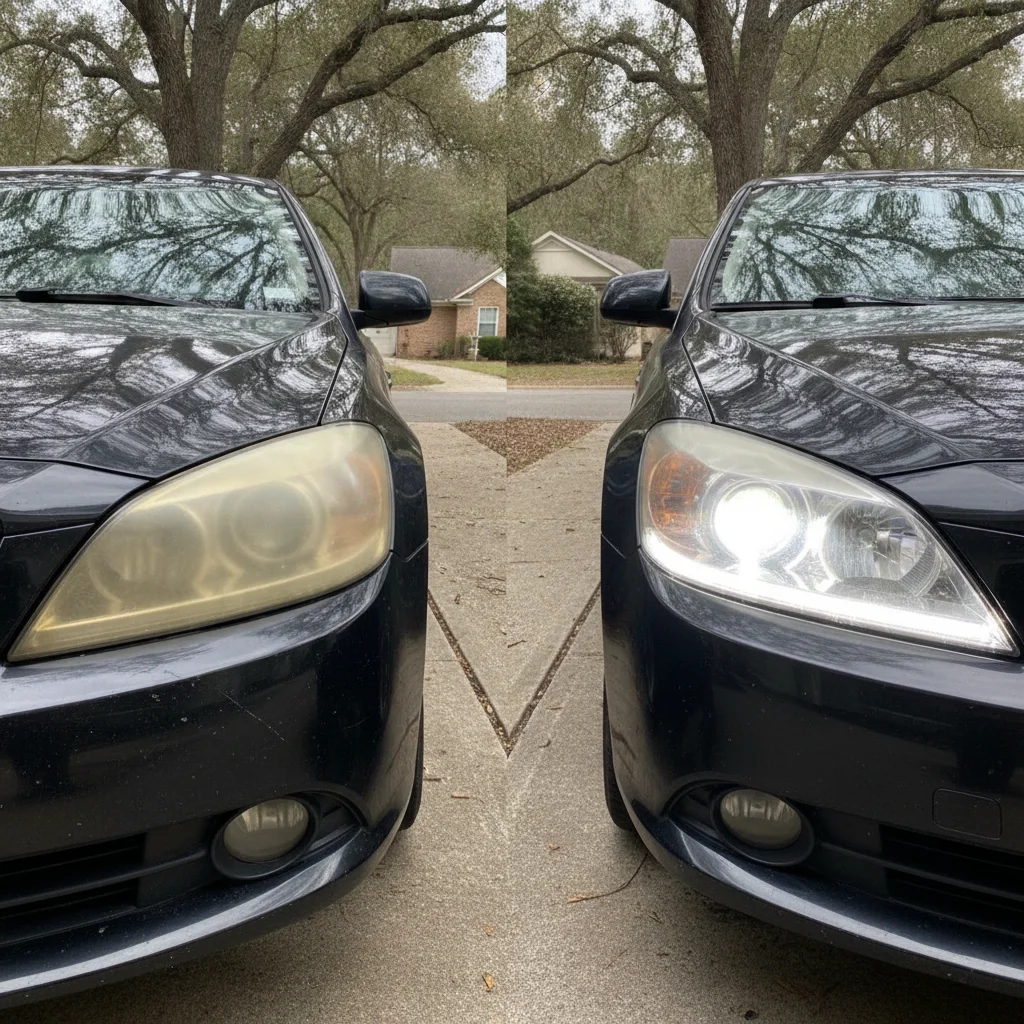
If you're preparing to sell your vehicle, clear headlights make a measurable difference in buyer perception. A set of yellowed lenses signals neglect the same way a dirty engine bay or cracked trim does. For more detail on prepping your car for sale, see our guide on restoring foggy headlights before your listing goes live.
What You'll Need Before You Start
Gather everything listed below before you begin. The biggest time-wasters on this job are mid-task supply runs. You don't need expensive branded kits — but you do need the right grits and a proper UV sealant. Cheap kits that skip the coarser grits or include watery sealants produce results that fade in a month.
What you will need
Wet/dry sandpaper — 400, 1000, 1500, and 2000 grit
Progressively removes oxidized plastic layer by layer, with each finer grit eliminating scratches left by the previous one.
Automotive rubbing or polishing compound
Removes the fine scratches left by 2000-grit sandpaper and restores optical clarity to the lens surface.
UV-rated automotive clear coat spray
Seals the restored lens surface against UV exposure to prevent re-yellowing — the most critical finishing step.
Painter's masking tape (1.5" or 2" width)
Protects the painted body panels and trim surrounding the headlight from accidental sanding or compound splatter.
Spray bottle filled with water
Keeps the sandpaper and lens surface lubricated during wet sanding to prevent heat buildup and clogging.
Microfiber cloths (at least 3–4)
Used to wipe away sanding residue, apply compound, and buff the lens between stages.
Dual-action (DA) polisher with foam pad
Speeds up the polishing stage and produces a more even, swirl-free result compared to hand polishing.
Isopropyl alcohol (70% or higher)
Cleans the lens surface before applying the UV topcoat to ensure proper adhesion.
A word on headlight restoration kits sold at auto parts stores: many are fine, but read the label. Look for kits that include at minimum 400-grit, 1000-grit, and 2000-grit wet/dry sandpaper, a polishing or rubbing compound, and most importantly a UV-resistant clear coat or sealant. If the kit doesn't mention UV protection on the finishing product, skip it and buy a spray UV clear coat separately.
Kit vs. Individual Products
Off-the-shelf headlight restoration kits are convenient, but they vary widely in quality. The most common shortcoming is an inadequate UV sealant. If you already own automotive wet/dry sandpaper and polishing compound, just buy a quality UV-rated 2K or single-stage clear coat spray separately. You'll get a more durable result for about the same cost as a mid-tier kit.
Work in the Shade
Never sand or apply topcoat in direct sunlight. Heat accelerates compound drying, making it harder to buff out, and UV clear coat sprayed onto a hot lens surface can bubble or cure unevenly. Find a shaded driveway, a garage with the door open, or work in the early morning.
Maintenance After Restoration
Once restored, apply a UV-protective car wax or spray detailer to the headlights every time you wax your car. This simple habit extends the life of your clear coat significantly and can push time-between-restorations from one year to two or three years.
Step-by-Step: Restoring Your Headlights
Work one headlight at a time so you always have the other as a reference point for how far you've come. The process moves through progressively finer abrasives — coarse to remove oxidation, fine to remove scratch marks from coarser grits, then polish to restore clarity. Don't rush any stage.
Wash and dry the headlights thoroughly
Before anything touches sandpaper, wash the headlight and surrounding area with soap and water to remove dirt, road film, and any wax. Even fine grit trapped under sandpaper can scratch the lens unpredictably. Rinse well and dry completely with a clean microfiber cloth.
Mask off the surrounding paint and trim
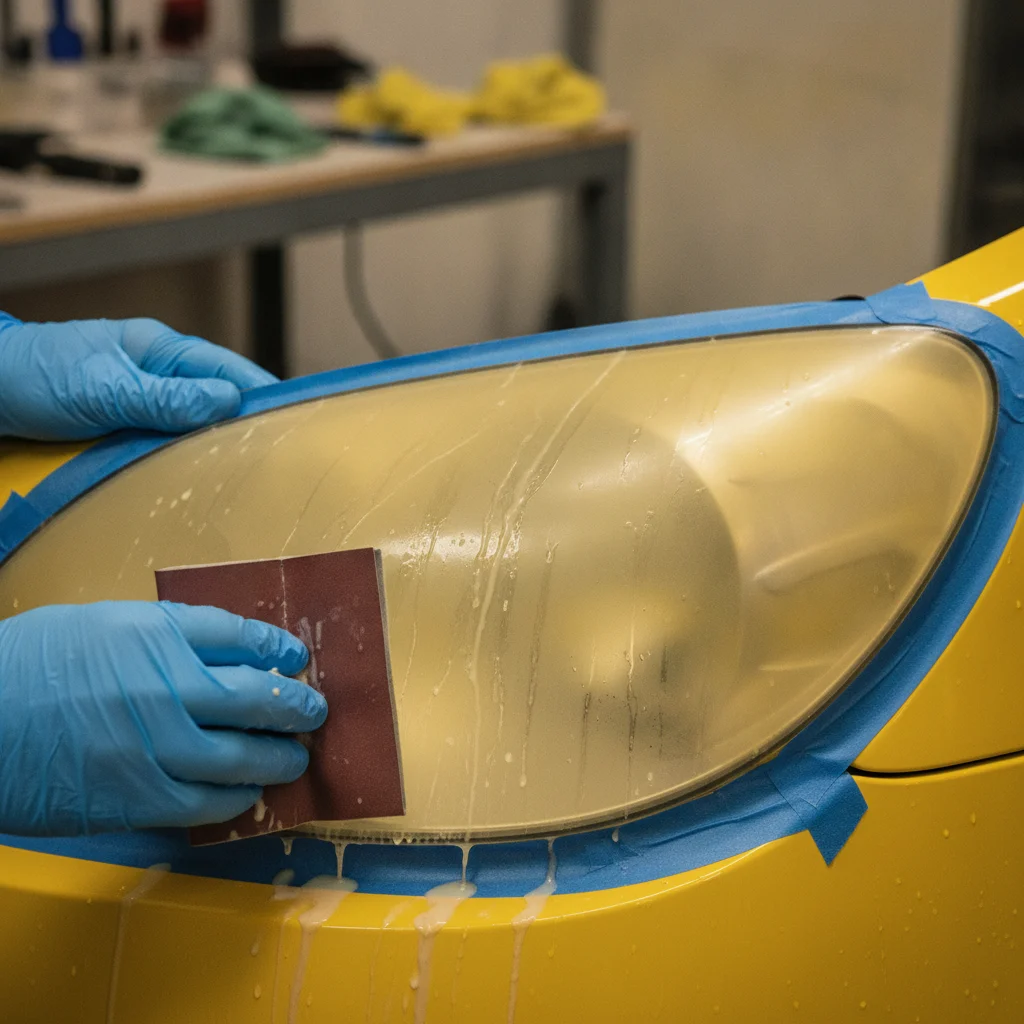
Apply painter's tape around the entire perimeter of the headlight lens, covering the painted bumper, fender, and any chrome or plastic trim directly adjacent to the lens. Use at least two layers anywhere you're likely to sand close to the edge. Take your time here — sanding through paint to bare metal is a much bigger problem than hazy headlights.
Wet sand with 400-grit to remove heavy oxidation
Soak your 400-grit sandpaper in water for a few minutes before starting. Keep the lens and paper wet throughout — use your spray bottle constantly. Sand in straight horizontal passes with moderate, even pressure. The lens will look terrible at this stage: scratched and milky. That's exactly right. You're cutting through the oxidized layer down to fresh plastic.
Sand until the heavy yellow or cloudy surface is uniformly gone — typically two to four minutes of active sanding per lens. Wipe away the slurry with a damp cloth and check your progress. If yellow patches remain, keep sanding.
Progress through 1000-grit and 1500-grit wet sanding
Switch to 1000-grit wet sandpaper and repeat the process, this time sanding in vertical passes (perpendicular to your 400-grit direction). This cross-hatching pattern helps you see when the previous grit's scratches are fully worked out — once you can no longer see horizontal lines from the 400-grit, move on.
Follow with 1500-grit, again switching direction back to horizontal passes. Wipe and inspect between each grit change. The lens should be getting visibly smoother and less scratched with each stage, though it won't look clear yet.
Finish wet sanding with 2000-grit
The 2000-grit stage is where the lens starts to look closer to clear. Sand with light, consistent pressure in horizontal passes, keeping everything wet. The scratches from this grit are so fine that polishing compound will remove them completely. Wipe away residue and hold the lens up to a light source — you should be able to see through it, though with a frosted appearance. If it still looks uniformly scratched with visible lines, spend more time here.
Polish to full clarity
Apply a small amount of automotive rubbing or polishing compound to a clean foam applicator pad or microfiber cloth. Work it into the lens surface using small circular motions with firm pressure, covering the entire lens in overlapping passes. The compound will turn gray or dark as it picks up residue — that's normal.
If you have a dual-action polisher, use a foam cutting pad at a medium speed setting. Machine polishing is faster and produces a more consistent result, but hand polishing works fine with a little more elbow grease. Buff away the residue with a clean microfiber cloth. At this point the lens should be visibly clear.
Clean the surface with isopropyl alcohol before sealing
Wipe the entire lens surface with isopropyl alcohol on a clean microfiber cloth. This removes any compound oils, fingerprints, or residue that would prevent the UV topcoat from bonding properly. Let it flash dry for 60 seconds before moving to the next step. Do not touch the lens surface with bare hands after this point.
Apply UV clear coat in thin, even passes
Shake the UV clear coat spray for at least 60 seconds. Hold the can 8–12 inches from the lens and apply in smooth, overlapping horizontal passes. Apply two to three thin coats rather than one heavy coat — thick applications run, sag, and take much longer to cure. Allow the recommended flash time between coats (typically two to five minutes, check your product label).
Keep the lens out of wind and dust while the coat cures. If a dust particle lands in the wet coat, leave it — trying to wipe it out will smear the finish. Once fully cured, you can lightly buff out any minor surface contamination.
Remove masking tape and allow full cure
Remove the masking tape slowly and at a low angle while the clear coat is still slightly tacky — typically 15 to 30 minutes after the final coat. Pulling tape after full cure risks chipping the edge of the clear coat. Let the lens cure undisturbed for at least 24 hours before washing the car or exposing it to rain.
Don't Use Toothpaste or Household Polish
You'll find a lot of advice online suggesting toothpaste or Brasso as a quick headlight fix. These can produce a temporary improvement, but they're far too fine to remove significant oxidation, leave no UV protection whatsoever, and the results typically disappear in days. You'll have invested time with no meaningful gain in safety or appearance.
Heat Guns Can Warp Polycarbonate
Some videos demonstrate using a heat gun or torch flame to 'melt' surface haze off a headlight lens. This can work in very controlled conditions, but it's extremely easy to warp, bubble, or crack the lens — especially around the edges and near mounting tabs. The wet-sanding method is slower but produces consistently better results without the risk of an expensive mistake.
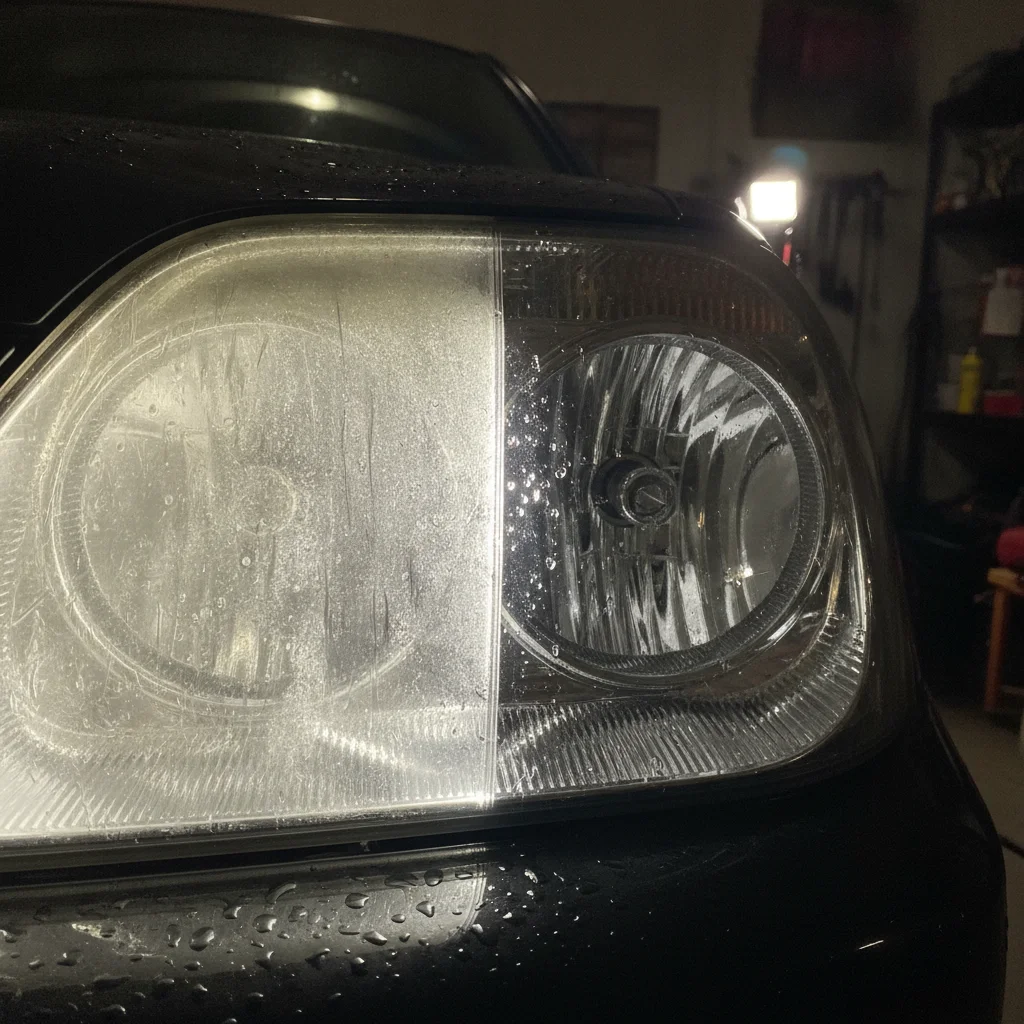
Once both lenses are done and the UV coat has fully cured, step back and take a look at night. The improvement is usually dramatic — like switching from a foggy window to clean glass. If you still notice some milkiness deep inside the lens housing rather than on the surface, that's internal condensation, which is a separate issue requiring lens resealing or replacement.
The UV Topcoat Is Non-Negotiable
Sanding and polishing alone will leave your lenses looking fantastic — for about two to six weeks. Without a UV-protective topcoat, bare polycarbonate begins oxidizing almost immediately on re-exposure to sunlight. Every DIY headlight restoration that 'didn't last' was either skipped on topcoat or used a product with inadequate UV inhibitors. Budget the time and money for this step — it's the difference between a repair that lasts and one you're doing again next season.
How Long Will the Results Last?
Honestly? It depends almost entirely on the UV topcoat you apply and where you park. A quality spray clear coat applied in two or three thin coats can hold up for two to three years in moderate sun exposure. If you park outdoors in a high-UV climate like the Southwest, expect to reapply a UV sealant annually to keep the lenses from re-yellowing.
Some detailers recommend applying a ceramic coating over the cured clear coat for added durability. That's a valid upgrade if you already have ceramic coating supplies on hand, but it's not required for the average driver. At minimum, make it a habit to include the headlights when you apply a spray detailer or wax during routine washes — it slows UV degradation on the topcoat significantly.
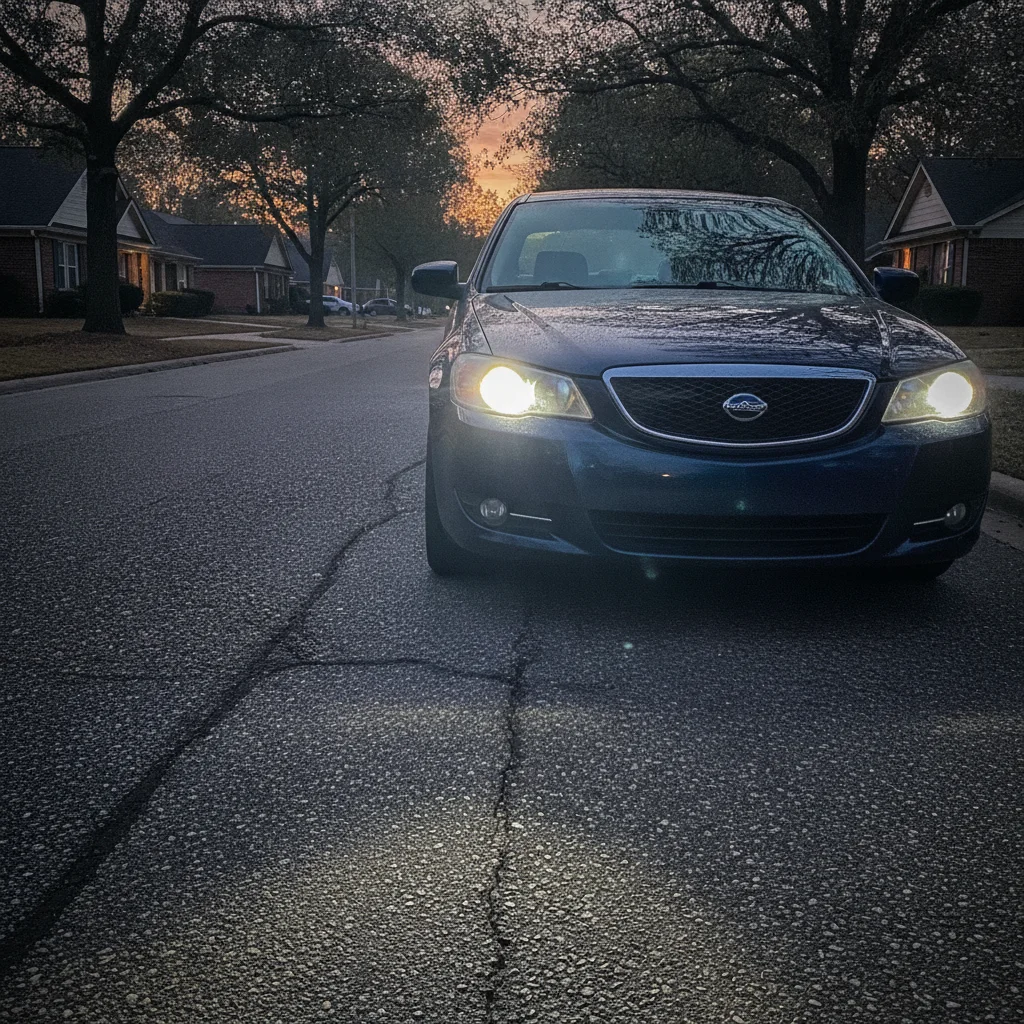
One practical habit: check your headlights every time you do an oil change. Catch early hazing before it becomes full oxidation, and a light polish with a microfiber and some plastic-safe rubbing compound might be all you need — no sanding required. That kind of preventive attention is exactly what separates a well-maintained car from one that costs more to sell and more to own over time.
Troubleshooting: When Results Aren't What You Expected
Even following the steps correctly, you might run into a few common issues. Here's how to read what you're seeing and fix it.
- Lens still looks hazy after polishing
- You likely didn't sand aggressively enough with the coarser grits, or you skipped from a coarse grit straight to polish without working through the intermediate steps. Go back to 1000-grit wet sanding and work your way through the sequence again. The haze at this stage is usually fine scratches that didn't get fully worked out.
- Swirl marks or deep scratches visible after polishing
- These are leftover scratches from a coarser grit. Wet sand again with 2000-grit using light, consistent pressure, then re-polish. Using a dual-action polisher instead of hand polishing can reduce swirl marks significantly.
- Lens re-yellowed within a few weeks
- This is almost always a UV topcoat failure — either the product used has no UV inhibitors, or you applied it too thin. Strip the lens back with 2000-grit, re-polish, and apply two to three coats of a proper UV-rated automotive clear coat, allowing flash time between coats.
- Cloudy appearance deep inside the housing
- Surface restoration won't fix this. Moisture has gotten inside the sealed housing. The lens seal is compromised, and you're looking at either resealing the housing (an advanced DIY job) or replacement.
- Uneven finish with blotchy spots
- Usually caused by uneven compound application or polishing with too much pressure in some areas. Wet sand lightly with 2000-grit to level the surface and re-polish with even, overlapping passes.

All claims are backed by peer-reviewed research. Sources on request.