Key Takeaways
Our Verdict
When a red warning light appears, treat it as a stop sign — pull over safely and cut the engine before calling for help. Amber lights are your car's way of saying 'handle this soon,' and driving directly to a shop is the right move. Ignoring either category escalates a manageable repair into a catastrophic — and expensive — failure.
| Best for | Recommended |
|---|---|
| Drivers who see a red oil pressure or temperature light | Pull Over Immediately |
| Drivers with a steady amber check engine or TPMS light | Drive to a Shop Within 24–48 Hours |
| Drivers with a blinking or flashing check engine light | Pull Over and Limit Engine Load |
| Drivers seeing blue or green informational lights | No Action Needed — Monitor Normally |
The Dashboard Color Code: Your First Triage Tool
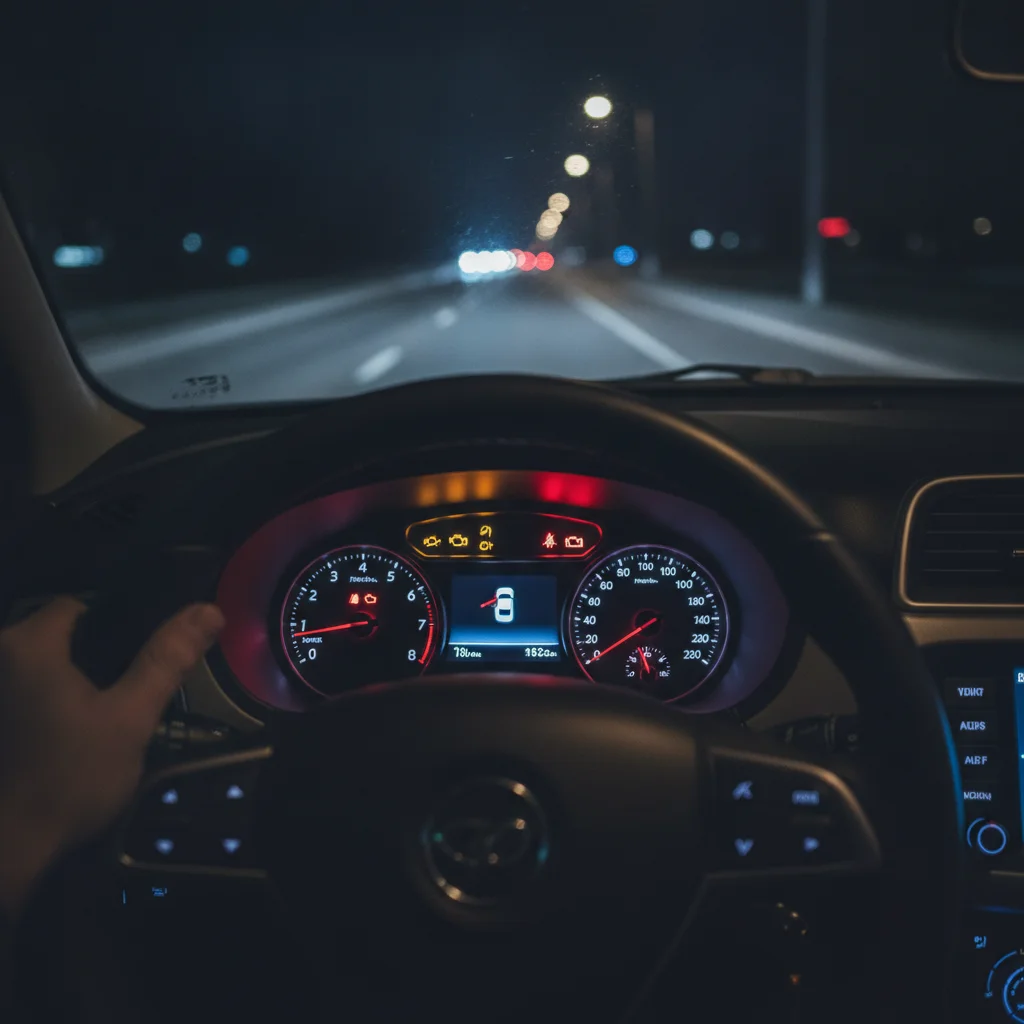
Your car's engineers didn't place warning lights randomly. Every modern vehicle uses a color hierarchy borrowed from traffic signals — and understanding it takes the guesswork out of your first response.
Think of it this way: the dashboard is like a hospital triage nurse. It sorts problems by severity before you even have to think about them.
- Red: Stop operating the vehicle as soon as it is safe to do so. A red light means a condition exists that can cause immediate mechanical failure or a safety hazard. Examples include oil pressure loss, engine overheating, and brake system failure.
- Amber/Yellow: Something needs attention, but you are not in immediate danger. Drive carefully to a shop within the next day or two. Examples include check engine (steady), TPMS, low fuel, and transmission temperature warnings.
- Blue/Green: Informational only. High beams are on, cruise control is active, or a feature like eco mode is engaged. No action required.
The trap most drivers fall into is treating all warnings with the same medium-level anxiety — enough to worry, not enough to act decisively. That middle-ground response is where expensive mistakes happen.
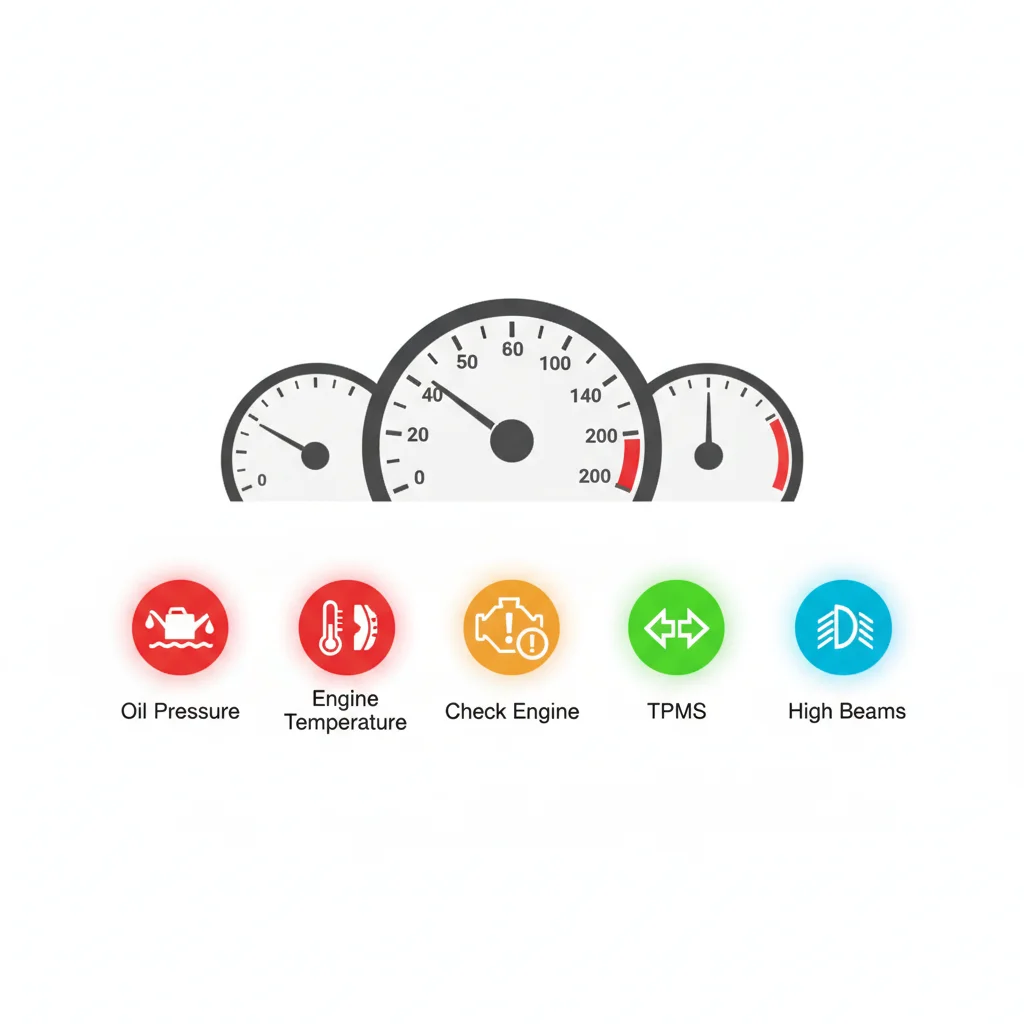
For a deeper dive into the full spectrum of vehicle warning systems — including sounds, smells, and physical sensations your car produces — see The Complete Guide to Vehicle Warning Signs, From Dashboard to Driveway.
Pull Over Immediately: The Red-Light Scenarios
These are the situations where every mile you continue driving multiplies the damage — and the repair bill. Below are the warning lights that demand you find a safe spot, turn off the engine, and call for roadside assistance.
$4,000–$10,000
Typical cost of seized engine replacement
Running an engine without oil pressure for even 3–5 minutes can result in total engine failure requiring full replacement.
$1,500–$3,500
Catalytic converter replacement cost
A flashing check engine light indicating an active misfire can destroy a catalytic converter in under 10 minutes of driving.
25%
Pressure drop that triggers TPMS warning
The TPMS system is calibrated to alert drivers when any tire falls 25% below the manufacturer-recommended pressure level.
$200 vs. $2,500+
Early vs. late oxygen sensor repair cost
A failing O2 sensor caught early is a $200 repair; ignored, it can ruin the catalytic converter and transmission systems downstream.
Oil Pressure Warning Light
This is the most financially dangerous light on your dashboard. Engine oil is the lifeblood of your motor — it lubricates metal surfaces spinning thousands of times per minute. When oil pressure drops, those surfaces contact each other directly. Within three to five minutes of running an engine without adequate oil pressure, you can warp connecting rods, score cylinder walls, and seize the crankshaft. A seized engine typically costs $4,000–$10,000 to replace. The light costs you nothing to heed.
What to do: Signal, move safely to the shoulder or a parking lot, shut the engine off immediately. Do not restart it to 'limp' to a station. Check the oil level with the dipstick only after the engine has been off for a few minutes — if it reads full, the problem may be the oil pump or a pressure sensor, and you still need a tow.
Engine Temperature Warning (Red Thermometer)
An overheating engine is running above the operating range its metal components were designed to tolerate. Aluminum cylinder heads warp. Head gaskets blow. In severe cases, pistons melt into cylinder walls. Blown head gaskets alone run $1,500–$3,000 in labor. A warped head doubles that figure.
What to do: Turn off the A/C immediately (reduces engine load), turn on the heater full blast (draws heat from the coolant), and pull over as soon as safely possible. Never open the radiator cap on a hot engine — superheated coolant will eject violently and cause serious burns.
Brake Warning Light (Red)
If this light appears while driving — not just during startup — it can indicate a hydraulic failure in one of the two brake circuits, dangerously low brake fluid, or a stuck parking brake. Any of these conditions compromises your ability to stop the vehicle.
What to do: Test your brake pedal gently. If it feels soft, spongy, or goes to the floor, do not drive. Pull over and call a tow. If the pedal feels normal and you suspect the parking brake is simply engaged, release it and see if the light clears.
Battery/Charging System Warning (Red Battery Icon)
This light means the alternator is not recharging the battery while driving. Your car is now running entirely on battery reserve — typically 20–30 minutes of power. When it's exhausted, all electrical systems including the fuel pump, ignition, and power steering will fail simultaneously.
What to do: Turn off all non-essential electrical loads (A/C, heated seats, radio) and drive directly to the nearest shop or pull over. Do not turn the engine off, as you may not be able to restart it. This is the one red-light scenario where a short controlled drive to safety is acceptable — but only a very short one.
For a comprehensive look at symptoms that always demand you stop driving, see Warning Signs You Should Never Ignore While Driving.
Drive to a Shop: The Amber-Light Scenarios
Amber warnings are your car's way of flagging a developing problem before it becomes an emergency. The key insight here is timing: amber lights give you a window of opportunity. Ignore them and that window closes — sometimes in a matter of days, sometimes a few hundred miles. Act within 24–48 hours and you almost always catch the problem while it's still a manageable repair.
| Warning Light | Color | Steady vs. Flashing | Urgency | Recommended Action | |
|---|---|---|---|---|---|
| Oil Pressure | Oil Pressure | Red | Steady or flashing | CRITICAL | Pull over immediately, do not restart |
| Engine Temperature | Engine Temp | Red | Steady | CRITICAL | Pull over, engine off, call tow |
| Brake System | Brake System | Red | Steady | CRITICAL | Test pedal; pull over if soft |
| Battery / Charging | Battery/Charging | Red | Steady | URGENT | Minimize electrics; drive to shop or pull over |
| Check Engine (Flashing) | Check Engine | Amber | Flashing | URGENT | Reduce speed; stop soon |
| Check Engine (Steady) | Check Engine | Amber | Steady | MODERATE | Schedule shop visit within 48 hours |
| Tire Pressure (TPMS) | TPMS | Amber | Steady | MODERATE | Check and inflate tires within 24 hours |
| Low Oil Level | Low Oil Level | Amber | Steady | MODERATE | Add correct oil grade as soon as possible |
| Transmission Temp | Transmission Temp | Amber | Steady | MODERATE | Pull over to cool; then drive to shop |
| High Beams / Eco Mode | Info Light | Blue/Green | Steady | INFO ONLY | No action required |
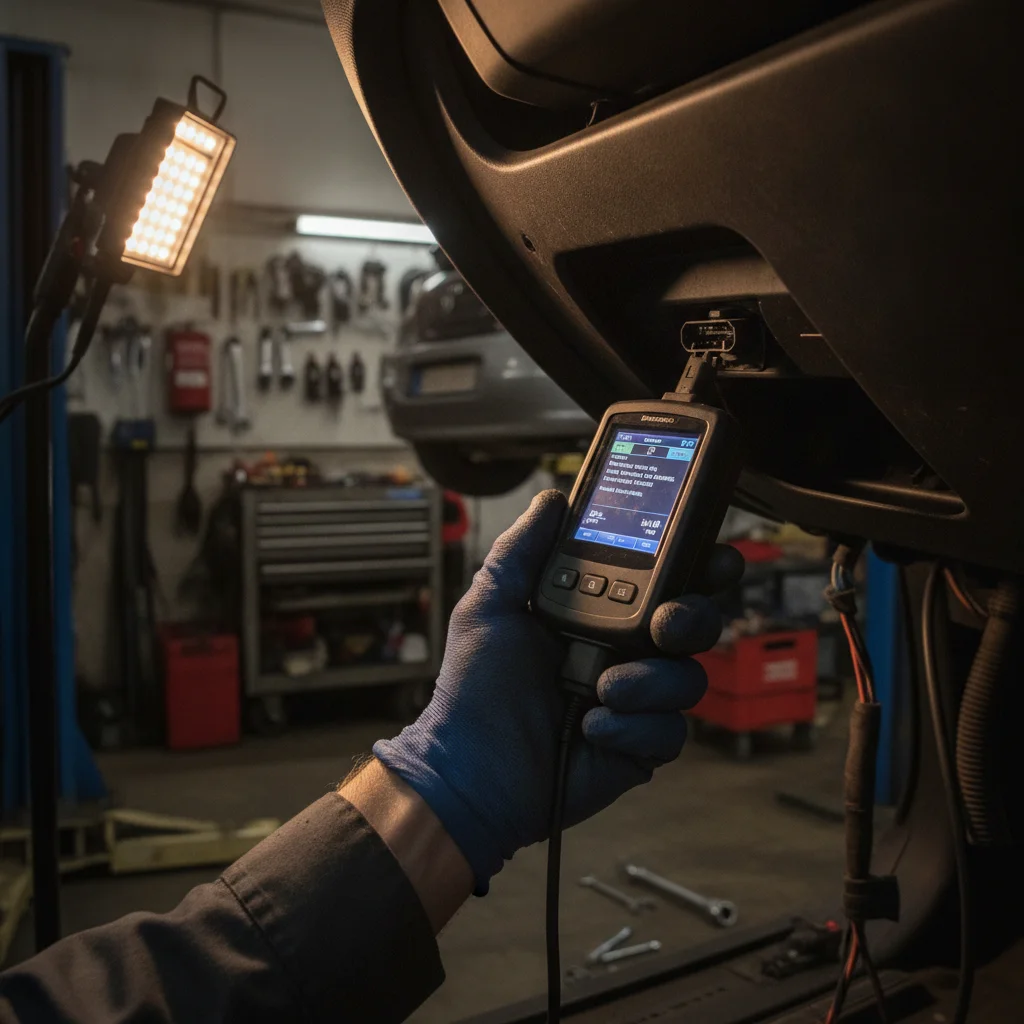
Steady Check Engine Light
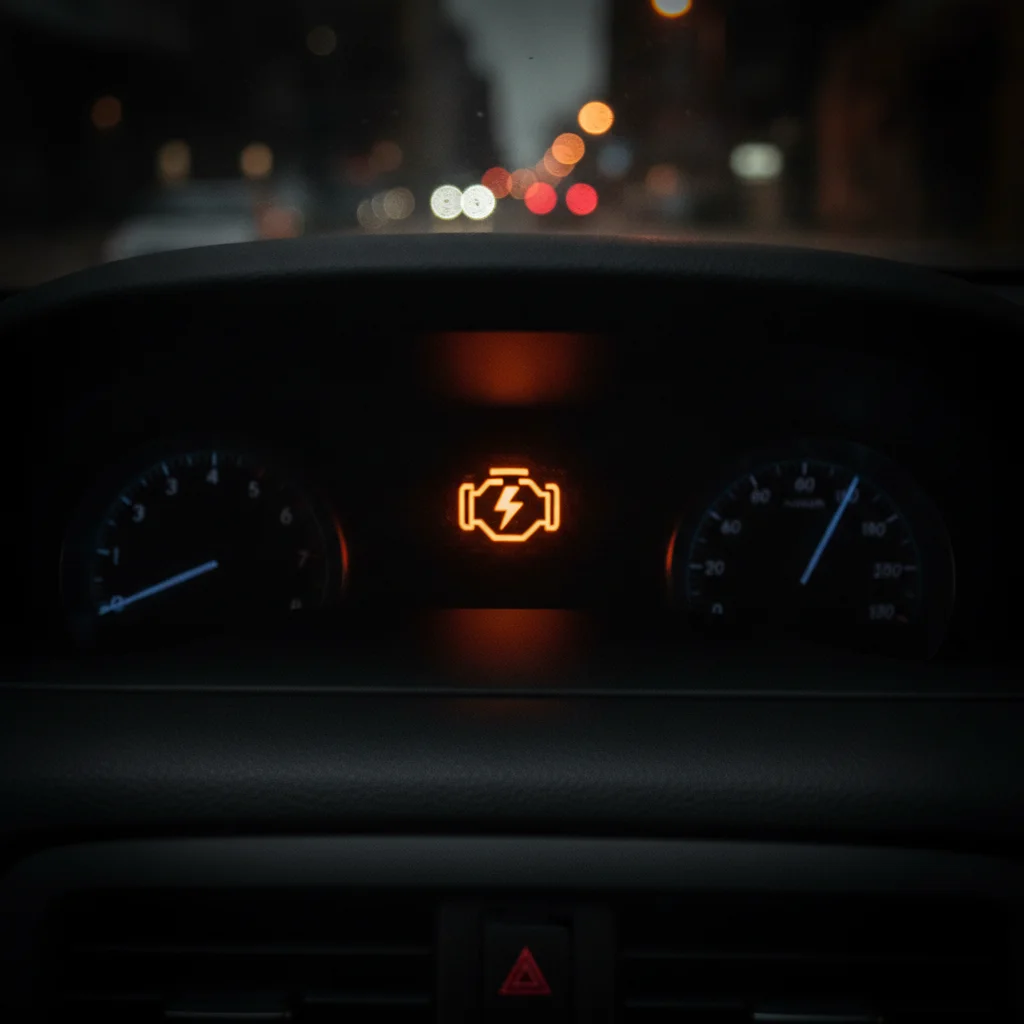
A check engine light that glows steadily — not flashing — means the engine management computer has logged a fault code but is not detecting an active, severe misfire or emissions catastrophe. The causes range from a loose gas cap (free fix) to a failing oxygen sensor ($150–$300) to a worn catalytic converter ($1,000–$2,500). You genuinely cannot know which one it is without plugging in an OBD-II scanner.
What to do: First, make sure your gas cap is fully tightened — a loose cap triggers the evaporative emissions monitor on nearly every modern car. If the light persists, drive to a shop or auto parts store (most offer free OBD-II scans) within two days. Do not ignore it for weeks.
Why Your Check Engine Light Doesn't Always Mean Catastrophe walks through how to interpret OBD-II codes and when you can safely DIY the fix.
Blinking Check Engine Light (Pull Over — Special Case)
A flashing check engine light is a different animal entirely. It indicates an active, severe engine misfire — unburned fuel is being dumped into your catalytic converter, which can destroy it within minutes of sustained misfiring. A catalytic converter replacement runs $1,500–$3,500 on most vehicles.
What to do: Reduce speed, avoid heavy acceleration, and drive to the nearest safe stopping point or shop — whichever is closer. Do not drive aggressively or at highway speeds with a flashing CEL.
Tire Pressure Monitoring System (TPMS)
Low tire pressure increases rolling resistance, degrades handling, and dramatically raises the risk of a blowout at highway speed. A blowout at 70 mph can cause a serious loss of vehicle control. TPMS typically triggers at 25% below the recommended pressure printed on your door jamb sticker.
What to do: At your earliest convenience — at most within 24 hours — check all four tires with a manual gauge. Add air to the underinflated tire(s). If a tire continues losing pressure, it may have a nail or valve stem leak that needs professional attention. Do not ignore a TPMS light that keeps returning after you've inflated the tires.
Keep a Cheap OBD-II Scanner in Your Glove Box
Basic Bluetooth OBD-II scanners are available for $20–$40 and pair with free smartphone apps. When a check engine light appears, you can pull the fault code yourself in under two minutes. This single tool prevents you from walking into a shop blind — and significantly reduces the chance of being charged for unnecessary diagnostics or repairs you didn't actually need.
Set a Monthly Tire Pressure Check Reminder
Tire pressure drops approximately 1 PSI for every 10°F drop in ambient temperature. This means a tire properly inflated in summer can be significantly underinflated by winter without any puncture or damage. Check all four tires — including the spare — on the first of every month, and always before long highway trips. Your door jamb sticker lists the correct cold-inflation pressure for your specific vehicle.
Low Oil Level Warning (Amber)
This is different from the oil pressure warning (red). The low oil level warning means the quantity of oil in the sump is below the minimum mark — the pump can still generate pressure for now, but you're running out of buffer. A quart low is often safe for short distances; two quarts low risks pressure loss on hard cornering or hard braking when oil sloshes away from the pickup tube.
What to do: Add the correct grade of oil as soon as possible. Keep a quart in your trunk for emergencies. If you're adding oil repeatedly between changes, you have a consumption issue that needs diagnosis — either worn piston rings or valve stem seals, which will worsen over time.
Transmission Temperature Warning
Automatic transmissions are precision instruments that rely on clean, properly pressurized fluid to shift correctly. When the fluid overheats — often from towing, mountainous driving, or stop-and-go traffic in summer heat — clutch packs start slipping and solenoids degrade faster. Transmission rebuilds typically run $2,500–$5,000.
What to do: If possible, pull over and let the transmission cool for 10–15 minutes with the engine at idle. Shift into park, not neutral. Check whether you're overloading the vehicle's tow rating. Then drive calmly to a shop to have the fluid checked.
How Color and Behavior Together Refine Your Decision
Color tells you severity. Behavior — steady vs. flashing — tells you immediacy. Together, they give you a complete picture.
Here is a simple mental model used by experienced technicians when a customer calls in a panic:
- What color is the light? Red = stop. Amber = schedule. Green/Blue = no action.
- Is it steady or flashing? Flashing on any powertrain warning elevates the urgency by one full level. An amber flashing light gets treated like a red light.
- Are there accompanying symptoms? Smoke, steam, burning smell, strange noises, or a significant change in vehicle behavior alongside any warning light = pull over immediately, regardless of color. Dashboard lights sometimes lag behind actual conditions.
That third point is critical. Your dashboard is not omniscient. A coolant leak, for example, may not trigger the temperature warning until the coolant level drops significantly — but you may smell coolant (a sweet, slightly syrupy odor) well before the gauge moves. Trust your senses as a supplement to the dashboard, not a replacement.
Why Your Check Engine Light Isn't the Only Warning Sign Worth Watching covers exactly these sensory cues in detail.
Never Open the Radiator Cap on a Hot Engine
Coolant in an overheated engine can be pressurized to 15–20 PSI and heated well above 212°F. Removing the radiator cap releases that pressure explosively, projecting boiling coolant upward at force sufficient to cause severe burns to the face and hands. Always wait at least 30 minutes after shutting off an overheated engine before touching the cooling system. Use a rag and turn the cap slowly to vent pressure gradually.
Don't Dismiss a Warning Light That Clears Itself
Some fault conditions resolve temporarily — a sensor glitch, a brief low-voltage event, or a loose connection — causing the warning light to turn off on its own. This does not mean the problem is gone. Most modern vehicles store intermittent fault codes even after the light clears. A recurring light that keeps self-clearing is often an early sign of a component approaching failure. Have the stored codes pulled at a shop even if the light is currently off.
The Real Cost of Waiting: Financial Stakes by Warning Type
The financial case for prompt action is stark. Every warning light represents a point on a damage curve — the longer you wait, the further right you travel on that curve, and repair costs escalate non-linearly.
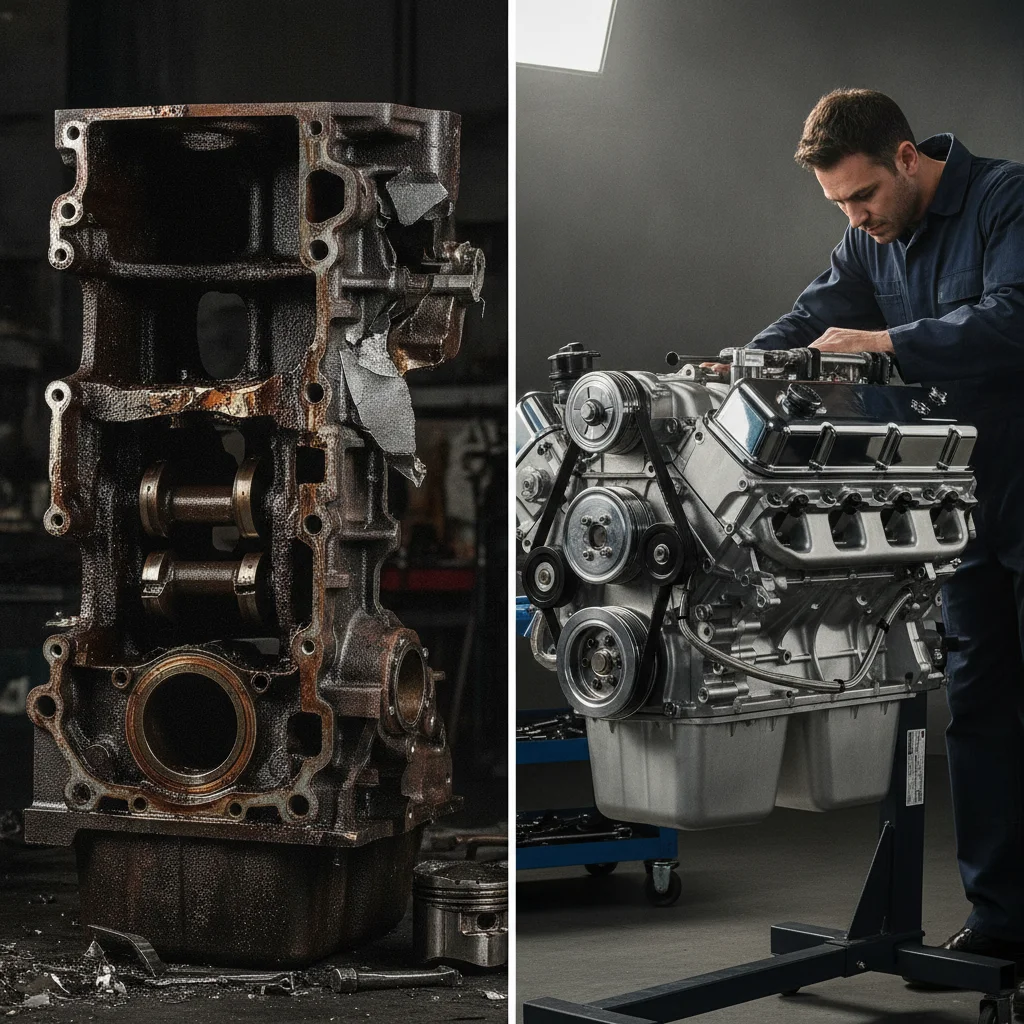
Consider the oil pressure warning as the clearest example. The light illuminates. If you stop immediately, you may need only a tow ($100–$150) and an oil pump replacement ($300–$500). If you drive another five miles, you risk spun rod bearings ($1,500–$3,000). If you drive another ten, engine replacement ($4,000–$10,000+). The decision to stop — or not — made in a 30-second window determines which bill you pay.
The same curve applies at slower rates to amber lights. A failing oxygen sensor caught early is a $200 part. Left unaddressed, a running-rich condition from that sensor destroys the downstream catalytic converter — suddenly you're looking at a $1,500–$3,500 part, often not covered under basic insurance policies.
Deferred maintenance compounds. A TPMS warning dismissed for two weeks leads to a tire running 10 PSI low for 3,000 miles. Internal heat builds up in the sidewall. What could have been a $2 air top-off becomes a $200 tire replacement when the sidewall fails, or a $2,000+ crash scenario if the blowout happens at speed.
The instructive pattern: act at the amber stage, pay amber prices. Wait for red, pay catastrophic prices.
Practical Steps for Any Warning Light Situation
Regardless of which light appears, a calm and methodical response is always more effective than panic. Here is a protocol that covers every scenario:
- Identify the light's color and behavior. Red and/or flashing? Begin moving toward the shoulder immediately. Amber and steady? Note it and begin planning a shop visit.
- Check for accompanying symptoms. Smell, sound, smoke, steering feel, pedal feel. Any abnormality elevates the response level.
- Reduce load if continuing to drive. Turn off A/C, reduce speed, avoid heavy acceleration. This buys you time and reduces the rate of damage progression.
- Do not ignore it and hope it clears. Some lights do clear temporarily — a loose gas cap, for instance. But a light that cleared and returns is telling you something. Treat a returning light as urgent.
- Get an OBD-II scan before authorizing major repairs. Most auto parts chains offer free scans. You want the fault code in hand before any shop tells you what's wrong — it prevents unnecessary upsells and gives you an informed starting point for the conversation.
- Keep records. Note the date the light appeared, the mileage, and any symptoms. This information is invaluable to the technician and protects you if a warranty claim is involved.
Keep a Cheap OBD-II Scanner in Your Glove Box
Basic Bluetooth OBD-II scanners are available for $20–$40 and pair with free smartphone apps. When a check engine light appears, you can pull the fault code yourself in under two minutes. This single tool prevents you from walking into a shop blind — and significantly reduces the chance of being charged for unnecessary diagnostics or repairs you didn't actually need.
Set a Monthly Tire Pressure Check Reminder
Tire pressure drops approximately 1 PSI for every 10°F drop in ambient temperature. This means a tire properly inflated in summer can be significantly underinflated by winter without any puncture or damage. Check all four tires — including the spare — on the first of every month, and always before long highway trips. Your door jamb sticker lists the correct cold-inflation pressure for your specific vehicle.
If you do need to pull over in an emergency, knowing how to do it safely is important. Accident Procedures provides guidance on safely managing roadside emergencies. And for the broader context of driving safety decisions, Warning Signs You Should Never Ignore While Driving is worth bookmarking on your phone.

All claims are backed by peer-reviewed research. Sources on request.