Key Takeaways
Why Wiper Installation Goes Wrong
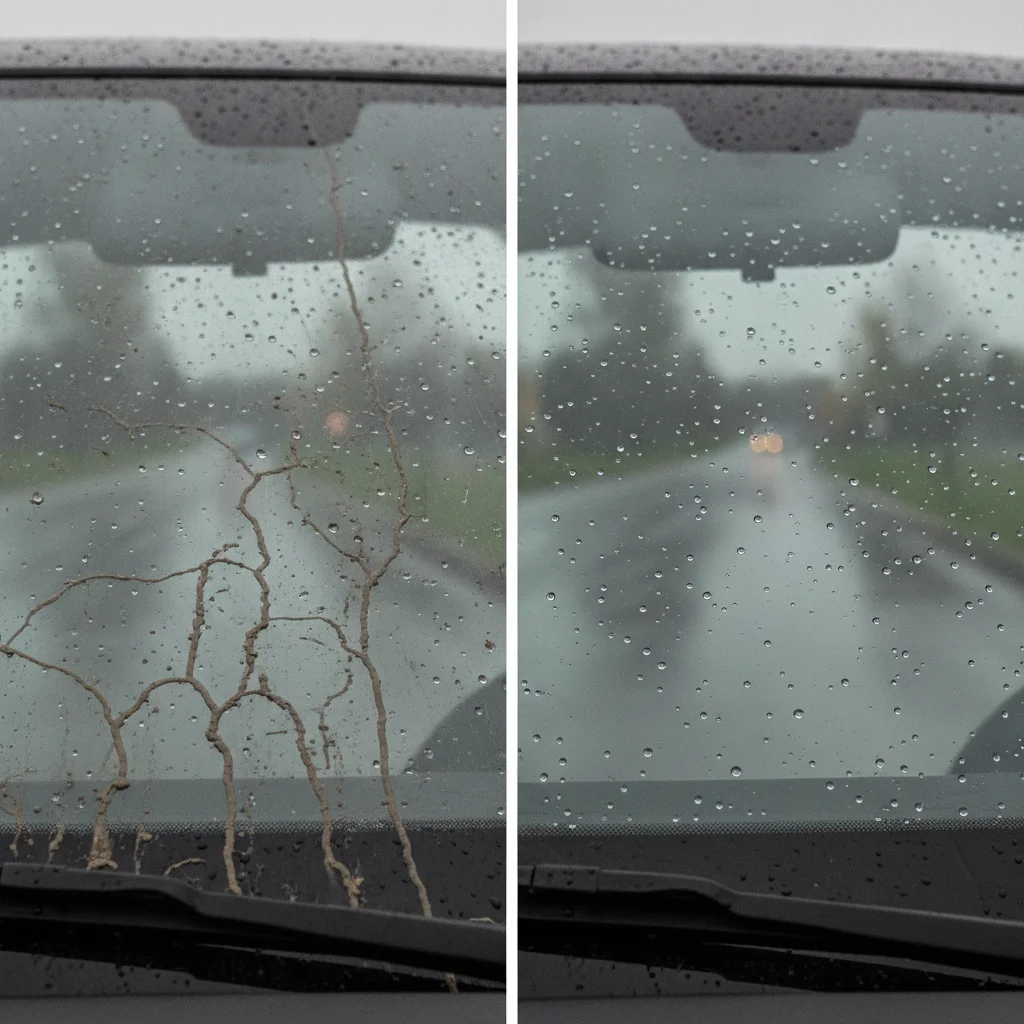
Most people assume a streaking or chattering wiper means a bad blade. Often, it means a blade that wasn't installed correctly, or wasn't sized right for the vehicle, or was attached to a dirty arm. The blade itself might be fine.
The core mistake I see again and again is buying whatever's on the shelf without checking the attachment type first. Wiper blade packaging has gotten better about including adapters for multiple arm styles, but the wrong adapter or an improperly seated connector causes exactly the kind of vibration and noise people return blades over — when the real fix is just reseating the connector.
The second most common mistake is dirty glass. Fresh blades on a wax-coated or contaminated windshield will streak immediately. The rubber isn't the problem — the surface is.
This guide walks you through the full process so you get it right the first time, including how to identify your arm type, choose the right blade, and confirm the installation actually worked.
What you will need
You'll also want the right tools on hand before you start:
Replacement wiper blades (correct size)
The core replacement part — must match your vehicle's blade length and arm attachment style.
Small flathead screwdriver
Helps depress stubborn release tabs on hook-style or pinch-tab attachments without breaking them.
Clean microfiber rag
Used to wipe the wiper arm and windshield surface before installing the new blade.
Rubber gloves
Keeps skin oils off the new rubber blade element, which can degrade wiping performance.
How to Replace Your Wiper Blades
Follow these steps in order. The whole job should take you under 20 minutes once you've got the right blades in hand. Do one side at a time — never leave a bare wiper arm unattended against the glass.
Identify your wiper arm attachment type
Before you buy anything, figure out what kind of wiper arm your car uses. The most common types are:
- J-hook (hook-style): The most common. A curved metal hook slips into a slot on the wiper blade connector.
- Pinch tab: A rectangular connector with a squeeze tab on the side. Common on many domestic trucks and SUVs.
- Pin (top-lock or side-pin): A small pin on the arm slides into a hole on the blade adapter. Common on some European vehicles.
- Bayonet (straight-end): The arm has a straight end that slides into a dedicated adapter — common on select Chrysler and Ford models.
- Side-lock: The blade slides onto the arm from the side rather than clicking down from the top.
Most wiper blade packages include multiple adapter pieces in the box and a diagram showing which fits which arm style. Match the diagram to your arm before you open anything else.
Buy the right blade for your vehicle
Wiper blades are sized by length, measured in inches. Your driver's side and passenger's side blades are usually different lengths — don't assume they match. Look up your vehicle in the fitment guide at any auto parts store or use the lookup tool on the blade manufacturer's website. Enter year, make, model, and trim.
You'll also choose between three blade types:
- Traditional frame (bracket) blades: The classic metal-frame design. Affordable and widely available, but the frame can ice up in winter.
- Beam (bracketless) blades: A single curved piece of rubber or synthetic material with no frame. They make better windshield contact in all weather and last longer. Worth the extra cost for most drivers.
- Hybrid blades: A beam blade encased in a protective shell. Good all-season performance at a middle price point.
If you drive an EV, beam blades are often recommended to reduce the small but real aerodynamic drag of traditional frames. Wiper blades are just one of many wear items EVs still need replaced regularly — worth a read if you want the full picture.
Lift the wiper arm safely
Turn off the ignition and make sure the wipers are in the parked (down) position. Then lift the wiper arm away from the windshield until it locks upright — it should hold itself vertical without you holding it.
Do this one arm at a time. Do not lift both arms simultaneously and walk away — if one falls back against the glass without a blade attached, the bare metal arm can crack or chip the windshield.
Some vehicles require you to open the hood slightly to access the driver's side wiper arm base. Check your owner's manual if the arm seems blocked.
Remove the old wiper blade
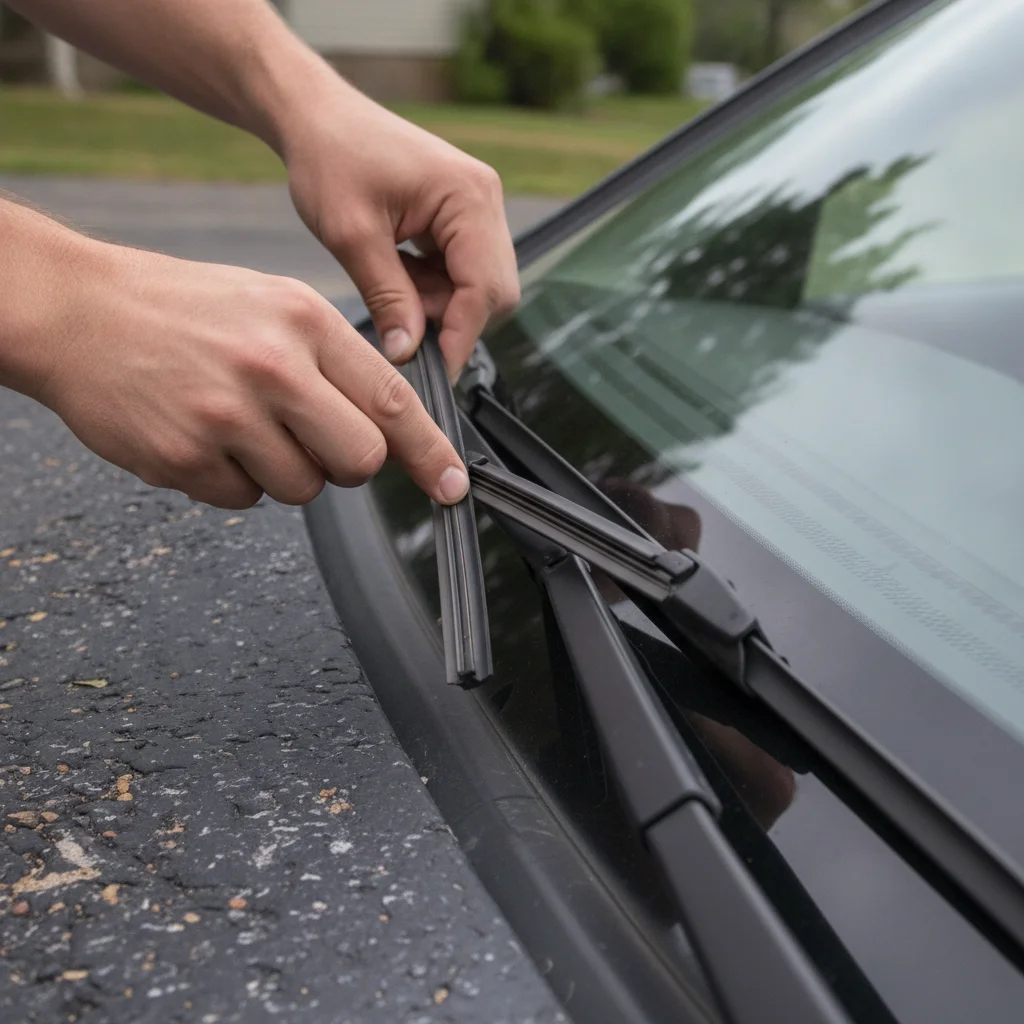
With the arm upright, rotate the old blade so it's roughly perpendicular to the arm — this gives you room to work the release mechanism.
- J-hook: Press the small tab or button on the underside of the connector (usually near where the arm meets the blade), then slide the blade downward and away from the hook.
- Pinch tab: Pinch the tab on the side of the connector inward while pulling the blade toward you.
- Pin-style: Press the release button and slide the blade sideways off the pin.
- Bayonet or side-lock: Slide the blade off the end of the arm — direction varies, check your blade packaging.
If the release tab is stiff or corroded, use a small flathead screwdriver to gently depress it. Don't force it — plastic connectors snap easily in cold weather.
Clean the wiper arm and windshield
Before the new blade goes on, take 60 seconds to wipe down the wiper arm and the section of windshield the blade covers. You're looking for:
- Built-up road grime, wax residue, or tree sap on the glass
- Rust or corrosion on the wiper arm itself
- Any debris stuck in the arm's pivot hinge
A clean surface is why new blades wipe cleanly on day one. Skipping this step and then wondering why the new blade already streaks is one of the most common mistakes I see.
Attach the new wiper blade
Pull the correct adapter from the blade's packaging (if needed) and attach it to the new blade according to the diagram. Then connect the blade to the arm:
- J-hook: Open the hook, place the blade connector over it, and rotate or slide until you hear and feel a distinct click.
- Pinch tab: Press the connector onto the arm until it clicks. Give it a gentle tug to confirm it's seated.
- Pin or bayonet: Slide the blade onto the arm end in the correct direction until it locks.
The click matters. If you don't hear or feel it, the blade is not fully seated. A loose blade will clatter, skip, and fall off at highway speed.
[in_content_images:0]Lower the arm and test the blade
Gently lower the wiper arm back against the windshield — don't let it snap down. Hold it and set it down slowly so the new rubber blade seats evenly against the glass.
Once both blades are installed, spray your washer fluid and run the wipers through three or four full cycles. Look for:
- Clean, streak-free wipes across the whole blade length
- No chattering, skipping, or squeaking
- No lifting of the blade at highway speeds (if you can safely test)
Some light streaking on the very first wipe is normal — that's just the protective coating on the new rubber burning off. If streaking persists after the second or third cycle, you likely have a residue problem on the glass, not a defective blade.
Replace the rear wiper blade (if applicable)
Many hatchbacks, SUVs, and minivans have a rear wiper. The process is the same, but rear wipers often use a different attachment style than the front — commonly a pinch tab or a dedicated OEM-style connector. Measure the rear blade separately and look it up by vehicle when buying.
Rear wipers are exposed to more road spray, salt, and debris than front blades, so they can degrade faster even though they're used less often. Check them when you replace the fronts.
Troubleshooting Common Problems After Installation
Blade still streaks after installation
First, run washer fluid and let the blades cycle several times. If streaking persists, clean the windshield with an automotive glass cleaner or 70% isopropyl alcohol. Wax, silicone, and rain-repellent coatings can prevent clean wiping even with brand-new blades.
If the streaking is only at one end of the blade, the arm may be bent and not applying even pressure along the full blade length. You can buy a wiper arm tension tool to check this, or have a shop look at it — a bent arm is a legitimate problem that a new blade won't fix.
Blade chatters or skips across the glass
Chattering usually means the blade isn't making full contact with the windshield. Check that the connector is fully clicked in. Also verify the rubber element isn't kinked or twisted in the blade frame — this can happen if the blade was stored bent in the packaging.
Cold weather makes rubber temporarily stiffer, which increases chatter. This usually resolves as the car warms up. If you live somewhere with harsh winters, a winter-rated beam blade is worth the upgrade.
Never Run Dry Wipers on a Dirty Windshield
Running wipers without washer fluid on a dusty or gritty windshield grinds debris against both the glass and the rubber blade edge. This ruins a new blade in a matter of minutes and can permanently scratch your windshield. Always spray fluid first.
Cold Weather Makes Plastic Connectors Brittle
Wiper blade connectors and release tabs are more likely to snap in freezing temperatures. If you're replacing blades in winter, work in a garage or give the connectors a few minutes to warm up before forcing any tabs. A snapped connector means buying a new blade.
Blade lifts off the glass at highway speeds
This is a beam blade advantage — their curved design maintains contact at higher speeds. Traditional framed blades can lift at 65+ mph if they're old or if the arm spring tension is weak. If you're seeing this with a brand-new framed blade, the arm spring may need replacement — a job that costs very little at a shop.
Squeaking with otherwise clean wipes
Wipe the rubber edge of the blade with a damp cloth. New blades can have a light mold-release residue that squeaks against glass until it wears off. Also check whether your windshield has a hydrophobic coating — some coatings interact with certain rubber compounds and create noise.
Mark Your Calendar After Every Replacement
Write the installation date on a piece of masking tape and stick it inside the driver's door jamb or on the blade itself. You'll always know how old your blades are without trying to remember. Most people are surprised how quickly 12 months passes.
Beam Blades Are Worth the Extra Cost
Beam (bracketless) blades cost $5–$15 more per blade than traditional framed blades, but they make better contact with the windshield, resist ice buildup, and typically last longer. For most drivers in any climate, beam blades are the right call.
When to replace wiper blades
The general rule is every 6–12 months, or at the first sign of streaking, skipping, squeaking, or visible rubber cracking. Don't wait until you can't see in a rainstorm. Visibility is a safety issue, and blades are one of the cheapest maintenance items on any car. If you drive an EV, the same replacement timeline applies — there are several other wear items on EVs that people overlook, but wipers are not one of them.
Never Leave a Bare Wiper Arm on the Glass
A wiper arm without a blade is a metal rod with a spring behind it. If it falls against your windshield, it will crack or chip the glass — a repair that can cost $200–$400 or require full windshield replacement. Always work one arm at a time and lay a folded towel over the glass as a backup. This is the one step where being careless gets expensive fast.

All claims are backed by peer-reviewed research. Sources on request.