Key Takeaways
What a Pull Is Really Telling You
When your car drifts left or right on a straight, flat road without any steering input from you, that's a pull. It sounds simple, but the cause can be hiding in half a dozen different places — your tires, your wheel alignment, your brakes, your suspension geometry, or even a manufacturing variance in the road surface itself. The mistake most drivers make is treating all pulls the same and heading straight to an alignment shop. Sometimes that's exactly right. Sometimes it's a $6 fix you can do in your driveway.
Think of your car's steering as a handshake between the road and your hands. When everything is calibrated correctly, that handshake is firm and neutral. A pull means one side of the car is pushing back harder than the other — and to find out why, you have to trace the force to its source.
This guide walks you through a structured diagnostic process so you can identify the actual cause before spending a dollar on repairs. Understanding how brake feel changes is closely related to this topic — brake-induced pulling is one of the more dangerous causes and deserves immediate attention.
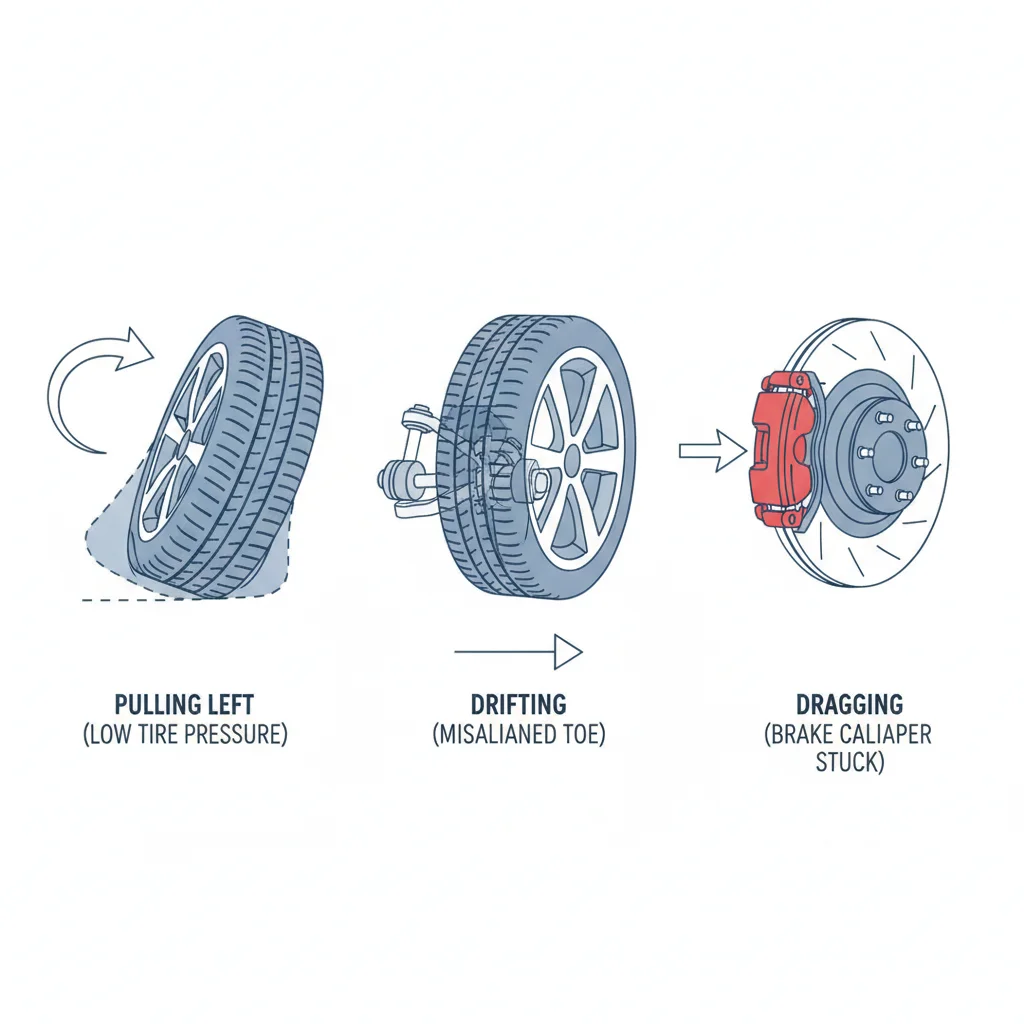
The three broad categories to investigate are: tires and pressure, wheel alignment and suspension geometry, and brake system issues. We'll cover each in turn, starting with the fastest and cheapest checks first.
Tools and What You'll Need Before Starting
You won't need a lift or specialty equipment for most of this diagnostic process. A few basic items will get you through the initial checks at home. If the diagnosis points to alignment or brake work, that portion will require a shop visit — but knowing what you're looking for before you walk in will keep you from being upsold unnecessarily.
What you will need
Digital Tire Pressure Gauge
Accurately measures PSI in all four tires to rule out pressure imbalance as the cause of pulling.
Floor Jack and Jack Stands
Safely raises and supports the vehicle for brake and suspension inspection with wheels removed.
Torque Wrench
Ensures lug nuts are reinstalled to the manufacturer's specified torque after any wheel removal.
High-Temperature Brake Grease
Lubricates caliper slide pins to free up a partially sticking caliper without full replacement.
C-Clamp or Brake Piston Tool
Compresses the caliper piston back into its bore when inspecting or replacing brake pads.
Infrared Thermometer
Measures wheel hub temperature side to side after driving to detect a dragging brake caliper.
Once you have these on hand, you're ready to work through the steps systematically. Don't skip steps or jump straight to what seems most likely — pulling is one of the most misdiagnosed complaints in auto repair, and a 10-minute tire pressure check has saved many drivers a $120 alignment bill.
Step-by-Step: Diagnosing and Fixing the Pull
Follow these steps in order. Each one either resolves the problem or narrows down where to look next. Rushing past the early steps is how drivers end up paying for alignment jobs that don't fix anything because the real culprit was a slightly deflated front tire all along.
Check and Equalize Tire Pressure
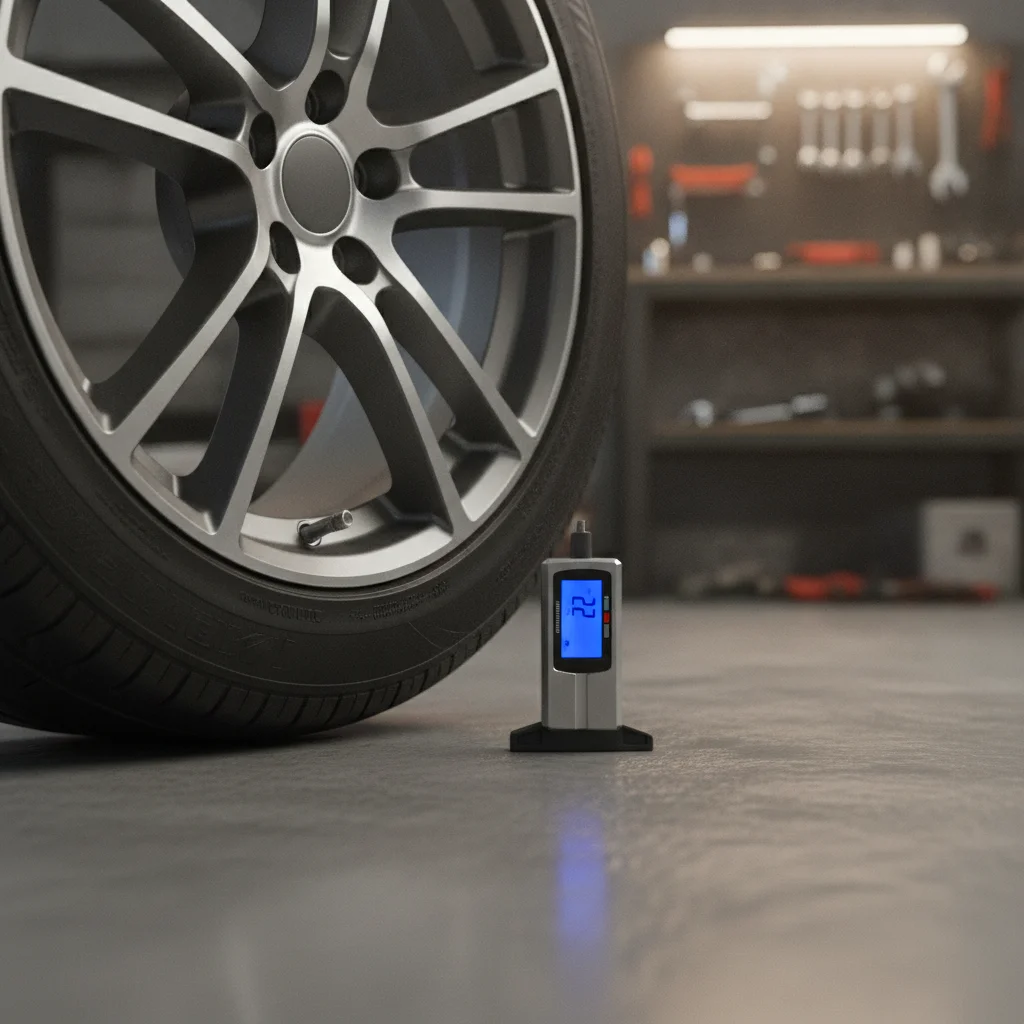
Before anything else, check the pressure in all four tires with a quality gauge. Find your vehicle's recommended PSI on the sticker inside the driver's door jamb — not on the tire sidewall, which shows maximum pressure. Inflate or deflate as needed until all four tires are at spec.
Drive the car on a straight, flat road at 35–45 mph with light grip on the wheel. If the pull has disappeared or significantly reduced, uneven pressure was your culprit. You're done.
Swap the Front Tires Side to Side
If pressure is even and the pull persists, the next suspect is a defective tire — specifically one with conicity or belt shift. Move the left front tire to the right front position and vice versa. Do not cross-rotate front to rear at this stage; you're isolating the front axle.
Drive the same test route. One of three things will happen:
- Pull reverses direction — the tire you swapped is defective. Replace it.
- Pull stays the same — the tires are fine; the cause is elsewhere (proceed to Step 3).
- Pull disappears — this is less common but suggests uneven wear that the swap corrected; inspect both tires carefully and consider replacement if wear is uneven.
Test Whether the Pull Worsens Under Braking
In a safe, empty area, perform several moderate brake applications at 30–40 mph. Pay close attention to whether the car pulls more aggressively during braking than it does when coasting. Brake-induced pulling that is noticeably stronger than driving pull strongly points to a brake system issue — typically a sticking caliper or uneven pad wear.
Also check: does one front wheel feel or smell hotter than the other after driving? A stuck caliper keeps the pad dragging, generating heat on that side.
Visually Inspect Brake Calipers and Pads
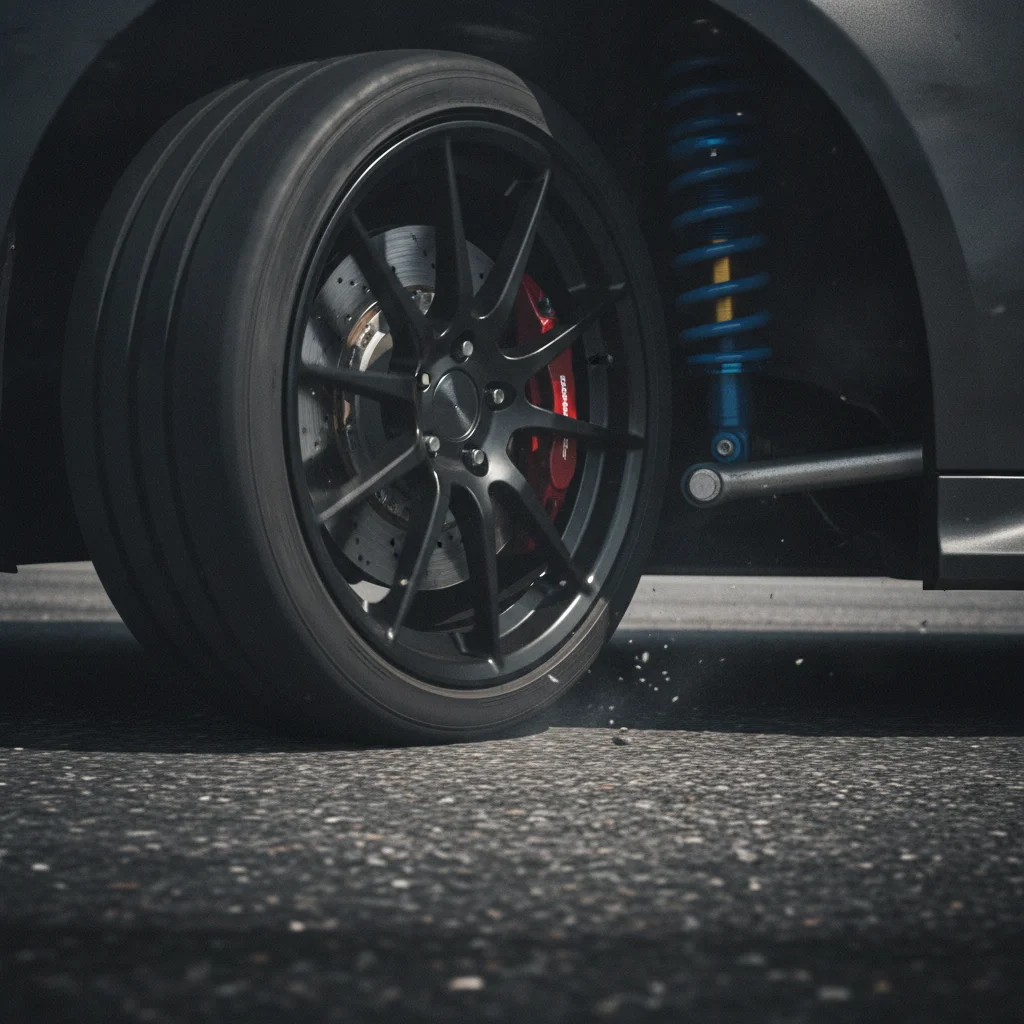
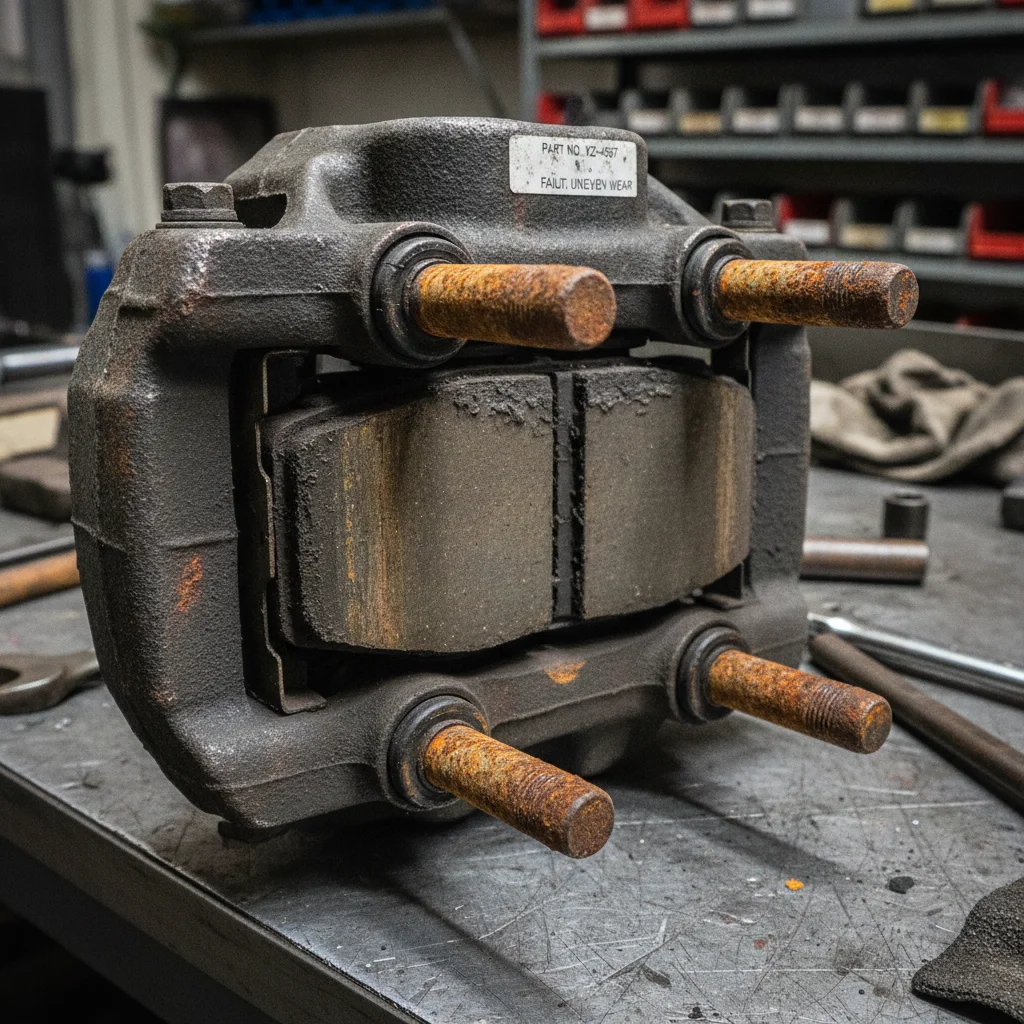
With the vehicle safely raised on jack stands and the wheels removed, look at the brake caliper on each front wheel. Signs of a sticking caliper include:
- Pad on one side visibly thinner than the other (uneven wear)
- Rotor with a deep groove on one side only
- Caliper that feels difficult to compress manually (with the brake line intact, compare resistance side to side)
- Rust or debris buildup in the caliper slide pins
Slide pin corrosion is a very common cause of partial caliper seizure. In some cases, cleaning and lubricating the pins with high-temperature brake grease resolves the drag without a full caliper replacement.
Check for Visible Suspension Damage
With the vehicle still on jack stands, grab each front tire at the 9 and 3 o'clock positions and try to rock it side to side. Then grab at 12 and 6 o'clock and rock up and down. Any looseness or clunking points to a worn ball joint, tie rod end, or wheel bearing — all of which can contribute to pull and steering wander.
Visually inspect the control arm bushings (the rubber-encased pivot points connecting the control arm to the subframe). Cracked, collapsed, or missing rubber is a clear sign of failure. Also look at the struts for oil leaking down the shaft — a blown strut loses its ability to hold alignment angles under load.
Get a Four-Wheel Alignment Check
If tires and brakes check out but the pull remains, it's time for a professional alignment inspection. Ask the shop to print the before and after alignment report — this is standard practice at any reputable shop and shows you exactly which angles were out of spec and by how much.
Pay attention to the camber and toe readings on the front axle. If the shop finds that camber is within spec but toe is significantly off, that suggests an impact or a worn toe-link component rather than simple drift over time. Knowing the specific angle that's off helps you ask the right follow-up questions.
Don't Ignore a Pull That Appears Suddenly
A pull that develops suddenly — especially after hitting a pothole or curb — may indicate a bent wheel, a damaged tire, or displaced suspension component. This is different from a gradual pull that developed over time. Sudden-onset pulling warrants an immediate inspection, not a self-diagnostic process. Drive slowly to a shop rather than continuing normal use.
Alignment Won't Fix a Bad Suspension Component
An alignment machine sets angles based on where suspension components currently sit. If a bushing is worn or a strut is soft, the alignment will shift back out of spec within weeks of adjustment. Always verify suspension integrity before paying for alignment — otherwise you're resetting a measurement that won't hold.
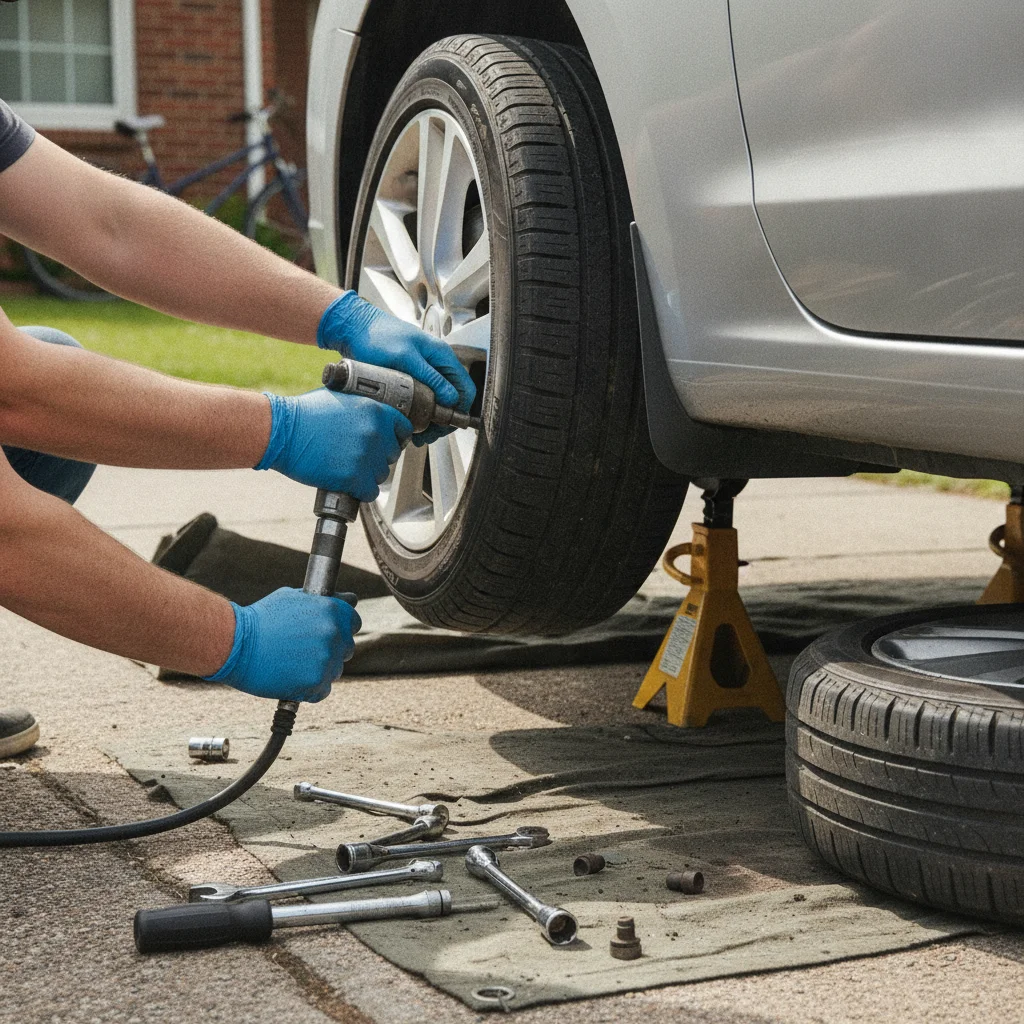
Once the cause is confirmed, repairs range from free (inflating a tire) to a few hundred dollars (caliper replacement or four-wheel alignment). The important point is that you're paying for the right repair. Some mechanical repairs consistently pay off, and addressing a pull before it ruins a set of tires is a textbook example of money well spent.
Common Causes and What Each One Costs to Fix
After going through the diagnostic steps, you should have a confident sense of which category your pull falls into. Here's a plain-language breakdown of each cause, what the repair involves, and what you should realistically expect to pay.
Uneven Tire Pressure
The most common and cheapest fix. Even 4–5 PSI of difference between left and right front tires can create a noticeable pull toward the lower-pressure side. Inflate to spec (found on the door jamb sticker, not the tire sidewall), re-check after driving 10 miles at highway speed, and the pull should disappear. Cost: $0.
Worn or Defective Tire (Conicity)
A tire with belt shift or conicity — where the internal steel belts are slightly off-center — will pull consistently in one direction regardless of pressure or alignment. This is a manufacturing defect or the result of severe impact damage. The fix is replacing the tire. Cost: $80–$250 depending on tire size and brand. If the tire is recent, check the warranty first.
Wheel Alignment Out of Spec
Camber (vertical lean) and toe (the angle the tires point inward or outward) are the most pull-relevant alignment angles. A car that has hit a significant pothole, curb, or been in a minor collision can knock these out of spec without any visible damage. Alignment and tire pressure work together — neglecting either one accelerates the other's damage. Cost: $80–$150 for a standard four-wheel alignment.
Brake Caliper Sticking or Seizing
A caliper that doesn't fully release keeps the brake pad in partial contact with the rotor on one side, dragging the car in that direction. You'll often notice this pull is worse after the brakes warm up, and the affected wheel may smell faintly of hot metal or burning rubber. Cost: $150–$350 per caliper including labor, more if the rotor is scored and needs replacement.
Suspension Component Wear
Worn control arm bushings, a bent strut, or a failing ball joint can create a pull that's inconsistent — worse over bumps or under heavy braking. This is the most mechanically complex category. Suspension wear is progressive, meaning it rarely feels alarming at first but will worsen rapidly once the component deteriorates past a threshold. Knowing how to feel for suspension problems from the driver's seat is valuable here. Cost: $150–$600+ depending on the specific component and vehicle.
The Road Crown Test
Before assuming your car has a problem, find a road that is very flat and switch lanes. Some roads have significant crown — a slight slope toward the shoulder for drainage — that makes any car drift mildly left. If the pull only appears on certain roads and disappears on others, road geometry may be partly to blame. A true mechanical pull is consistent on all flat road surfaces.
Rotate Tires to Extend Their Life
Even after resolving a pull, irregular wear patterns from the problem may remain on your tires. Rotating front to rear can equalize these patterns and extend the life of the tire. Ask your shop to show you the wear pattern on each tire at your next service — it's the clearest record of what your car has been doing between visits.
Alignment After Suspension Work
Any time a suspension component is replaced — control arm, strut, tie rod, ball joint — a fresh alignment is mandatory, not optional. Replacing hardware changes the geometry. Skipping alignment after suspension work is one of the most common ways drivers end up right back at the shop with a pull that shouldn't have returned.
When to DIY and When to Go to a Shop
Tire pressure checks and rotations fall squarely in the DIY repair category — anyone with a gauge and an air compressor can handle them. Swapping a tire to test for conicity is also a reasonable home task if you're comfortable with jack stands. Everything beyond that — alignment, brake system work, and suspension components — involves precision measurement or hydraulic safety risks that make a professional shop the right call.
That said, going to a shop informed is significantly different from going in blind. If you've already ruled out tire pressure, confirmed the pull exists after rotation, and noticed it intensifies under braking, you can walk in and say: "I have a pull under braking that I suspect is a sticking caliper — can you inspect the front brake assembly?" That specificity steers the conversation toward diagnosis and away from a generic laundry list of recommended services.
Brake Pull Requires Immediate Action
If your diagnostic process points to a sticking caliper or uneven brake force as the cause of pulling, treat this as an urgent repair — not a 'schedule it when convenient' item. A partially seized caliper reduces your total stopping ability and can cause brake fade under heavy use. Do not drive at highway speeds or in heavy traffic until the brake system has been inspected and repaired.
Never Align Before Replacing Worn Suspension Parts
If your inspection reveals worn ball joints, control arm bushings, or struts, have those replaced before scheduling an alignment. Setting alignment angles on worn components is money wasted — the worn parts allow the geometry to shift, and you'll be back out of spec within weeks. The correct sequence is: repair suspension, then align.
Finally, document everything: what the pull feels like, when it started, whether it's worse during braking, and what you've already checked. A good shop will use that information. A less scrupulous one won't ask — and that tells you something too.
Preventing the Problem From Coming Back
Most of the causes covered in this article are preventable with consistent, low-cost maintenance habits. The financial math is straightforward: a $120 alignment appointment every 30,000 miles (or after any significant road impact) protects a $600–$1,200 set of tires. Monthly tire pressure checks — a three-minute task — prevent uneven wear patterns that can't be reversed once they're set in.
Rotating your tires every 5,000–7,500 miles is particularly valuable. Rotation equalizes wear across all four tires and gives you a natural opportunity to inspect brake components while the wheels are off. Many drivers discover a sticking caliper for the first time during a rotation inspection — before it's done real damage.
If you've recently had an alignment done and the pull returns within a few months, that's a signal that something in the suspension is allowing the alignment to shift. Don't simply get re-aligned — ask the shop to inspect for worn bushings or a damaged strut before resetting the angles. Treating the symptom without addressing the underlying cause is one of the most expensive patterns in car ownership.
A pull is rarely a crisis. But it's never nothing. Catching it early, diagnosing it correctly, and fixing the actual cause keeps your tires lasting their full life, your brakes working safely, and your repair bills predictable.

All claims are backed by peer-reviewed research. Sources on request.